

You may have heard of the “lost wax” method, but I found a video that demonstrates the process in great detail.
This truly ancient process has been used to create solid objects by casting liquid metal. The problem is to create a complex mold in which the liquid can flow without destroying the mold, then harden.
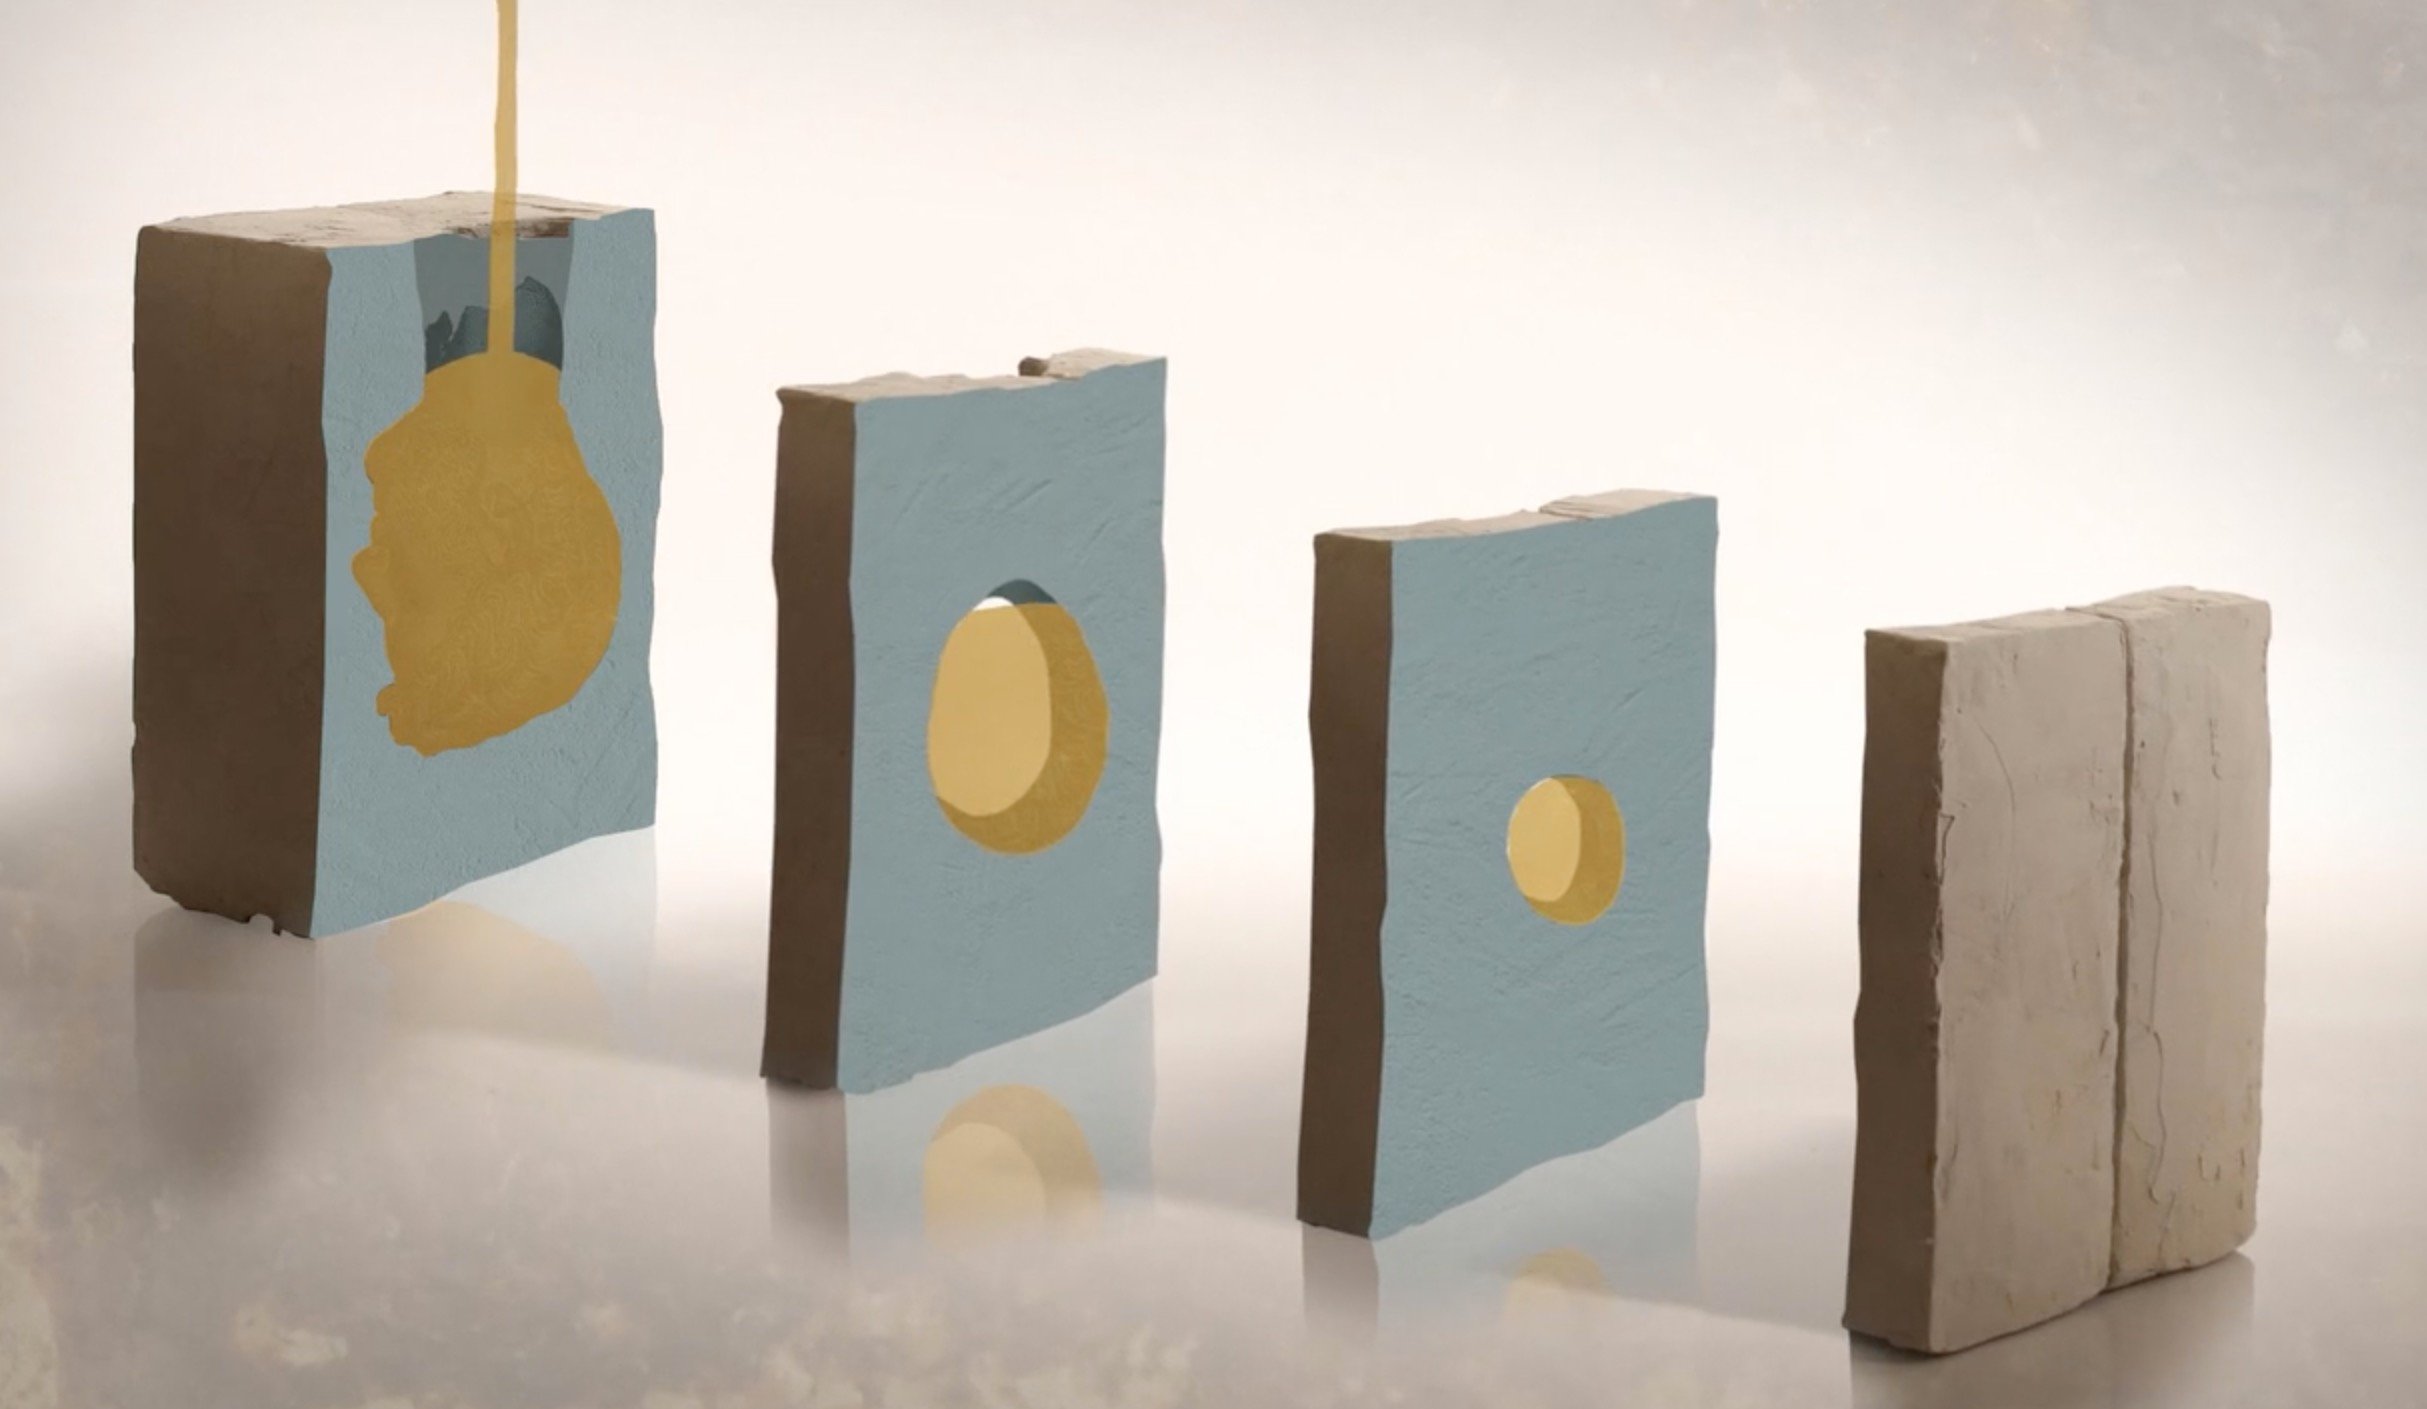
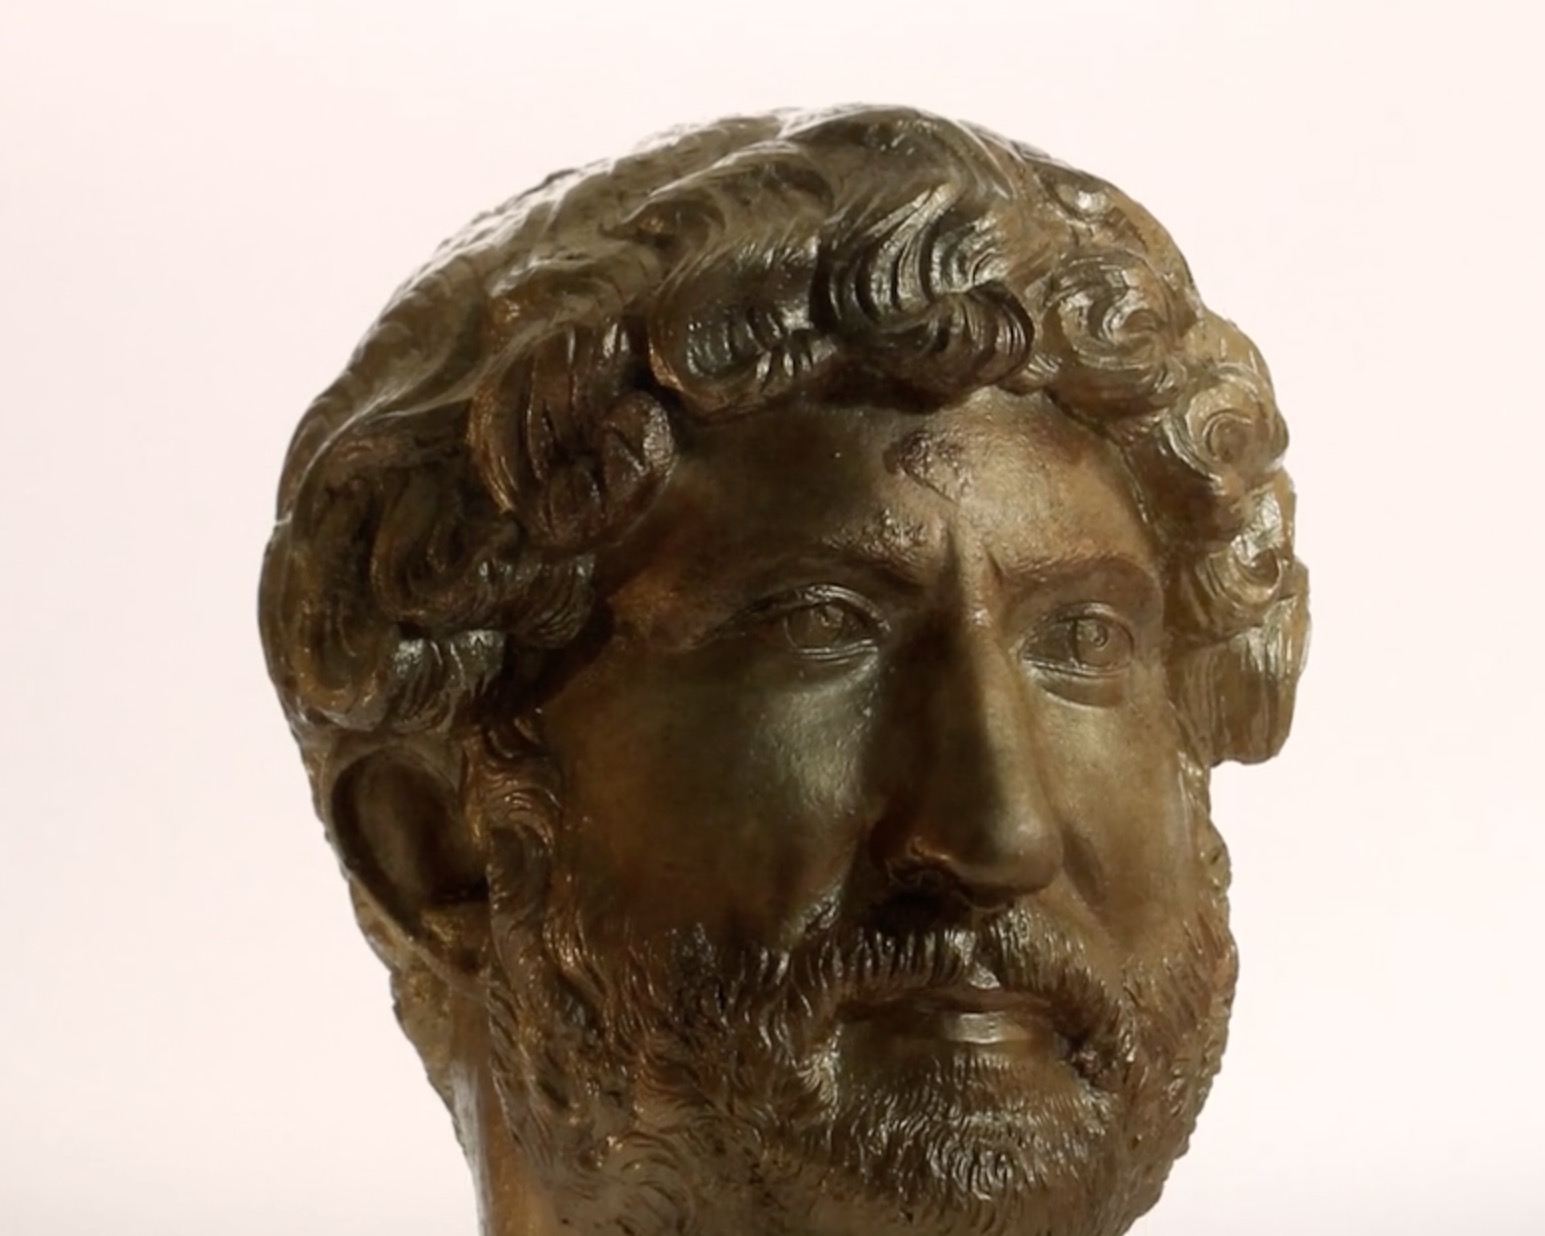
The ancients figured this out by using wax. Basically, a shape is created in wax, which is easily manipulatable. It also melts at a low temperature, too. The completed wax model is surrounded by plaster, and then fired in a furnace to melt and evaporate the wax, leaving a hollow plaster mold able to withstand the liquid metal pour.
3D print enthusiasts have used this process, or similar, to create metal 3D prints. While there are actual wax 3D printers, typically used by jewelry designers, the process also works with various types of 3D printed plastic, including PLA. It all depends on how much ash residue is formed by firing the plastic. Some plastics are better than others.
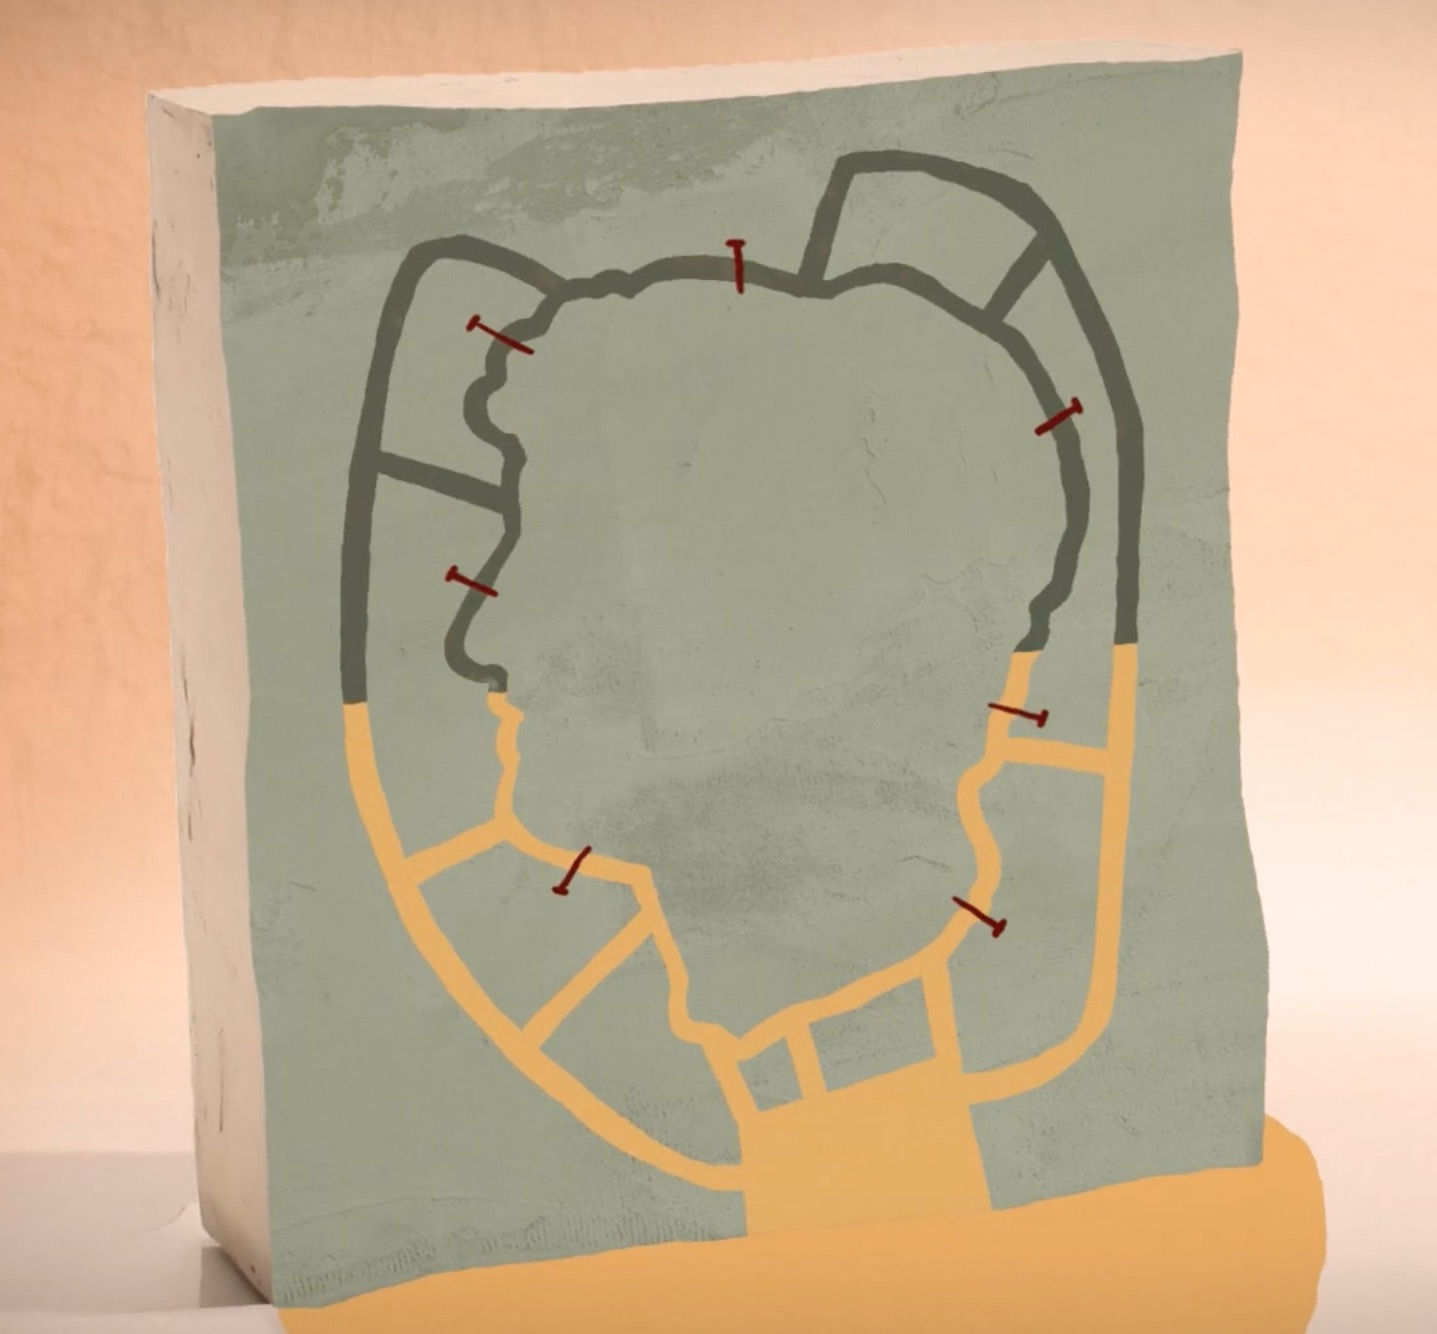
You’d think this was straightforward, but there’s a bit more to it. You cannot simply dunk any 3D print into plaster and voila, you have a mold. No, you have to ensure you have “sprues” that reliably carry the liquid metal to all portions of the mold. You may also want to reduce the amount of metal used by making the solid 3D model hollow.
How do you do this? The video tells all: