
We had a chance to evaluate the new Prusa MINI 3D printer, and, wow, what a device!
This is part one of a three-part series on the Prusa MINI 3D printer. Please read parts two and three.
There have been many “Mini” devices placed on the 3D printer market, and they tend to be dumbed-down, smaller versions of other successful products. While the Prusa MINI is indeed smaller than its ancestor, the flagship Prusa MK3S, it is by no means dumbed down.
First announced last fall, the Prusa MINI began shipping shortly thereafter and has been ordered in large quantities by the public. Some of that demand is likely due to the rock-bottom price of the device, which is a mere US$349. That price allows European manufacturer Prusa Research to compete with the countless inexpensive Asian machines that have flooded the market.
The MINI is designed to be inexpensive to manufacture, but doesn’t seem to compromise much on functionality. In many respects, it’s better than the other machines in Prusa Research’s catalog. They say:
“The MINI is a big printer in a compact body. We did our best to squeeze as many features into the lowest possible price as possible.”
This turns out to be quite true, as you will see.
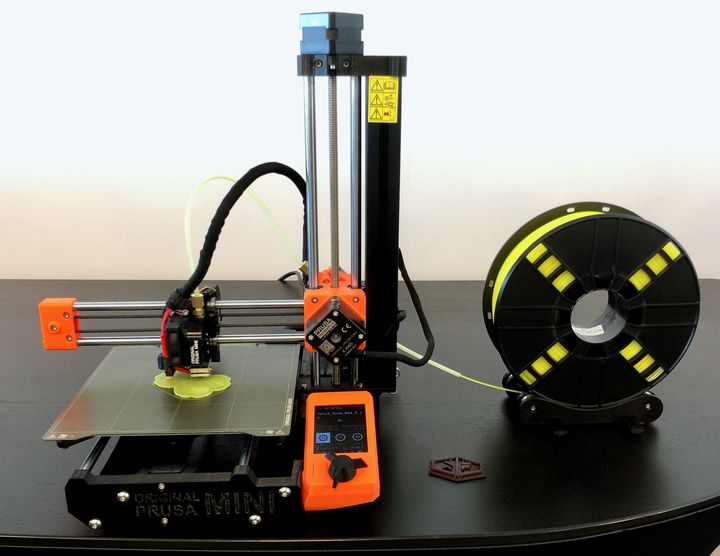
Prusa MINI Specifications
The device is somewhat smaller than typical desktop 3D printers, but still offers a build volume sufficient for most prints. Here are the relevant specifications for the device before we get into the testing:
- Build volume of 180 x 180 x 180 mm
- Single 1.75mm filament extrusion system
- Short-length Bowden design
- Color, non-touch control panel
- Supports PLA, ABS, ASA, PETG and Flexible materials
- Removable magnetic spring steel build plate with PEI coating
- Silent stepper drivers
- 32-bit control board
- USB port for GCODE file access
- Ethernet port for future “Wi-Fi module upgrade”
- Minimized, but robust frame
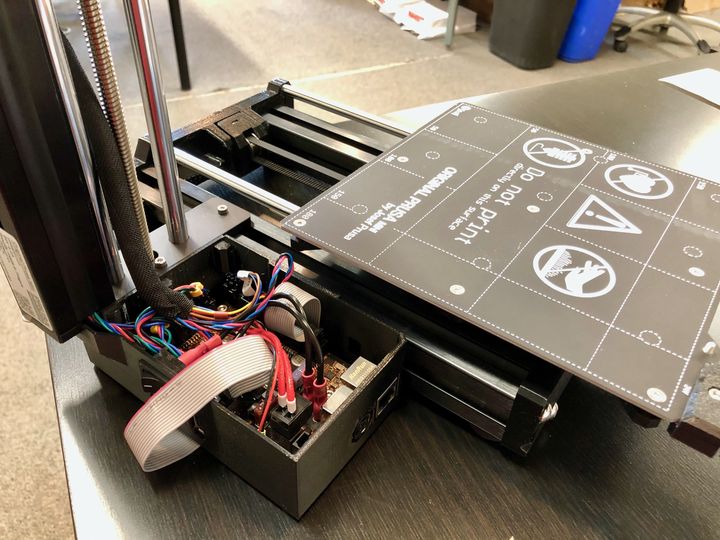
Assembling The Prusa MINI 3D Printer
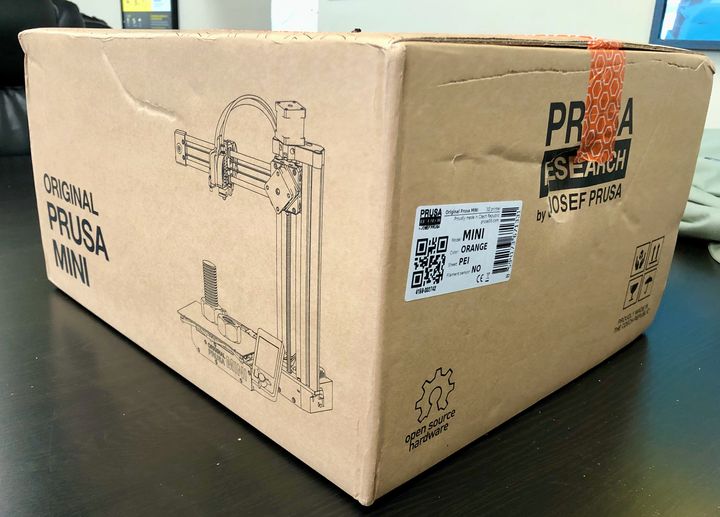
The Prusa MINI 3D printer arrives in a surprisingly small box that matches its minuscule dimensions. One reason for this is that you have to do a bit of assembly to get it operating, which is different from fully assembled 3D printers.

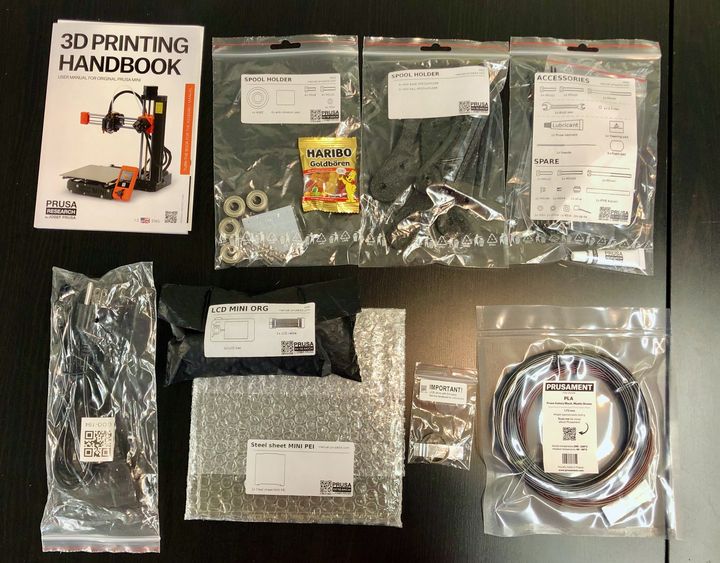
The first thing you’ll see is this page on top of the package. It’s a letter with a welcome and instructions on what to do next. It’s also signed by Josef Prusa, which is a nice touch. This company provides exceptional service and if this is your first Prusa Research device, the letter illustrates the community you’re joining.
In past days assembling a 3D printer kit was a bit of an exercise that might be daunting for some. However, these days “assembling” a 3D printer is often quite a simple affair, and the Prusa MINI is no exception. Almost all of the hard work is already done, and the machine is essentially split into two major parts to simplify packaging and shipping.
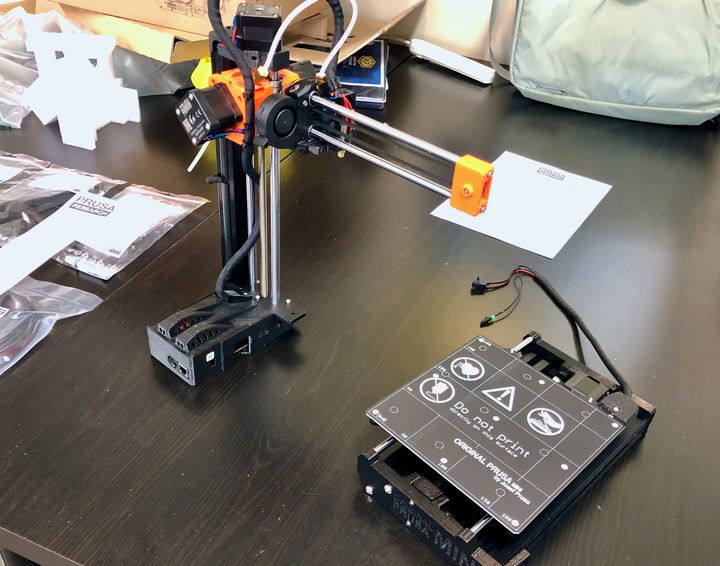
Your job is basically to join these two halves, the gantry and the Y-axis base, and then wire them up. My efforts to complete this took an hour, although a lot of that time was spent taking pictures, chatting, examining components, etc. I am pretty sure I could build another one in less than 10 minutes if asked.
Joining the two main parts together involves several bolts, some of which are a bit tricky to align, but not terrible to complete. Once the two halves are together and you’ve put the stick-on feet on the bottom, it’s quite a stable unit. It feels heavy somehow, even though it has a small size.
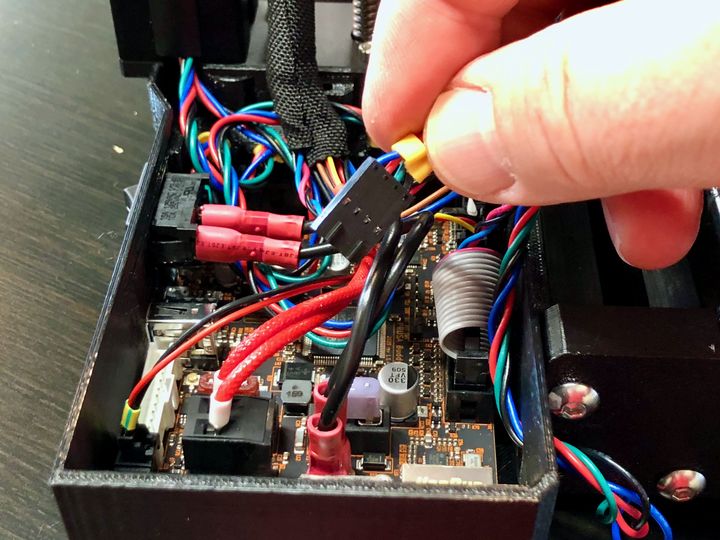
Once that’s done you’ll then hook up all the wiring. This involves feeding nicely-labeled cables through obvious portholes and plugging them in. There’s little danger of plugging a cable in backwards as the receptacles are keyed, and their locations are very clear, especially when using Prusa Research’s excellent step-by-step online assembly instructions.

Perhaps the worst part of the assembly process is building the spool holder, which is a bearing-equipped assembly that sits on a flat surface. While it does work quite well when completed, it’s tricky to build because the bolt holes are hard to access and everything is loose. Worse, the design has an adjustable width and you’d better have a spool handy to match the width.
Honestly, I would have preferred a simpler mechanism like a post to drop any size spool on, which is what many other desktop 3D printers use. However, I understand that the small size of the MINI and its lack of frame means these approaches may not work very well.

The bottom line here on assembly is that most people should not fear the assembly process; it’s about as easy as you can get, and Prusa Research helps immensely with incredibly easy-to-follow online instructions.
This is part one of a three-part series on the Prusa MINI 3D printer. Please read parts two and three.
Via Prusa Research