

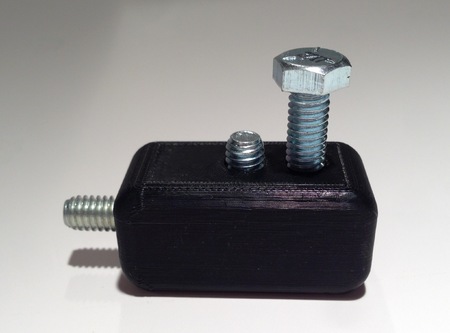
Courtesy of industrial designer David Bernhardt, we’ve been able to examine this example of embedding bolts. Actually, the piece demonstrates not one, but three different ways to put a bolt in your print.
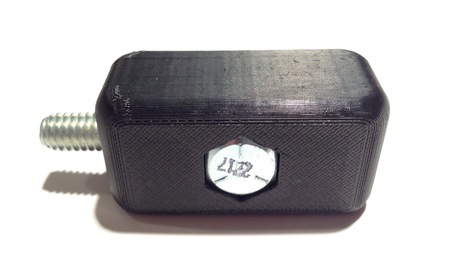
The first way is visually obvious – the head of the bolt is inside the print, while the shaft is free.
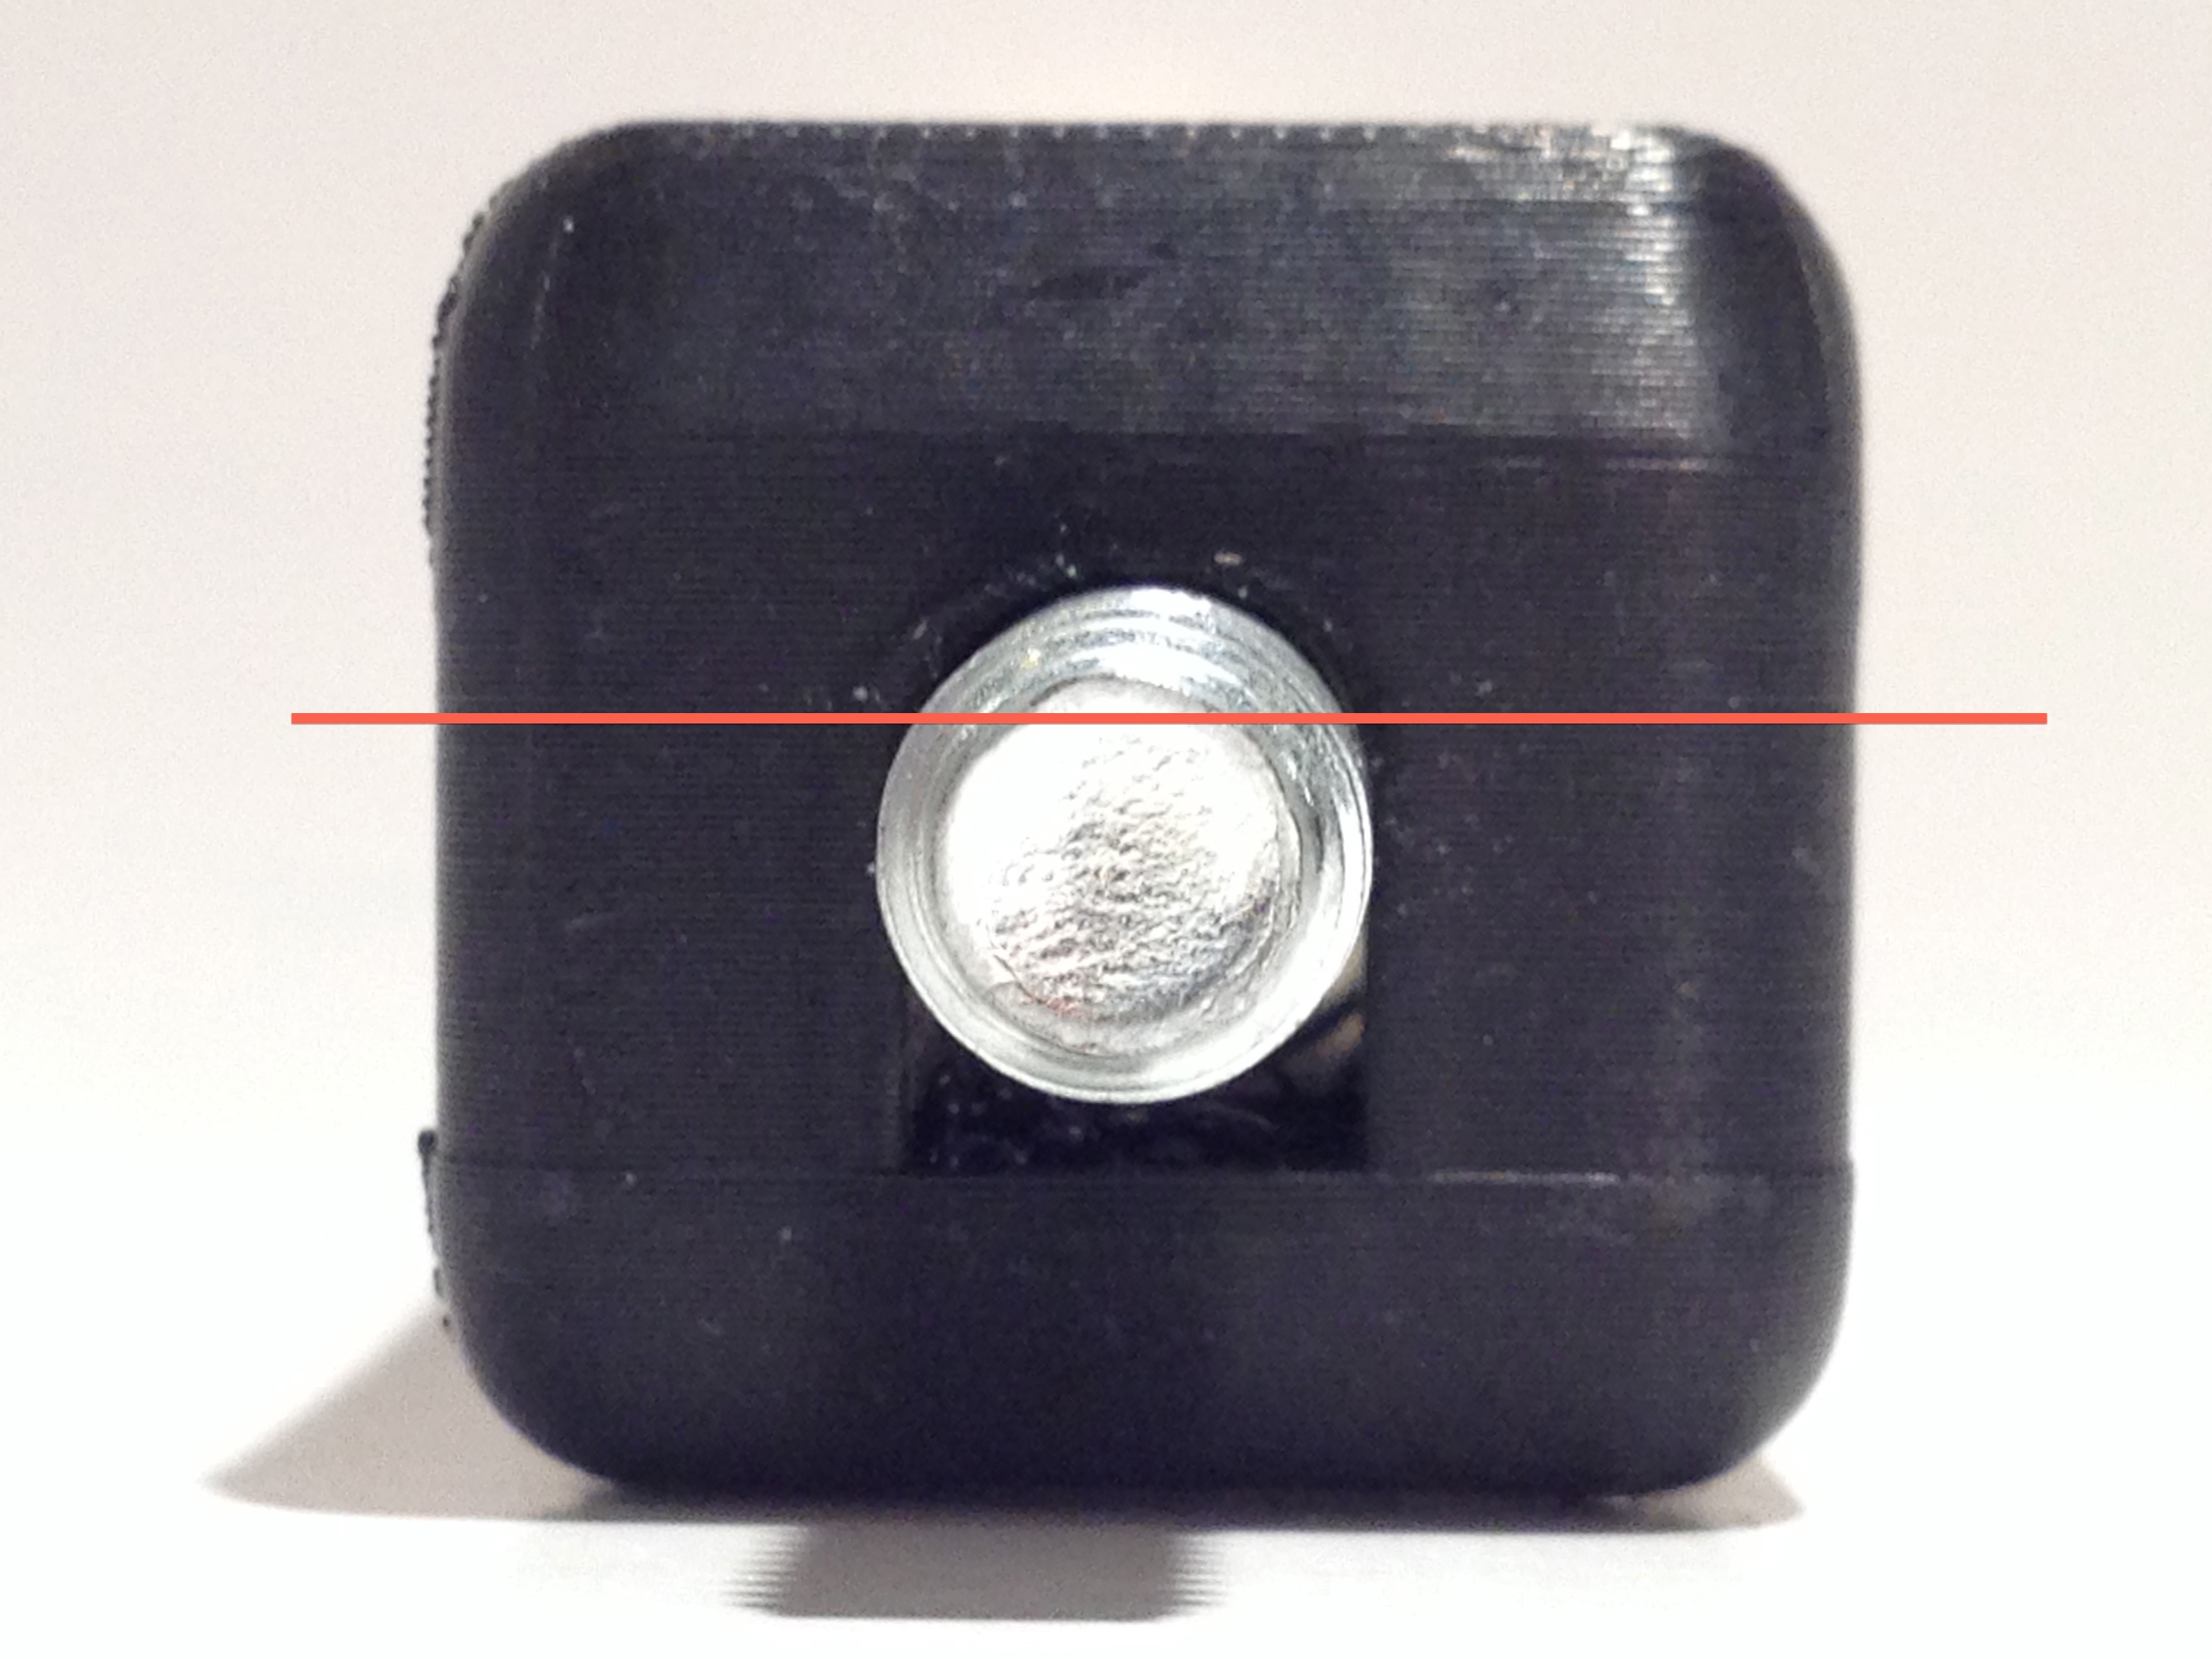
This is accomplished by pausing your print at the line indicated and dropping a bolt into a suitably-sized empty chamber within the print. Subsequent layers will seal it up. Your chamber’s design must include angled sides to catch the head snugly and we’d also recommend an arched roof for the chamber to reduce overhangs. Note that the bolt has shifted up into the arch after printing when the head fits into the angled chamber.
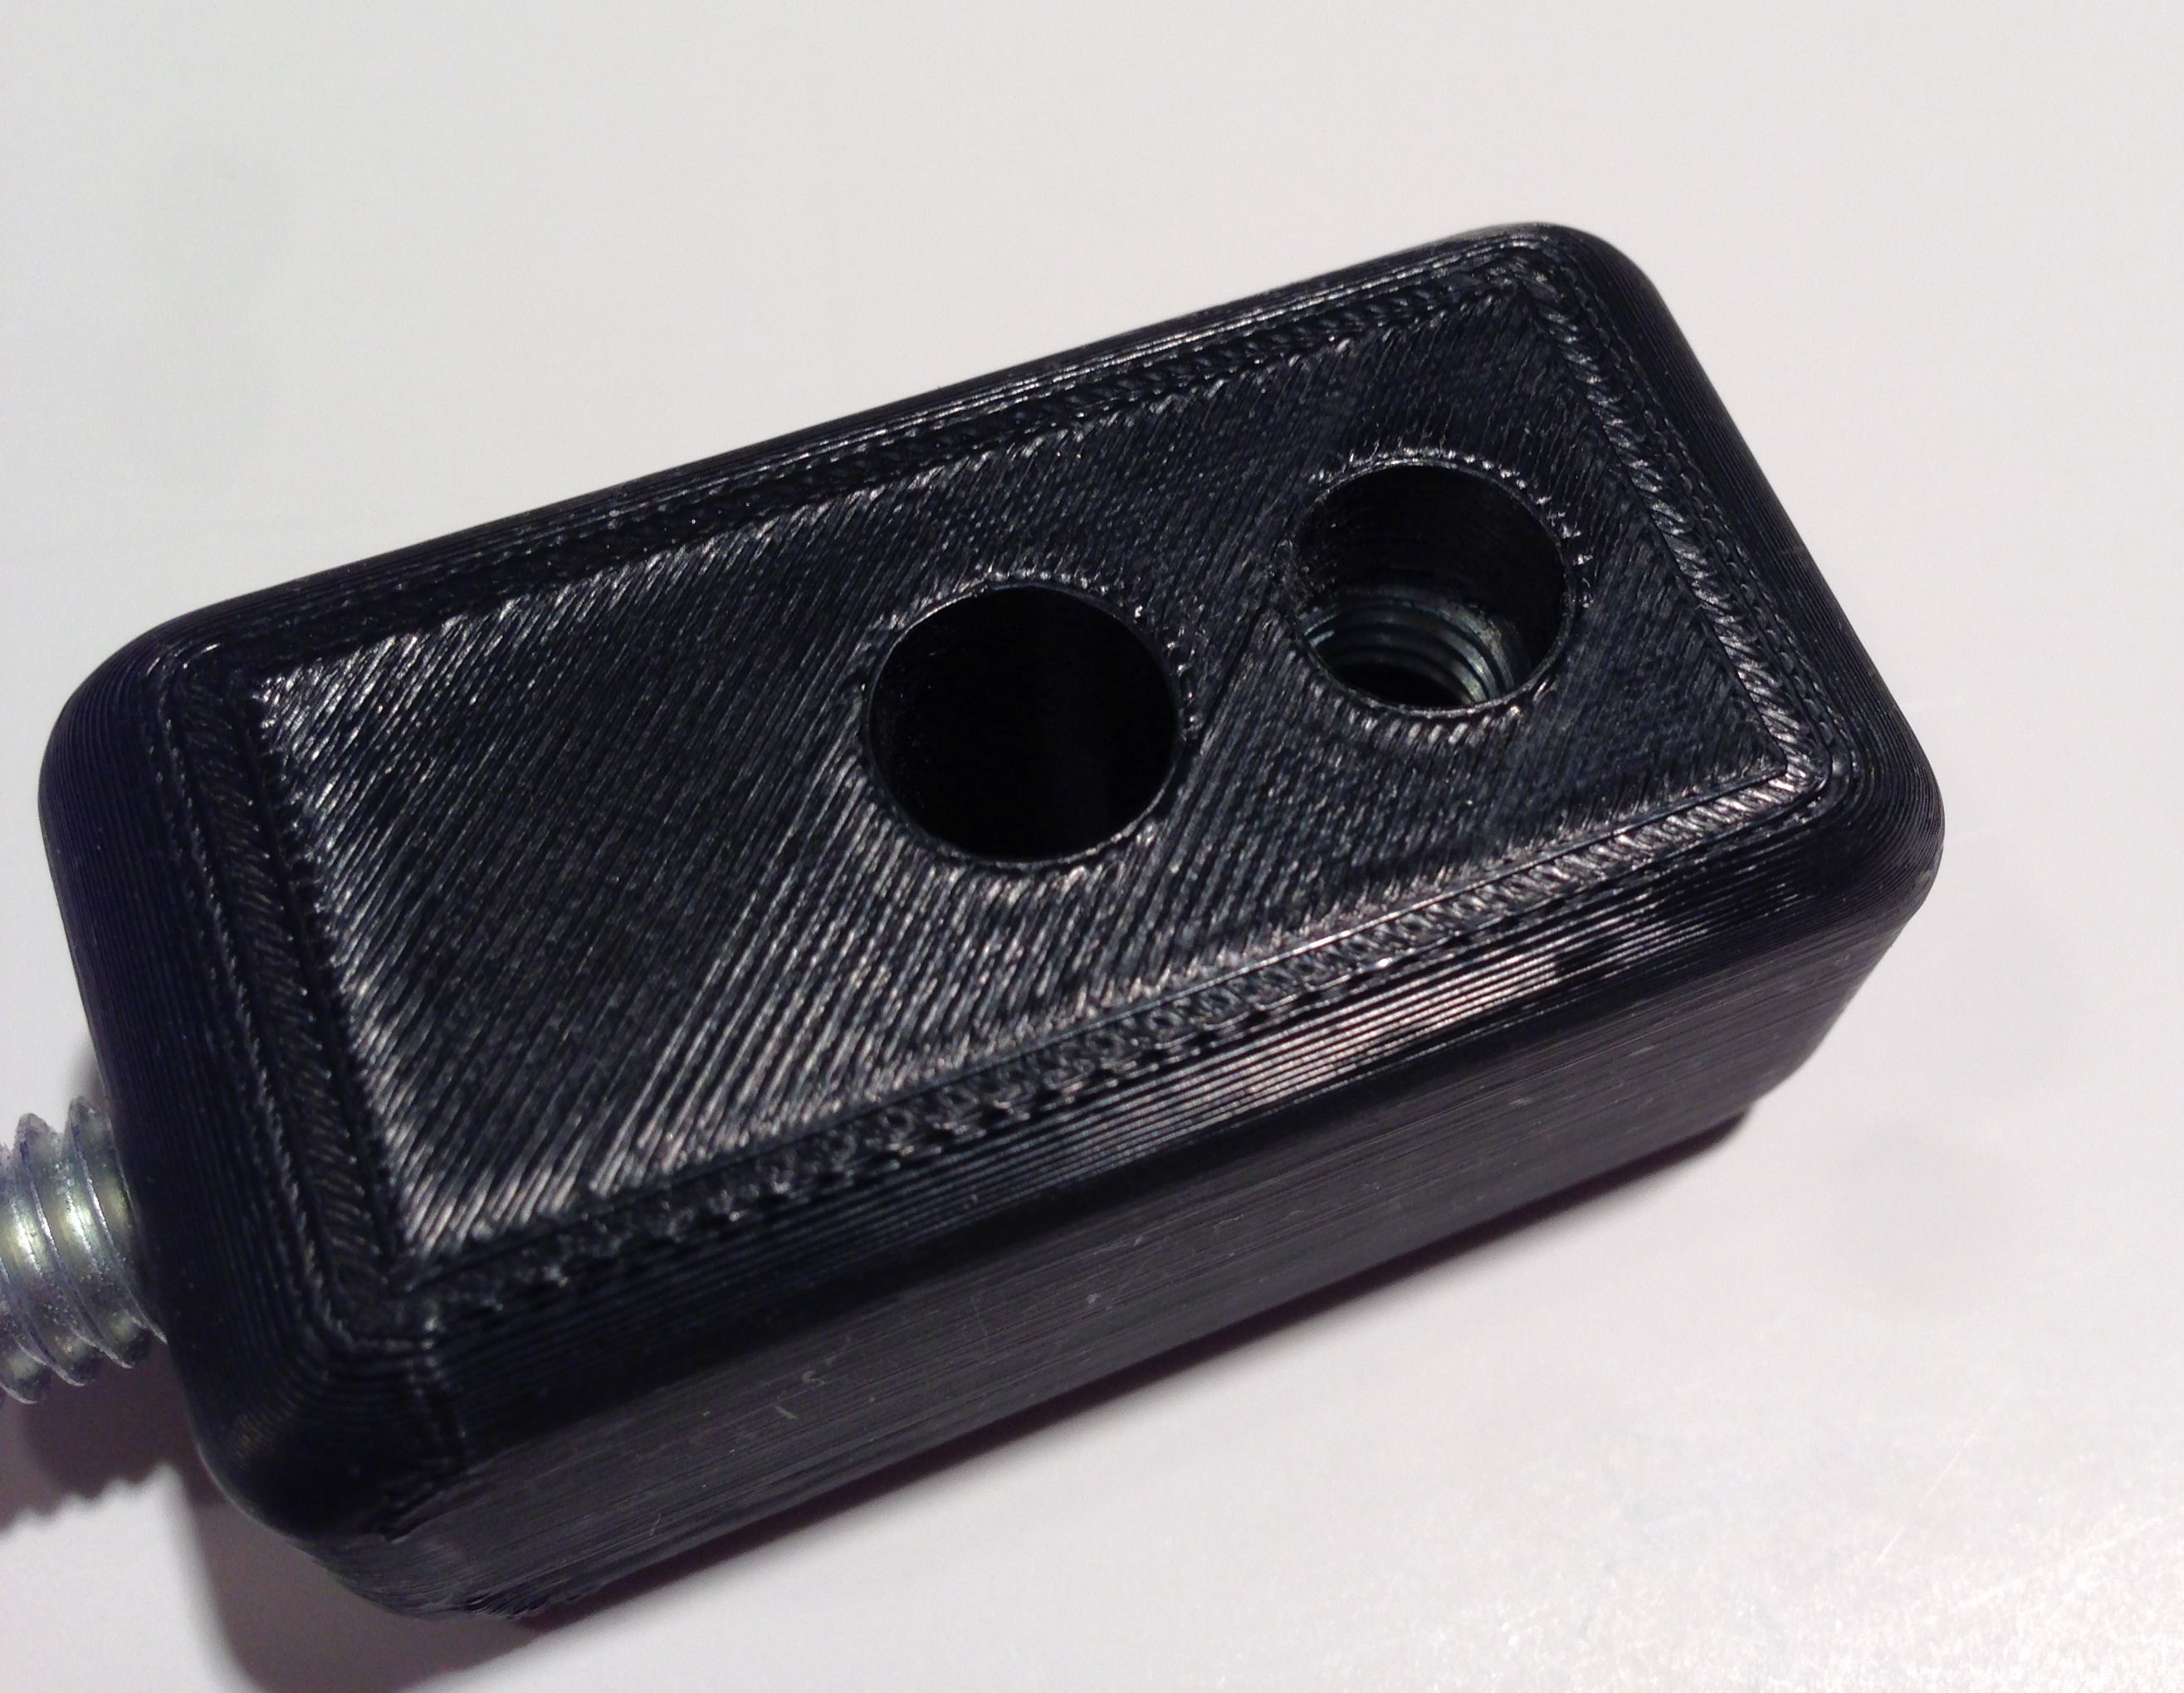
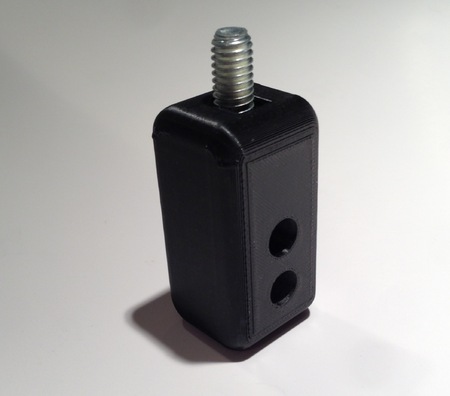
The second technique is to drop a nut in a chamber, as seen here on the right side if you look closely inside the hole. An interior chamber must be designed that again snugly fits the nut. You’ll pause the printing at a level below the roof of the chamber but above the height of the nut.
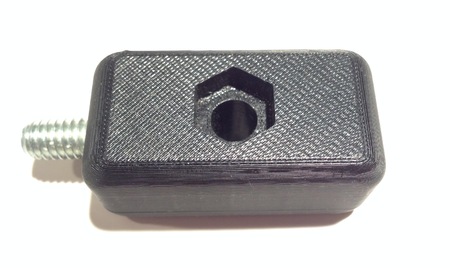
The third method is to carve a cylinder through the object, but leave a hexagonal space, again the size of the bolt’s head.
When you drop in a bolt, it fits snugly. This method requires no printer pausing.
Tip: if your 3D printer is not cooperative in showing when the right moment for pausing occurs, there’s a simple way to do it yourself.
At the required pause layer, add an extraneous extrusion to the side, where it will be quite visible when printing, but easily removed later. Watch the print proceed until you see the extraneous bits appear, then hit pause and perform the embedding.
Great tips!
rather than using "pause" (or adding a extraneous extrusions) I like more to split the design in two different STL.
Pros:
– No need for babysitting the print.
– No possible mess with the height for the pause command.
Cons:
– Your 2nd STL cannot require support and you must make sure that this feature is NOT enabled.
– Better avoid Skirt and initial extrusion to prime the extruder too.
– You may need to edit the the start of the gcode to ensure nothing crashes against the already printed 1st STL when zeroing to start printing the 2nd one(s).
Also to take in account:
– Depending on the material being extruded and the build platform surface, you may need to keep the build platform warm to ensure the 1st STL will not loose adherence when printing the 2nd.