
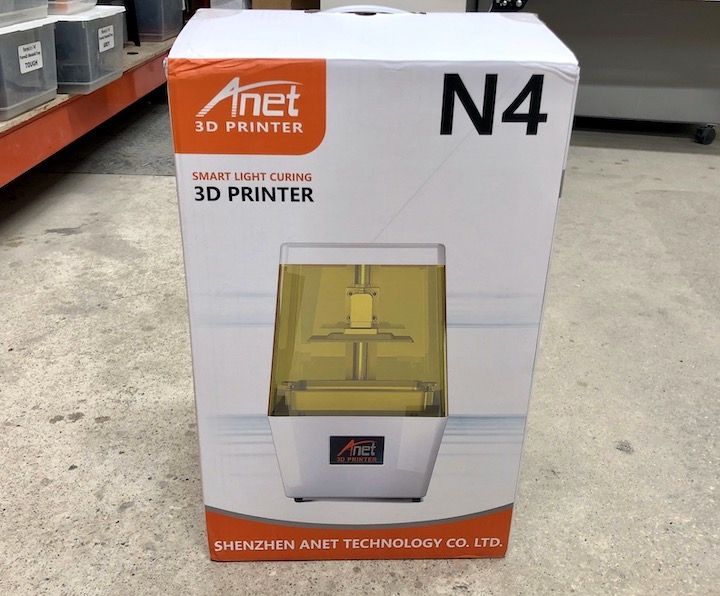
An ANET N4 showed up in our lab, so we thought we’d run it through some tests.
This is part one of a two-part story on the ANET N4 3D printer. Part two is here.
The ANET N4 is an LCD-Resin 3D printer that can produce high-resolution prints with greater detail than can typically be obtained from common filament-based devices. It uses a 2560 x 1440 pixel LCD screen to solidify photopolymer resin in layers as small as 0.03mm.
Unboxing The N4
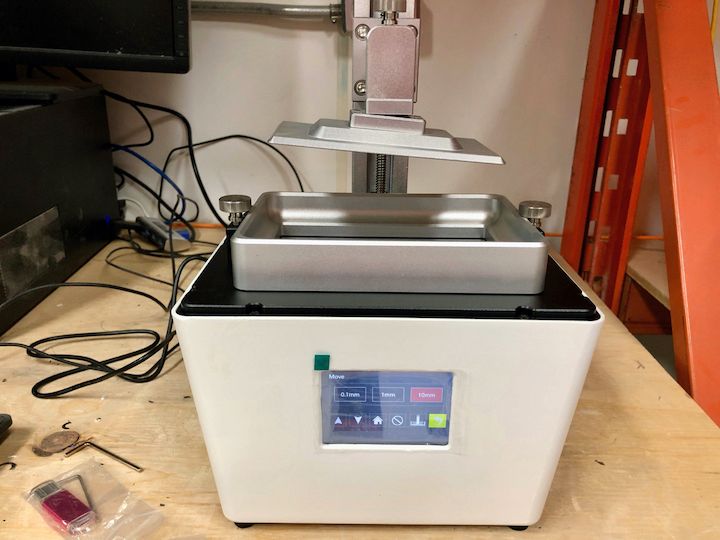
The ANET N4 is actually quite a small device. It measures only 380mm tall and weighs about 10kg. This is somewhat a function of the relatively small build volume of 120 x 65 x 138 mm, but that volume is quite typical for inexpensive resin-based 3D printers.
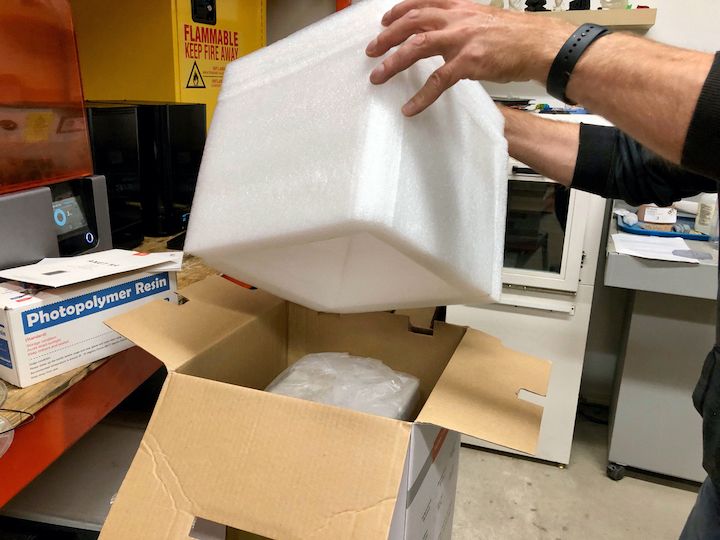
The device comes fully assembled, and there’s little to do other than remove the copious amounts of packing foam that keeps it secure during shipping — and plug it in.
There are some interesting bits included with the package:
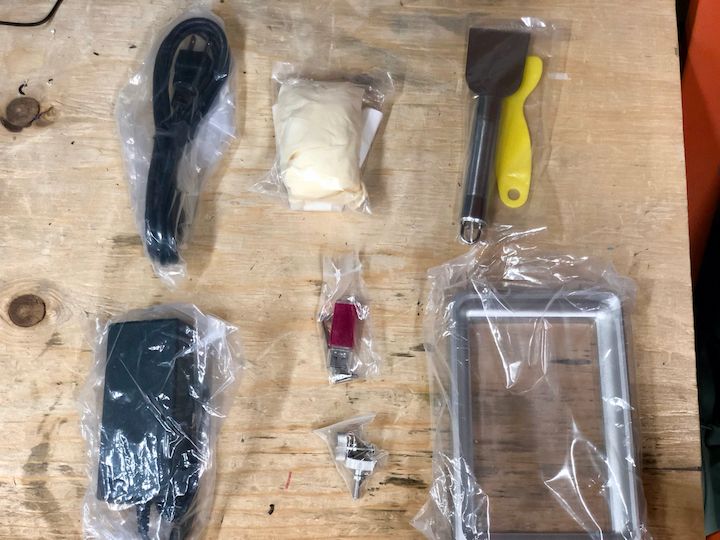
Here we see the entire slate of extras that come with the ANET N4, including two pairs of disposable gloves — you will need plenty more, and I strongly recommend buying a large package of them. There’s also two scrapers for removing prints from the plate. One is plastic; the other is metal. I used only the metal one as it seemed far more useful.
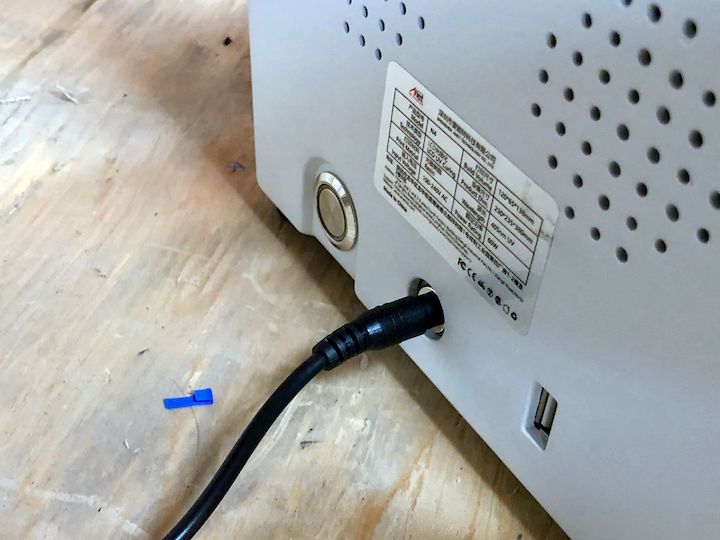
There’s a USB stick containing half a dozen pre-sliced files you can print, as well as a power supply and cable.
You’ll notice the resin vat at bottom right. This is where the resin lays during printing, and it includes a clear bottom sheet through which the LCD pixels will shine to solidify the photopolymer resin. It’s imperative to keep this plastic sheet clear and free of debris, as any stray bits will disturb the LCD light passing through that location, and therefore can corrupt the print.
The sheet will eventually wear out after many prints through a gradual degradation as it repeatedly peels freshly printed layers off of it during printing. However, ANET has very conveniently provided a set of replacements that you can install when necessary. During my printing I had no need for this, as I suspect you probably have to print a huge number of models and layers to wear it out.
Setting Up the ANET N4
Once you’ve ripped off all the foam, what is there to do before printing? Unlike many 3D printers that keep you busy for a while, there are only two things to do with the N4.
The first, and most important, is to level the print plate. The N4 uses an upside-down printing process, in which the plate gradually rises as layers are solidified. The printed models are upside down, as well.
But consider the very first layer: the print plate must be uniformly spaced from the transparent sheet at the bottom of the resin tank in order for all parts of the first layer to stick to the plate. This requires leveling.
Fortunately, the leveling process is ridiculously simple: you loosen a bolt holding the plate, which turns out to be on a swivel joint. The plate can then twist freely. Then, place a sheet of paper on the still-dry resin tank.
On the ANET N4’s control panel, you then invoke the leveling process, which slowly lowers the loose print plate to the bottom. When it hits the paper layer, the swivel joint automatically twists into a fully flat position — because it’s loose, remember? Then you simply tighten up the bolt and it’s ready to go.
In my testing I found I never needed to routinely re-do the leveling procedure, although I also did not remove the resin tank. I simply filled and re-filled the resin tank as prints proceeded. I suspect that if I were to remove the tank, for example to clean it when changing resins, I’d likely have to re-do the leveling. But it’s very easy to do nevertheless.
You will also have to re-level the build plate if you happen to drop it on the floor when moving it to the cleaning station after a print completes. Do not ask why I know this.
The second thing you need to do before printing is pretty easy: put some resin in the tank. This is done by simply pouring some carefully from a bottle. In my testing I used some Elegoo gray photopolymer resin.
I should point out that the N4 is actually an open materials machine. That is to say, it does not require any particular company’s resin, as do some other resin 3D printers. You are free to use literally any resin that solidifies when exposed to 405nm radiation, which is what the LCD panel does.
That’s important, because if you happen to attempt use of a resin that does not work with 405nm resin, no 3D printing will occur. Be very cautious when buying resins for this (or any) open materials resin 3D printer.
ANET N4 Printing
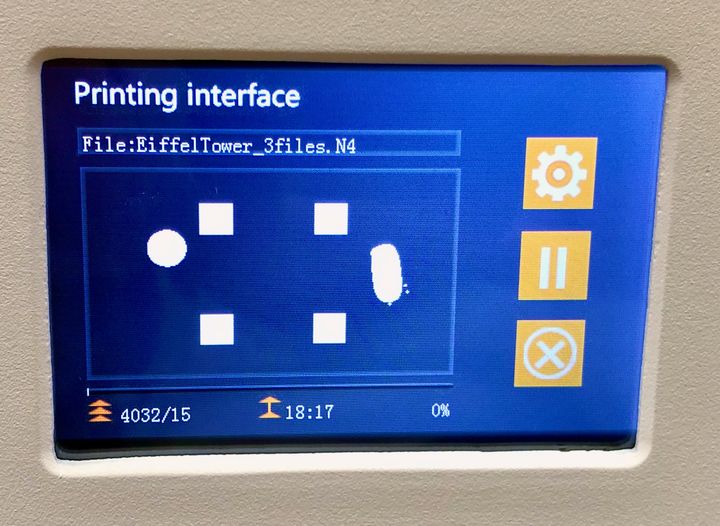
3D printing on the ANET N4 is very straightforward. On the color touchscreen are three prominent buttons, one of which is labelled “PRINT”. Upon striking that button you’ll get a list of files present on the USB stick (which you presumably plugged into the back of the machine). Touch one of the file names and then you can preview — although in a very tiny view — to ensure it’s the correct file, and then hit the check mark to get the print started.
Printing proceeds by the device lowering the plate deep into the liquid resin to rest at the bottom, where the first layer is solidified by illumination from the LCD panel. The first few layers are typically exposed for a longer duration to ensure they are strong and fully attached to the plate.
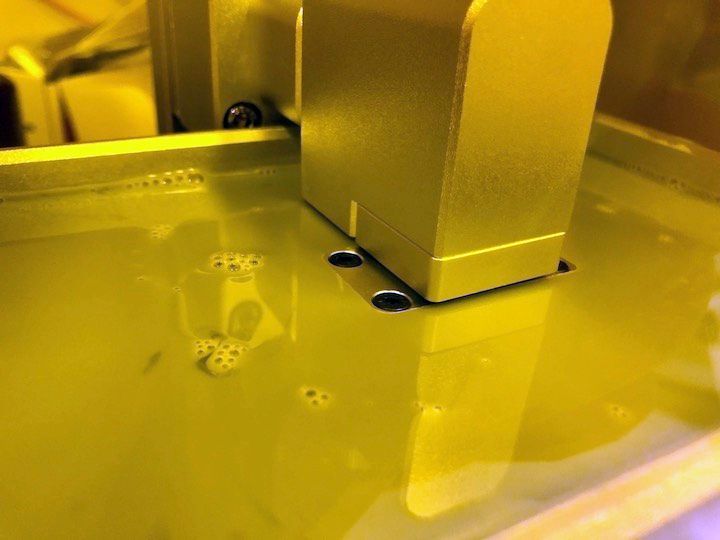
Unfortunately you cannot see the action for a while, as all activity takes place submerged in resin. Only when the print is large enough do you see some of it gradually emerge from the resin during printing. At job completion, the N4 will lift the print up for full view and removal.
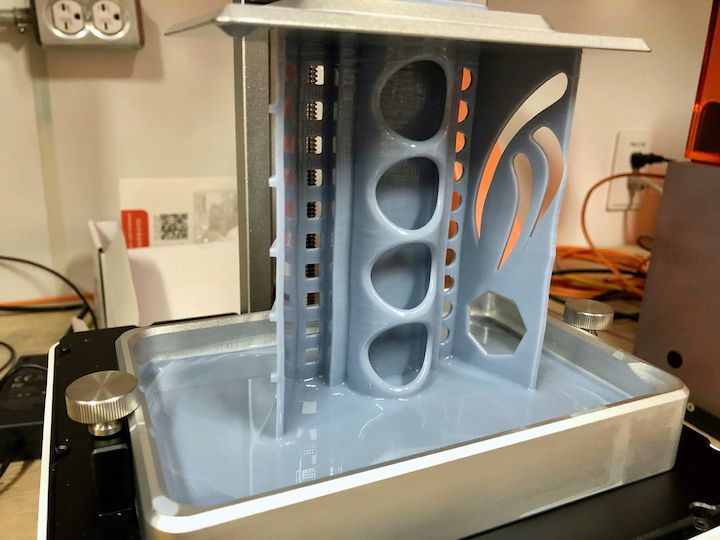
Subsequent layers are printed with the “normal” exposure and can be done much faster than the first few. Each layer’s illumination pattern is displayed on the screen as they occur:
The LCD panel offers an interesting advantage, and that is speed. The LCD panel illuminates ALL the pixels required for a full layer, all at once. This is quite different than a filament machine, for example, which must laboriously trace each and every solid part of each layer. Thus, the N4 can print pretty fast.
It’s also different from other resin 3D printers that use lasers. Like filament machines, these devices must trace each and every portion of the layer with the laser. LCD (or DLP) resin 3D printing is almost always faster.
The other effect is that the printing process speeds along independent of the model’s geometry. That’s because the entire layer is done all at the same time. The only factor determining the print duration is the number of layers to do. A laser-powered resin 3D printer would take longer to 3D print a complex layer, but in the N4’s LCD system each layer takes exactly the same time.
This is part one of a two-part story on the ANET N4 3D printer. Part two is here.
Via ANET