
![Testing the Einscan-SP 3D Scanner [Source: SolidSmack]](https://fabbaloo.com/wp-content/uploads/2020/05/image-asset_img_5eb09ab21fa1f.jpg)
We seasoned digital craftspeople can take an idea from a digital model to a physical concept with lightning speed.
Unfortunately, that process seems preferred over starting with a physical part to create a digital part.
For example, when I get an existing item, already designed with complex molded shapes, that I want to add to my 3D assembly, I can crudely and laboriously try to reverse engineer it–tracing curves, making guesses, and using a complex trial and error duplicating system.
But you know what? It feels harder to replicate a shape than it was for the designer to create it initially. So, designers give up and model a basic chunk that approximates the actual item.
However, having an accurate model allows your design to conform to the item as something created to look and function as purpose built. The rougher the model, the more “buffer” space is needed around it for all the potential unknown interferences with connections and access points. So, we plunk the item in a bunch of wasted space, and it looks about as intentional as a child’s soccer trophy fashioned into the hood ornament of a Honda Odyssey with hot glue. Woe is us.
How to solve this woe? And turn it into a Whoa!? I heard tales of an affordable 3D scanner that was getting really good reviews.
Shhhhhhhushing 3D
I listened softly to the whispers in the wind.
Einssssssssscan
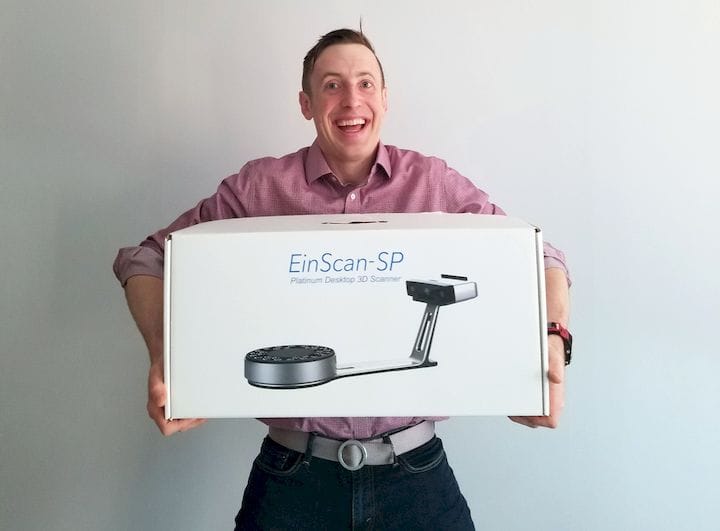
I decided to leverage my influencer status and email Shining 3D, creator of the EinScan-SP 3D Scanner, to see if they would lend me a unit to experiment with. “My name is Dan Slaski with SolidSmack and I’m interested in doing a review…” translation “gimme gimme gimme”. And they did!
The Einscan SP by Shining 3D
The Basics: The EinScan-SP 3D scanner uses a foundational technology called structured-light to help capture the object. There are other foundational technologies behind commercially available scanners but, as FDM is to 3D printers, structured-light is the primary workhorse for 3D scanner technology.
Basically, sequenced light beams are projected on the object being scanned (the “scanee”) which reflects back to two fixed cameras. Inside the cameras are fairies (actually, math and algorithms). Fairies, being creatures of light, can interpret the distances to points on the object. You get the idea.
There are inherent limitations to scanning shiny, transparent, or dark surfaces as the projected light gets reflected, absorbed, or transmitted away from the cameras. Additionally, for a surface section to be captured the cameras must be able to “see” the section. If a surface is blocked by another surface relative to the cameras it won’t get picked up on that “snap”.
The blocked surface (or surfaces) are in the shadow of the surface in the forefront. The approach for creating a complete scan is to take many individual view scans (snaps) and combine them. This is the approach both for scanning completely around an object and for getting behind blocked views.
This is where the provided turntable comes in super handy for automating the scanning process. The turntable’s rotation increments can be set from 8 to 160. More detailed objects with more nooks and crannies require more increments, take more time, and increase the file size.
Imagine you are trying to get a full view of something larger than yourself, like a car. You would walk around the car and take a bunch of mental snapshots to form an overall mental picture of the vehicle. At auto shows they save you the effort and put the car on a rotating platform.
The EinScan’s ability to automagically recognize features and overlap the snaps is impressive and where it really “shines”. I found it to work almost flawlessly, and when it didn’t, a recalibration solved the issue.
Some objects simply aren’t well suited for scanning because of their geometry, such as objects with long, skinny holes or curve wells, narrow caverns, and items with a cage-like external structure or mesh structures. If you can’t get a good view of a surface with the human eye or every view is largely obstructed it probably won’t come out well. Tubas, slinkies, live porcupines, Moroccan lanterns, crazy straws, the souless gaze of a cat, and chainmail will prove difficult to scan fully.
EinScan Pro Tip #1:
No light, better scan: If the EinScan was a classic monster it would be Dracula. It has a sleek and ethereal turntable stand, velvet calibration pouch, and it hates the light!!! It’s true, for the best scan results, minimize exposure to ambient light. Perform scans in a dark environment like a windowless room with lights off or use a light blocking cover.
Unboxing and First Impressions
The EinScan-SP comes in a sharp looking box with custom inserts. Some people say, “don’t judge a book by its cover” and to that I say, “how you do anything is how you do everything.”
Expertise and resources were put into the packaging and design, and it shows. It looks like a very respectable consumer product. Why is this important? Because often new technology products are really science projects where the mechanics were designed by electrical engineers (or worse, software engineers) and time runs out and things get thrown in boxes.
The scanner/turntable setup is boringly straightforward. A power cable and a USB cable connects to the computer and an additional USB cable connects the scan head to the turntable when in use–No tools (or really instructions) required.
It is worth noting that this is the second generation of this product line and a significant update with a strong focus on streamlining the physical design and usability. Additional items such as a USB drive, small tripod, stickers, and calibration square are also provided. If you aren’t a Luddite, you will be up and running in minutes.
![The EinScan-SP 3D scanner in all of its understated glory. [Source: SolidSmack]](https://fabbaloo.com/wp-content/uploads/2020/05/einscan-sp-3D-scanner-02_result_img_5eb09ab286ed5.jpg)
Get Installin’
First, install the EinScan-SP software from the provide USB or the EinScan webpage. It requires a powerful computer to handle all the point clouds and meshing. My computer has an Intel i5-7440HQ and 2.80Ghz and worked hunky-dory.
Items & Recommended PC Config
-
Operating System Windows 7, 8, 10 (64-bit)
-
Ports 1x USB 2.0/3.0 minimum
-
RAM 16 GB minimum
-
Graphics Card NVIDIA GTX-series or better
-
Graphics Card Memory 2 GB minimum
-
CPU Intel® Core™ or better
Get Calibratin’
Set the calibration board in the stand, on the turntable, and center it visually on your screen in the patterned orientation indicated by the software.
The calibration board does a pirouette on the turntable and the software does its thing, notifying you when it’s complete. Rotate the board counterclockwise 90 degrees and repeat. One more time, et voila, calibration complete. I followed the instructions but wasn’t particularly deliberate or careful, and always passed with flying colors.
Read the rest at SolidSmack


![I Made a Sweet Multi-Material Ninja Star With One Machine [Snapmaker 3-in-1 Review]](https://fabbaloo.com/wp-content/uploads/2020/05/snapmaker-review_img_5eb09ab46ea6c.jpg)


