
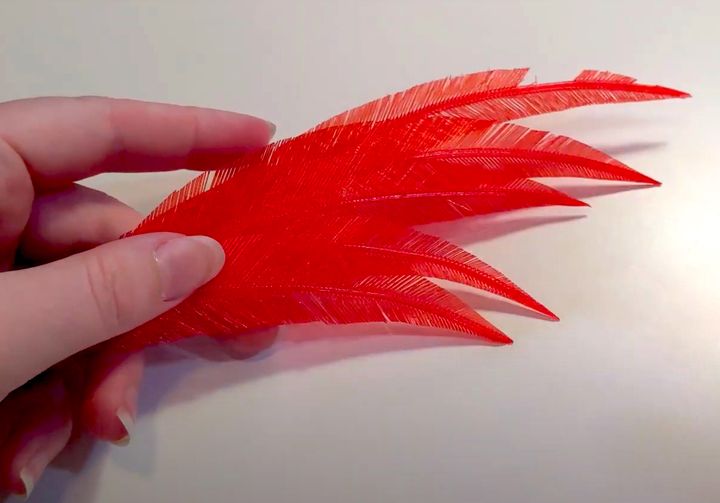
Want to 3D print feathers that actually look, feel and act life feathers? Read on!
Maker Billie Ruben has published a video showing an extremely interesting technique for producing these lifelike feathers on any FFF 3D printer. The technique is completely ingenious, and not obvious until Ruben walks you through the process.

Ruben’s begins by simply designing a basic “solid” feature design. Ruben used Autodesk Fusion 360 for this step, although you could use any similar 3D CAD system to do so.
[ASIDE: By the way, if you’re considering using getting into Autodesk Fusion 360, we’d really appreciate if you signed up using our link.]
The solid feather is similar to what you’d commonly see in 3D model repositories as something masquerading as a feather. But the secret to feather-transformation isn’t in the 3D modeling, but is instead in the slicing step. Rubens walks us through some Cura-fu that is quite amazing.
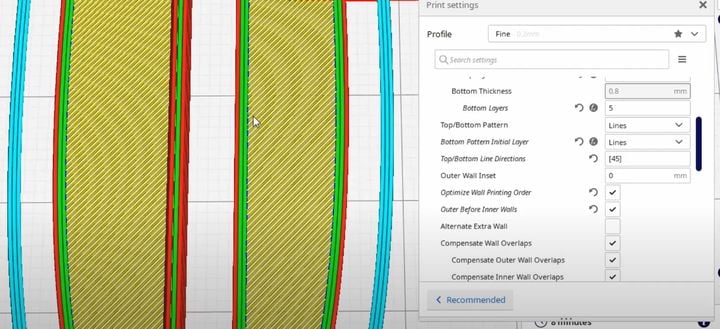
Basically her approach is to persuade the 3D printer to literally 3D print each barb on the two feature vanes individually, yet using the “solid” feather 3D model.
She tweaks the extrusion flow rates for the vane, and this is how the otherwise solid extrusion lines become thinner, separate feather barbs. The process is repeated on the other vane, but ensuring that the extrusion lines are in the appropriate direction. By overlaying the two vanes, a complete feather is created.
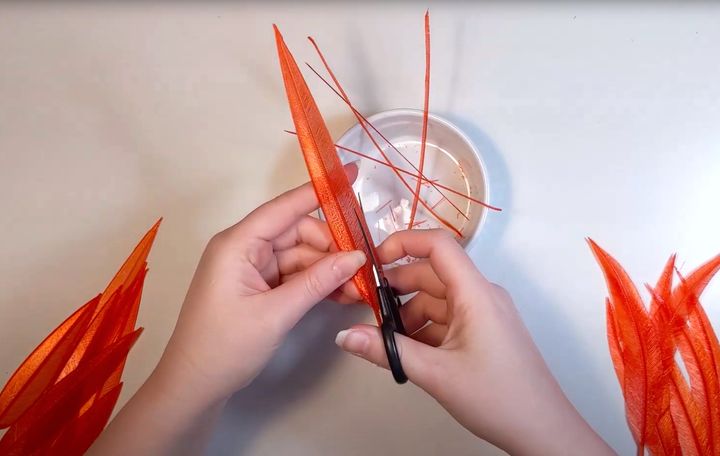
After 3D printing there is one manual step left, and that is to cut off the perimeter extrusion. This leaves the feather barbs free, just like they are on real feathers.
There’s a lot to learn in this video, which is only four minutes long. It will certainly open your eyes to the possibilities of making using only slicing settings.
We must always remember that 3D printing is a long process involving a series of steps. Only when these steps are chained together do we actually achieve our result. My point here is that each step is part of the making process and should be treated as such. Ruben provides an outstanding example of how to achieve a result by fiddling with a step in ways that are highly unusual.
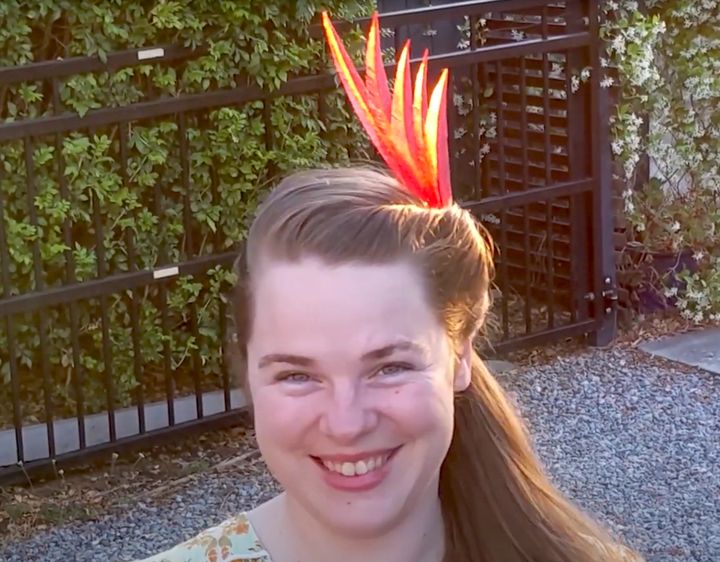
If you like this project, you might check out some of Ruben’s other work. The expert maker produces a series of videos explaining her projects and you might learn some new tricks.
Via YouTube