
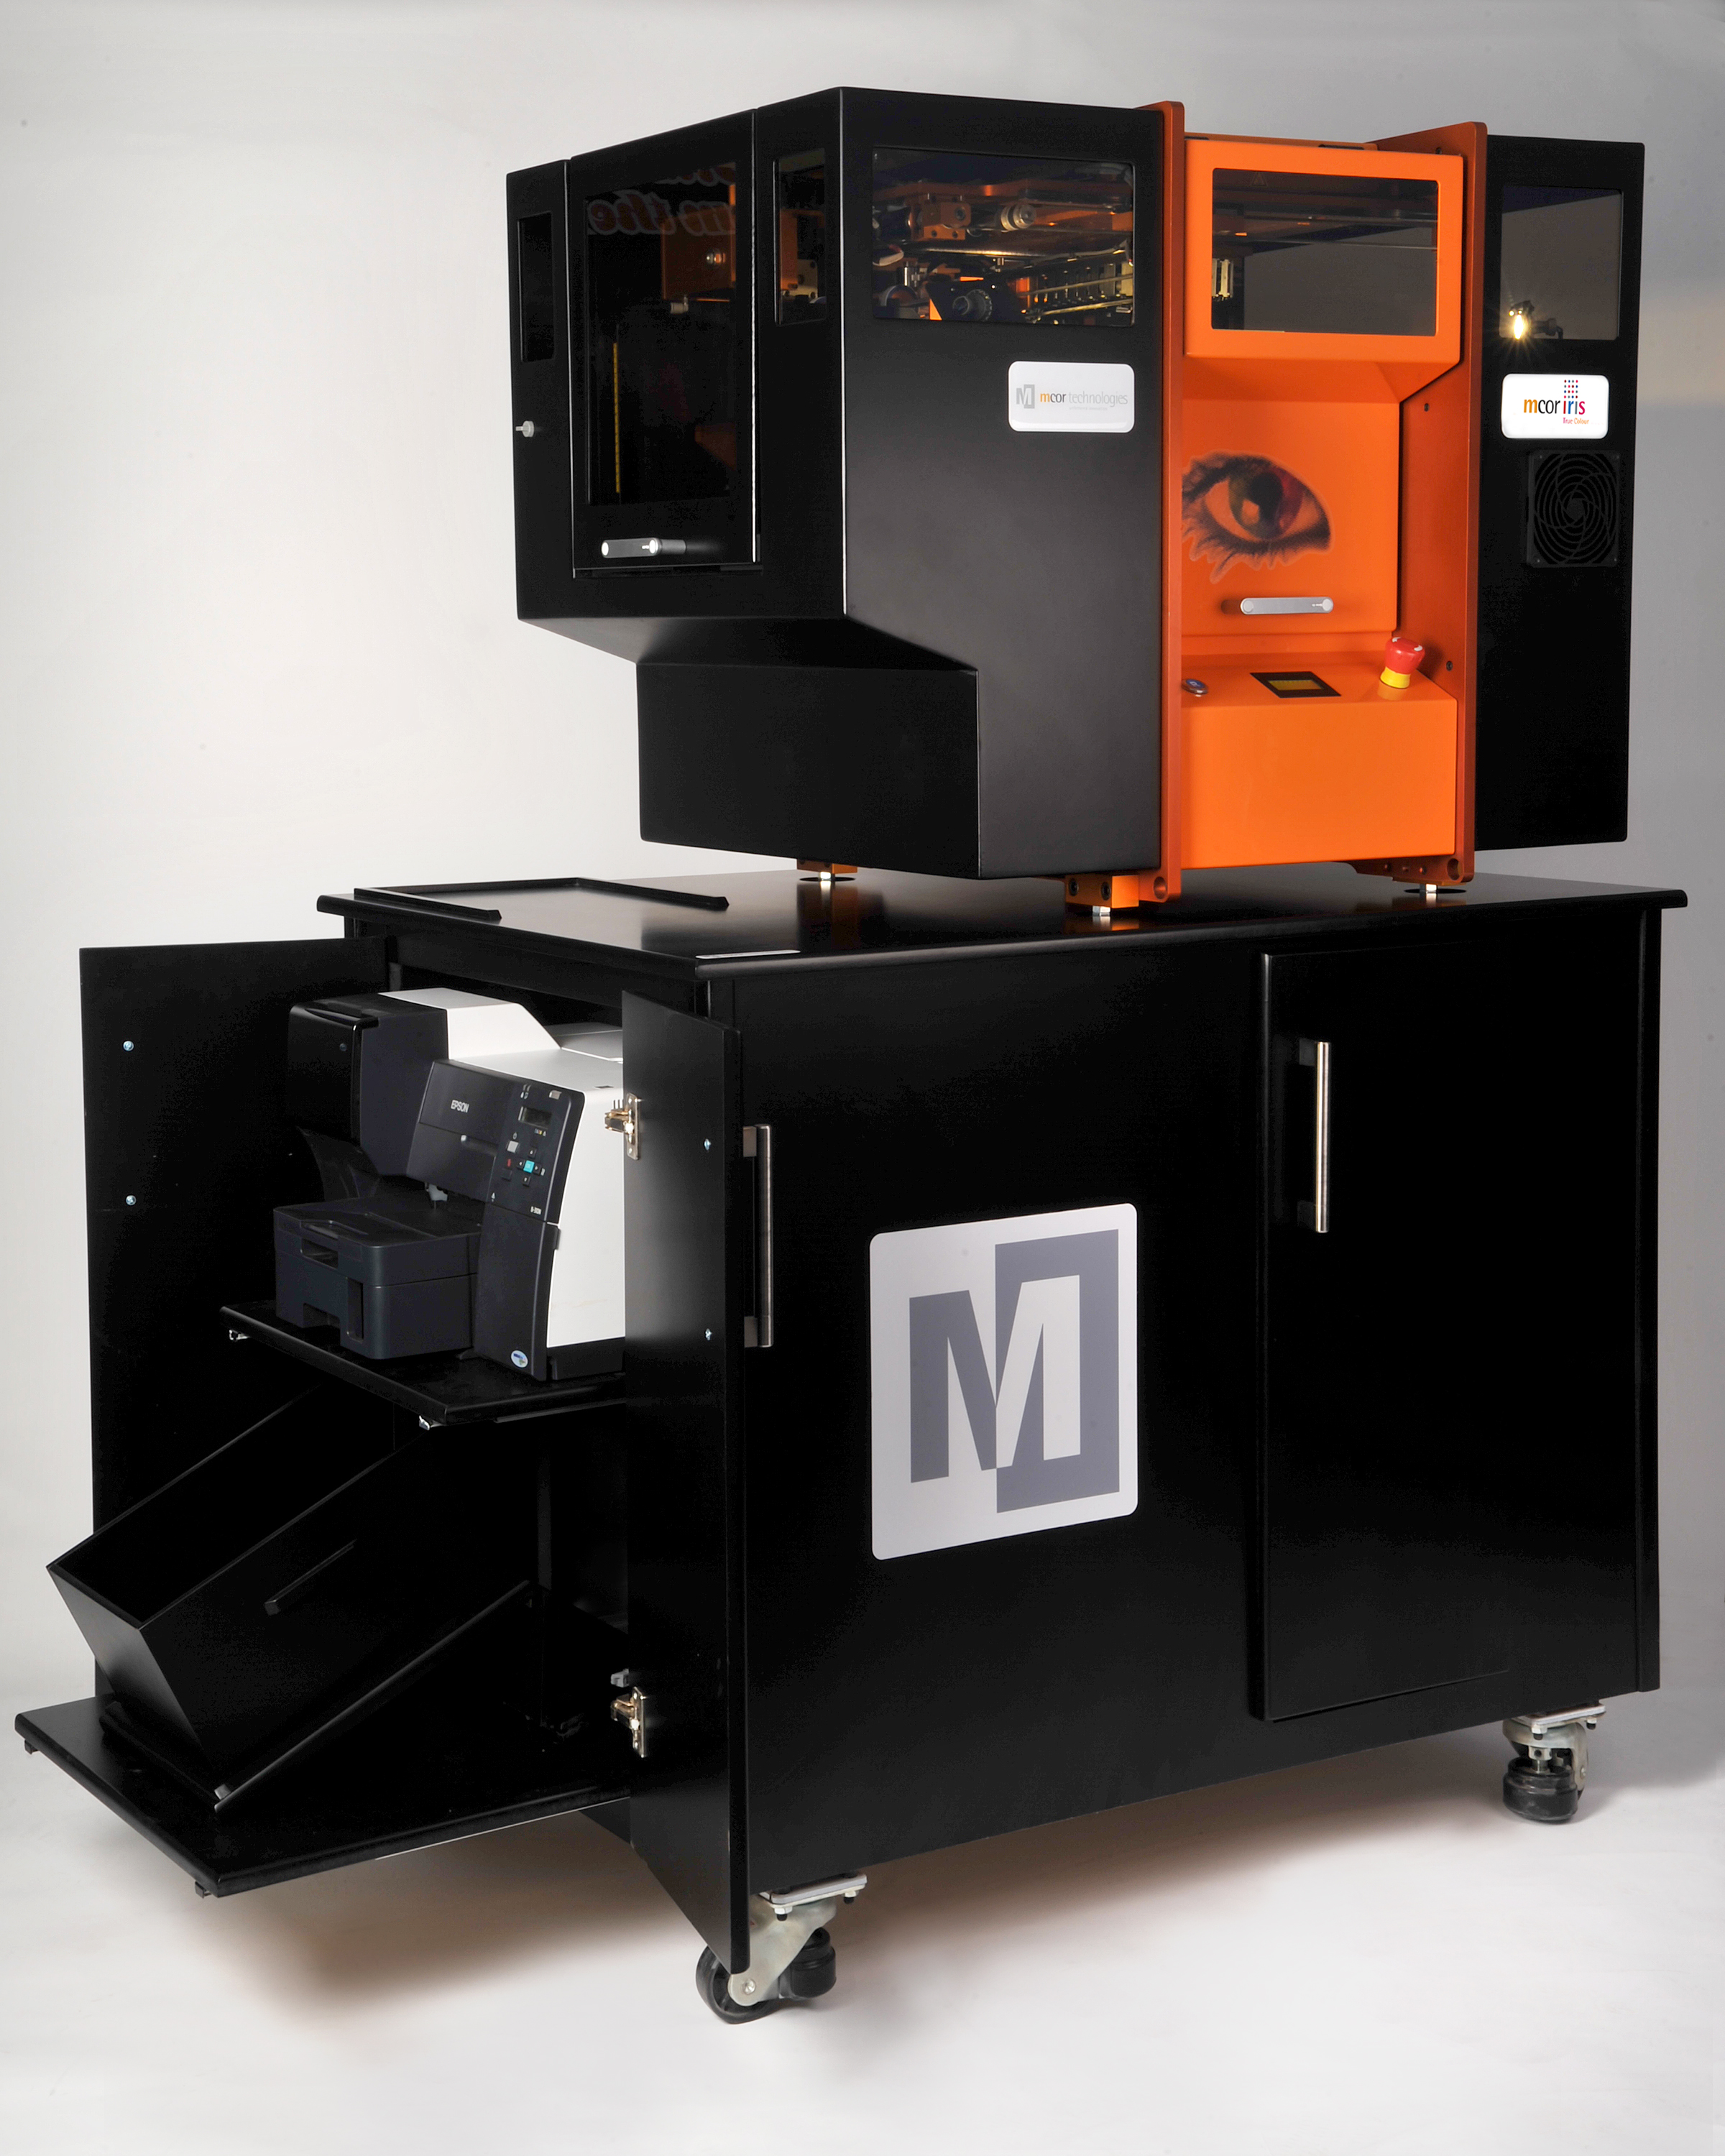

At Euromold 2012 we managed to get deep inside the Mcor IRIS color 3D paper printer. This device uses standard paper as it’s build material. Each layer (or page in this case) is formed by cutting the outline of each page appropriately. That’s perfectly understandable, but how do they print in color?
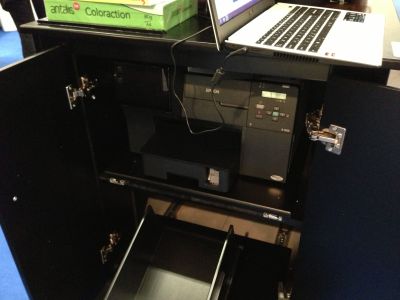
The answer is flabbergastingly simple. The IRIS sits on a table, but in a secret compartment underneath there’s a standard Epson 2D color inkjet.
The inkjet pre-prints color onto a stack of pages. Only a thin outline of color is printed on each page, corresponding to the outer skin of the object. The pages are printed duplex (both sides), with special ink designed to soak into the page, so you won’t see “white” page edges on your object.
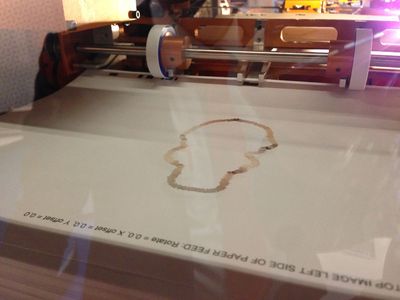
The pages for the entire object are pre-printed and collected in a large stack. Then this massive sheaf of paper is inserted into the 3D printer, which then pulls out its blade and goes to town.
But wait, you ask, “what if the pages are mixed up/missing/etc.?” We wondered that too and found that not only are the colors pre-printed, but a special bar code also appears on each page. The 3D printer verifies the correct page is in sequence for each layer. If not, it stops for you to print a replacement.

The results are startlingly good. This 3D printed skull looks almost real.
This is the print quality everyone will be able to access when Mcor’s deal with Staples enables 3D printing from copy centers.