

SolidSmack details a terrifically simple solution to apply overmolds to your 3D prints.
What’s an overmold? It’s a technique used in injection molding, where a secondary material is placed on the inside of the mold before the primary material is injected. Overmolding can produce an object with a rubbery surface, for example.
This is difficult to achieve with personal 3D printing equipment. While you could potentially print flexible parts and assemble them, it’s not necessarily easy to do.
SolidSmack reports on an very simple alternative approach using Sugru. Sugru is a fascinating substance that is quite malleable until exposed to air, when it becomes solid, but still flexible. We’ve seen it 3D printed and also applied manually to objects.
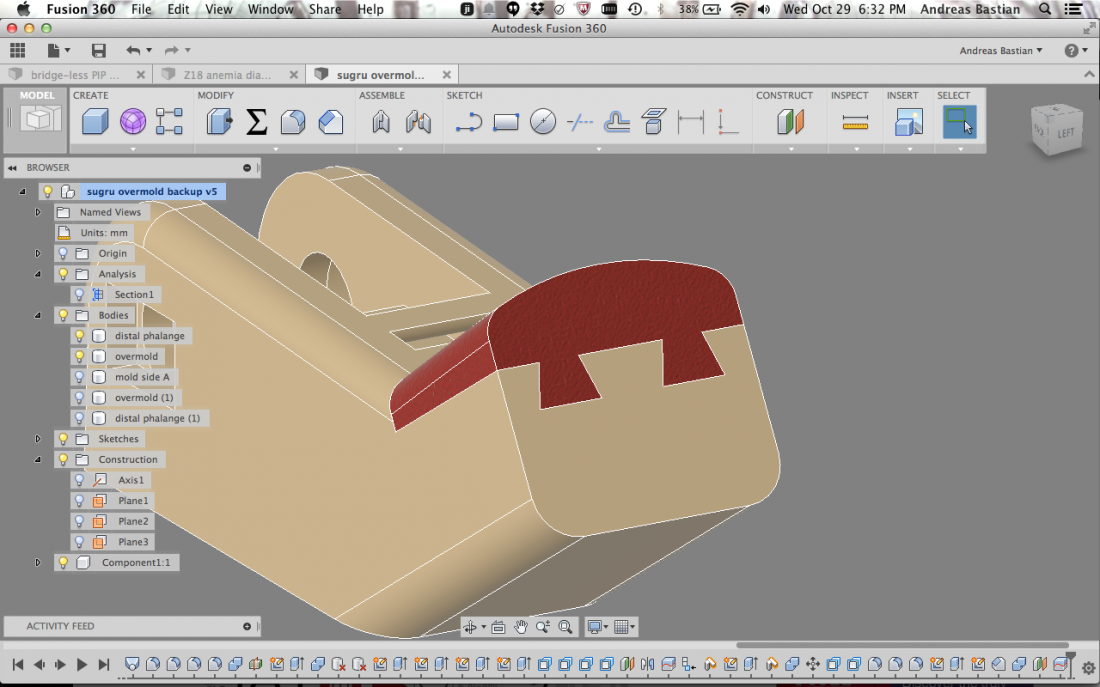
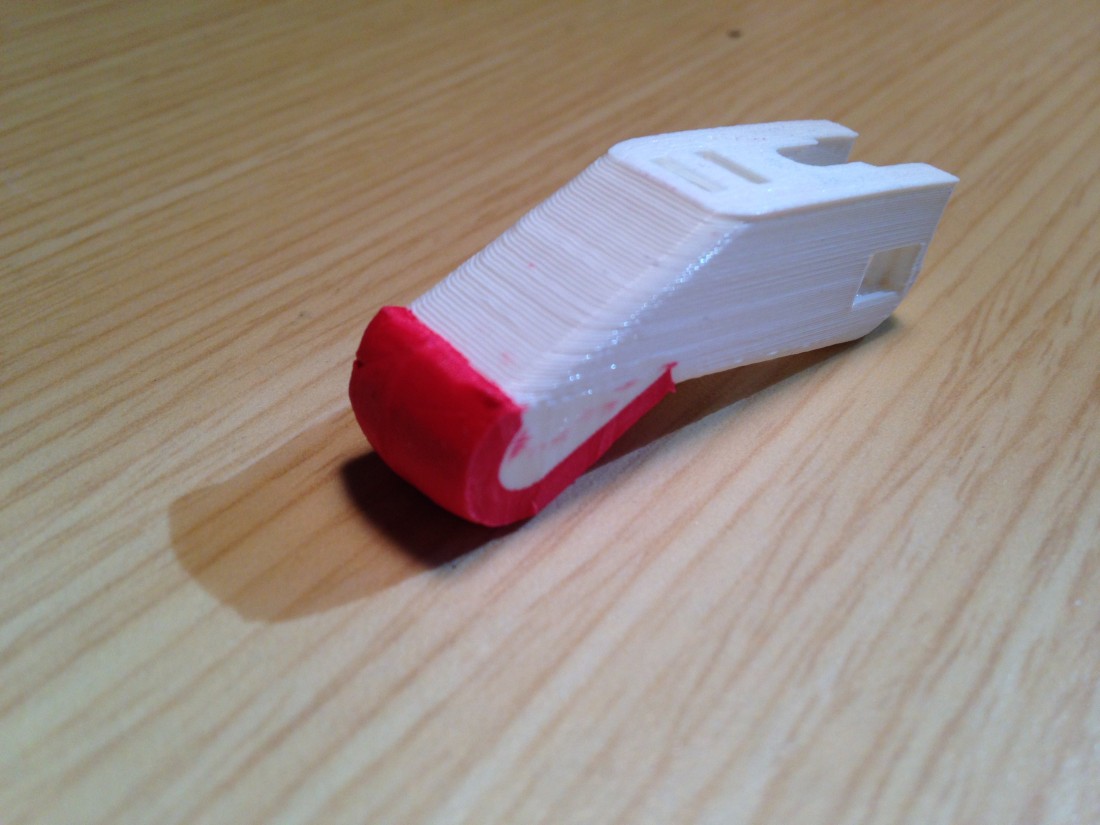
The process is relatively straightforward, but requires some design and extra 3D printing. First, you design your part with a separate component to become the overmold. Here we see an overmold functioning as a grip. Note the dovetail feature that ensures the overmold will adhere to the rest of the assembly.
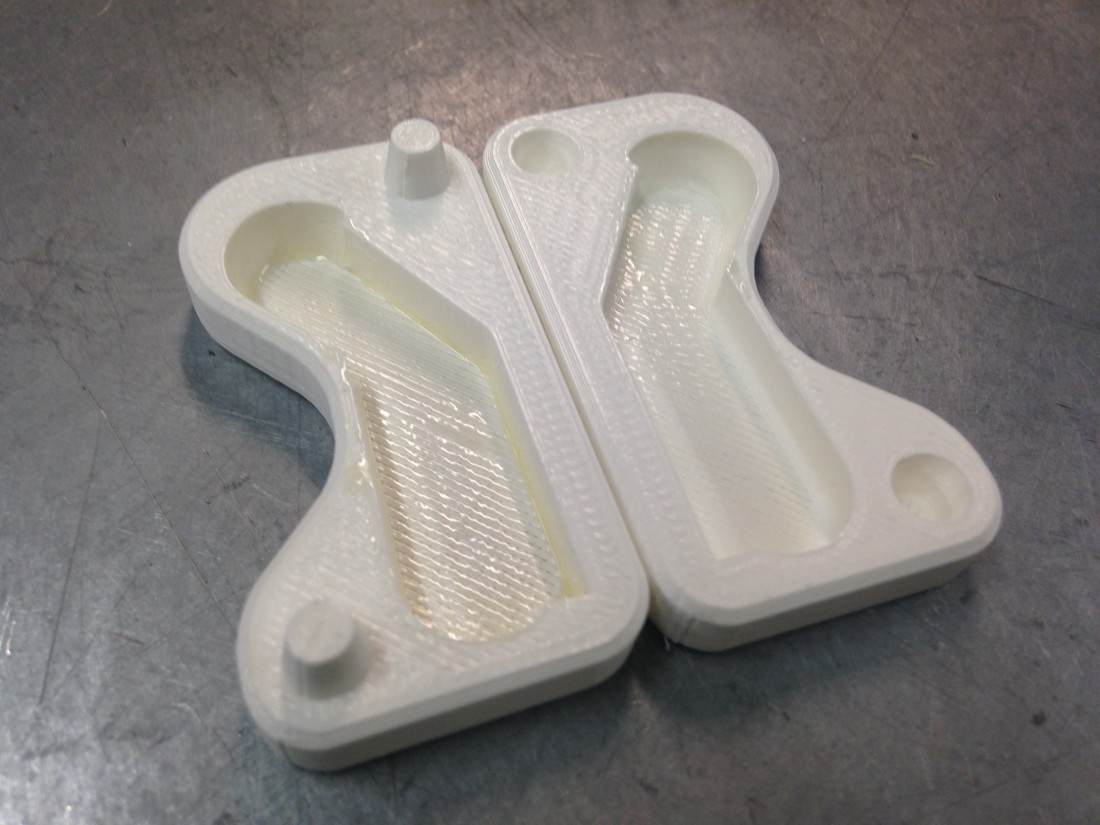
The overmold component is used to create a negative mold structure, which is 3D printed here in two sections.
Sugru packets are opened and squished into the “overmold mold” to await solidification. Once cured, the Sugru component can be released from the mold and inserted into the main assembly.
We often forget that 3D printing is merely a type of making and that there are plenty of other making techniques and processes that can be combined with 3D printing to achieve more complex designs.
Via SolidSmack