

We’ve been experimenting with some of MeshMixer’s lesser-known but highly powerful capabilities to create a hidden internal mesh for solid models.
Inspired by a post from Sculpteo describing how to optimize 3D models for the most efficient and effective printing on powder and resin-based 3D printers, we attempted one step in their workflow: creating an internal mesh.
Normally when printing with extruded plastic, an inner mesh is easily created by most slicing programs when preparing to 3D print. This way 3D prints can avoid the cost of printing objects in an entirely solid manner, which can substantially reduce the cost of material.
That option is not really available when printing with resin or powder, because excess material will be locked into the model during printing. In other words, you really can print only solid items! There are some ways to make a model hollow in some slicing programs, but what if you require something “solid” but also “strong”, where “hollow” really doesn’t work?
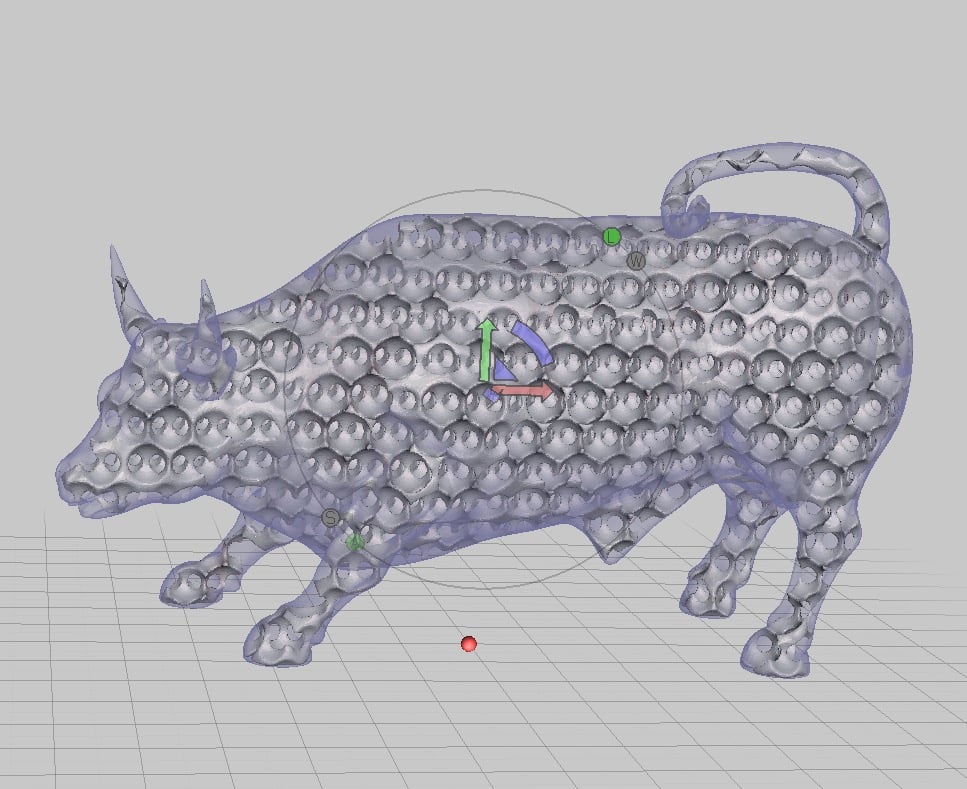
This is where MeshMixer’s powerful “Make Pattern” feature can help. Essentially, it allows you to automatically generate a series of repeated shapes overlaying the 3D model. You can either add them to the model, or subtract them.
By subtracting shapes, you can generate a hidden internal pattern that can permit extraneous material (resin or powder) to leak out, potentially substantially reducing the cost of the print, which is usually directly proportional to the amount of material used.
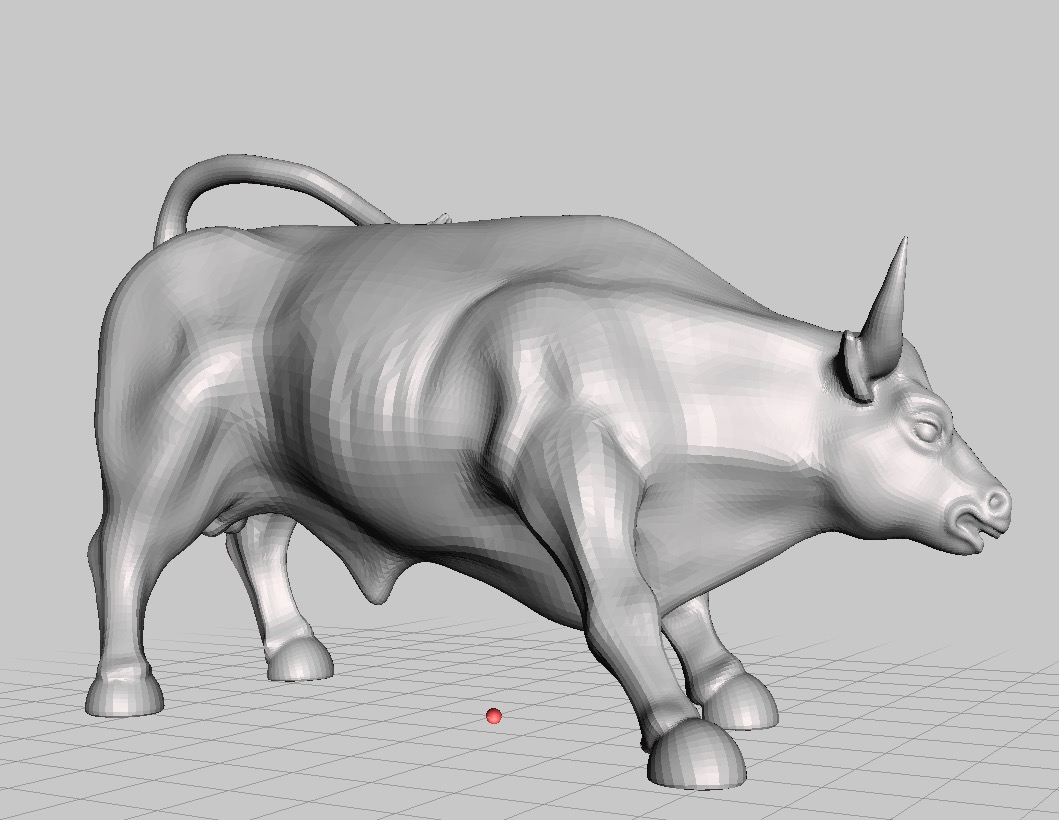
The process in MeshMixer is pretty straightforward. Here we will generate an internal mesh for a Bull model.
First you must duplicate the 3D model, where one becomes the “skin” and the other the internal mesh.
The “skin” model must be made hollow (otherwise it’s not really a skin!) The internal mesh will fit within it.
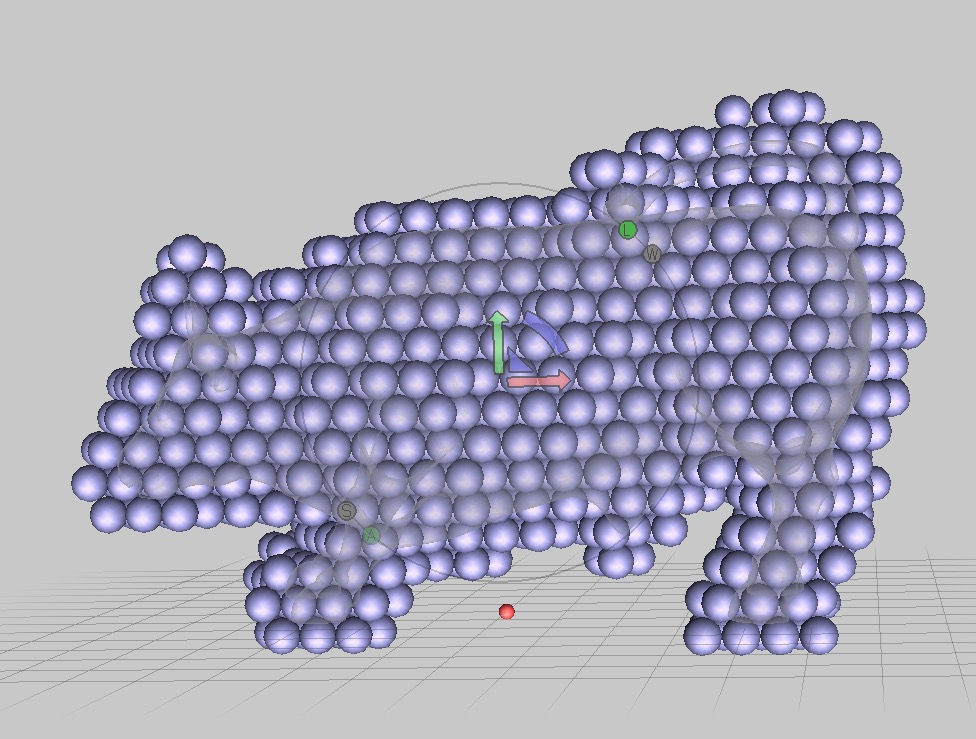
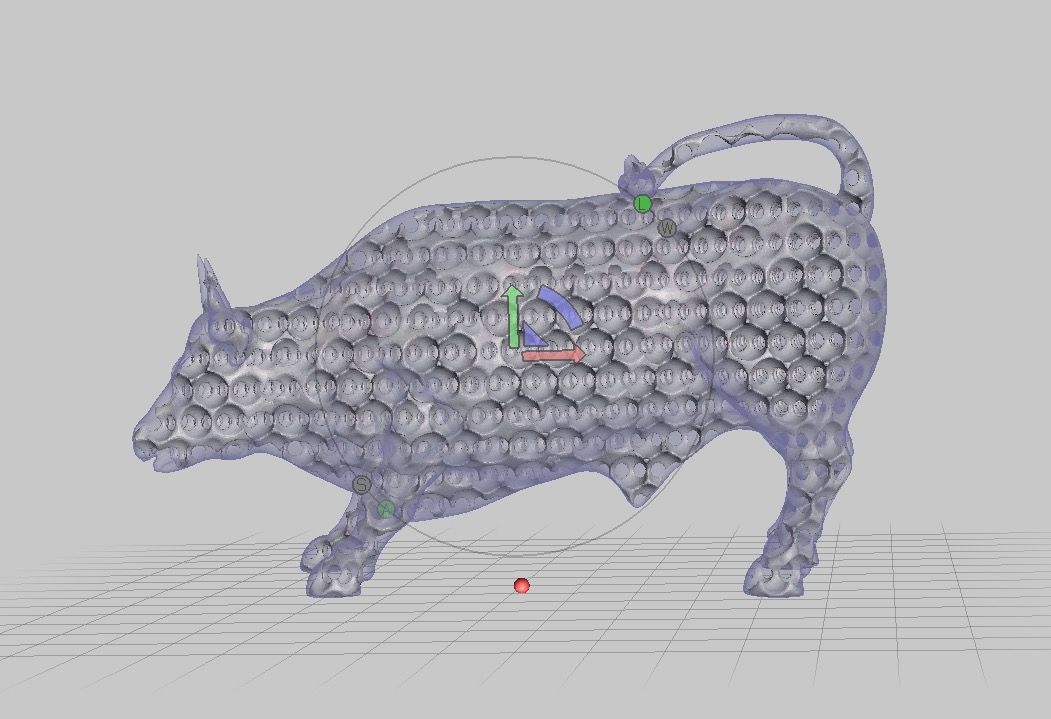
MeshMixer’s Make Pattern feature generates various types of primitive shapes. We’ve chosen to use an array of spheres.
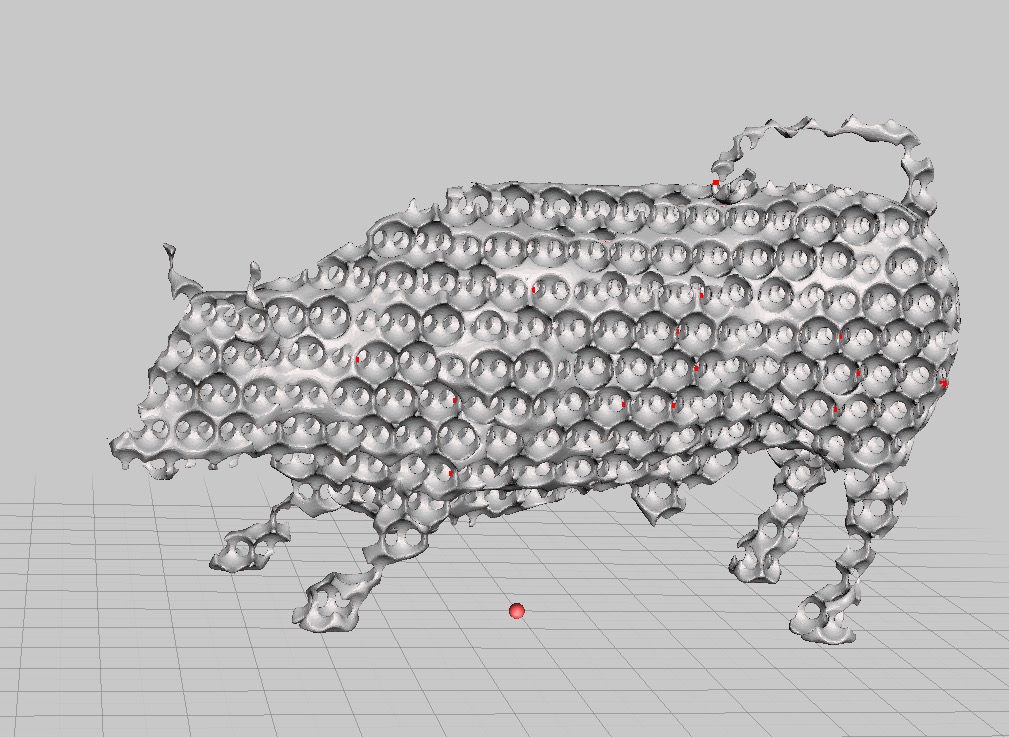
These spheres are then subtracted from the internal model, leaving a curious mesh. Remember that this portion will be eventually joined with the exterior skin – this is the inside of the bull. It’s less material than solid, but still can provide a good amount of strength. You can play with the size and spacing of the spheres to produce an optimum internal mesh.
The skin and internal mesh are joined using MeshMixer’s “Combine” feature, and then linked together using “Make Solid”. Be sure to increase the accuracy factor to prevent the joining to mess up the surface texture.
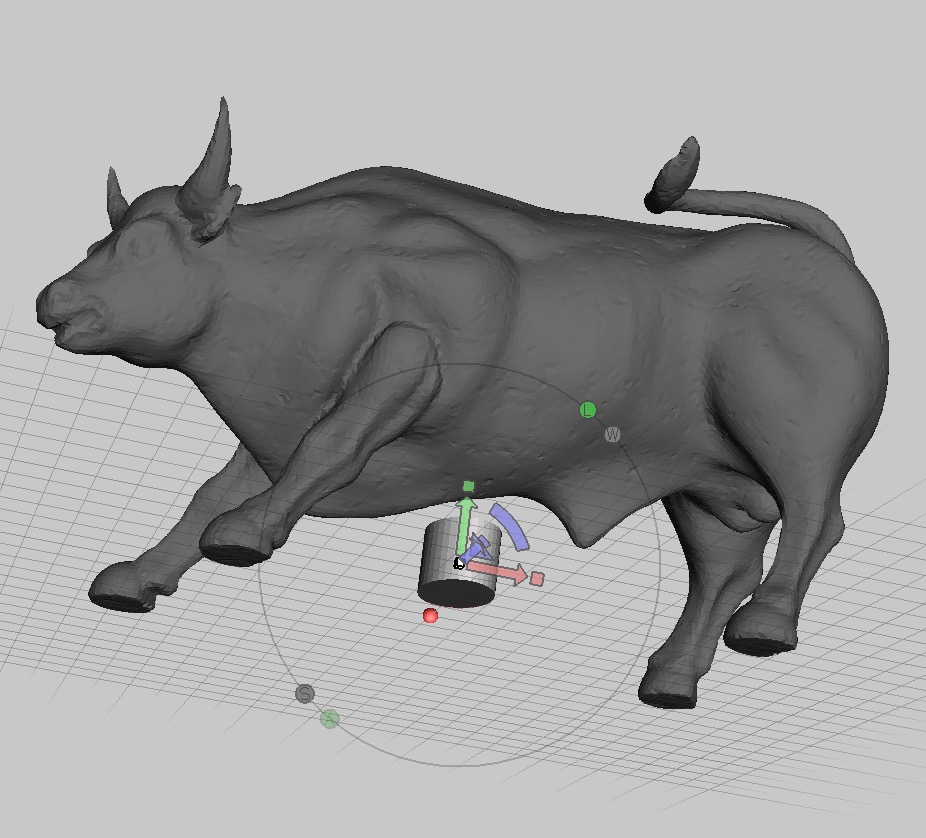
While you’ve made internal space for material to be removed, you have to finalize it with a hole at the bottom for the material to leave the model. This is easily done in MeshMixer by subtracting a cylinder of appropriate size at the bottom of the model.
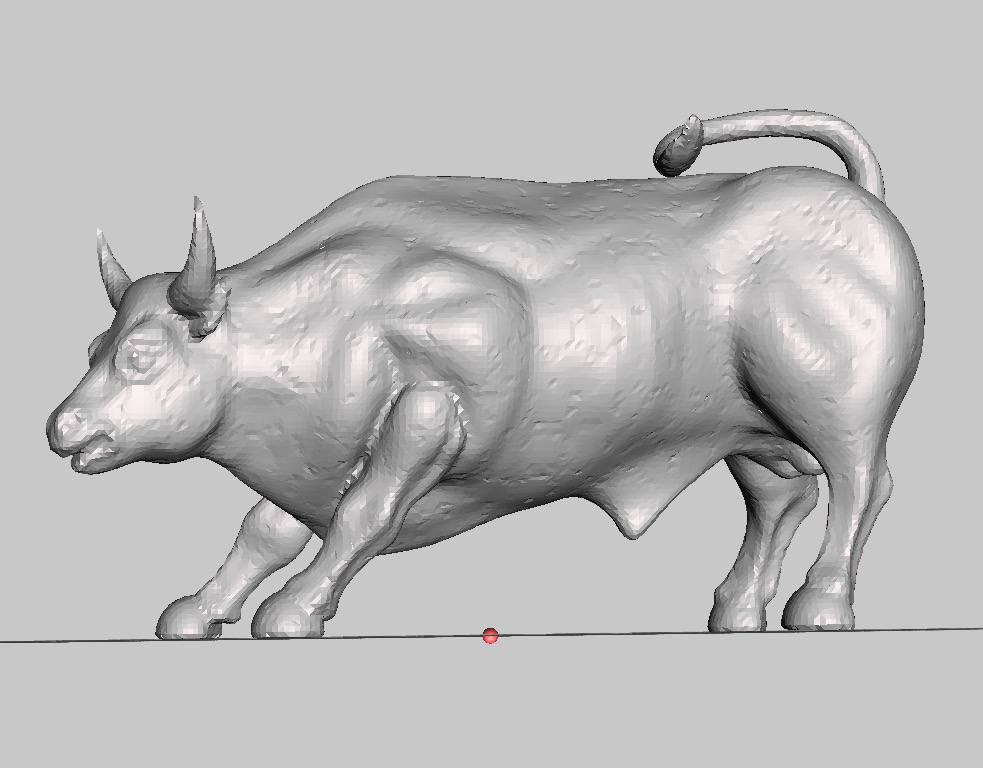
Finally, you’ve got yourself what appears to be a solid Bull, but internally it’s actually a mesh. The process is quite straightforward and fast to perform.
If you’re printing using powder or resin, this technique might make sense for your application.