


Those who own a personal 3D printer likely have a suite of instruments ready to be used with their printer. What instruments are essential?
There are a number of tools that 3D printer operators will certainly find quite handy. Here’s our list of tools to consider adding to your kit, if you haven’t already:
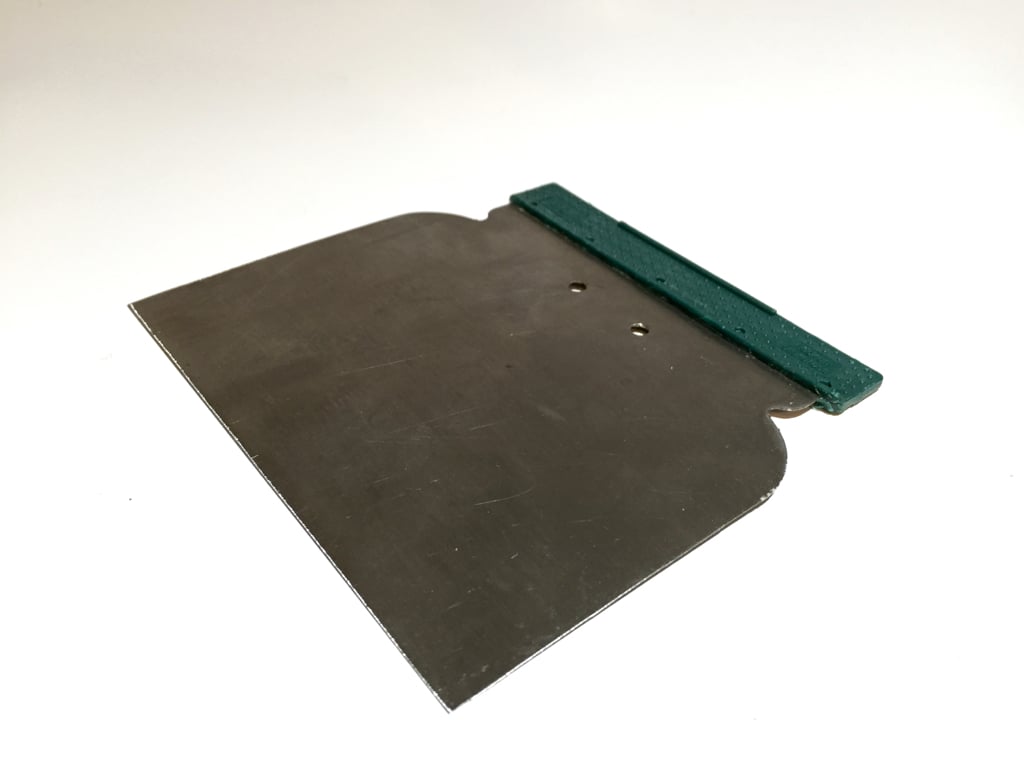
Scraper: This is a strong, but thin “lifter” that is used to pry stuck objects off of the print surface. Sometimes objects come off easily, but at other times they stick with great force and require some assistance to remove them without destroying the object. A good lifting device can help, especially if it has a strong and easily-held handle with as wide a blade as possible. In the hardware store, a good option is the familiar “putty knife”.
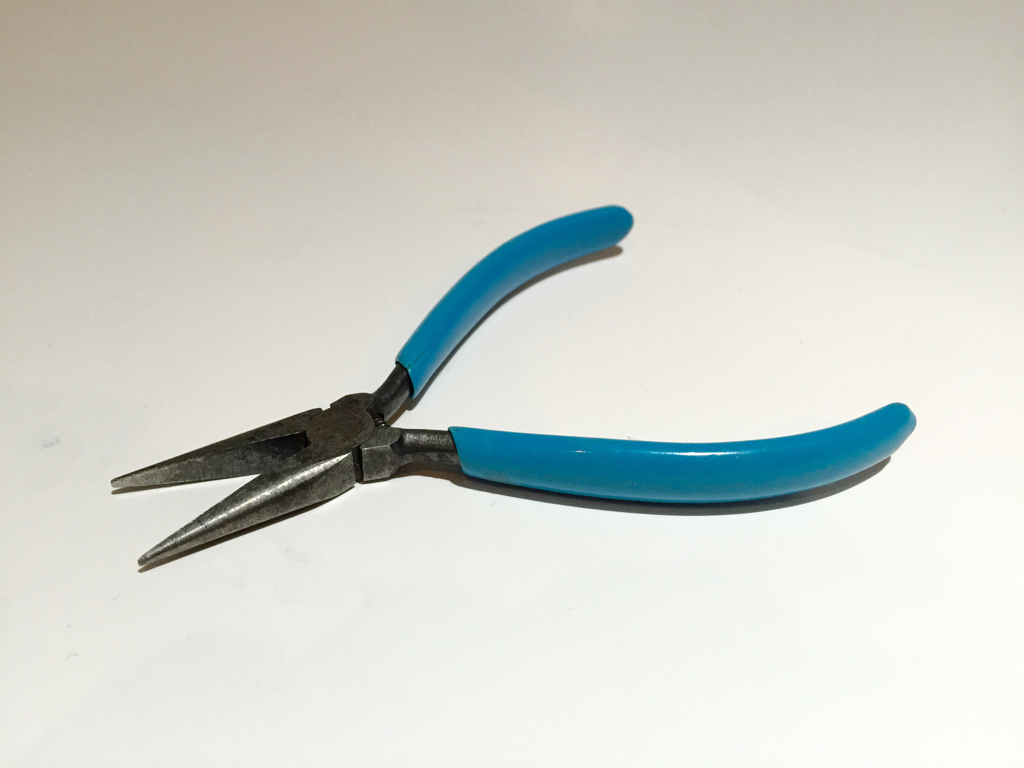
Needle Nose Pliers: Pliers are used in several situations, not the least of which is reaching into the print volume and pull out extraneous squirts of plastic. They’re also useful to remove leaky plastic from the tip of the hot end after idling. You wouldn’t want to burn your fingers, would you? Alternate: Heavy-duty tweezers.
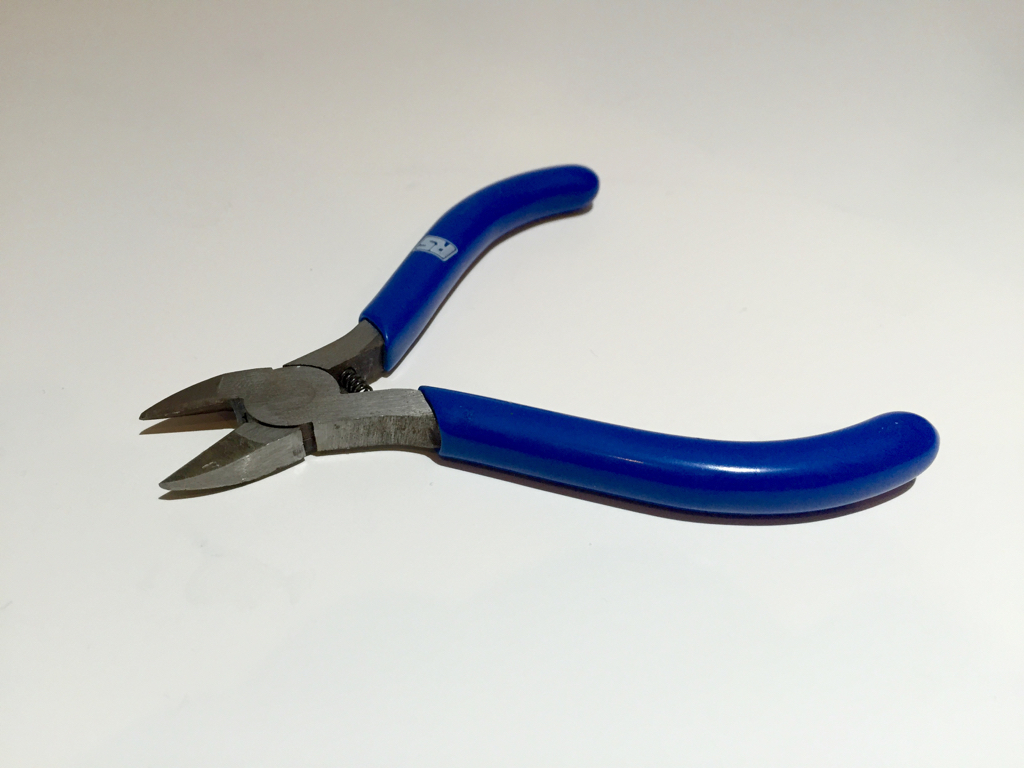
Side Cutters: Used to cut plastic filament, which will be a frequent activity. Sharp side cutters used at an acute angle can also cut the filament to a point that can sometimes assist loading into the extruder.
Feeler Gauges: If your 3D printer requires manual leveling, then you should have a set of feeler gauges handy. These are slips of metal of very specific thicknesses. You can use them to precisely calibrate the print bed – and if you don’t have one, then a business card can suffice.
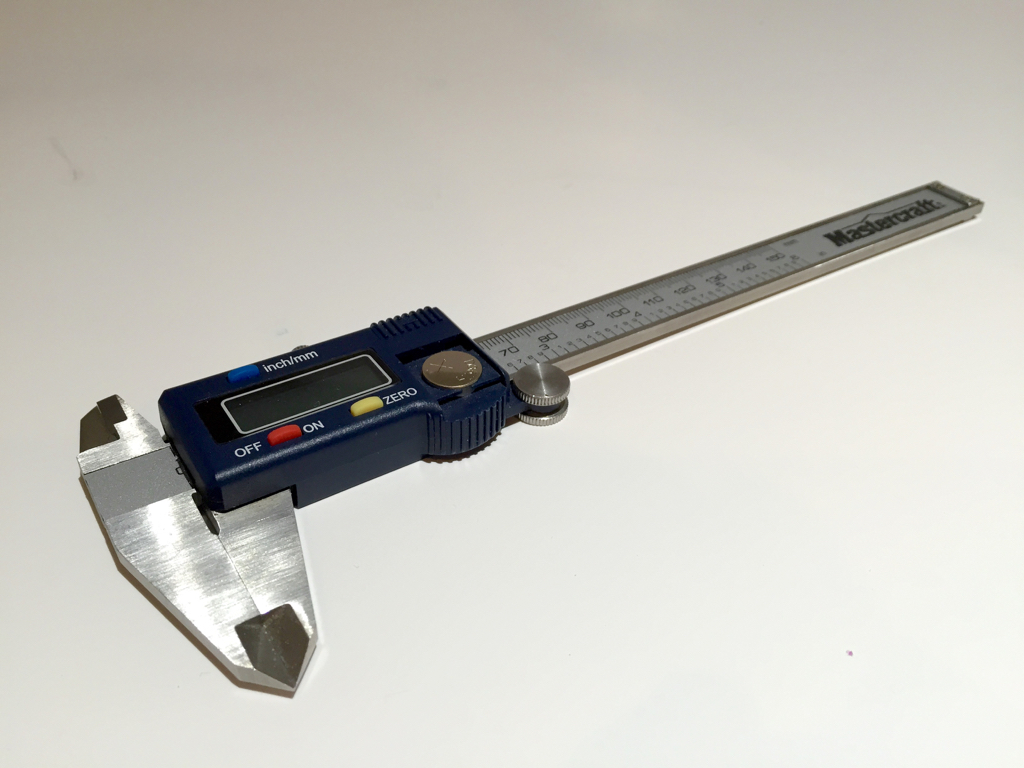
Digital Calipers: This device can measure the inside and outside of any small object to great precision. If you’re replicating an object, you’ll want to know the exact dimensions of the original object and they are best found with a digital measurement tool.
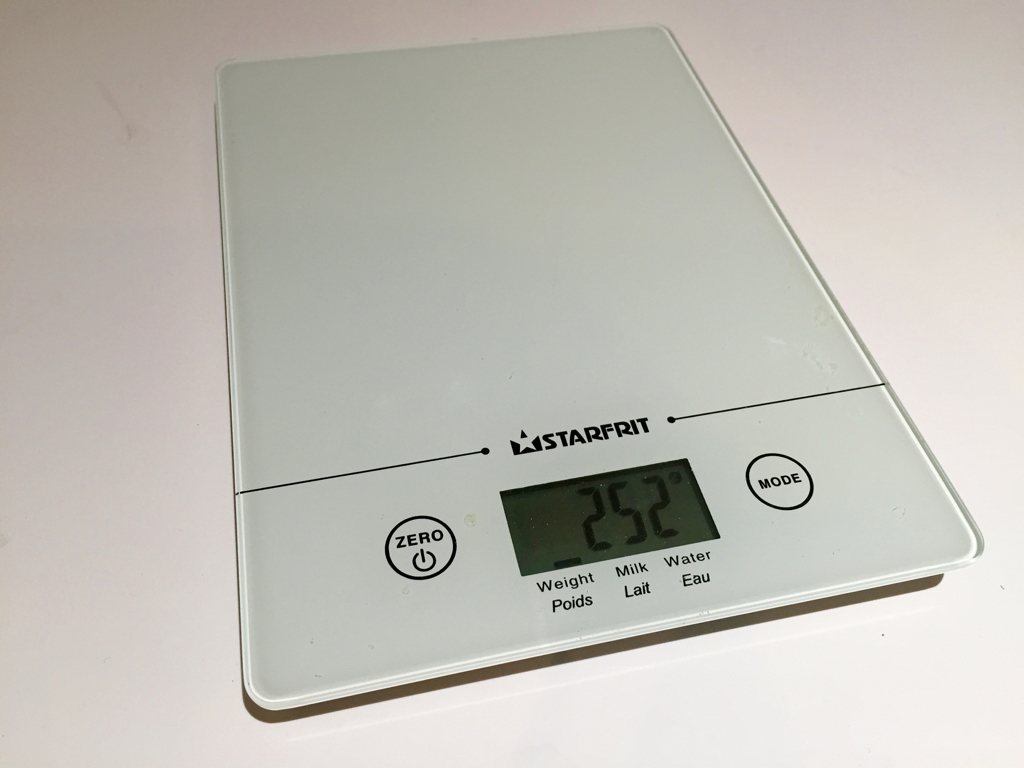
Digital Scale: A precise digital scale can immediately tell you exactly how much filament remains on that questionably empty-looking spool. Will the print have enough? Find out with a digital scale.
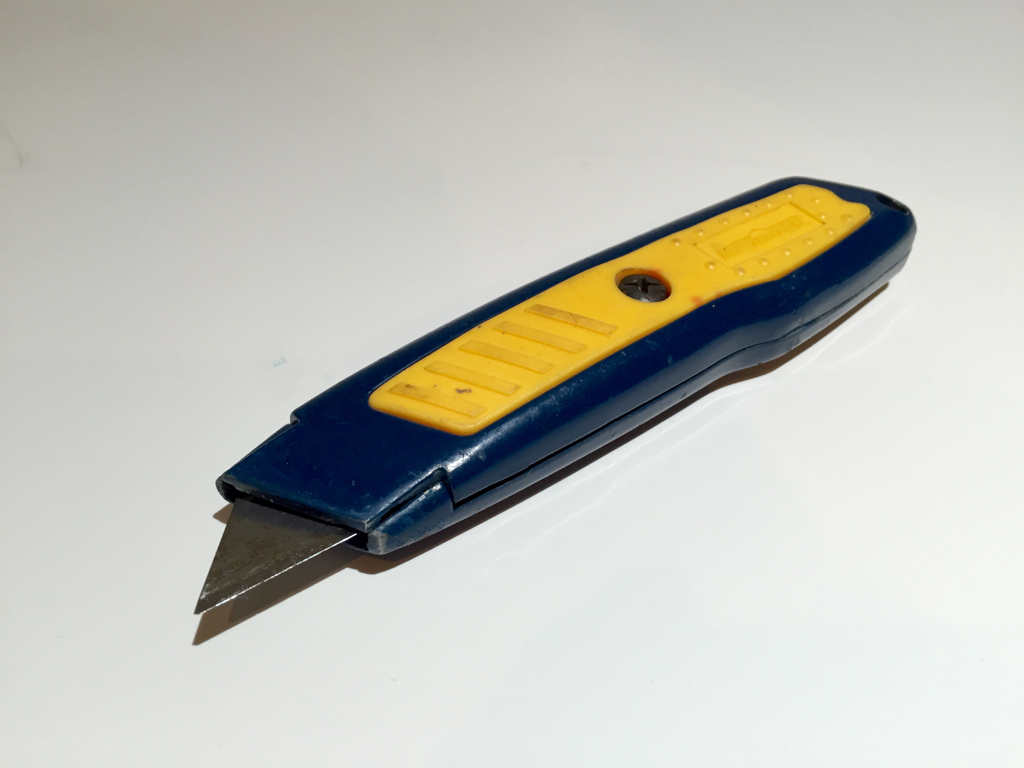
Knife: After removing support material, there are often small residual nubs left on your object where the support material contacted it. While these can be sanded off, it’s often quicker (and cleaner) to slice them off with a very sharp knife.
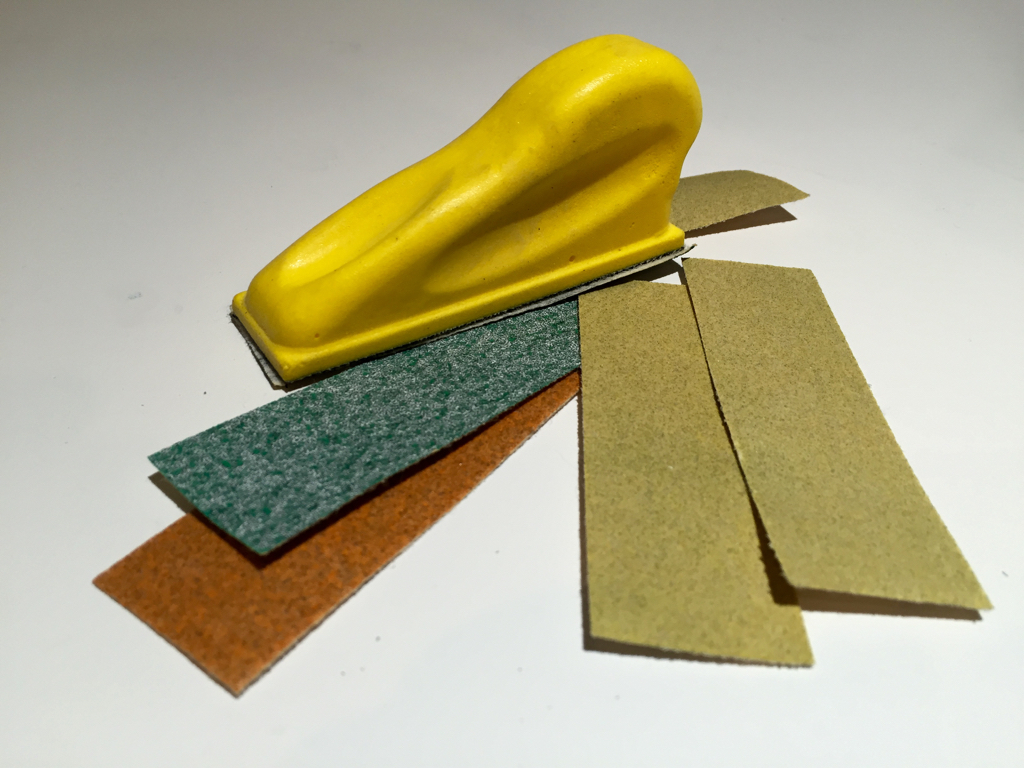
Sandpaper: Rough surfaces can be smoothed with sandpaper, but it’s not quite as simple as that. You’ll need a set of papers with different grit sizes, so that you can gradually work on smoothing a surface from a coarse to fine level.
Garbage Can: Aside from the print itself, you’ll find yourself buried in small bits of plastic, perhaps from test extrusions, leaky drips, support material, extraneous snip-offs and more. You must have a receptacle ready to accept these bits otherwise expect a very messy work area.
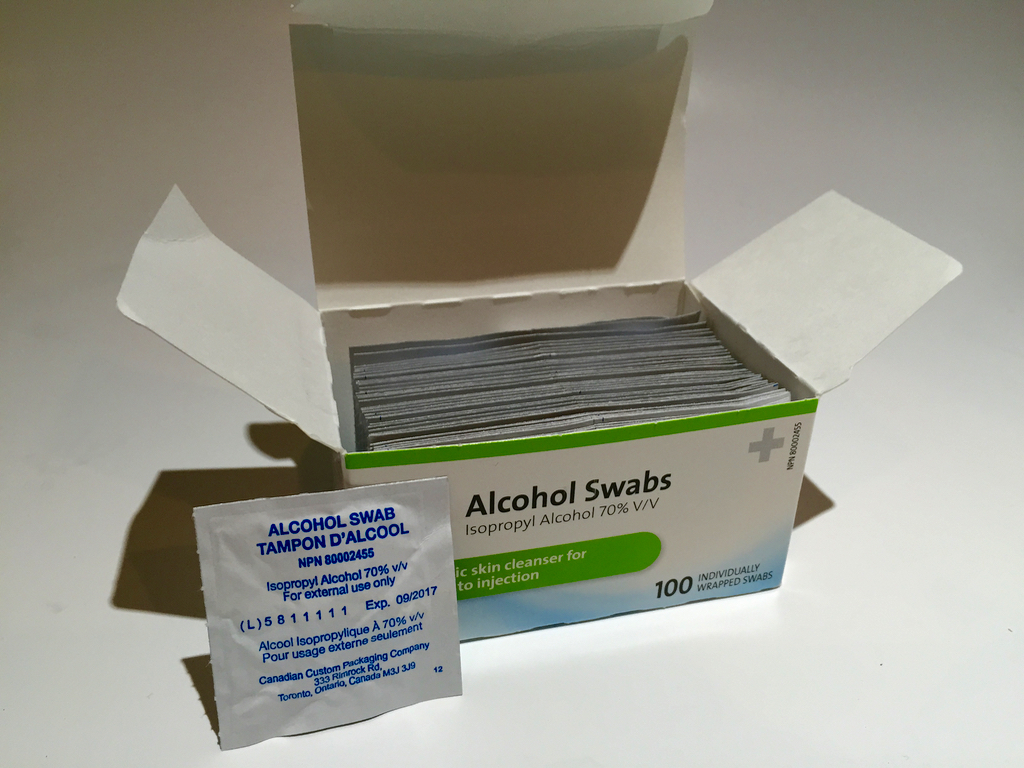
Alcohol Swabs: Depending on the chemistry of your print surface, you might find alcohol swabs very useful to quickly clean off any oils (from your hands) that may compromise sticking. They’re inexpensive and instantly usable.
Heat Gun: A heat gun can be used for several purposes, aside from very rough smoothing of printed objects. You might be able to unjam a clogged hot end, for example. You can also make simple repairs to a print by heating a screwdriver tip and smoothing over an affected area. More recently, some companies are beginning to market specialized devices that do this in a more effective manner.
Allen Keys: You will be repairing your 3D printer at some point and many machines require allen keys to, for example, loosen the extruder for surgical procedures. In fact, best have a set of screwdrivers and wrenches handy, too.
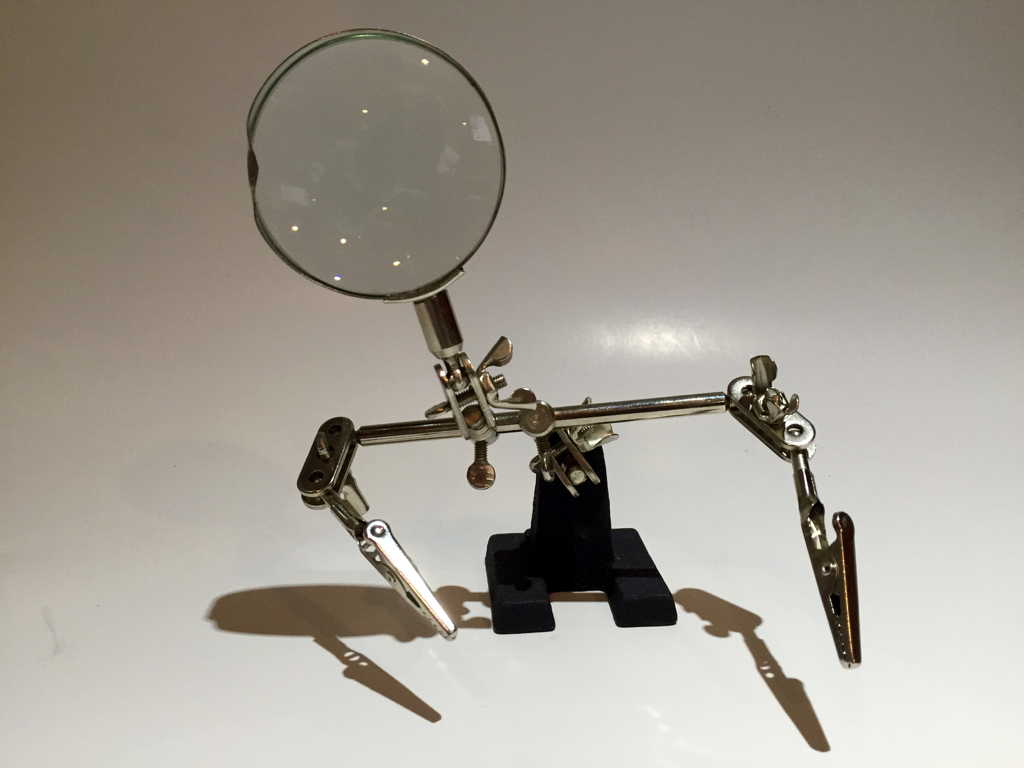
Magnifying Glass: Useful for very close examination of 3D prints to ensure quality and also to help diagnose printing issues. And this can also assist those with older eyeballs that no longer can see fine details without assistance.
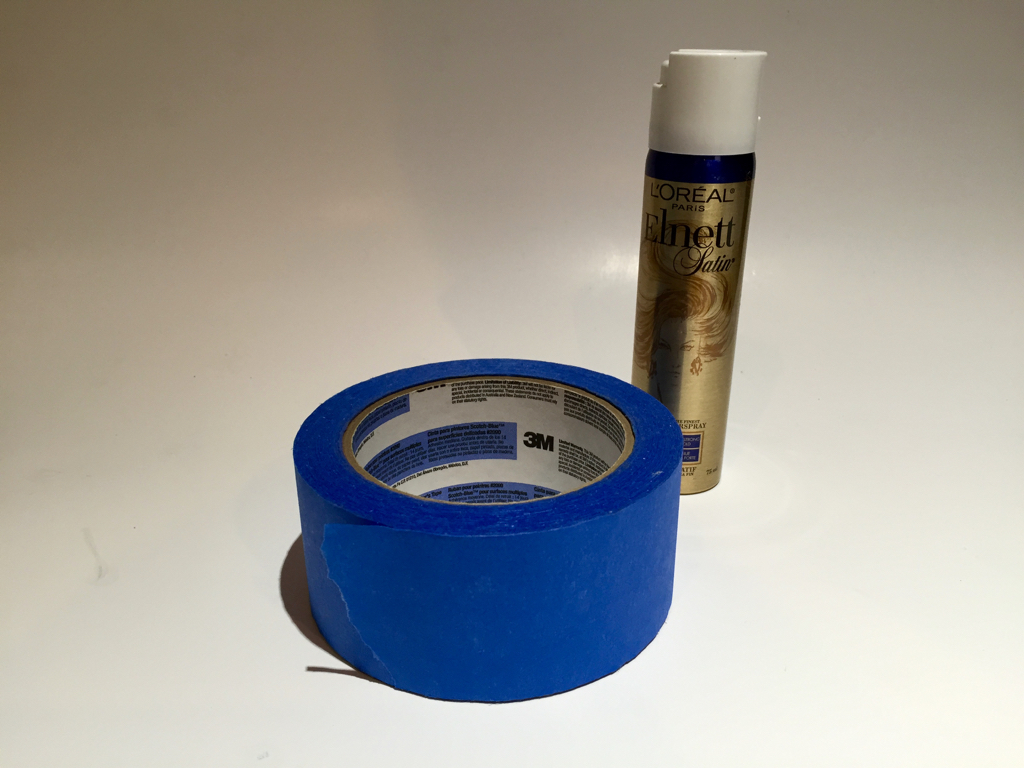
Adhesive Supplies: Depending on the print surface you’re using, you may want to have hairspray, glue sticks, blue tape or ABS “juice” handy to reapply before printing.
What other tools do you find yourself using with your 3D printer?

Fabbaloo founder/editor Kerry Stevenson, a.k.a. “General Fabb” has been writing and exploring 3D printing with Fabbaloo since 2007.