
I’ve finally had a chance to check out Autodesk’s tablet-based Sculpt+ 3D creation app.
Part of Autodesk’s 123D suite, the Sculpt+ app is available at no charge from Apple’s App Store and takes up about half a gig of space on your iPad. As you might imagine, the tool is finger operated.
Sculpt+ is designed for creating 3D characters and produces both visual and solid 3D representations.
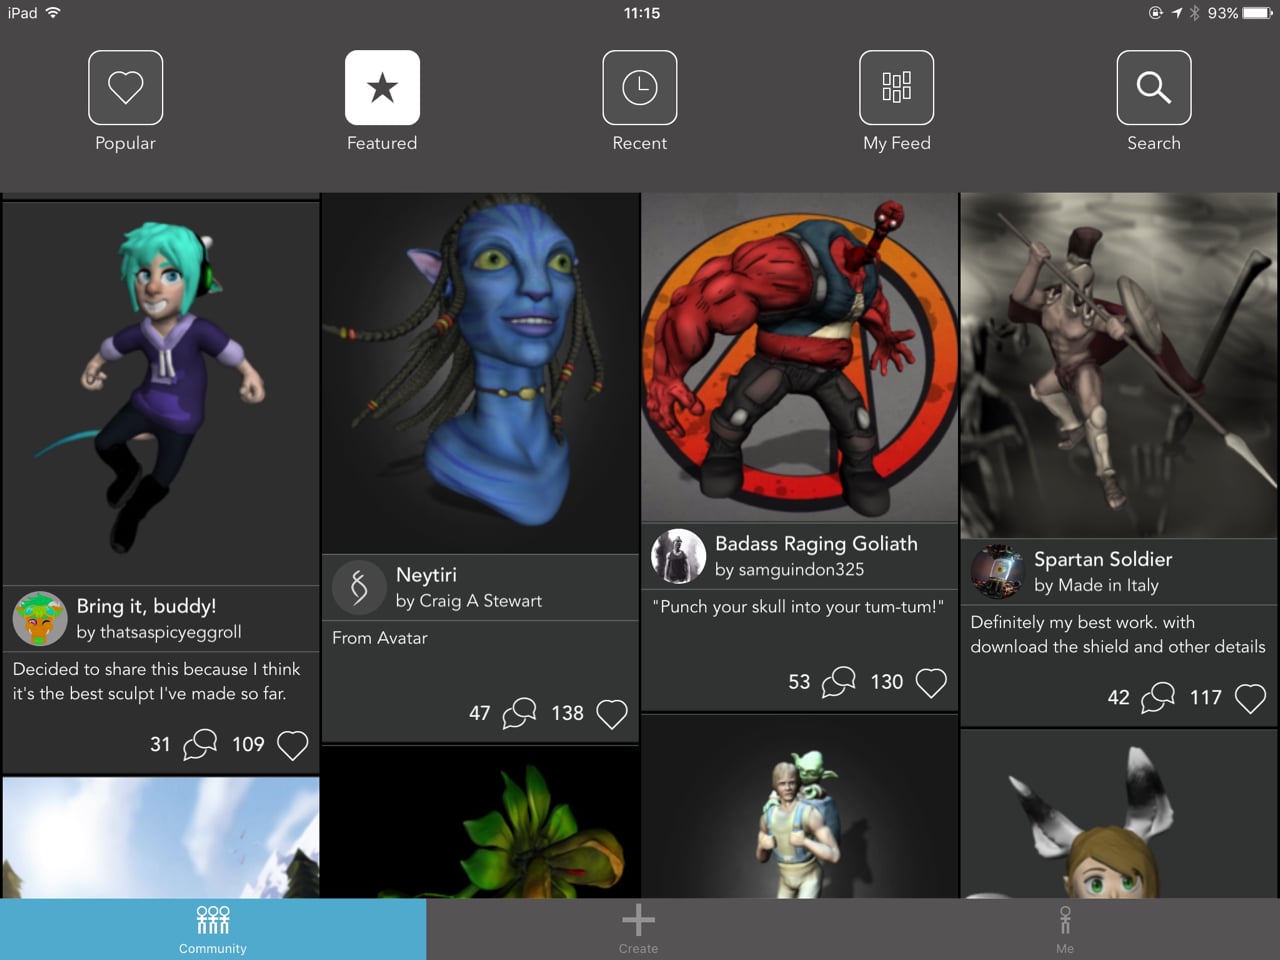
But it’s definitely not for industrial use. You would certainly not want to attempt to build a mechanical part in Sculpt+. In fact, when you open the tool, you’re presented with a list of popular 3D creations by others in the Autodesk community.
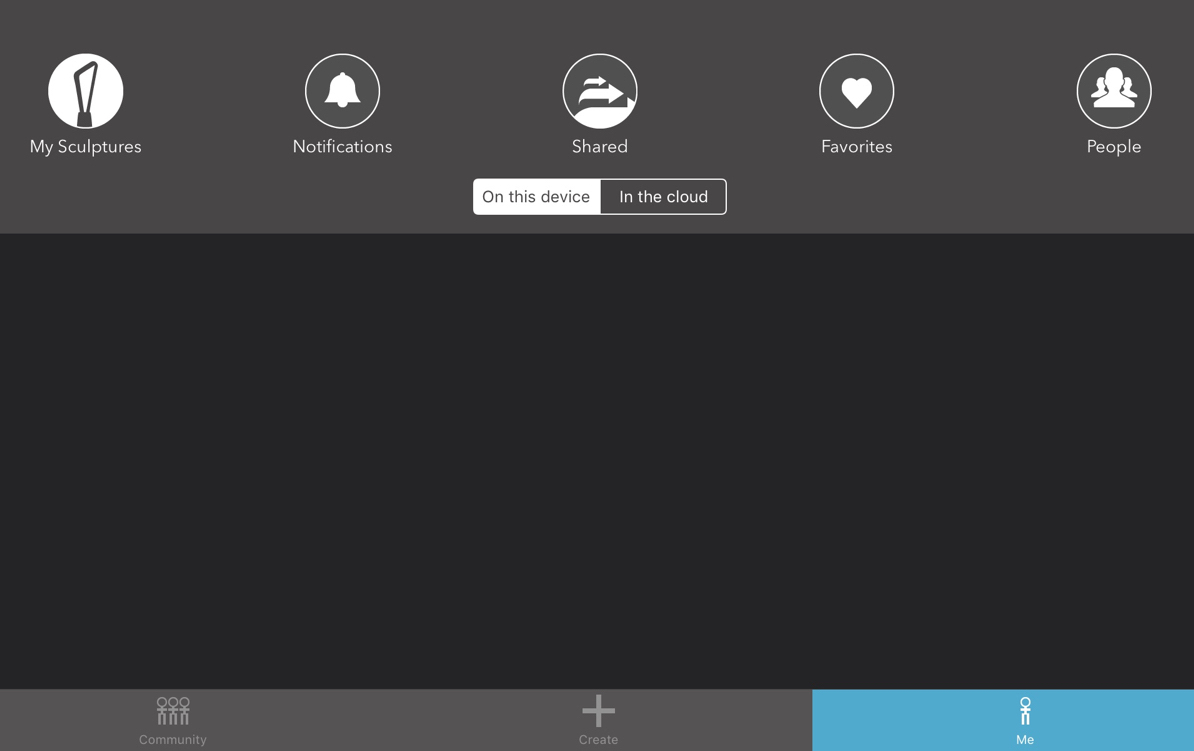
But I’m more interested in creating my own content. Here we see the “Me” view, which as you might expect, has zero items created so far. You can store creations either on the iPad itself, or in Autodesk’s cloud.
But when you attempt to create something, you’re presented with this, showing your three options. Autodesk simplifies things slightly by offering the ability to work from a pre-made 3D object if you like.
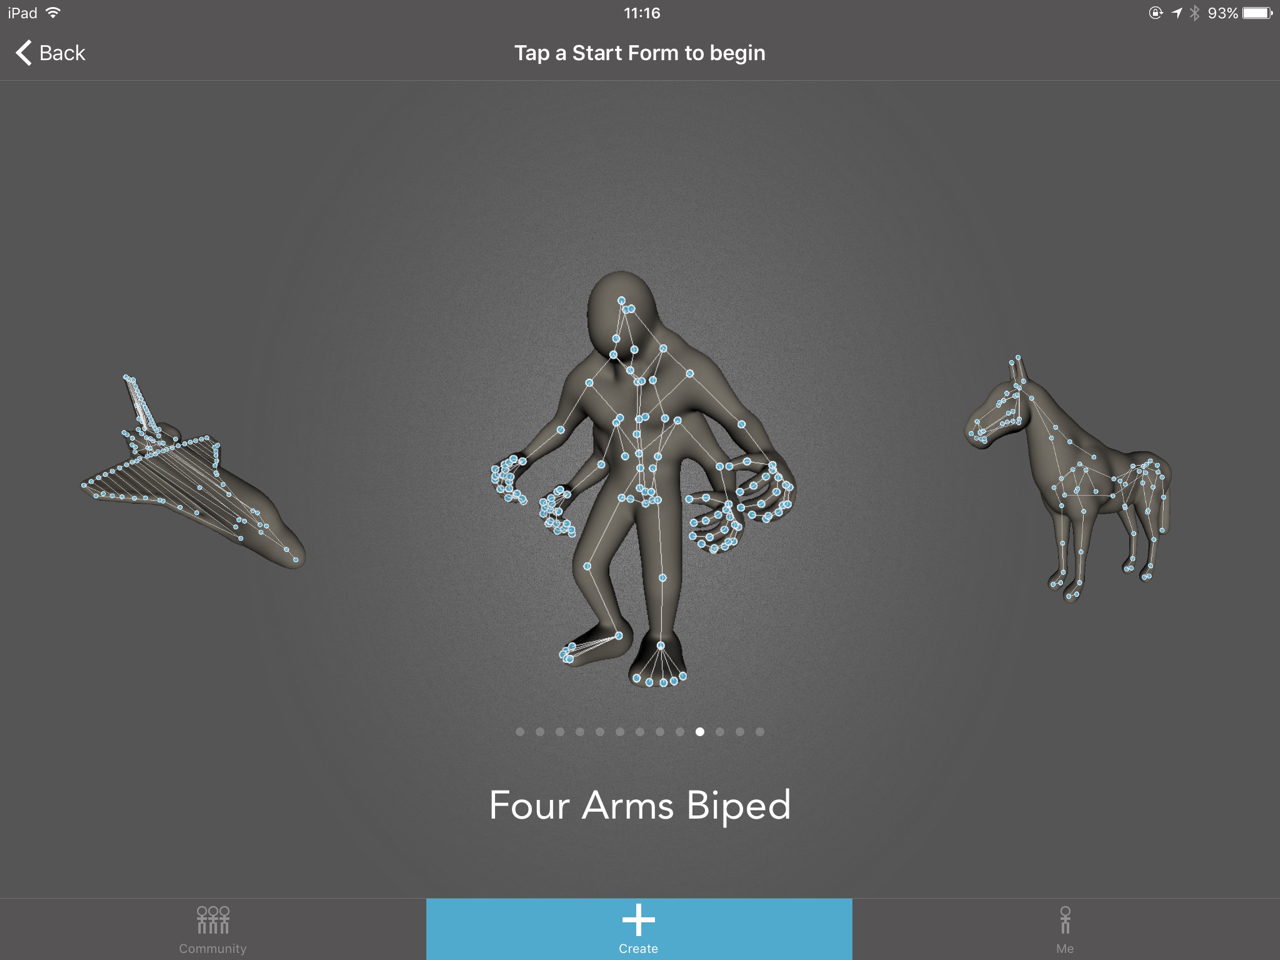
However, I’m going to start from scratch. Now you’re presented with a number of basic templates to begin with, some of which are pretty unusual.
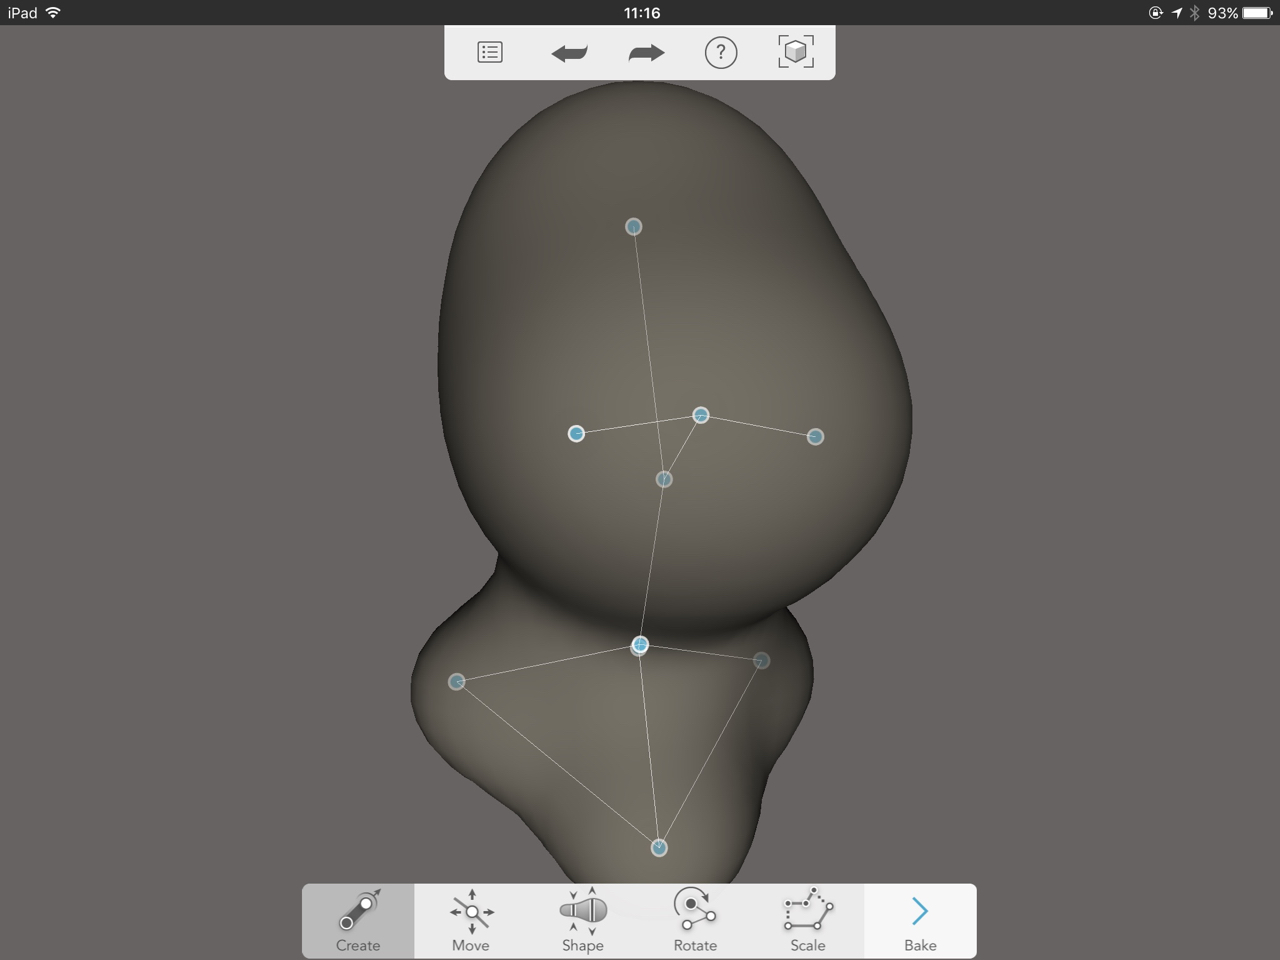
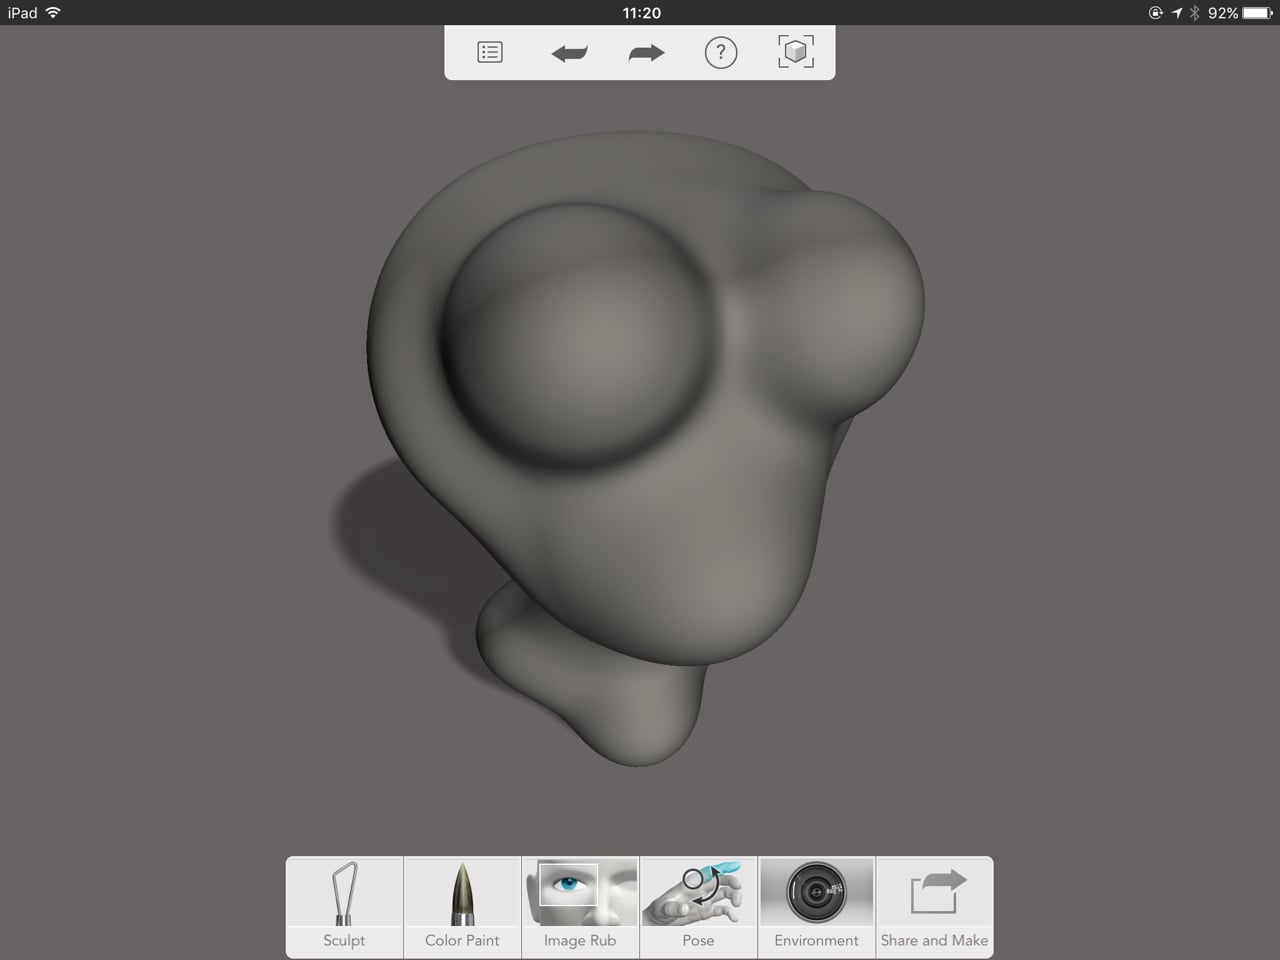
I’m choosing the basic head shape. It’s pretty simple and has no details at all. Notice the “skeleton”, denoted by the interior points and connector lines. These are the foundational method of manipulating the 3D model.

You can add additional points by simply dragging your finger away from one of the points. Be sure to have the model rotated correctly so that your new points are heading in the right direction. By the way, you can easily rotate and zoom the model intuitively by touching two fingers outside the actual 3D model.
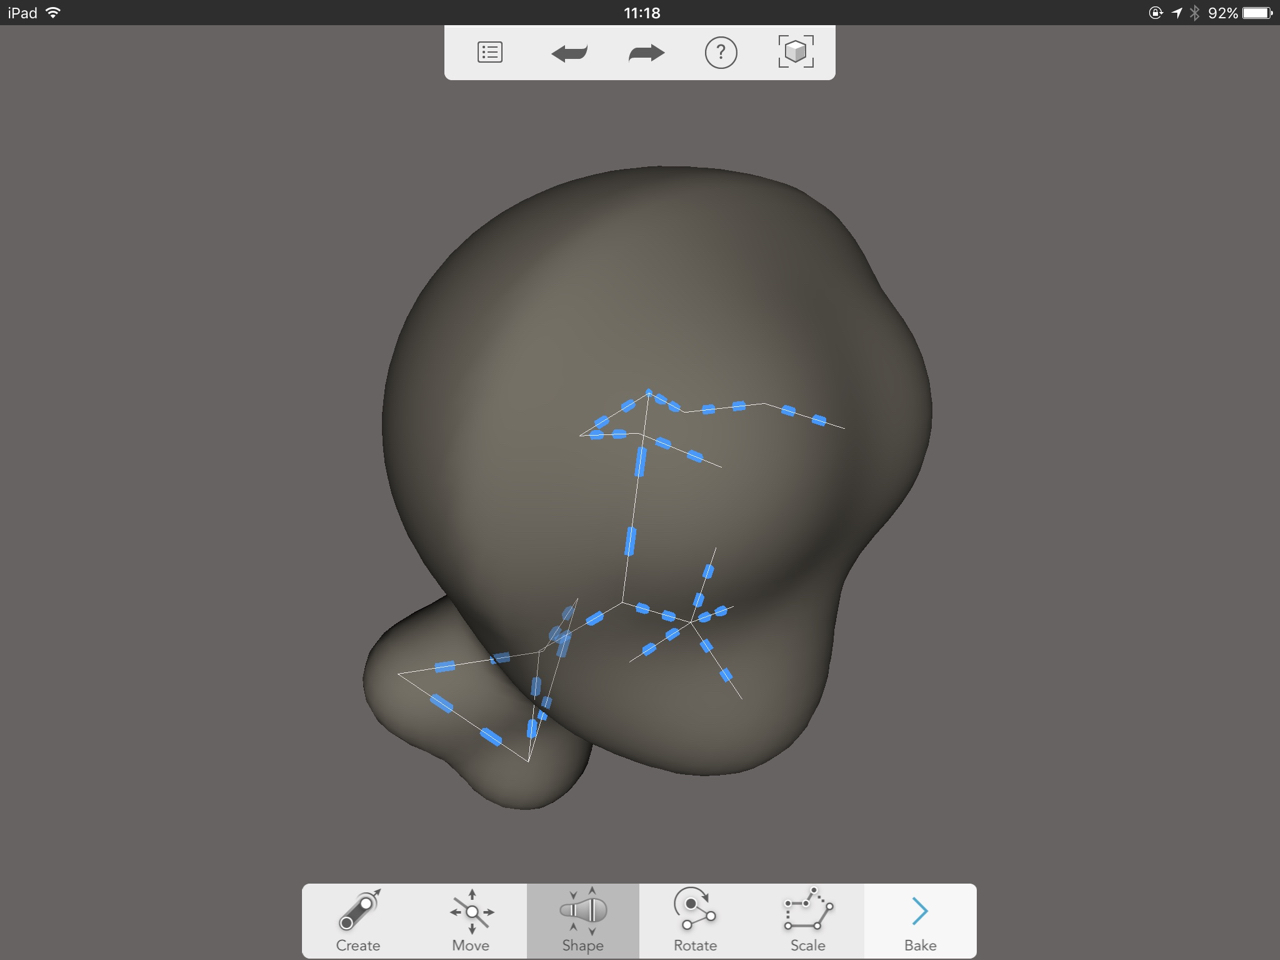
Once you’ve added enough points to your skeleton to facilitate the shape, you can move them around or “shape” them. “Shaping” really means resizing the “bubble” of material around the point.
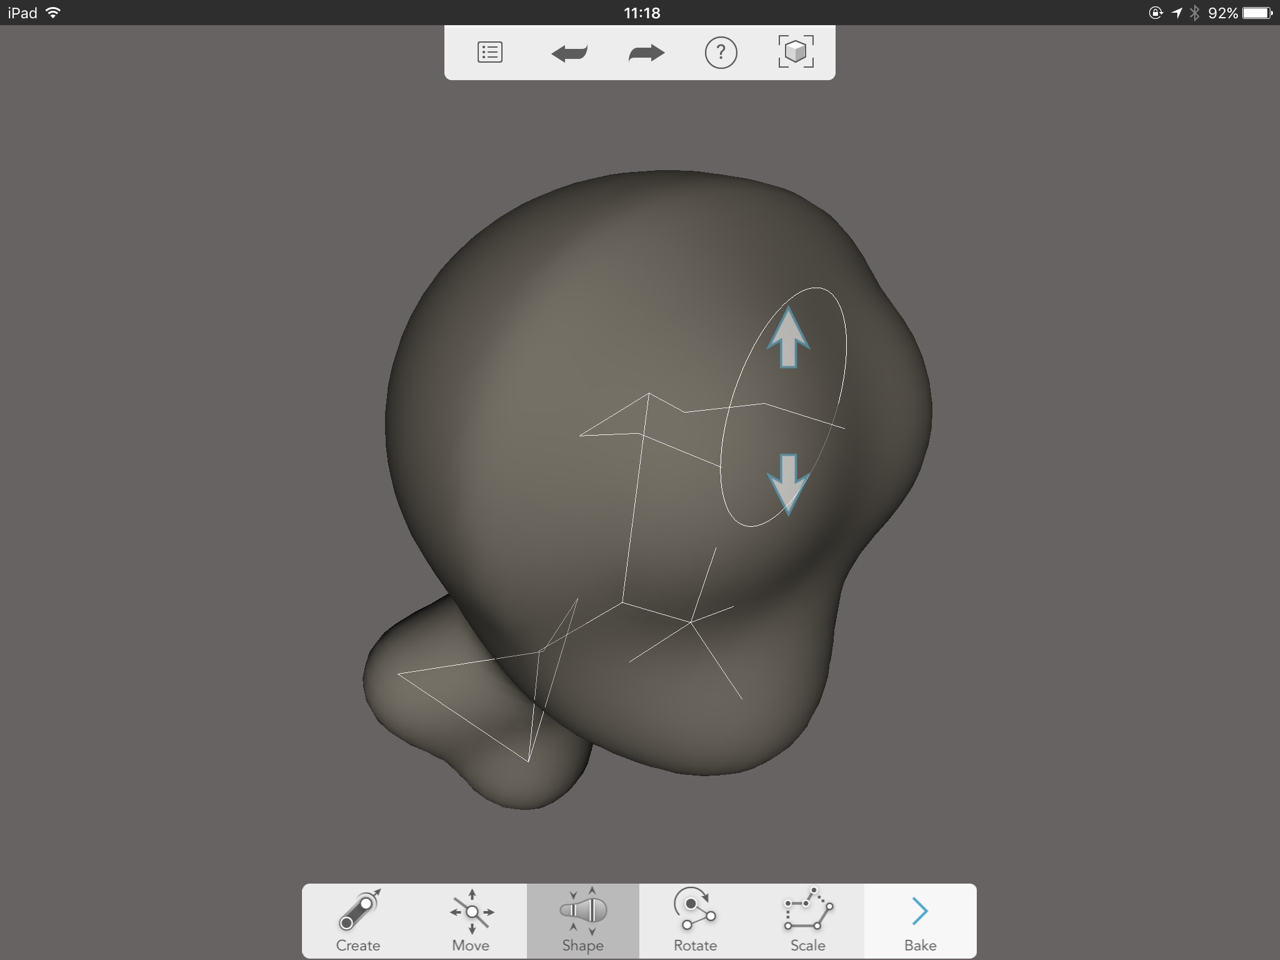
When you grab a point for shaping, you’ll get a pair of arrows to increase or decrease the size of the bubble. Easy!
Once you’ve finished manipulating the skeleton points and have a completed shape, you “bake” it. At this point the shape can be painted or have images applied to the surface to create a final texture. Images can be uploaded, taken from the iPad camera or stock images. You can also “pose” your 3D model if you built it in such a way that it makes sense. In this example, we won’t be posing my simplistic head as it has no appendages.
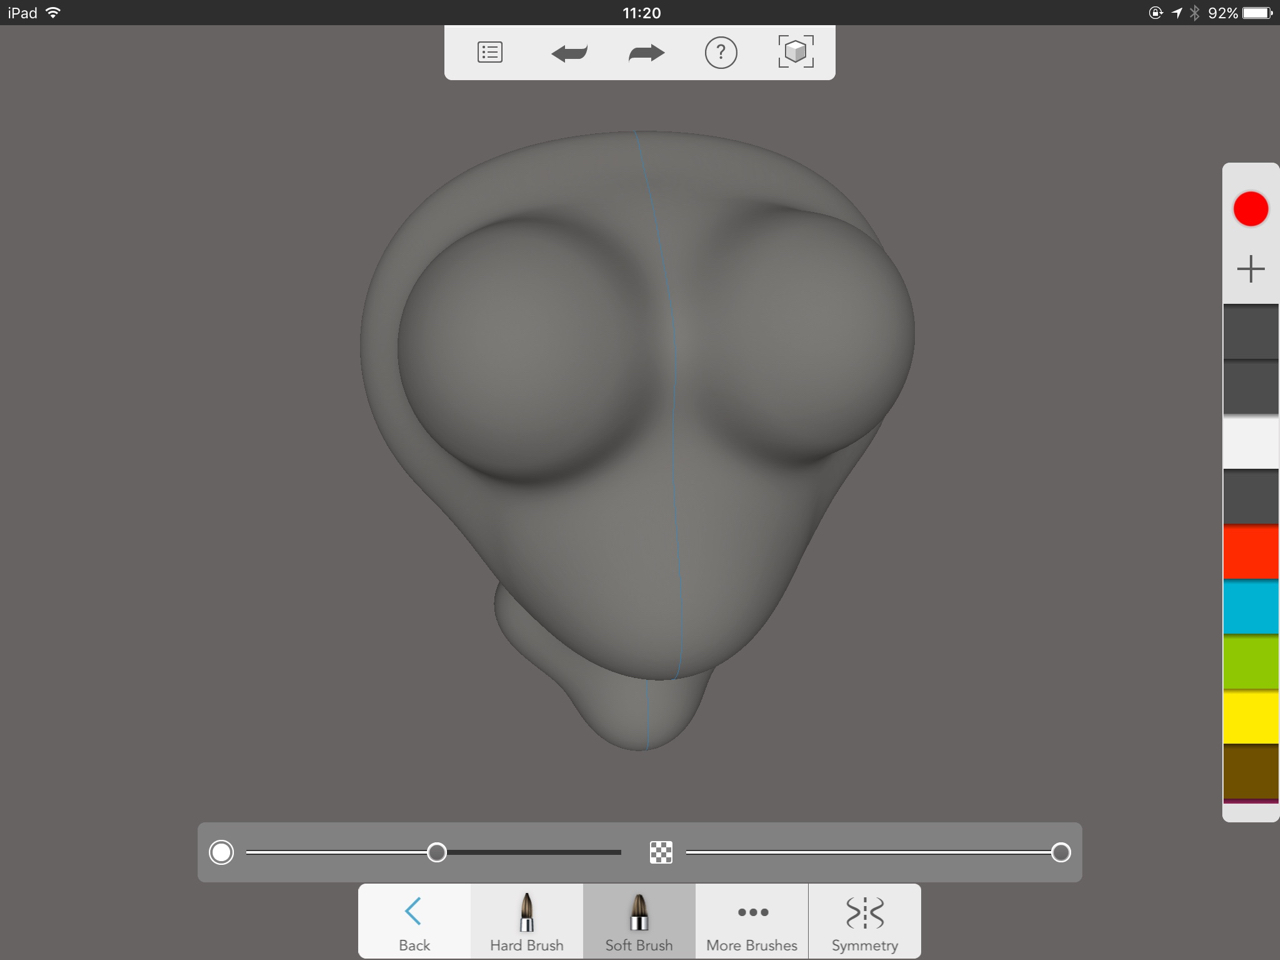
Painting is easily done using familiar techniques: pick a color, transparency level and brush size. You can also select a hard brush with discrete edges or a soft, blurry brush.
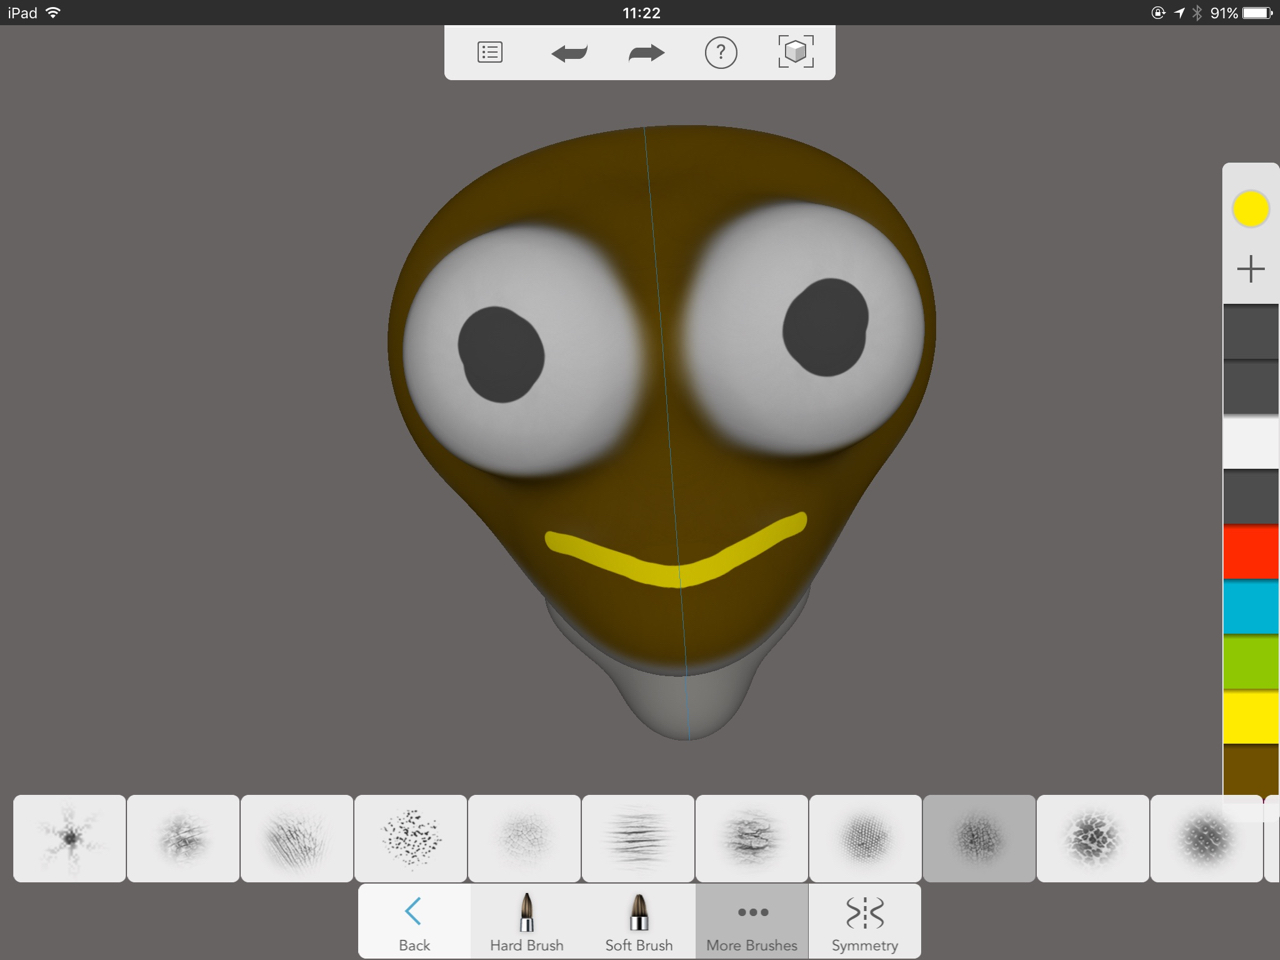
One interesting feature is a good number of “fancy” brushes that can apply interesting textures to the surface. You just have to careful how you set the transparency level, otherwise you’ll make a mess pretty quickly.
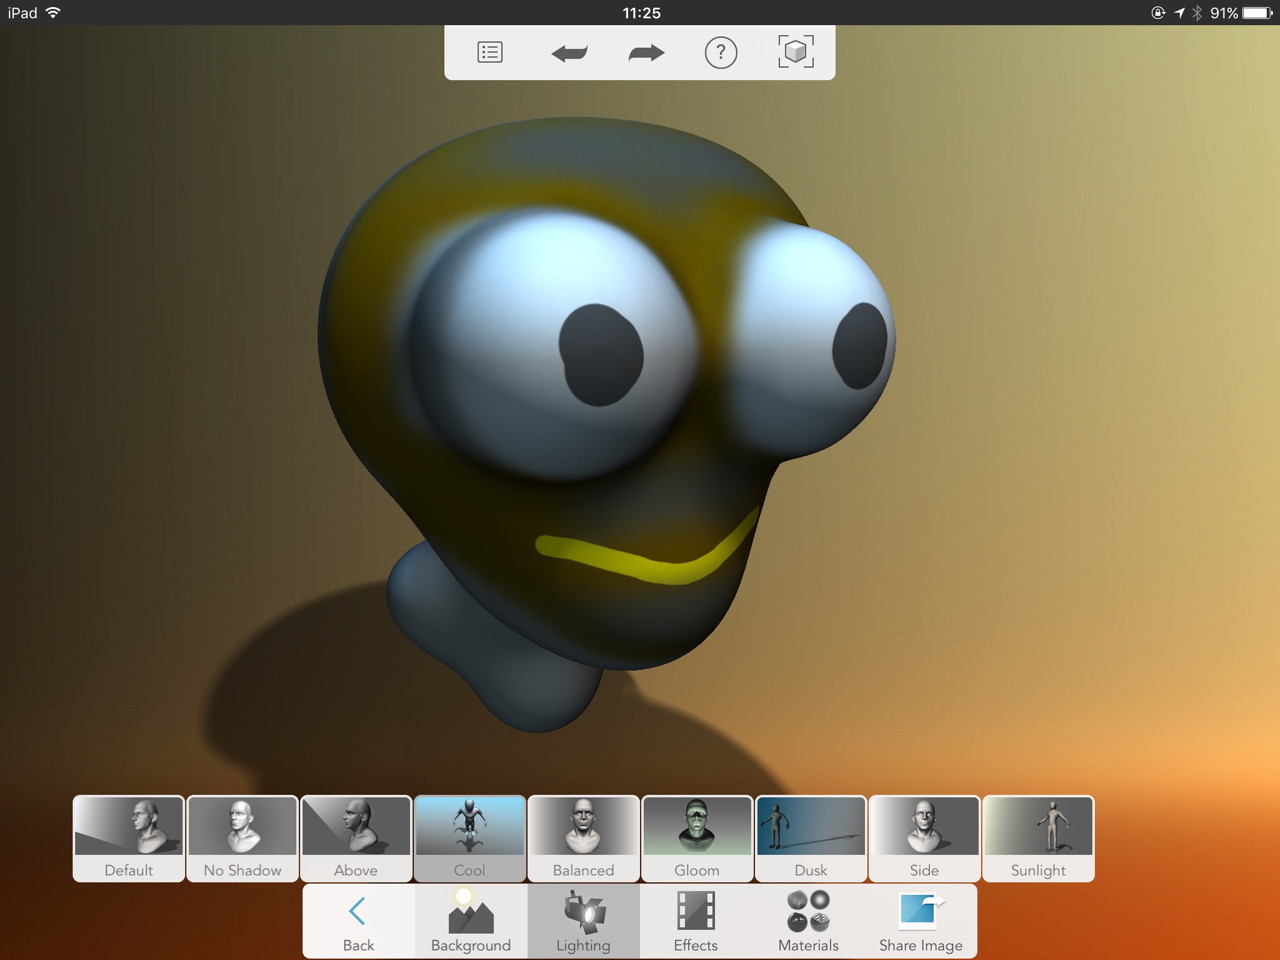
After painting you can apply a background and lighting for fun. Here I’ve selected an appropriate background, some top level lighting and a slightly shiny surface texture.
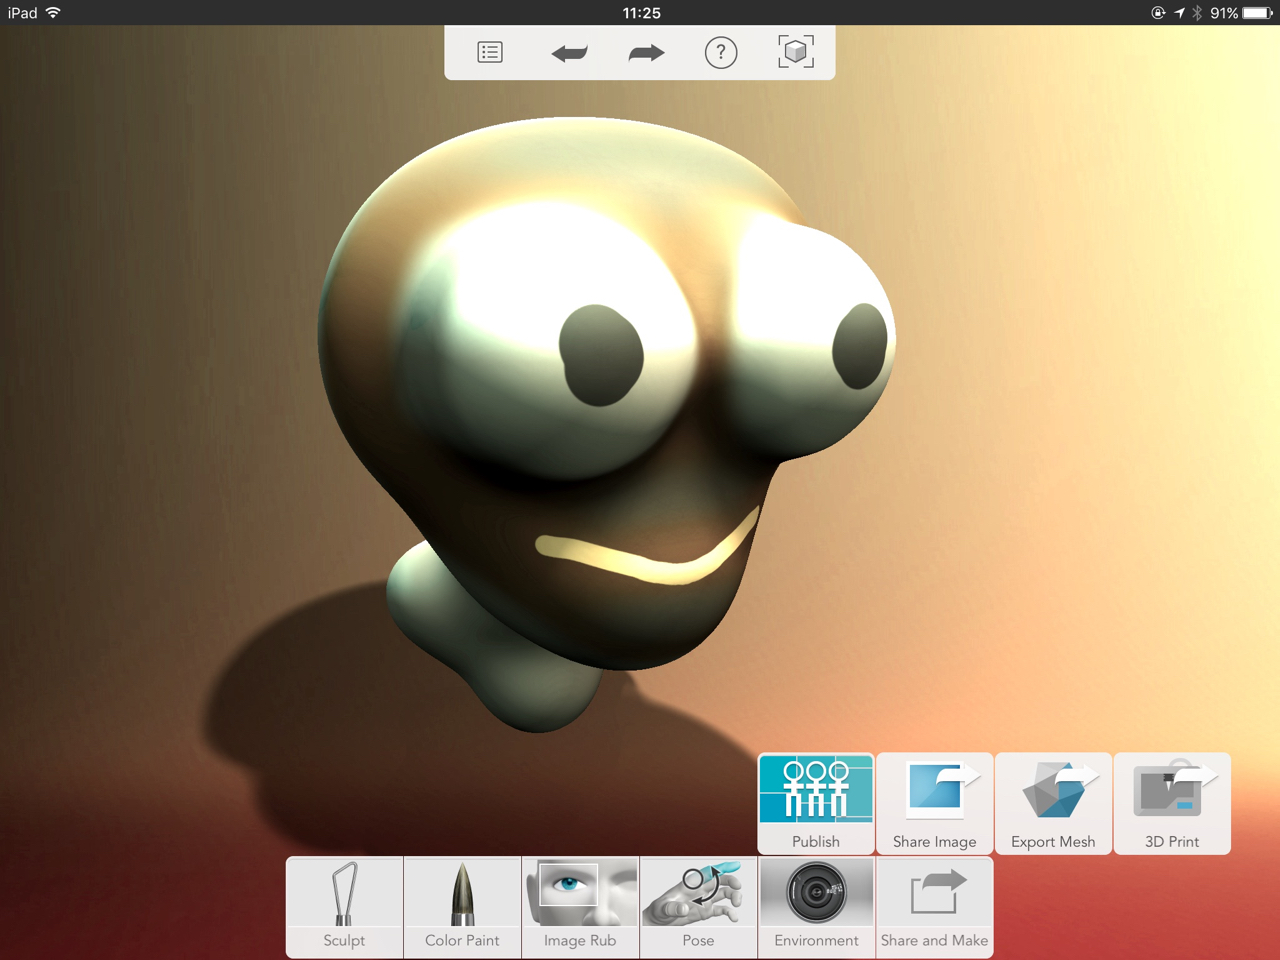
Also note you can now share and make your object. This is the interesting part for those into 3D printing, as there are so many tools like this that don’t permit 3D model exporting. Autodesk’s Sculpt+ isn’t one of them.
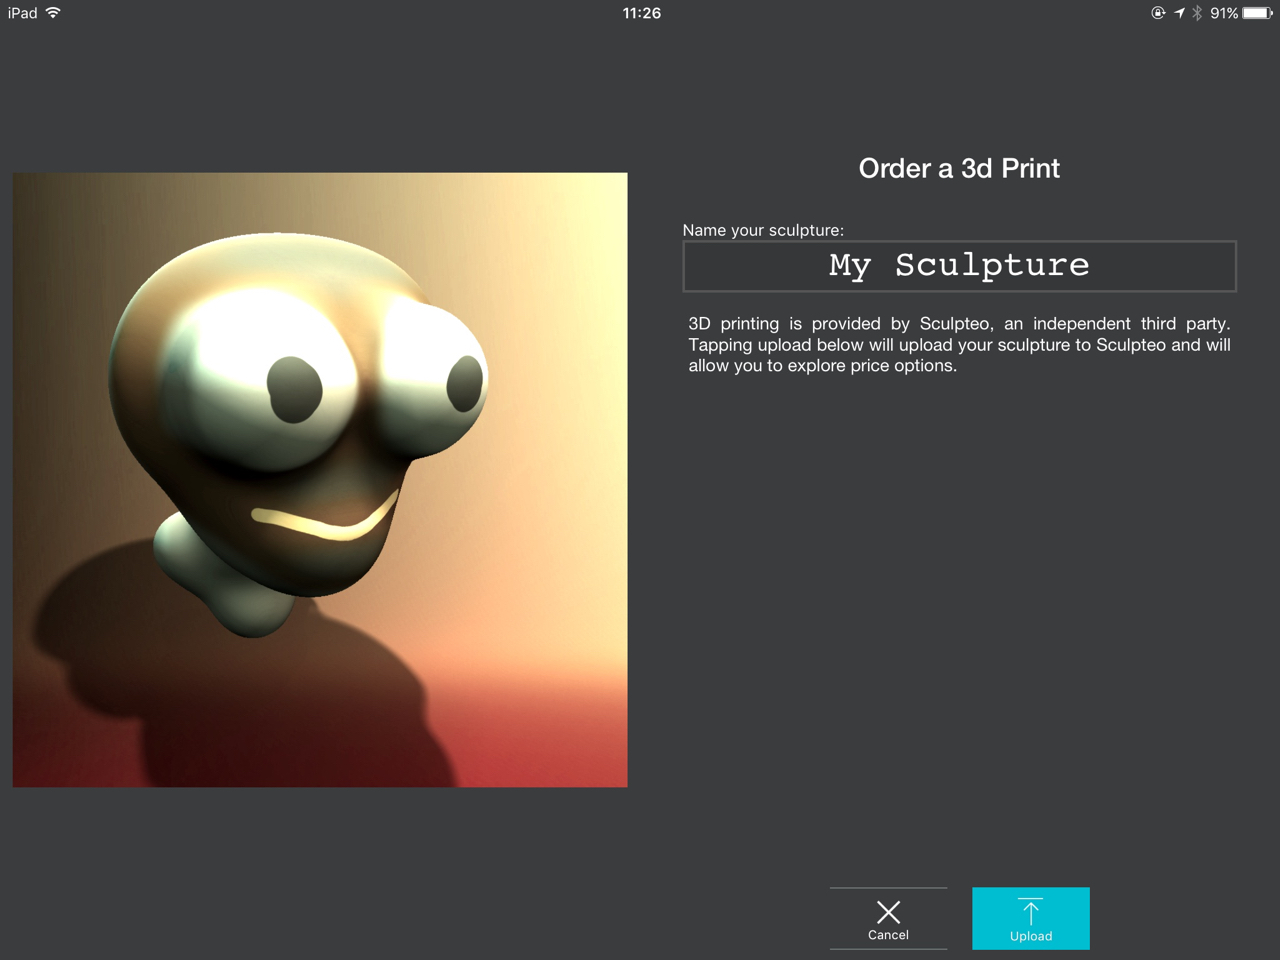
If you choose to print the 3D model directly, Autodesk has made arrangements to integrate with Sculpteo’s 3D print service to produce the object in full color at their regular pricing levels. The printed object will be sent to you by mail afterwards. Note that for many people, this will be the only way you can obtain a full-RGB color print of your creation, as most people don’t have access to a full color 3D printer. But you can use Sculpteo’s instead.
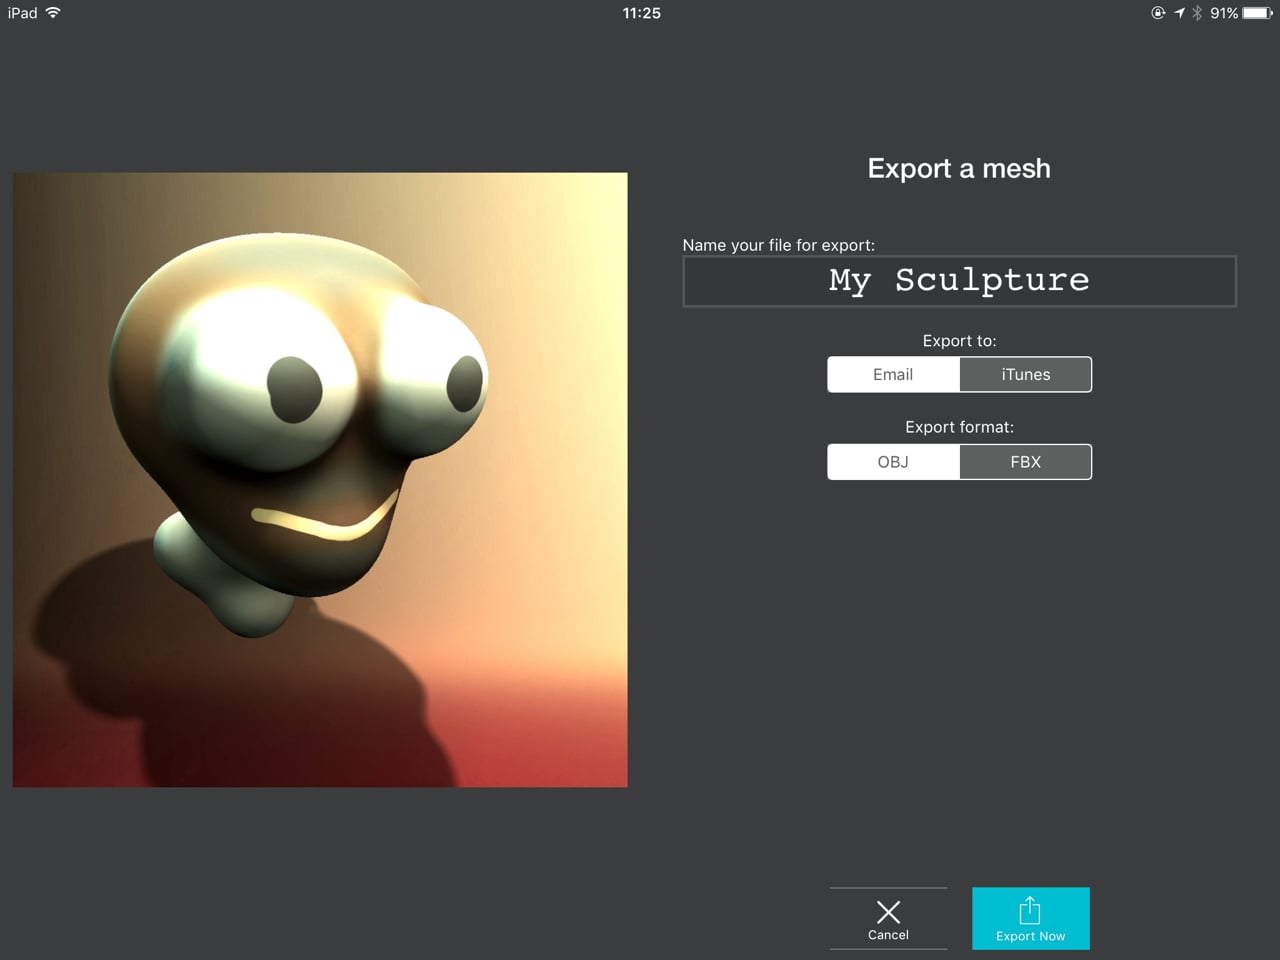
If you choose to export the 3D model, it will be provided in OBJ or FBX format. If OBJ, the textures accompany the OBJ file. The mechanism of export is either email or through iTunes, where you’ll have to hook up your iPad to a PC and, through iTunes, drag out the exported file. I chose email, as it’s a lot easier.
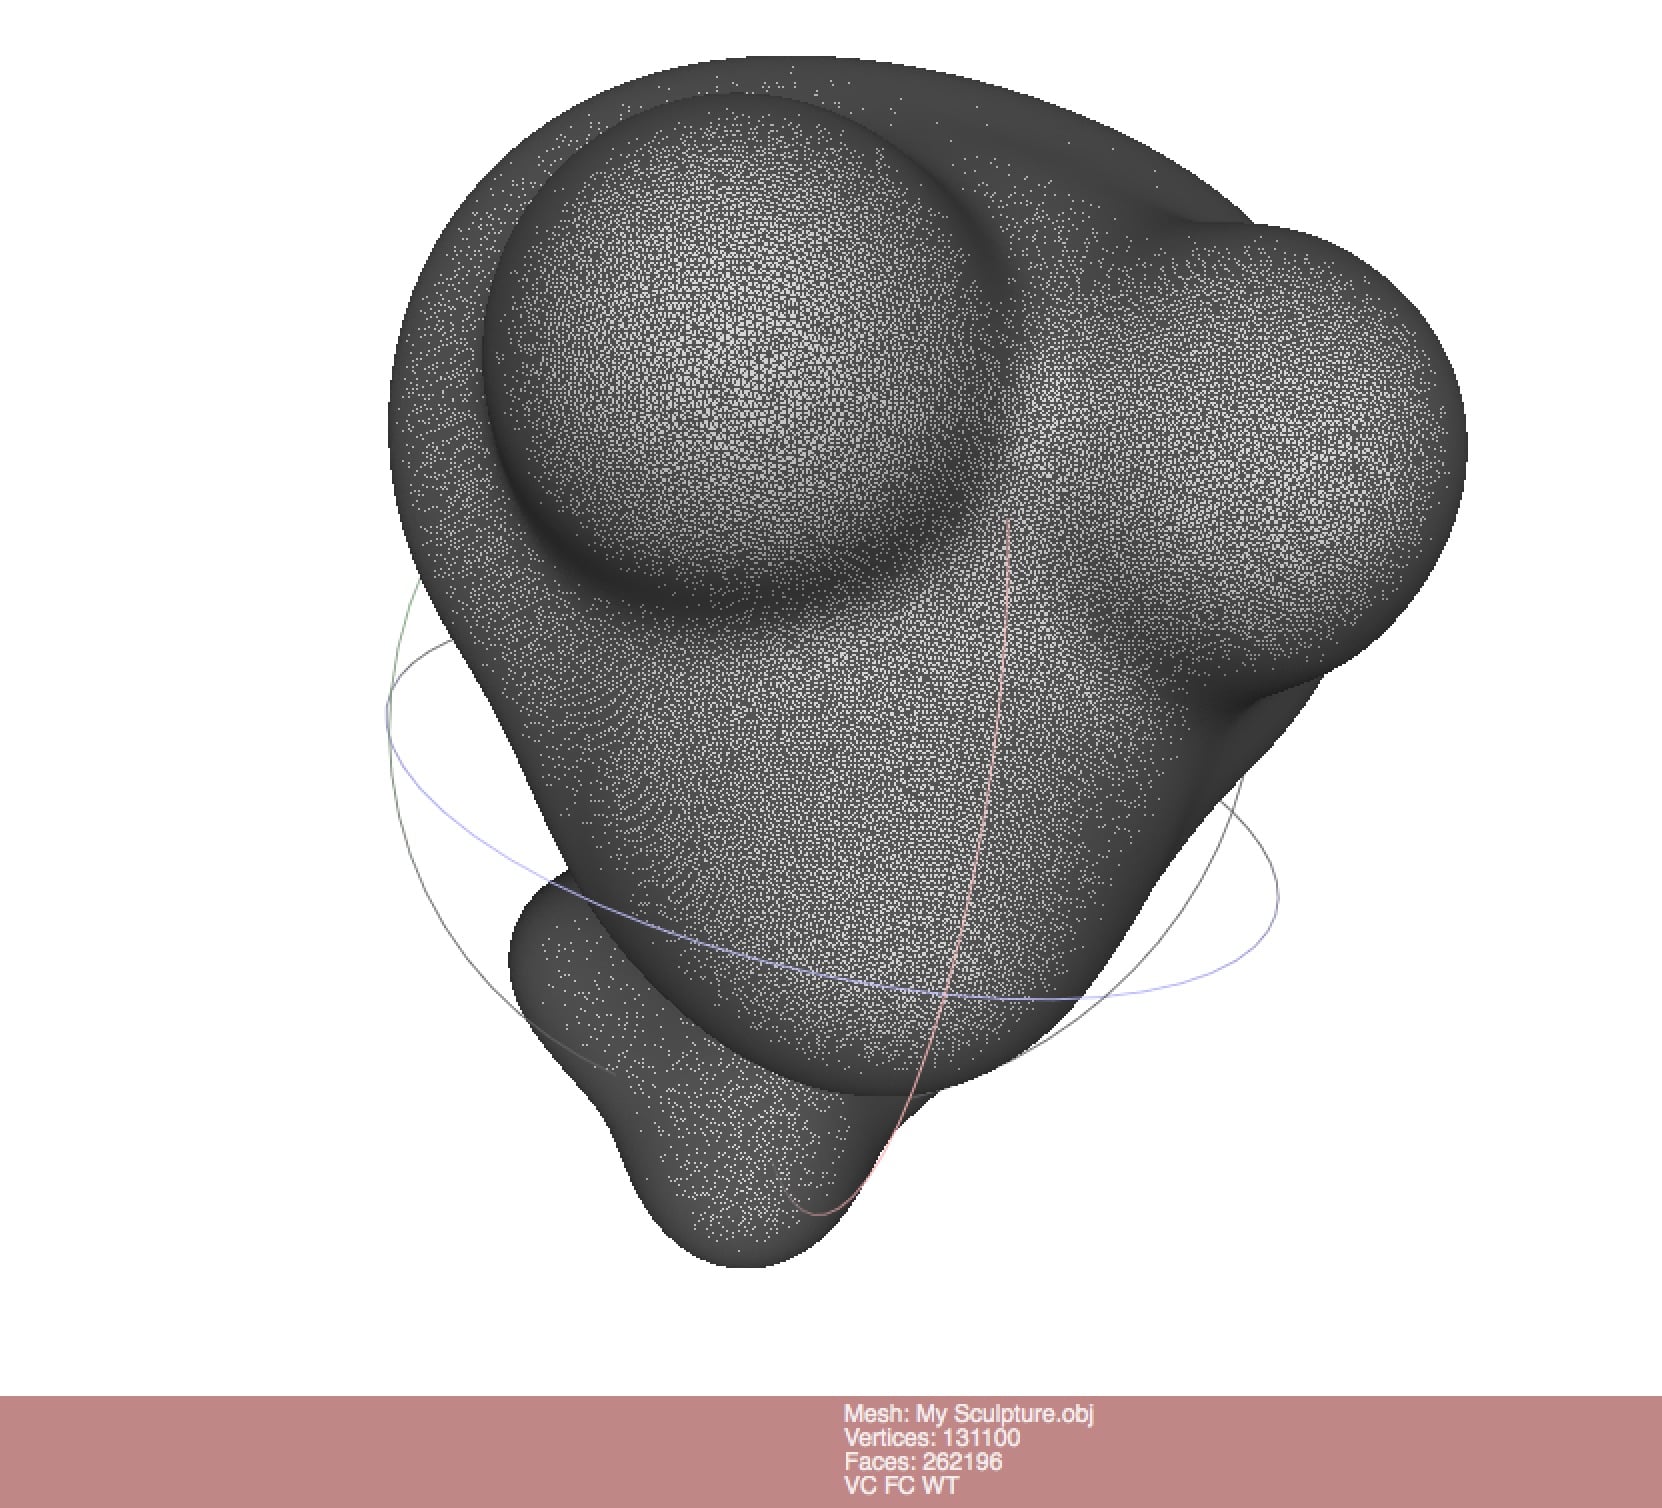
Here we can see the exported 3D model in Meshlab, where the smooth surface contains over 260,000 faces.
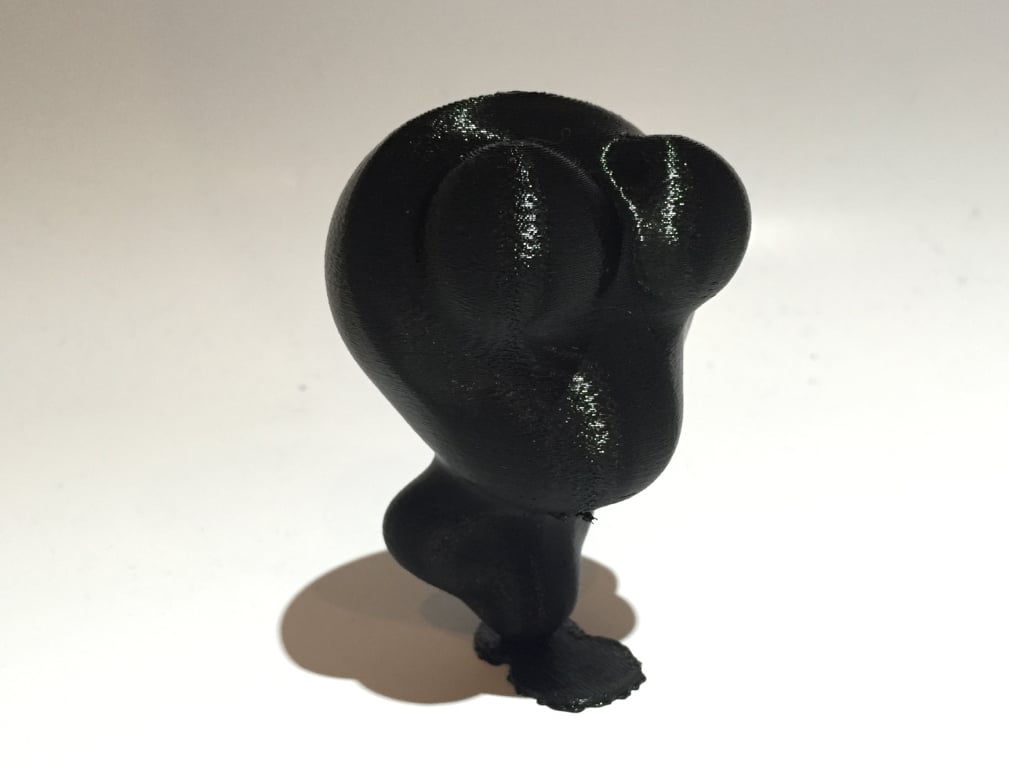
Of course, I had to actually 3D print the 3D model to ensure the entire process works from end to end. It does, check out the image at the top!
If you’re interested in creating 3D characters – and being able to 3D print them in full color, Sculpt+ is a great way to go. It’s very easy to use and requires virtually no training. But if you’re looking for a tool to develop precision parts, this is not it.
Via Autodesk