

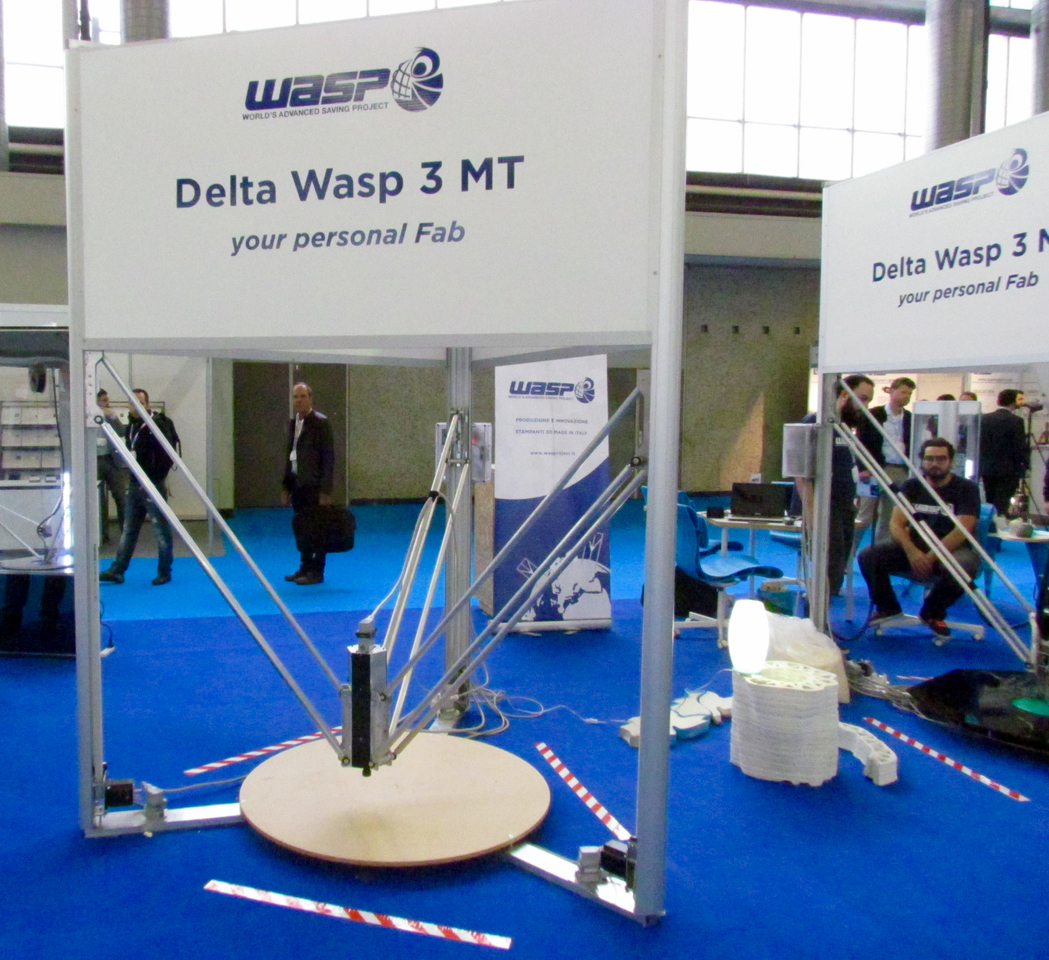
Days ago I wrote about the massive WASP 3 MT massive multi-tool making machine. Now I’ve seen this item in person and it is totally amazing.
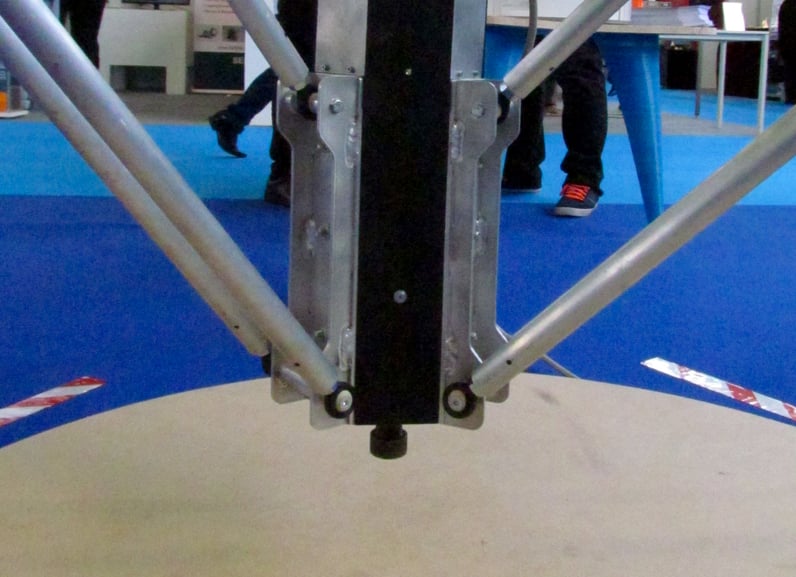
It’s huge, as you can see in the top image. But what you might not see is its multi-function capability. This machine can do three things:
It can 3D print in plastic.
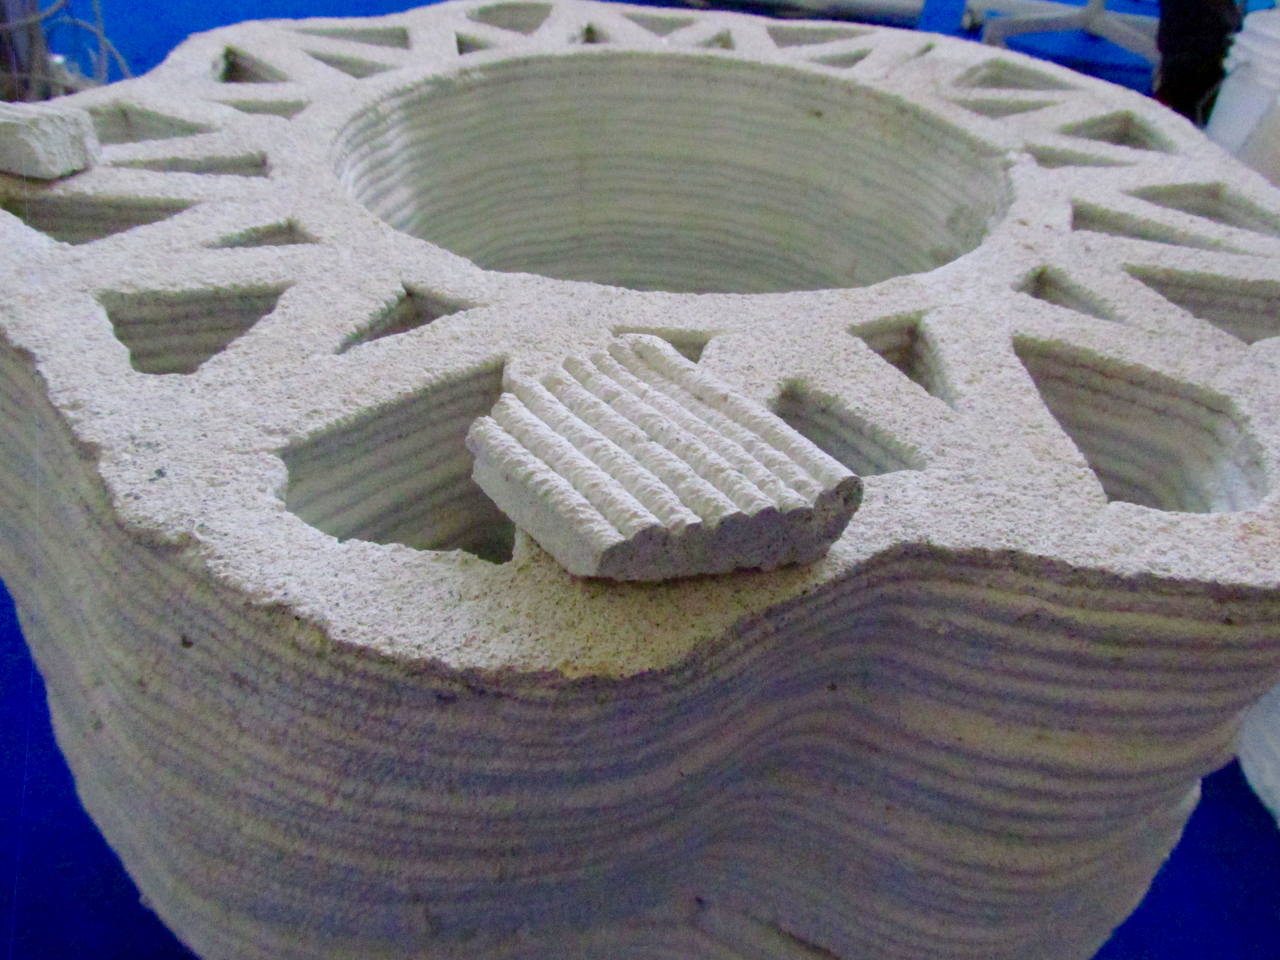
It can 3D print in concrete or cold extrudable materials.
It can CNC mill objects.
I’ve seen small versions of these “multi-tool” devices before, but none were nearly as large as the WASP 3 MT.
Priced starting at a surprisingly inexpensive (for the size) €18,000 (USD$19,800), the WASP 3 MT is a powerful device.
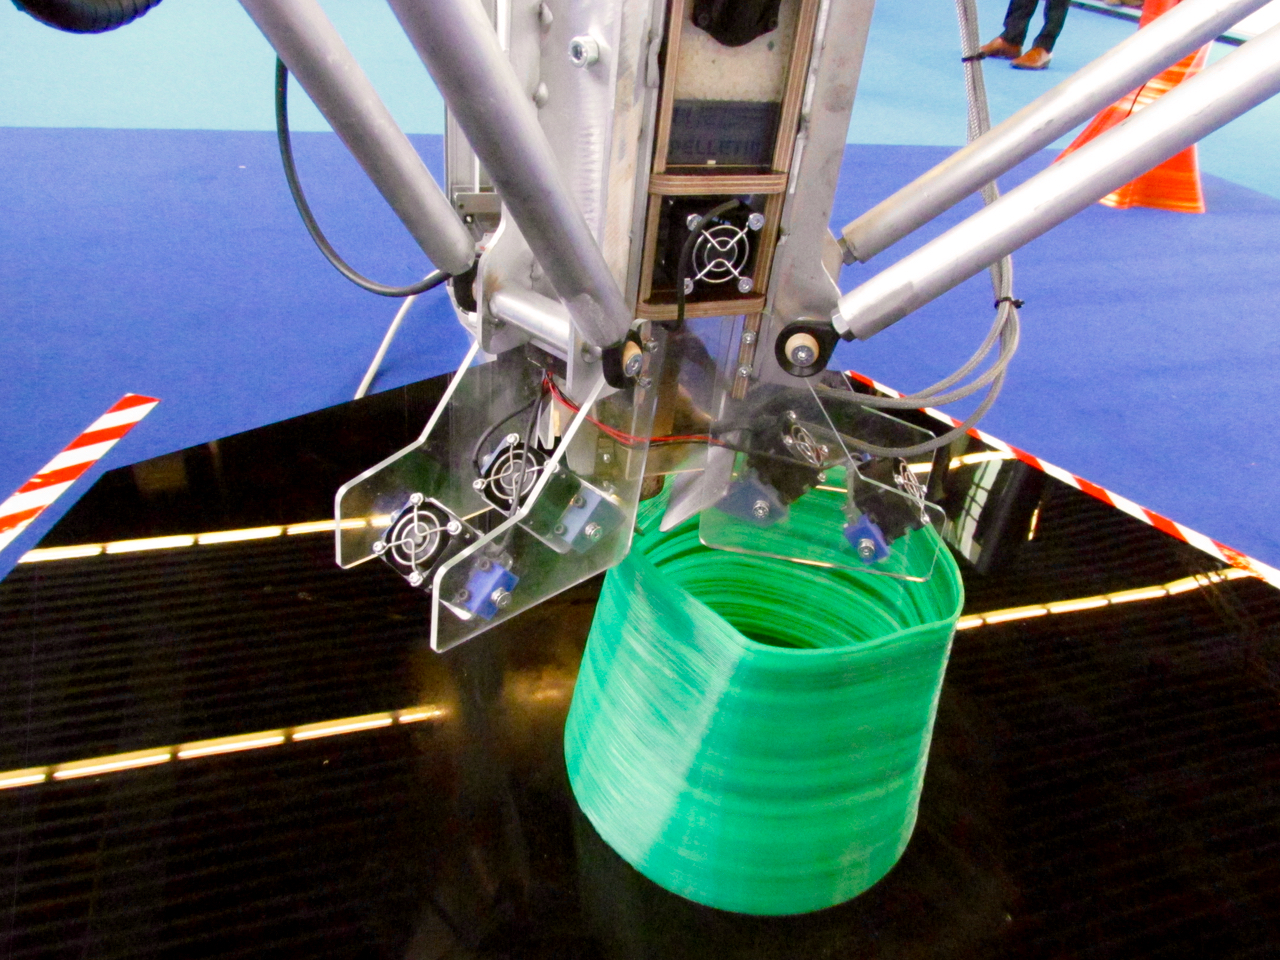
There’s one other very interesting characteristic of this machine: it uses pellets as input for plastic 3D printing.
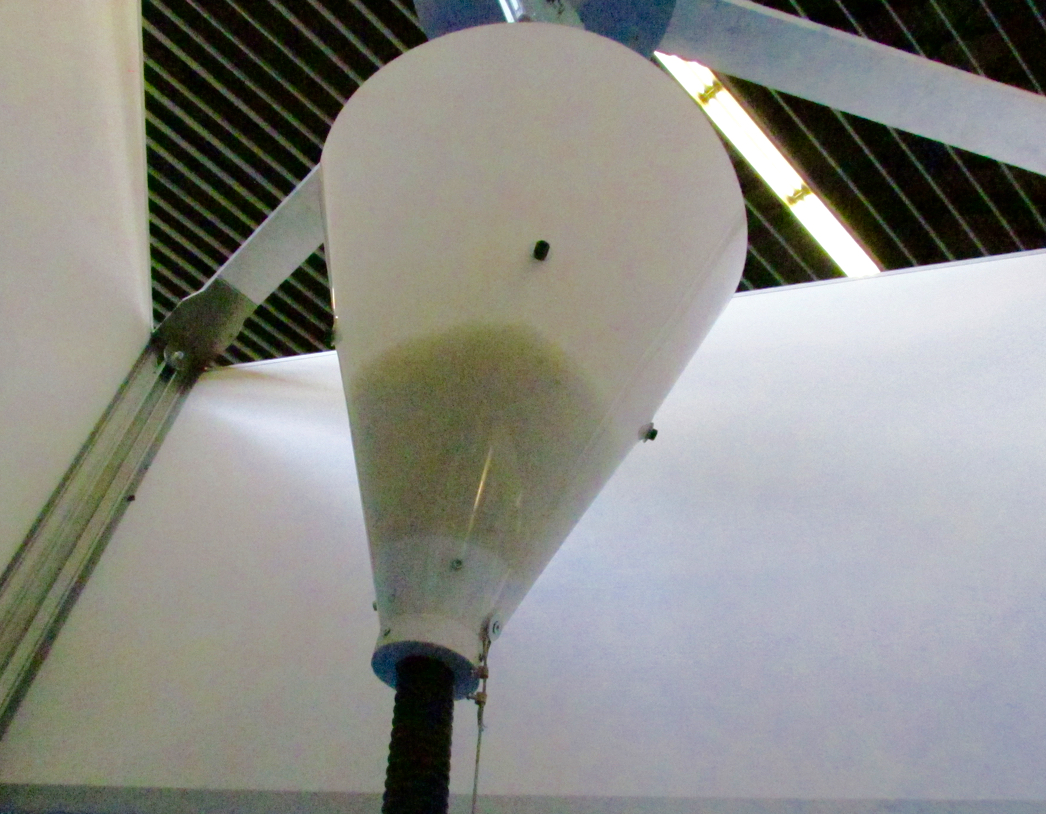
Here we can see the hopper, hidden above the extruder. To operate, you merely keep the hopper filled with plastic pellets, which are far less expensive than 3D printer filament (which, by the way, is MADE FROM THE SAME KIND of pellets!)
This is incredibly important for a 3D printer the size of the WASP 3 MT, as the prints will be very large. You will use a lot of plastic and you might as well lower the price of that plastic.
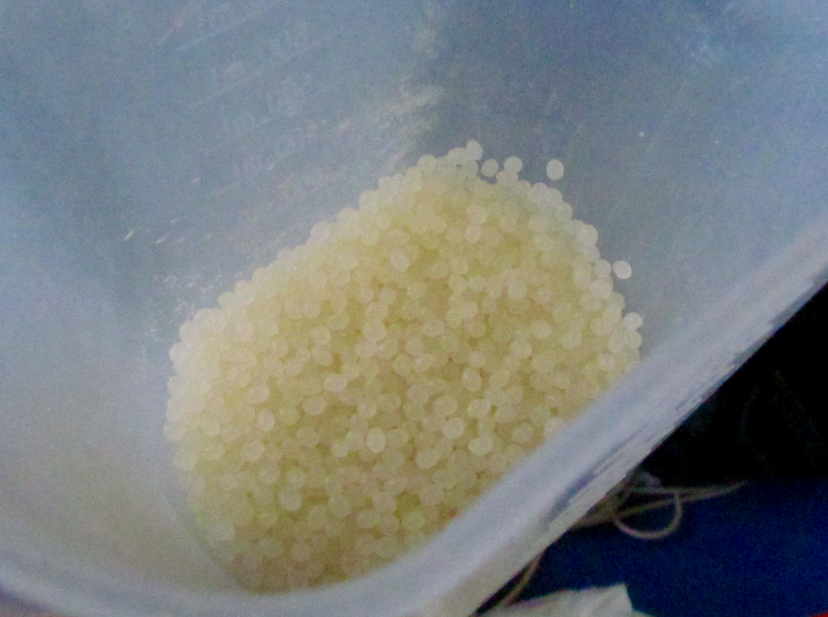
Of course you must ensure you put the same kind of plastic pellets into the hopper during printing, otherwise the nozzle may clog. Imagine if you were 3D printing PLA plastic pellets at a temperature of +200C and then mixed in some ABS pellets, which melt at a much higher temperature. Instant clog!
But what you can do is mix colors within the same plastic! By simply mixing a constant ratio of colors in a separate bucket, you can develop your own unique colors for a print. Just be sure to use the same ratio whenever you refill the hopper.
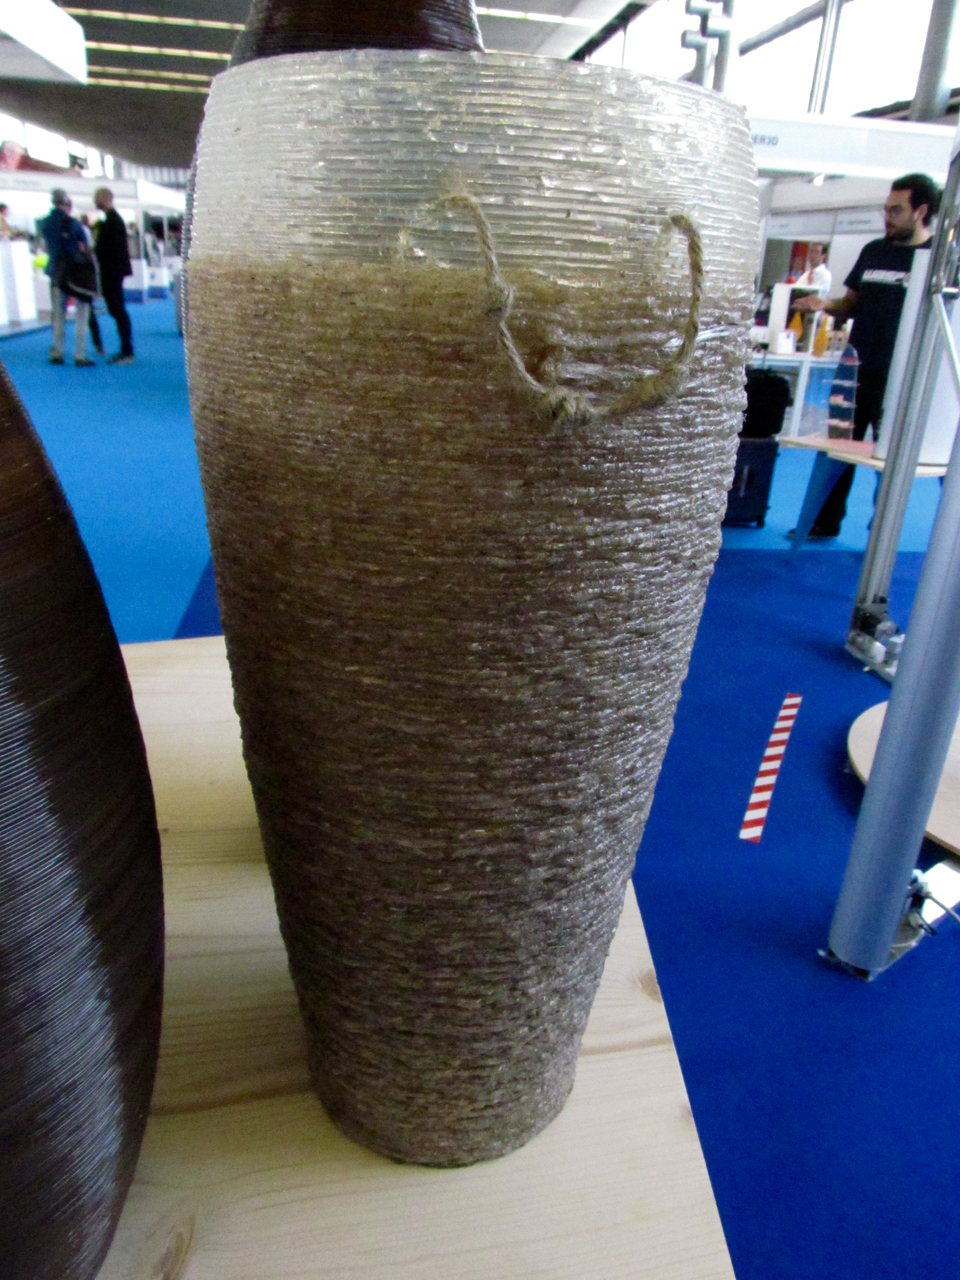
But wait – there’s more you can do! There’s nothing stopping you from putting non-plastic items in the hopper alongside the normal plastic pellets. Here we see how the WASP team mixed in rope with the pellets to develop a unique textured vase. I suspect the possibilities with this approach are practically endless, so long as the added material fits through the nozzle easily and does not burn at extrusion temperatures.
There’s one big problem with the WASP 3 MT, however: it’s so big it may not fit into many workshops!
Via WASP