

When I was asked if I would mind reviewing a 3D printer from a new user perspective, tt took me all of a few seconds to agree to the testing and then counted down the days for the printer to arrive.
As much as this is a review of the MakerBot Replicator+, it is also my introduction to 3D printing.
The printer arrived extremely well packed and organized. My initial impressions are that the build quality of the unit is impressive and the machine itself is quite aesthetically pleasing.
Once unpacked the setup process began. During the first setup I had the helpful overwatch of Fabbaloo’s General Fabb. I later repeated the setup on my own and it is still a bit unintuitive to connect the printer on your network.
The printer is network operated and you will need to connect it to your WiFi network. In order to do this the printer requires you to:
- Create its own WiFi hotspot
- Connect your phone to the printer’s WiFi
- Use your phone app to enter your network WiFI settings and connect the printer
- Reconnect your phone to your WiFi network.
While using the phone to enter a lengthy WiFi password is handy, the setup could be streamlined.
Once the printer is hooked up to the network the Smart Extruder+ needs to be installed. The installation is very simple: You align the Smart Extruder+ to the printer and the magnets do their magic and the Smart Extruder+ simply snaps in – neat!
The next step was to level the bed. You need to use an allen key to adjust screws on the underside of the print bed that are flush-mounted, and you need to do this while looking at the front screen for adjustment prompts.
While the on-screen prompts are handy, I found this awkward and perhaps some exposed thumb screws I could hand adjust that recess into the base of the printer would be easier.
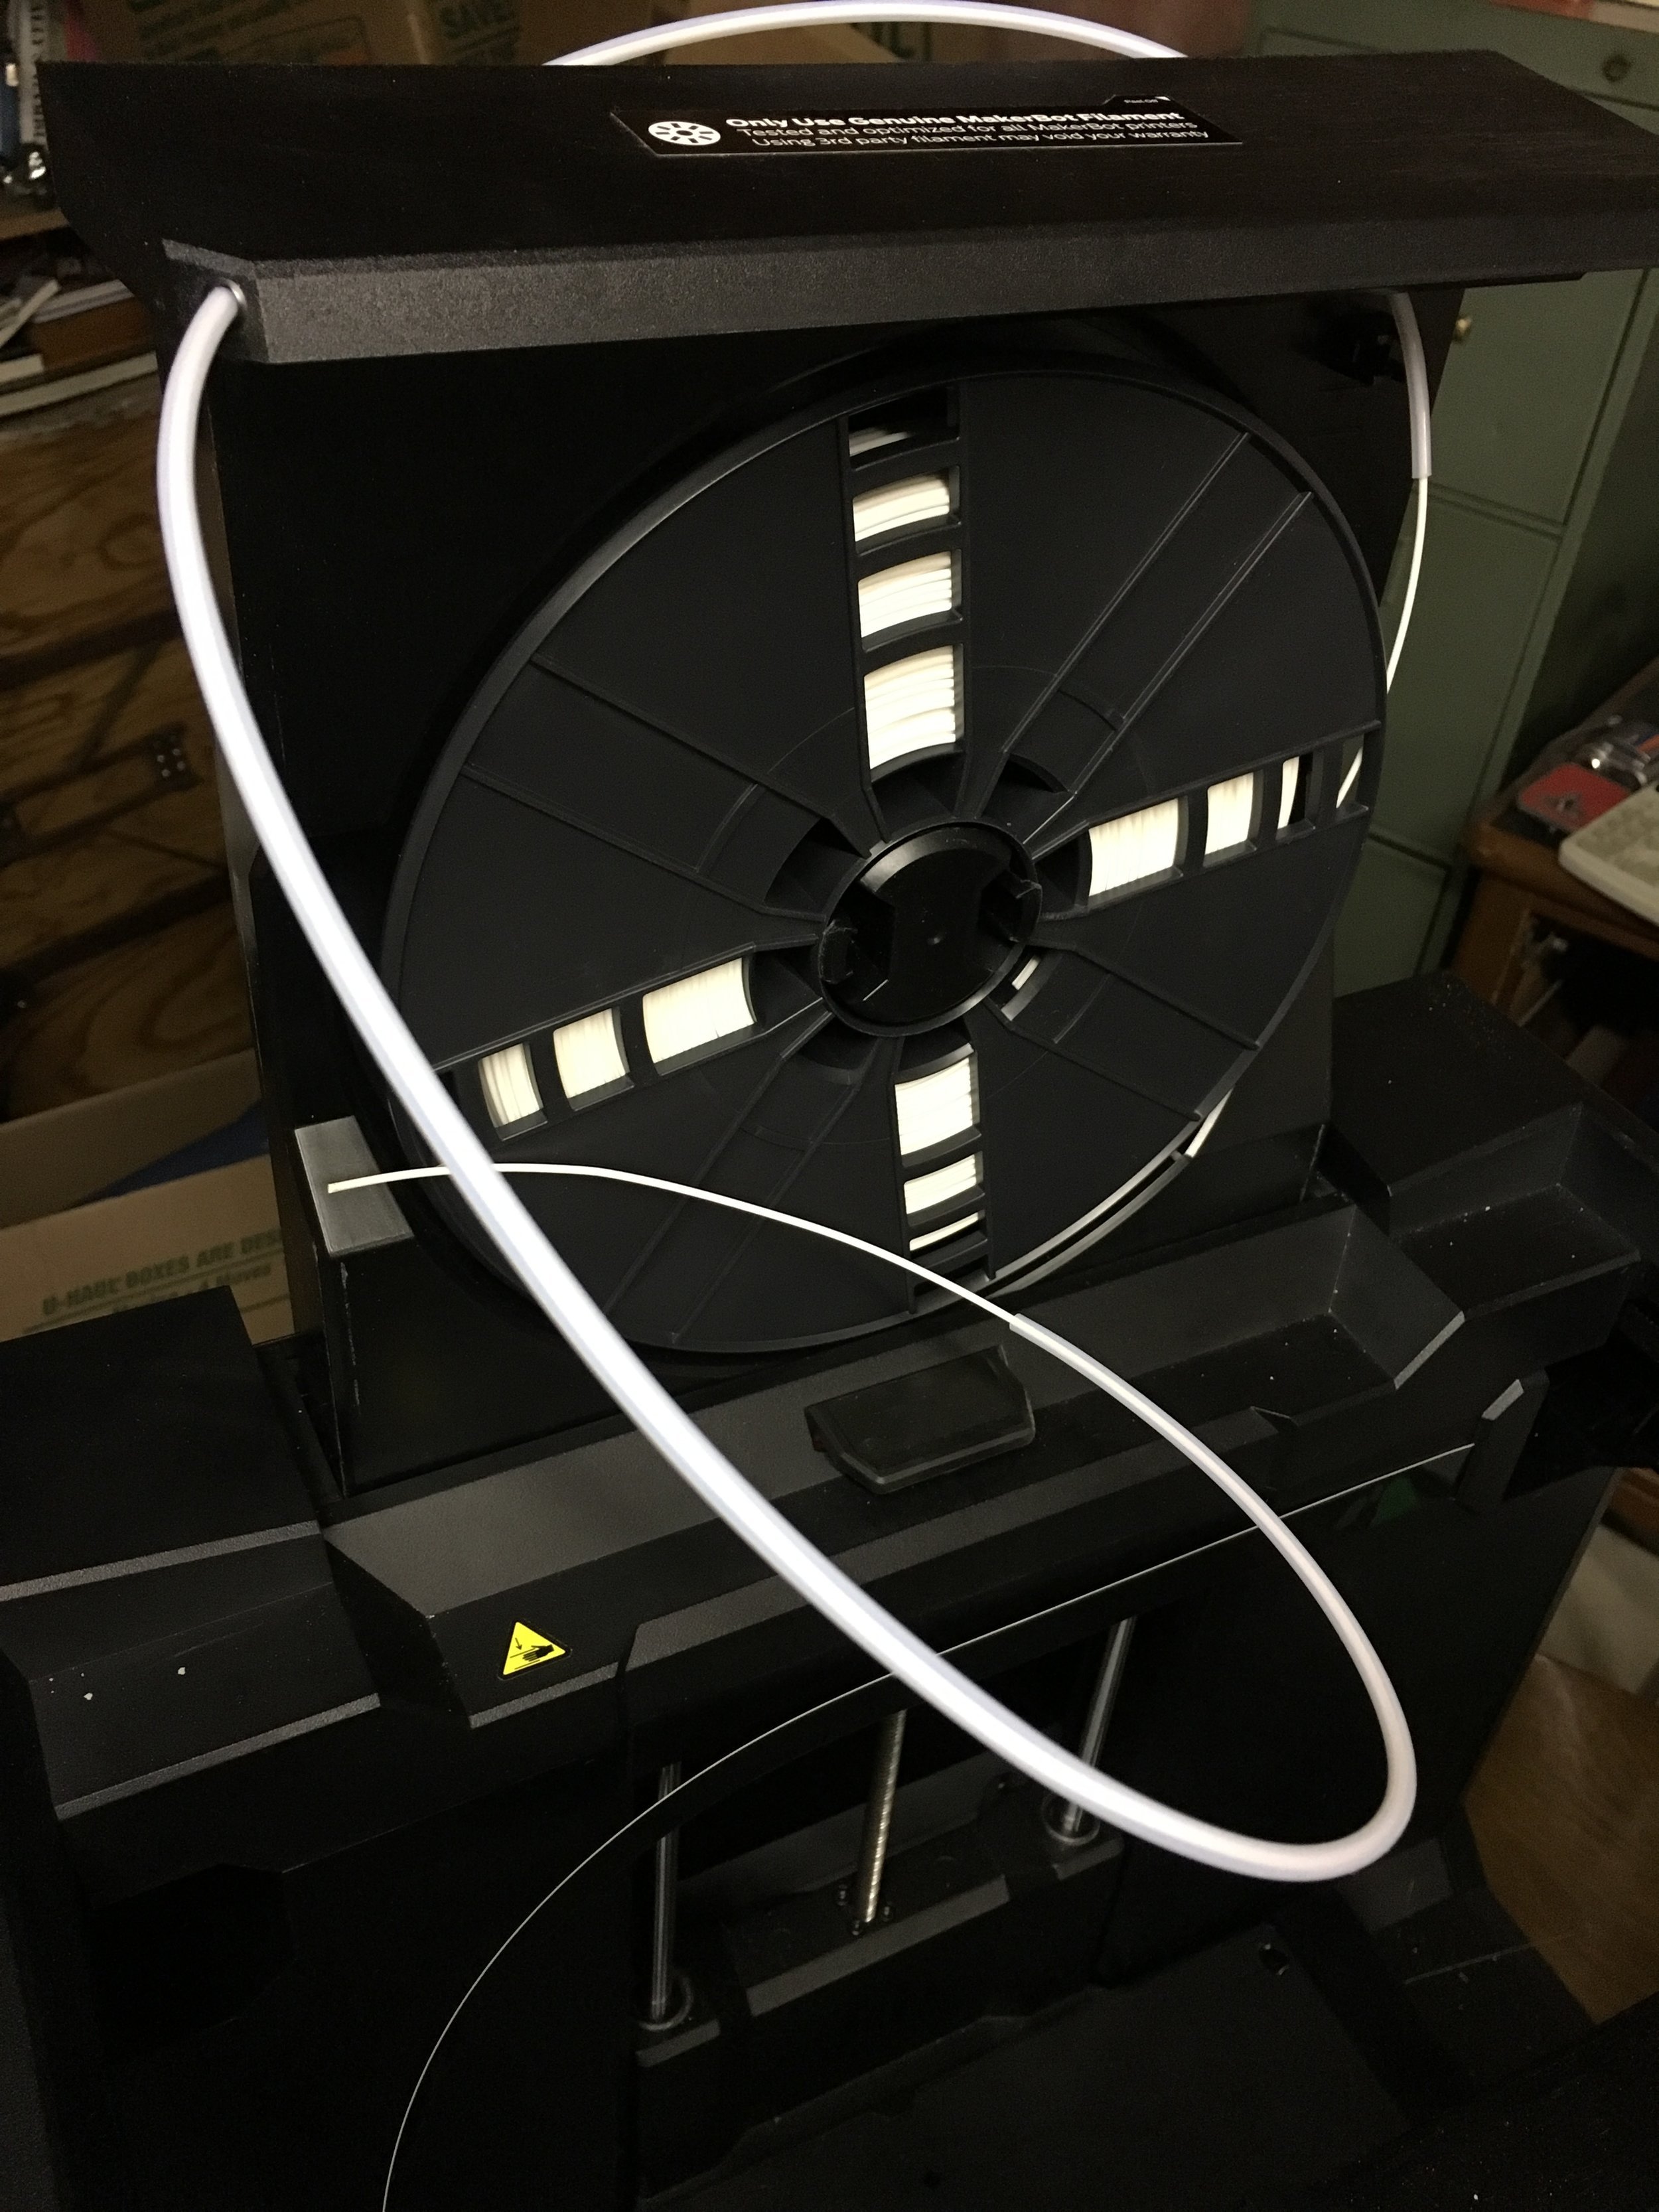
With the printer almost ready I need to load the filament. A single filament spool can be mounted in a very handy drawer that can be extended to load / unload spools and sits flush in the printer when printing. While this drawer is nice it makes it very difficult to see how much filament is left.
When the print bed is elevated while printing I found the print bed would block the window to see how much filament is left. This drawer was also built with the envy of the French Revolution Guillotine Manufacturers Guild: Be very careful and use two hands when closing the filament tray, because the drawer will slam shut with a full spool. MakerBot may consider a hydraulic dampening system, more prominent warning stickers, or supply the .STL files for a few new fingers!
Loading the filament into the Smart Extruder+ is simple, once you figure out the missing step to push down on the extruder lever to enable filament feeding. The Smart Extruder+ pulls the filament in. Thankfully, I had guidance with my initial setup or I may still be trying to load the filament for the first print.
After an approximately 30 minute setup I was ready to go! I started with one of the preloaded prints, the Cube, for the first print. The first print was a success – the printer was good to go and ready to be connected to the laptop software.
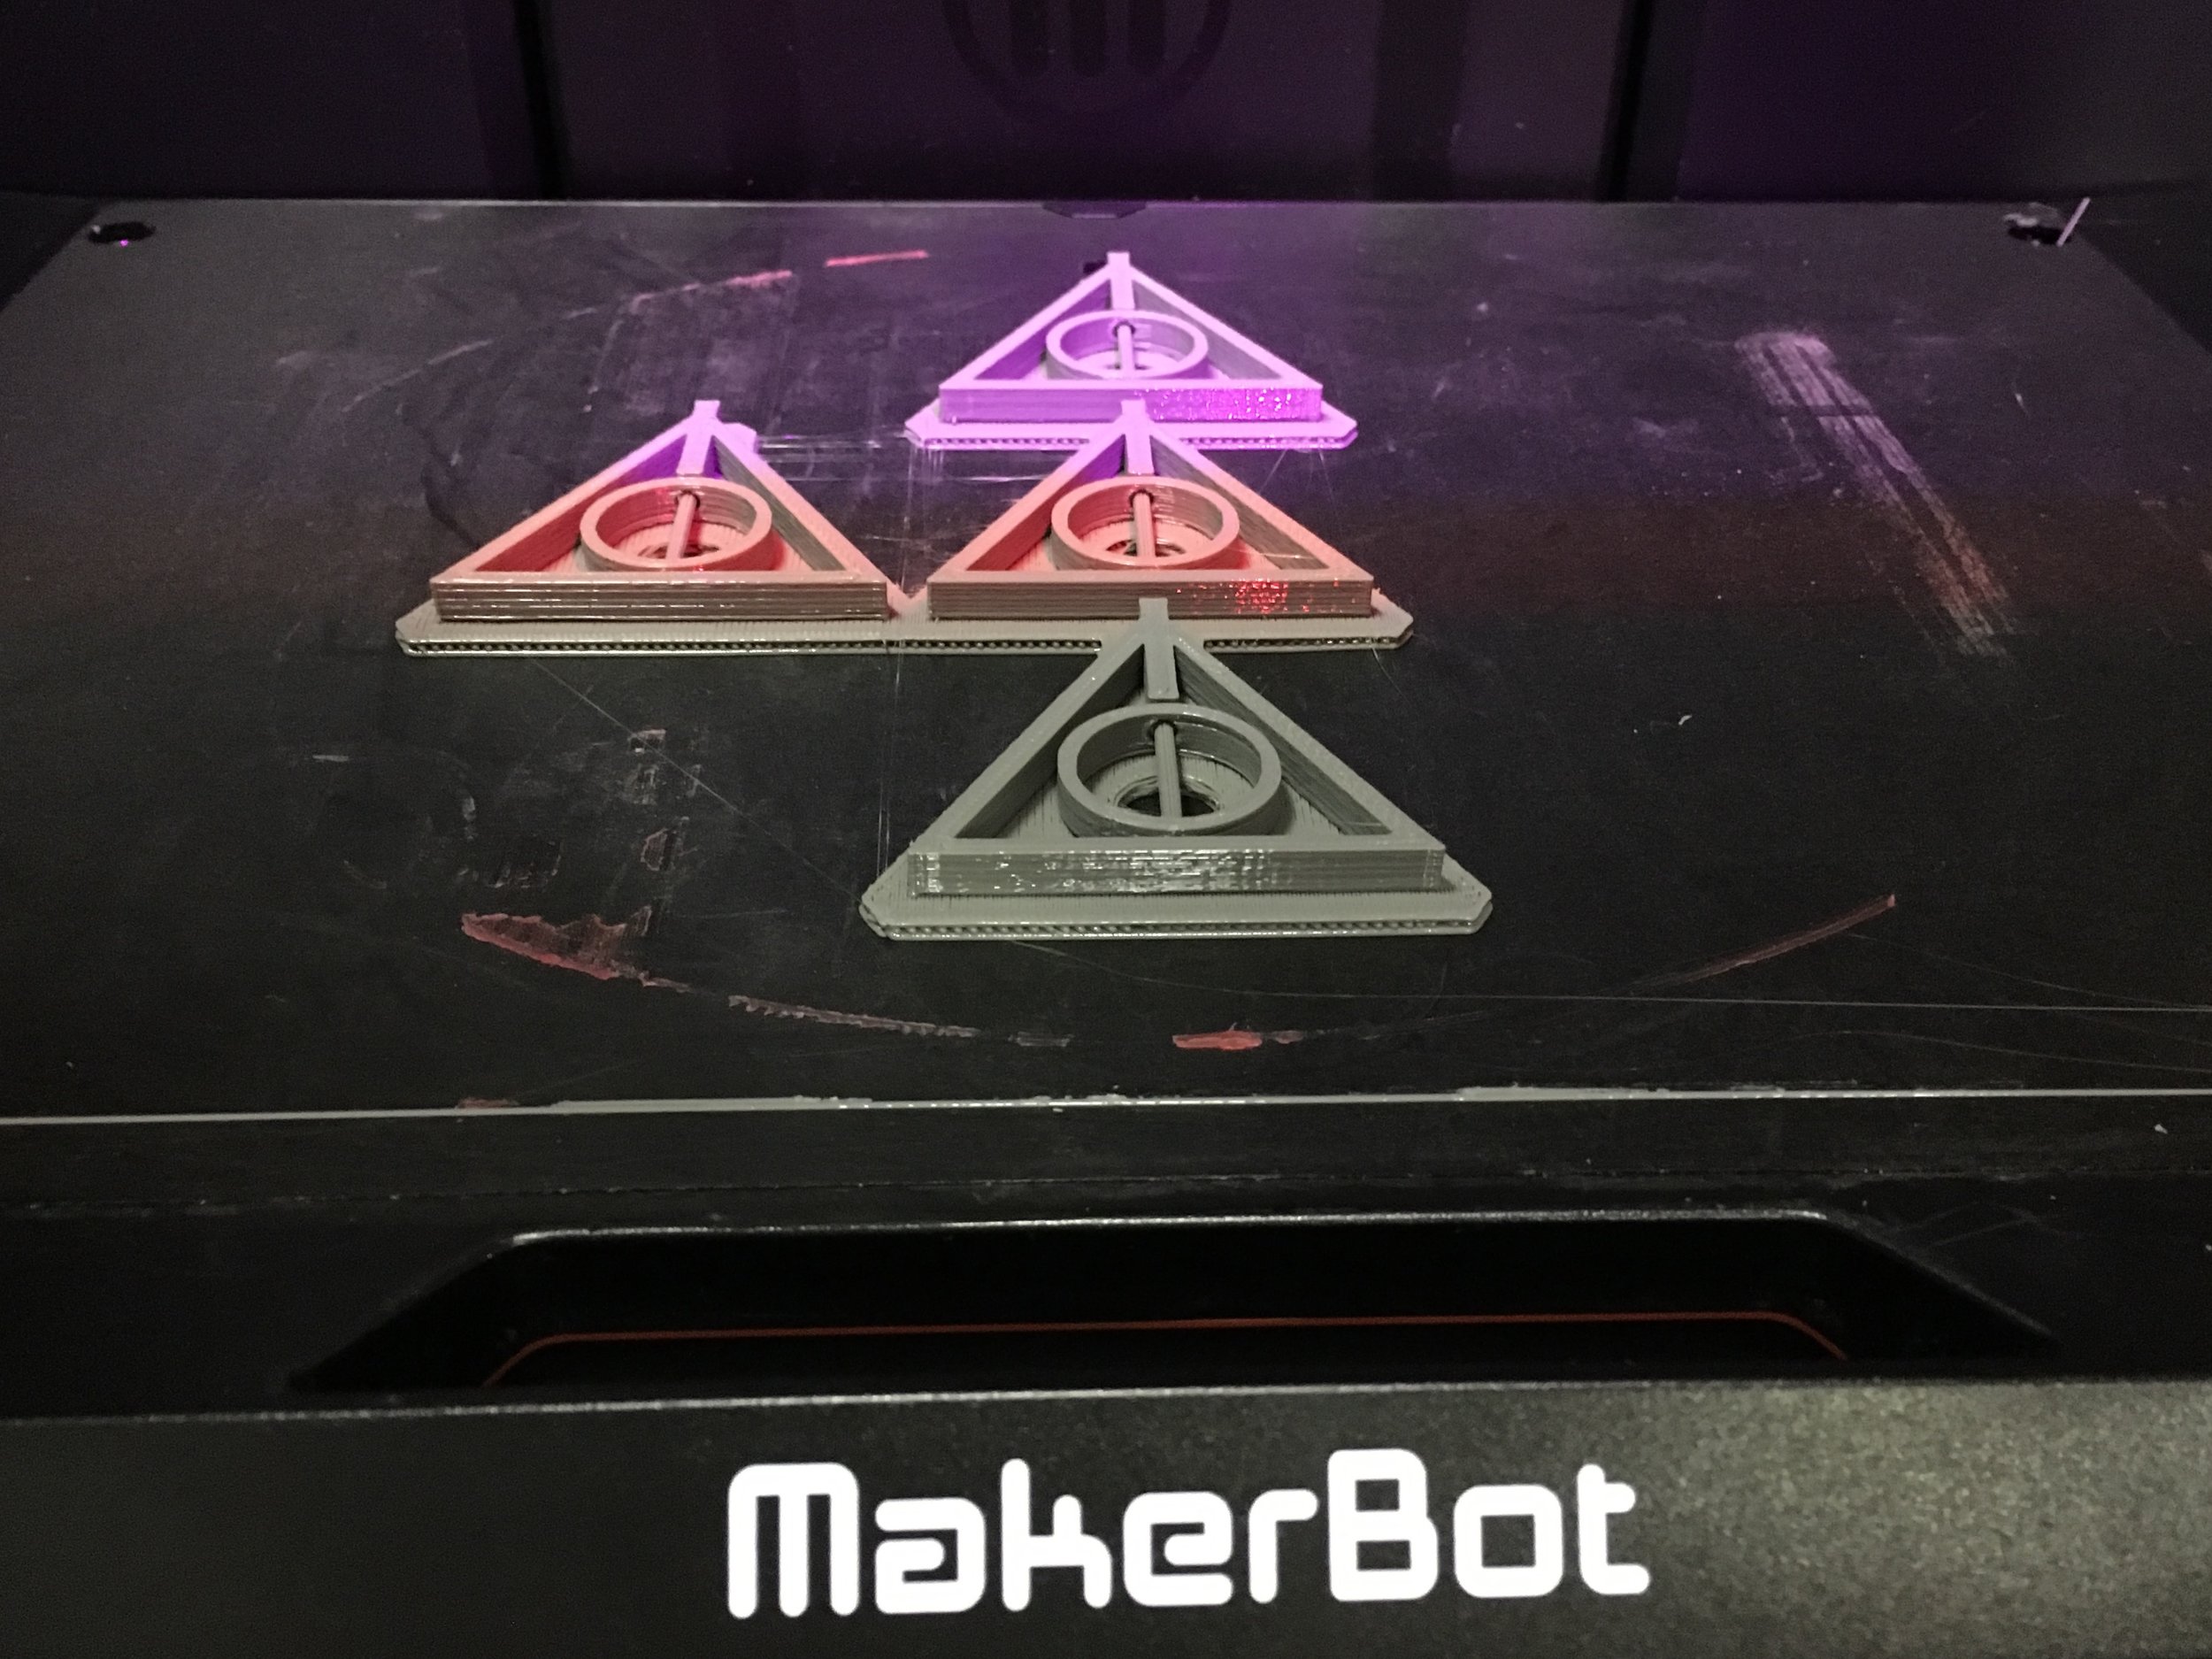
The MakerBot Print software was quite easy to install and operate. I found it quite simple to load existing .STL files and print them. I had printed multiple .STL files at one time and the software easily allowed me to arrange to build plate for multiple print jobs at once.
The software was fairly intuitive to use for someone with no experience with any 3D printer software. The functions I attempted with the software were:
- Print existing .STL models
- Rearrange build builds
- Scale models on single or multiple access
- Select auto-supports
- Select printer speed/resolution
- Monitor in-progress prints
- Reorienting models to print optimally
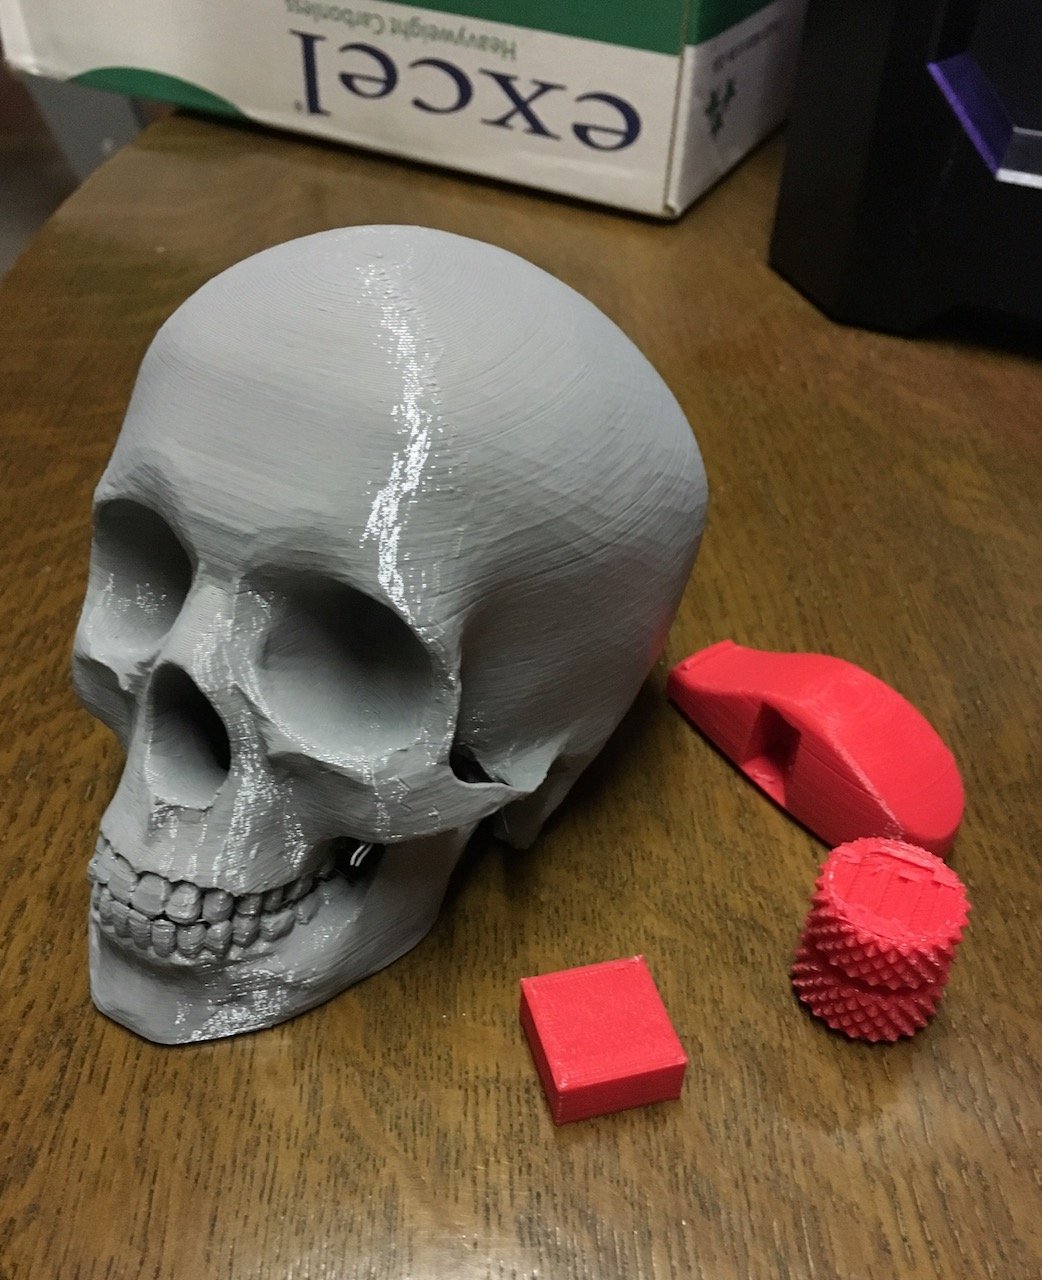
My first print using MakerBot Print was of a whistle I found on Thingiverse. There is not much to review, the print worked as expected: The whistle worked. In hindsight, printing a whistle for my kids to try out and show their friends may not have been the best idea.
The print bed was good. All prints all came off the print bed, although some prints required a scraper and lots of bending of the print bed; but all came off eventually. The print bed is unheated and can easily be removed to clear the print bed.
For my next 3D prints I was like the sixteen year old kid with a new driver’s license who borrowed dad’s Mustang for a drive. I had the Replicator+ running nearly full time for over a week without a single printer-related issue. The Replicator+ is a workhorse.
MakerBot also has a mobile app that is very handy for monitoring prints; however, I could never get alerts for printing errors or completed prints to alert me on my iPhone. I could easily view in progress prints and even initiate prints remotely if you have the print bed clear.
The camera on the Replicator+ could be better. There is a weird lighting scheme that throws shadows and prism effects across print jobs making it hard to see any detail during a print.
While the printer was a workhorse over my weeks of testing I did have a few issues.
I did have a few filament slips where the printer would rehome itself a few times and reload the MakerBot filament and continue to print. During these filament slips there was no warning on the app and numerous times a print would suspend. I did try both MakerBot and non-Maketbot filament and was having filament slips on each; however, the Maketbot filament performed much better and fit in the filament drawer nicely.
I did originally have a few issues with the rafts being so well adhered to the model that you would ruin some 3D prints when removing the raft. This was somewhat fixed in a subsequent software update:
The MakerBot Print software alerted there was a software update available. I accepted the update from the software and after a reboot everything was updated. The software update was simple and the raft were greatly improved.
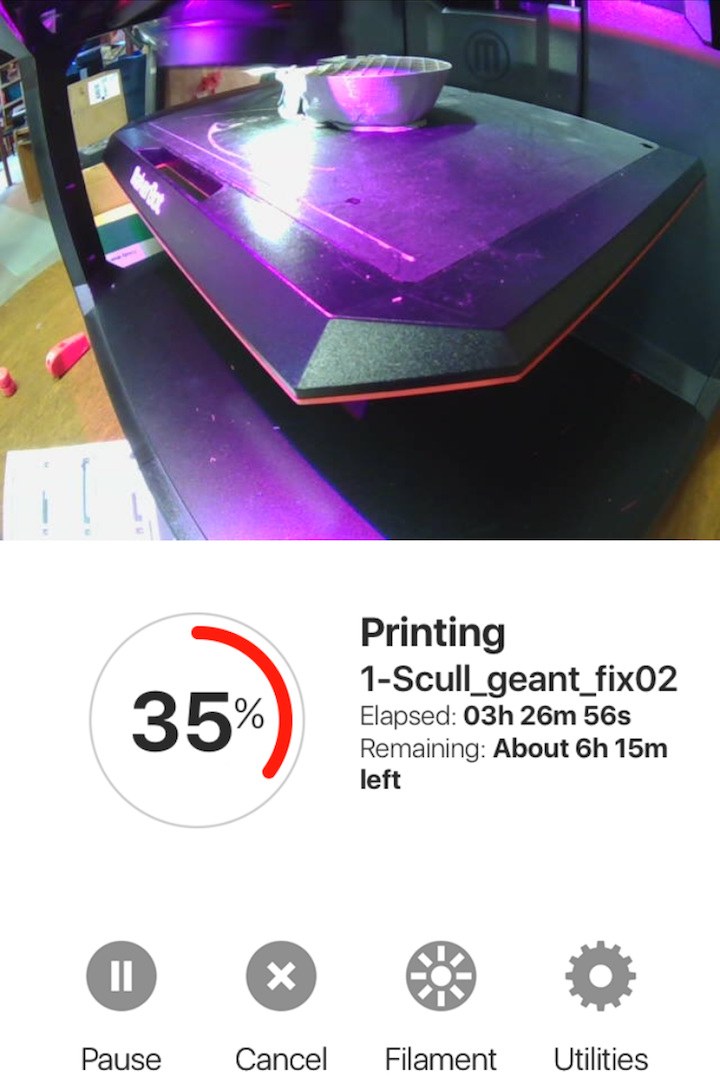
Transfers from MakerBot software to printer are sllllllooooowww, painfully slow! I found this to be frustrating on more than one occasion. I would start a print in the morning before heading out to work. Prints would routinely take 20+ minutes to go load to the printer. The files take a unique path and do not go directly to your network connected printer. Prints go to the cloud and back to the printer.
It is great that once your print begins you can disconnect your computer and the printer continues to print. I had one print that did not start because my laptop had went into sleep mode while uploading the file to the printer causing the printer “lock up”. The printer was still in receiving file mode and I was unable to cancel the file being sent or to start another print remotely.
I also experienced a few minor issues with the the MakerBot Print software where it would show the printer as busy when it was in fact ready to print. This happened on a few occasions. A quick reboot of the Makertbot Print software would re-establish connection. Hopefully you remembered to save your print you prepared!
I had two 3D prints look like there was a slip on one axis during the print. This happened to these two prints and subsequent prints did come out fine.
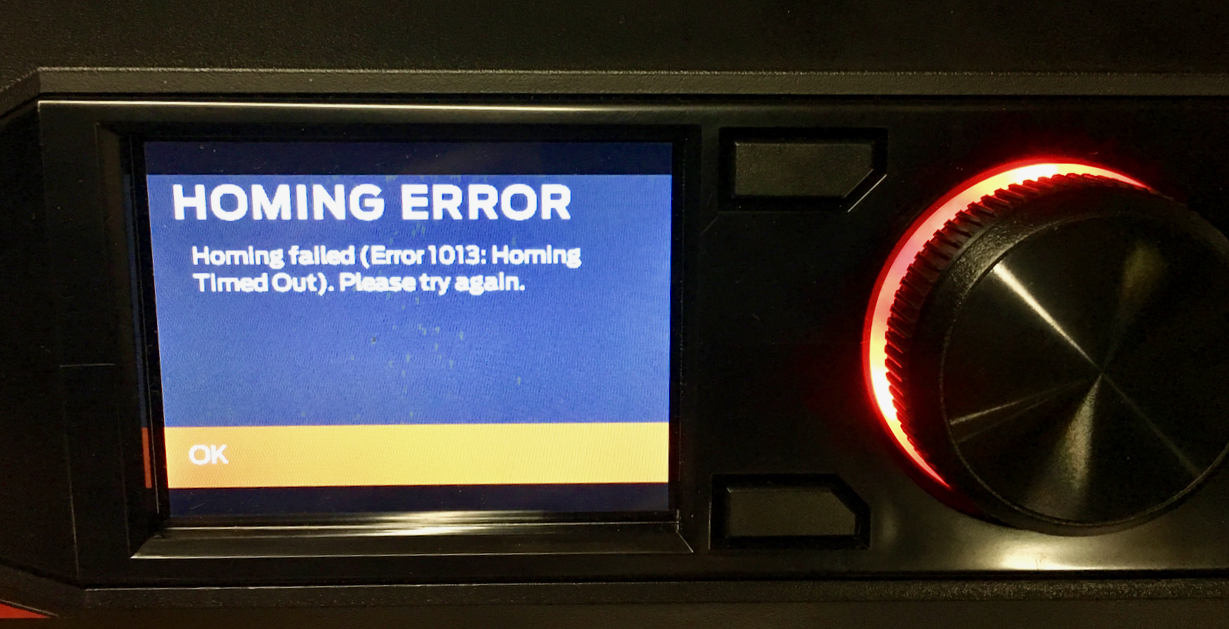
I also discovered the easily-removed print bed can also be easily installed incorrectly. Once, when I installed the print bed it wasn’t sitting flush and this caused the printer to repeatedly smash the Smart Extruder+ into the print bed while the printer tried to home. The Smart Extruder was hitting quite forcefully and it sounded like it was damaging the printer. I panicked and pulled the electrical plug to, hopefully, stop any damage.
My hopes were dashed after I powered up the printer, as it would not load the filament into the Smart Extruder+. I heard gears grinding and clicking. When I inspected things a bit closer, it became clear a small piece of plastic covered the tip of the nozzle. It was loose and fell off on my touch. This fixed the issue.
Perhaps a few sensors to indicate the print bed is installed properly could prevent future installation errors and damage? It seems the damage is to the Smart Extruder+ only, which, thankfully, is a simple piece to replace.
Throughout this test I was printing many things from Thingiverse: a few useful bathroom gadgets, and honestly things I could have bought. Printing was much more convenient, quicker, and I don’t think my kids would have the sense of awe with a purchased toothbrush stand as they do with one they printed and perhaps designed.
Have you ever have had those moments when something just clicks?
I had recently moved and was assembling some flat pack furniture and one of the included parts, a plastic cam, broke. Without this small piece of plastic I could not put the dresser together. The plastic cams were available at no charge from the store’s customer service desk but that required a two-hour round trip, a plate of meatballs and ¼ tank of gas.
After a quick online search I found a similar cam to 3D print myself, and the print worked. The 3D printed cam is solid – as solid as the original one – but it’s the wrong size. If I had the correct file I am positive it would work.
But then I realized I could scale the X-axis! After a quick measure and napkin math I 3D printed the cam again at 78% scale on the x axis. It worked! The printer saved me a trip, saved me an evening wasted traveling to the store, and saved the fuel. My son is also quite pleased with the idea his dresser was assembled with a 3D printed part.
His dresser is now 78% cooler than original.

I mentioned the printer was a big hit with my kids. My son was excited to explain 3D printing to his class and he 3D printed PLA emoticons for each of his classmates for Show and Tell day. It was quite a successful Show and Tell.
Using the 3D printer changed the way we looked at a some things. Instead of what we need to buy for our new house, our thinking shifted to what should we “make” for the house. Now the challenge is to get the kids learning 3D modeling so they can create for their own.
I look forward to learning with them.