
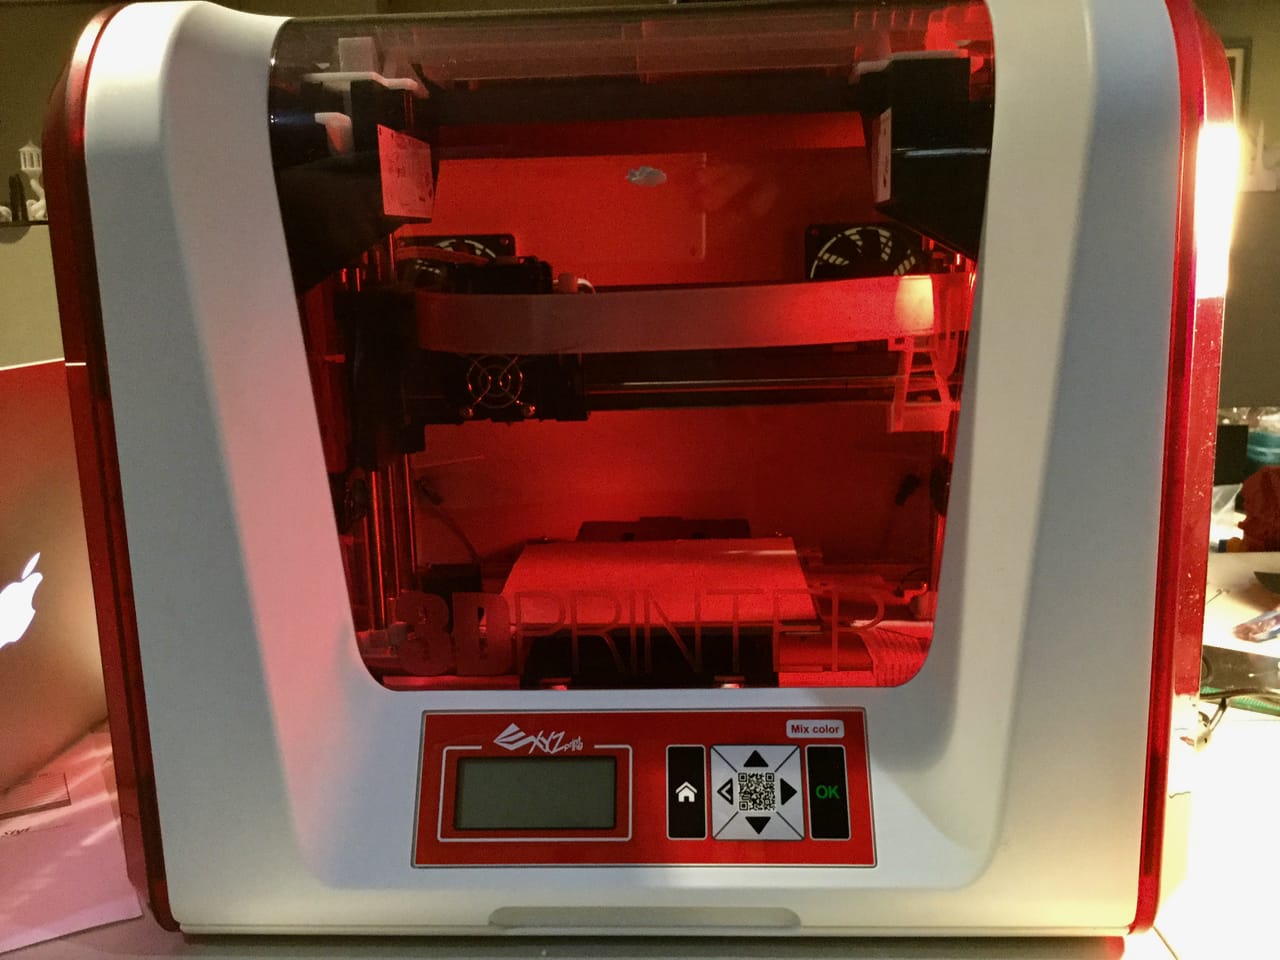

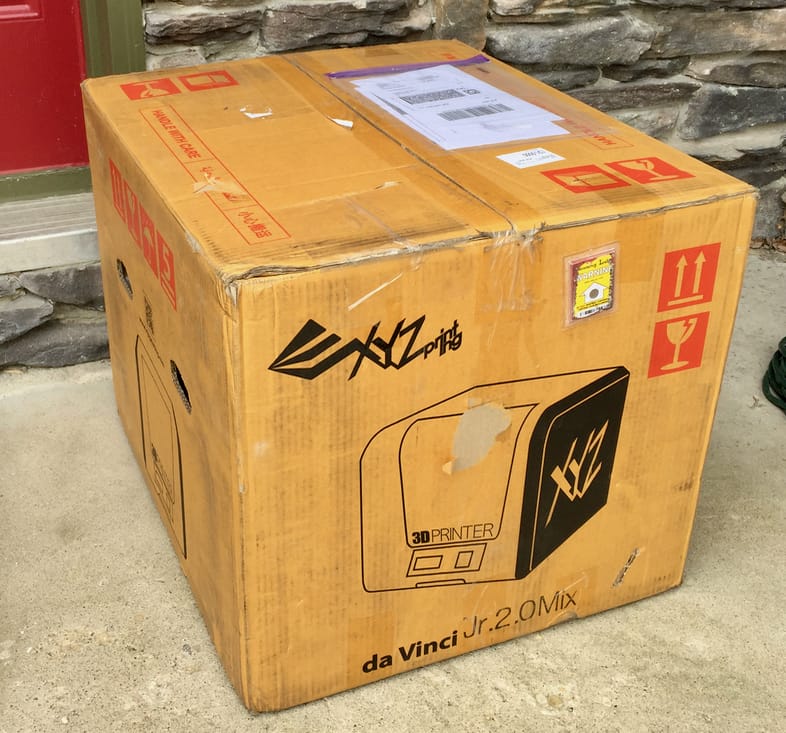
We obtained a da Vinci Jr. 2.0 Mix desktop 3D printer from XYZprinting and put it through some tests.
The Jr. Mix is an unusual desktop 3D printer because it combines two qualities not found in other models: an inexpensive price and the ability to mix two different filaments during 3D printing operations.
There are many sub-USD$500 3D printers, and there are several 3D printers that can mix filaments, sometimes up to six at a time, but none can do that at the price XYZprinting offers the da Vinci Jr. 2.0 Mix.
So it was great interest that we took on the challenge of trying out this unusual 3D printer.
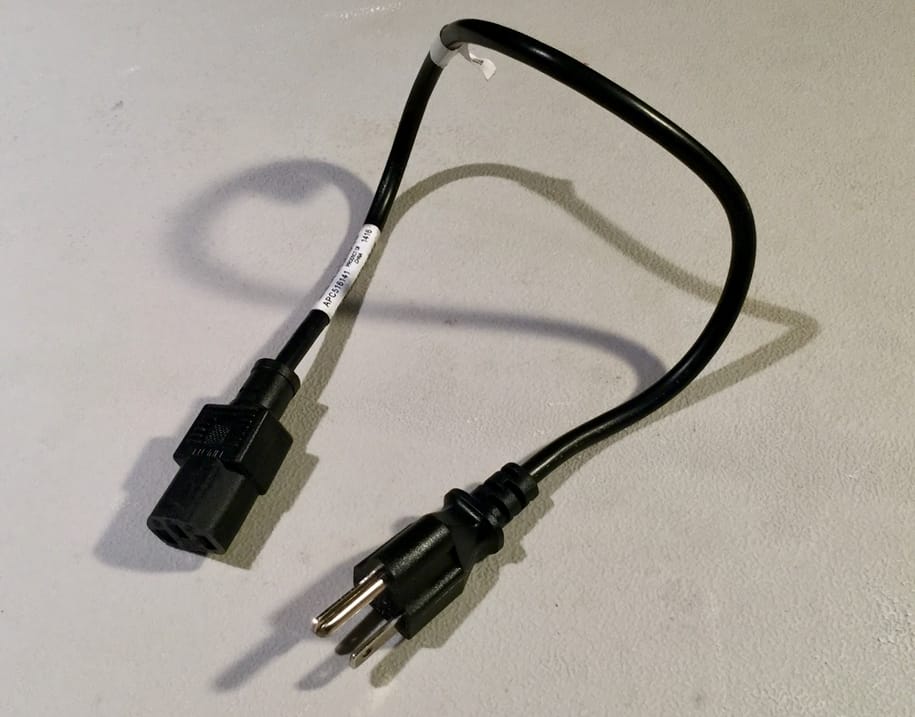
One immediate surprise was this ridiculously short power cord. I quickly realized that it is intended to connect the power brick to the wall, and that there is a much longer cord from the brick to the printer itself. If you don’t know why these awkward power bricks are often used, it’s because it typically avoids the need for the manufacturer to obtain certain certifications on the main unit. This is not a problem by any means, but the cord length was simply surprising to me.
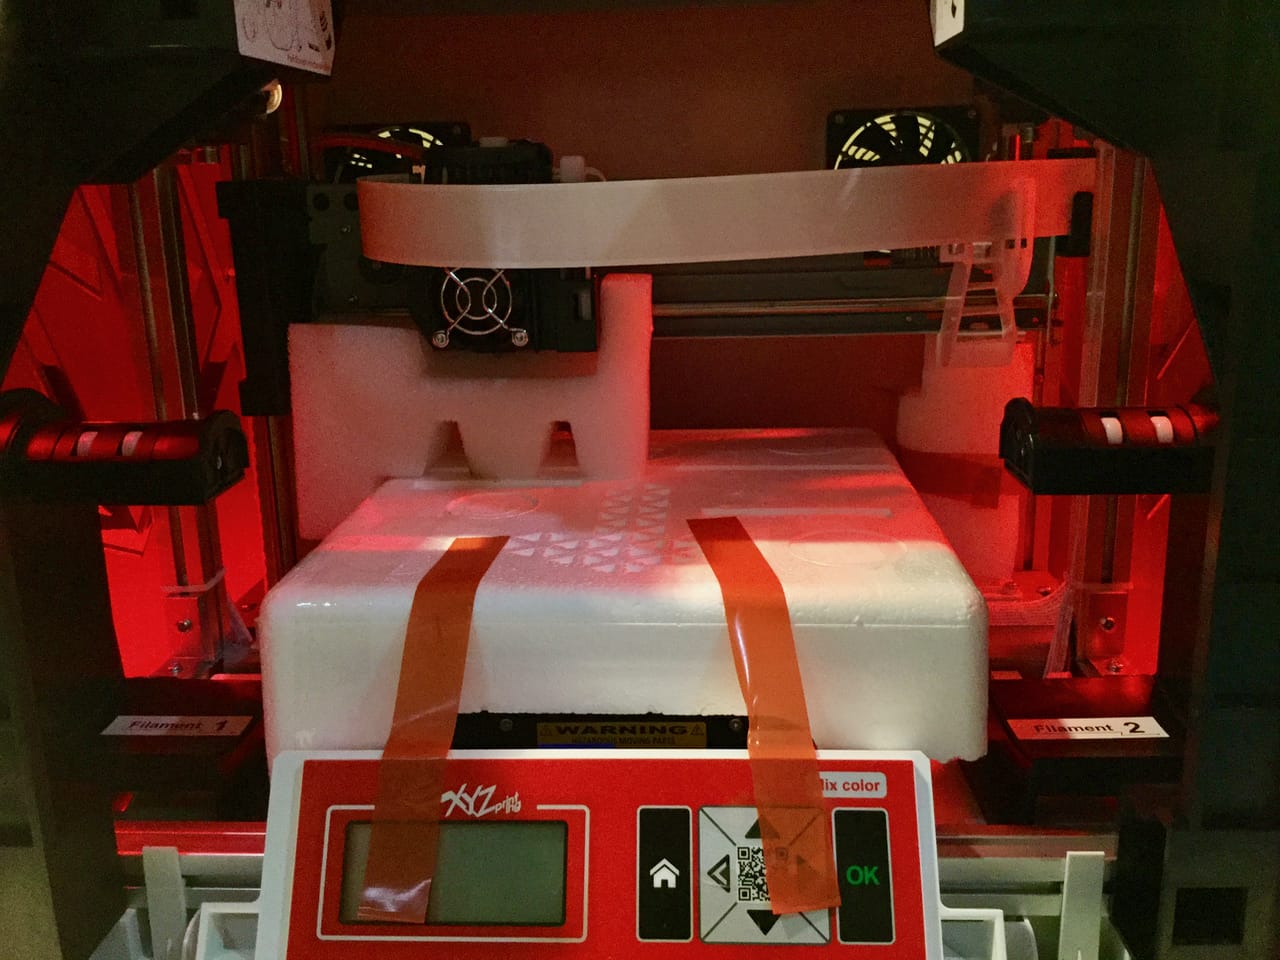
As is customary, the Jr. Mix includes a quantity of tape and styrofoam inside for shipping, all of which must be removed before operation. It wasn’t quite clear where to find all these items, as I didn’t see explicit instructions for this stage, but it was possible to eventually find everything that required removal.
The Jr. Mix is a cold bed machine, which will limit the types of materials it can handle. However, this machine is really designed to 3D print PLA, and two spools at once.
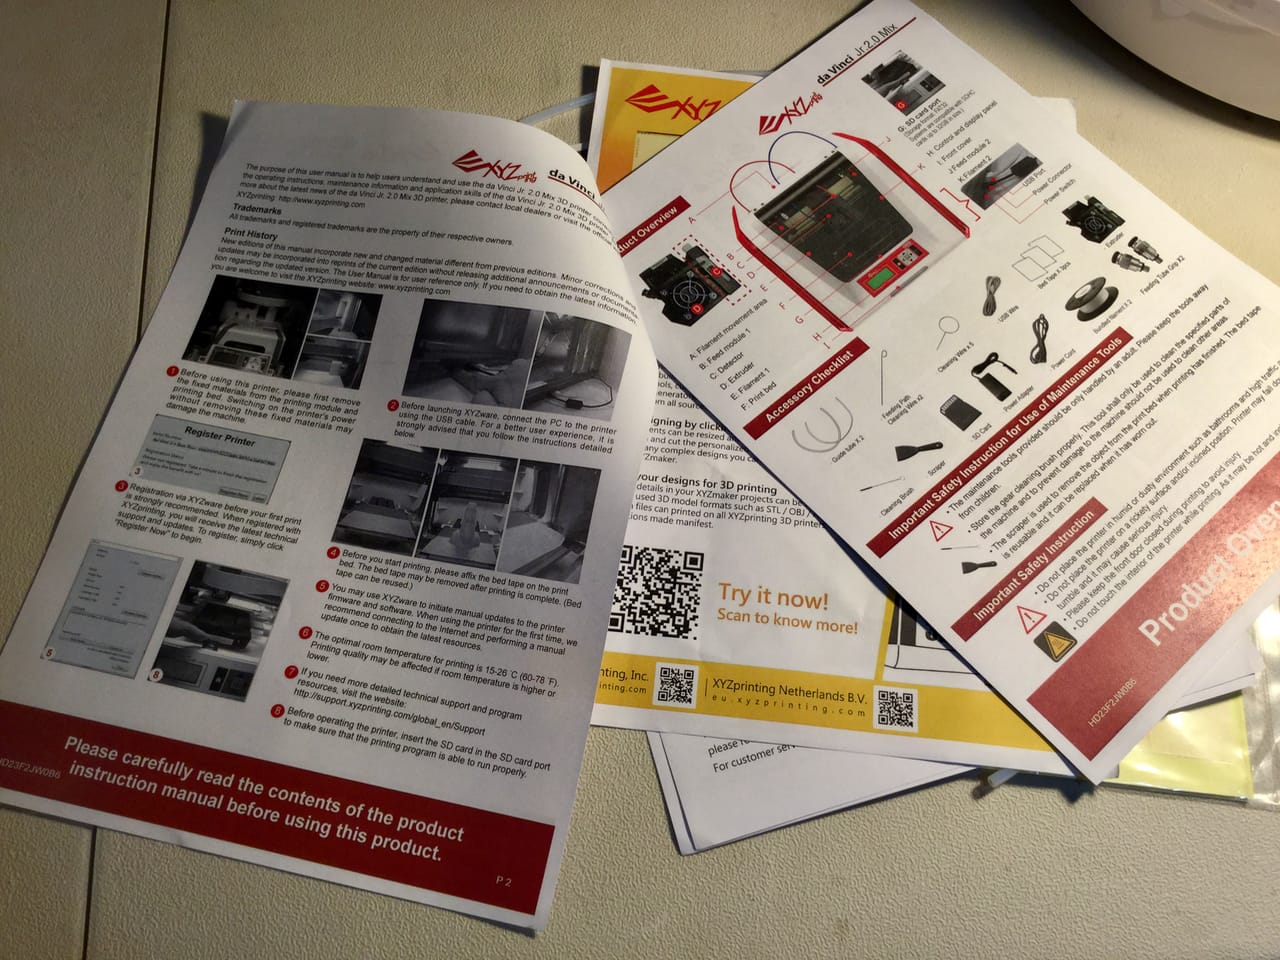
Setup is a bit challenging, not because there is an issue with the machine, but rather the instructions are not as clear as I’d prefer. XYZprinting recommends watching their setup video, which I did. But it is extraordinarily hard to follow.

The video proceeds far too quickly and imposes subtitles overtop of the screen view, so you can choose to either read the text or look behind it to see what they’re talking about. Worse, the text scrolls abruptly while you’re reading it. XYZprinting really needs to improve their instructional videos as they are difficult to follow.
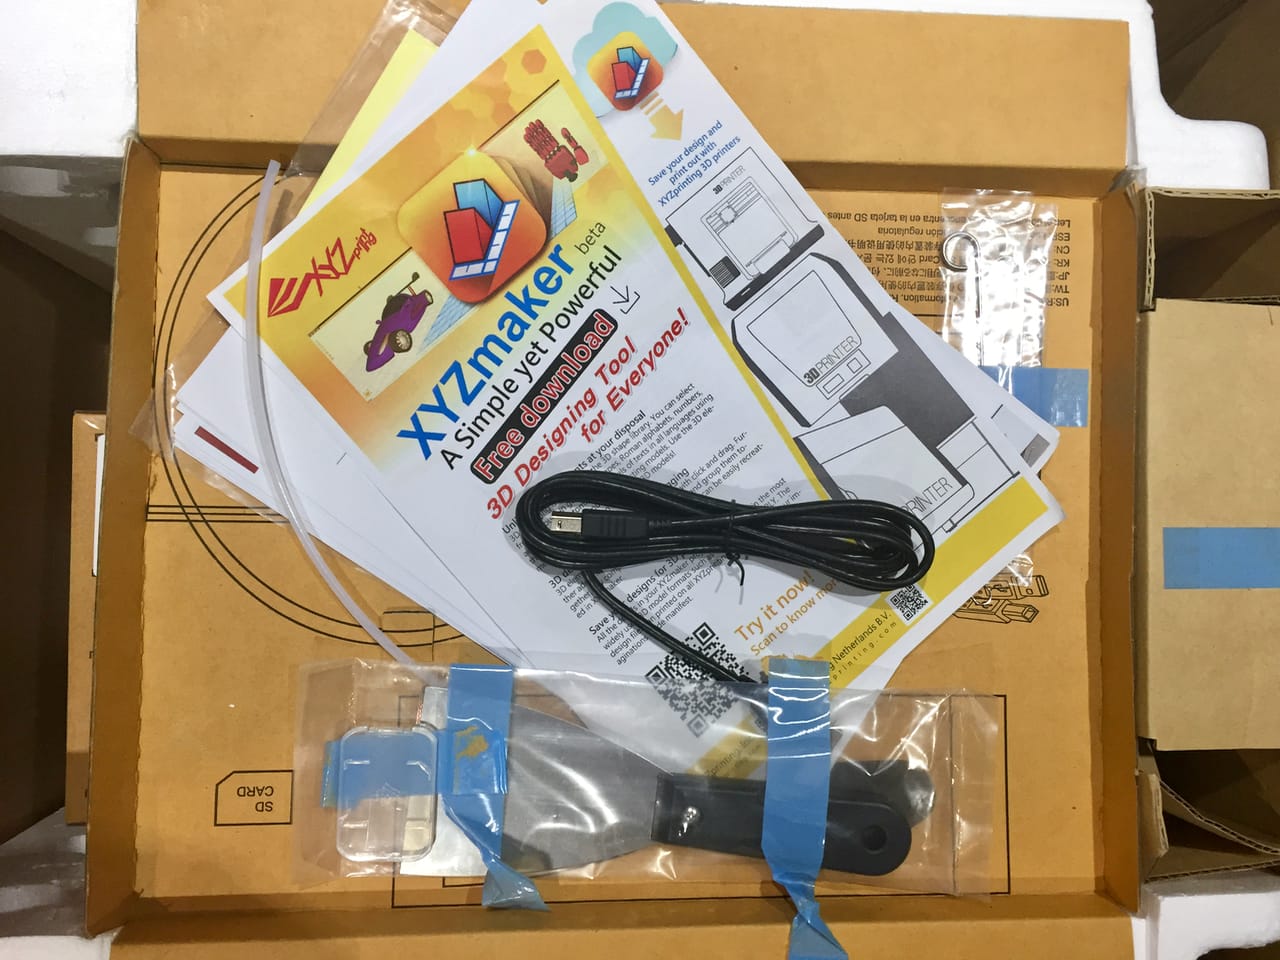
Nevertheless, I managed to figure out how to set up the machine, which turned out to be quite simple. Installation of the filament tubes, mounting of the two input filament spools and plugging in all cables.
Loading the filament is a bit different from my experience with most other desktop 3D printers. The end of the loose filament is inserted into a slot in a relatively awkward position behind and above the spool. You must do this to both filaments before proceeding through the loading process.
Once the filaments are set up, the hot end lights up and once at temperature, the two filaments are slowly pushed through the bowden tubes towards the hot end. It is actually quite a lengthy process to load material, as you not only have to wait for the heating sequence, but the filaments are pushed through the tubes at a very slow rate. It takes a few minutes for the filament to finally arrive at the hot end and emerge from the nozzle.
But it’s at this point you begin to notice the difference between this machine and most other desktop 3D printers: BOTH extruders are feeding filament to the single hot end at the same time when you are loading. The two filaments meet in the hot end and are softened and mixed together. The resulting extrusion you see from the nozzle is actually a 50-50 mix of the two filaments.
And that’s the magic feature of the Jr. Mix: by adjusting the speed of each extruder motor independently, it is possible for the machine to extrude any possible combination of the two materials, or even feed only one spool at a time. Imagine running one spool at 33% speed, while the other runs at 67% speed. You get the idea. Another possibility is to use the same material on each spool and effectively double your print capacity.
Printing occurs from an SD card that’s included with the machine. This card also includes several standard test prints you might try out.
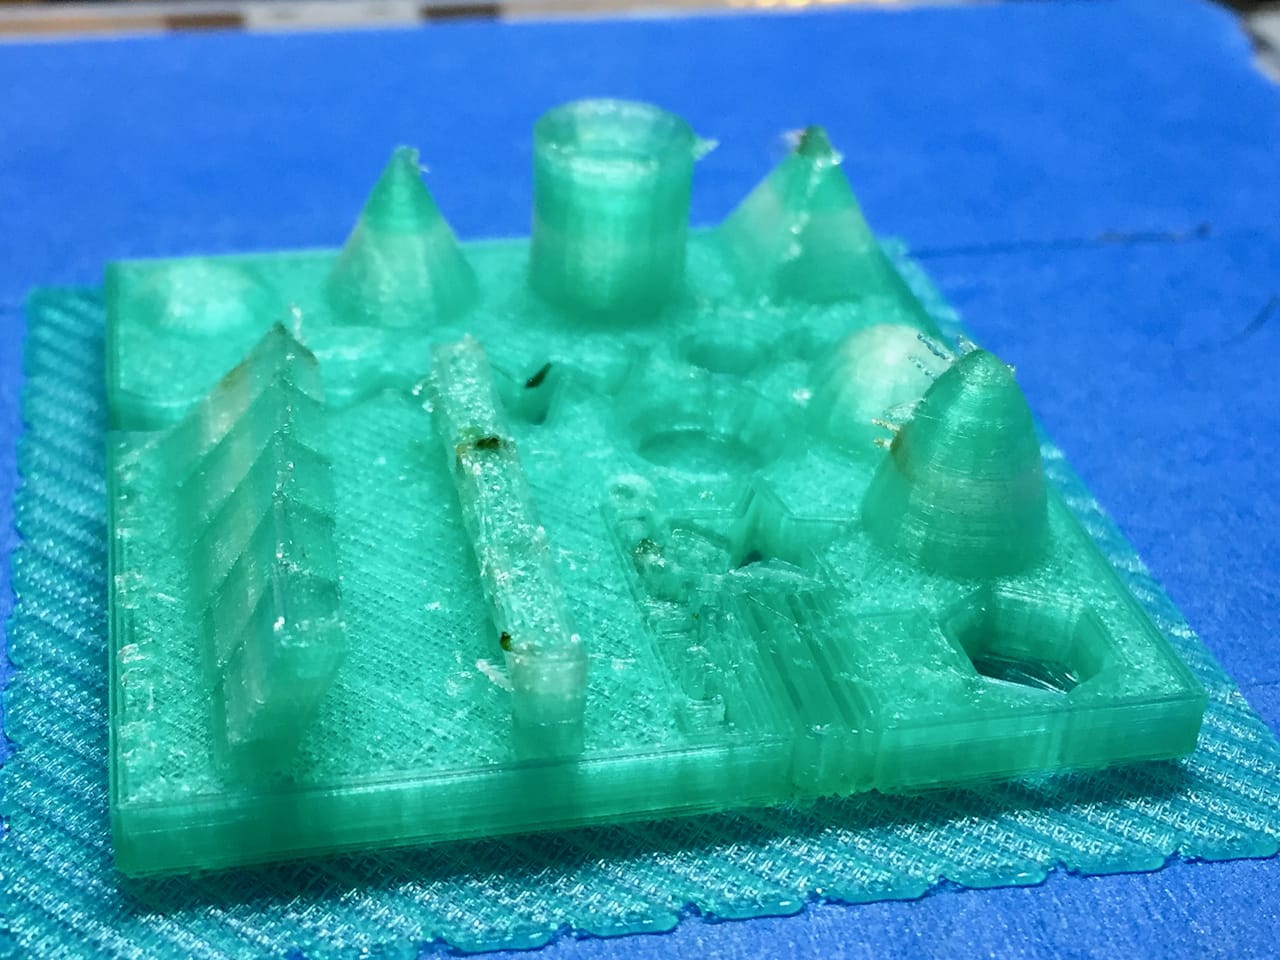
My first real print on the Jr. Mix was the the standard CTRL-V test, which came out not so bad. There was a bit of stringiness and the layering was a bit coarse, but it worked well.
I then attempted to make use of the dual extrusion feature of the Jr. Mix, where the two filaments are shunted towards the nozzle alternately or at the same time.
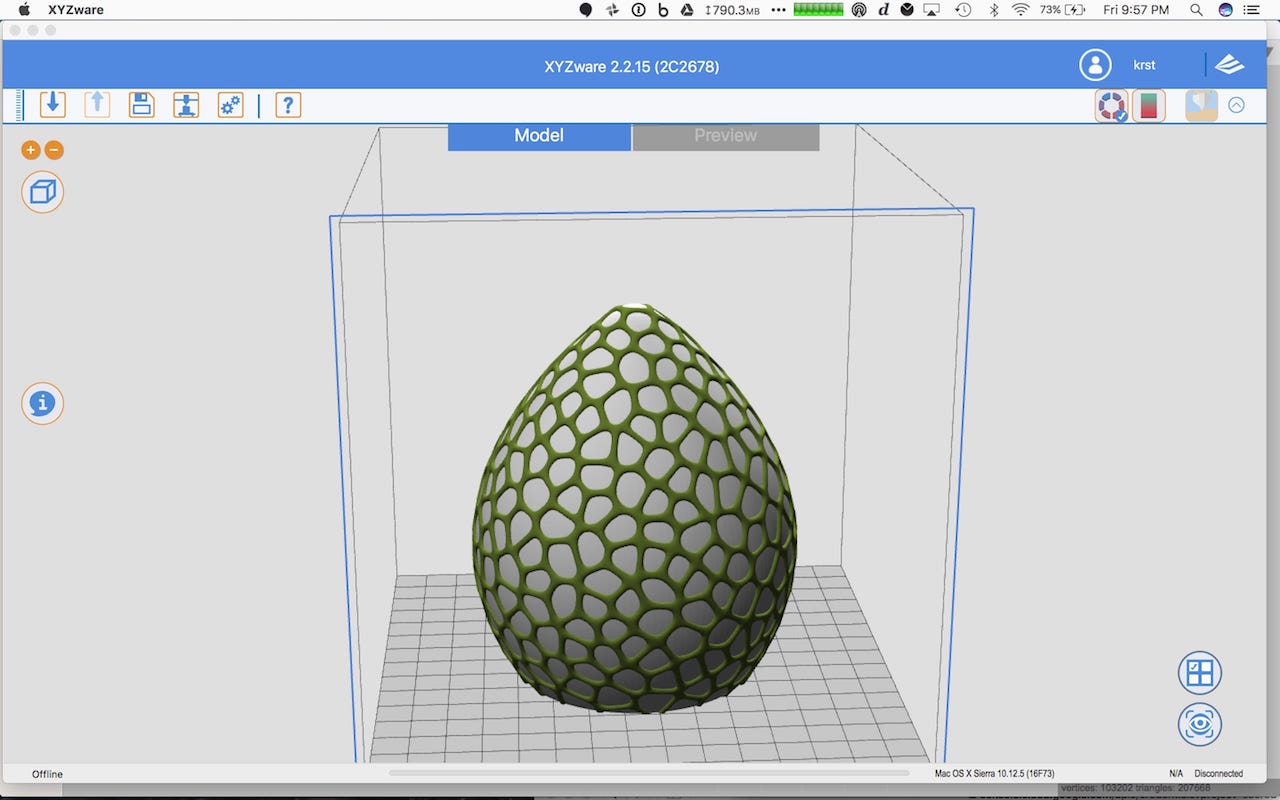
You must start in the software, XYZware, provided by XYZprinting. This is pretty standard 3D print management software, similar to Cura, Slic3r and others, except that it works only with the XYZprinting equipment. In fact, their machines work only with this software.
XYZware provides the usual functions of loading and arranging 3D models on the build plate, rotating and resize, etc. That all works very well, although it is not the fastest slicer I’ve seen. The software provides an “easy” mode and a more advanced mode in which you can tweak almost every possible 3D printing parameter. Novices, of course, should stay to the easy mode.
The one big difference with this software is that it does handle the Jr. Mix’s dual extrusion. There are a couple of modes you can choose from.
You can print 3D models in solid colors, which can be a mix of either color currently loaded on the machine, or produce gradients through the model.
The color selection mode was pretty easy to use. Simply click on the model and pick a color that’s presented. However, the available colors in my software were clear and green, and I could not figure out how to change them to other colors, so I had to imagine what the mix of, say, orange and yellow might be.
If you have multiple 3D models on the build plate, you can pick a different color for each.
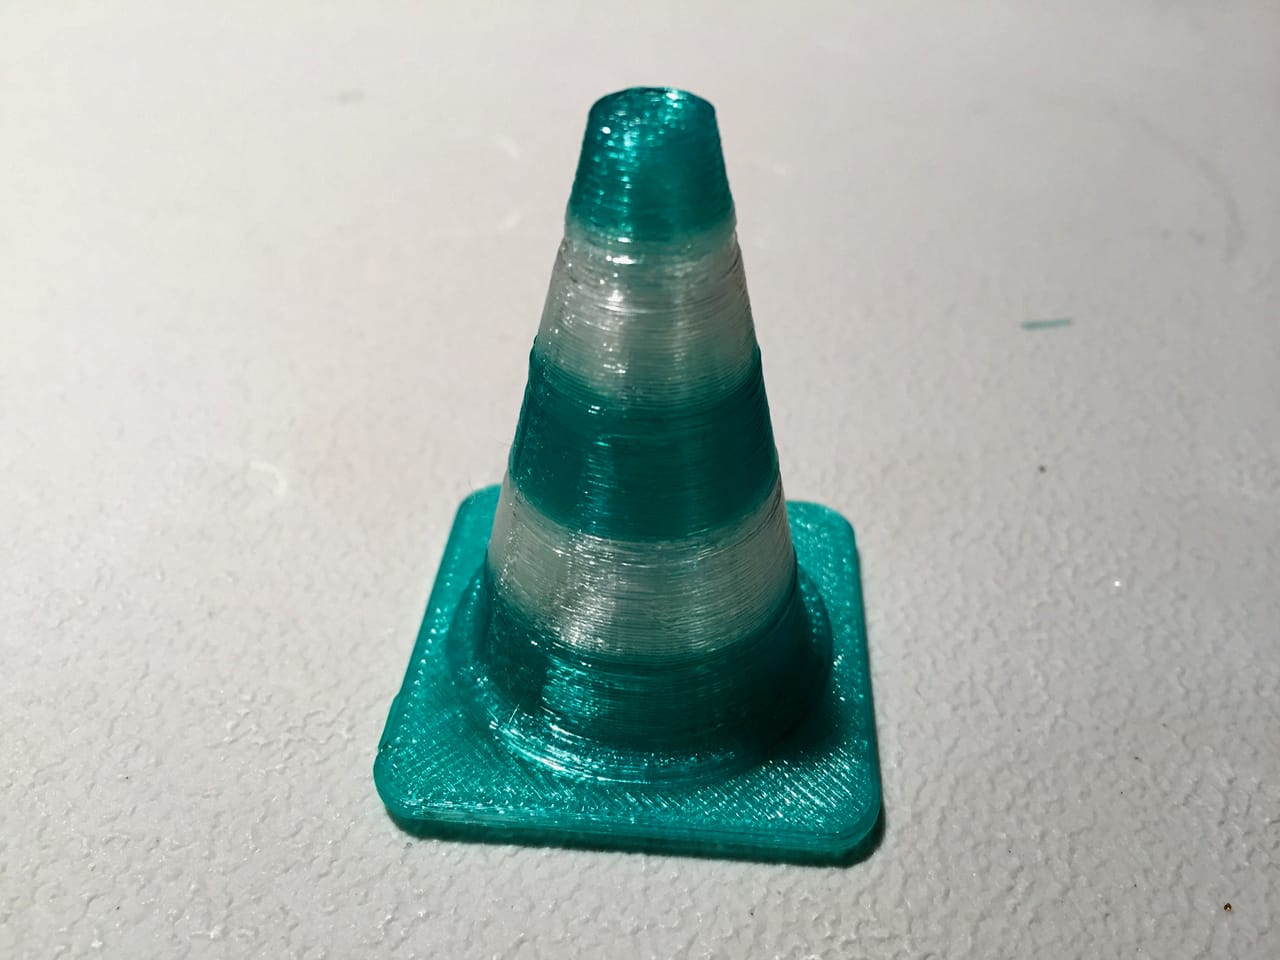
But there is something even more interesting here. If you have a segmented 3D model, in which a single shape is chopped up into adjacent sub-models, you can assign different colors for each section. In this way you can print things like this classic traffic cone:
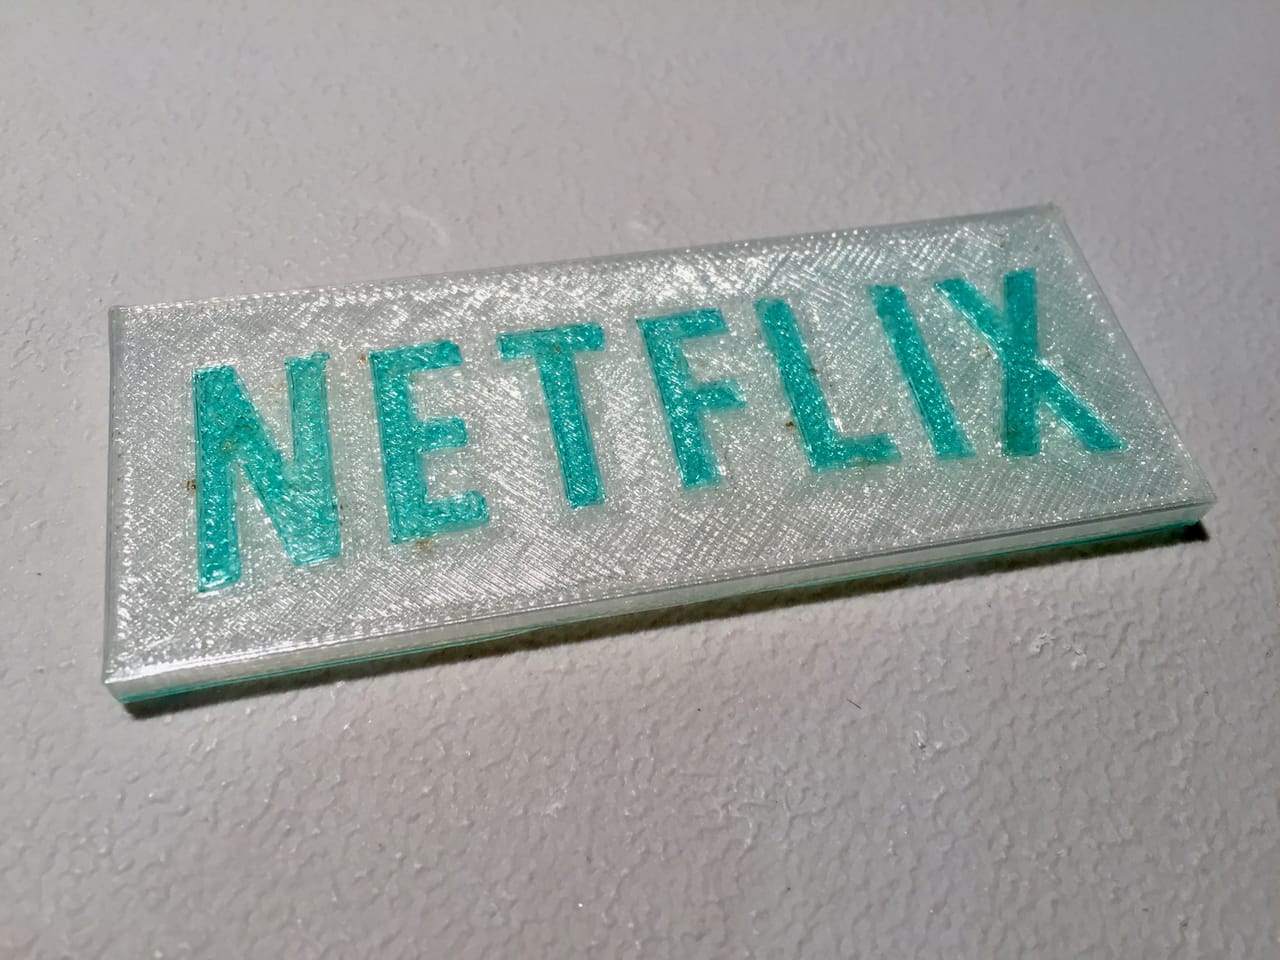
Or this corporate logo:
One major problem in using this mode is that you have to find (or make) segmented 3D models. There are some available on the web repositories, but they are far rarer than other 3D models. Preparing one yourself, particularly on a complex 3D model, will require some skill to precisely cut out each color. That is something that is likely well beyond the capabilities of the target market for this consumer-style machine.
This is part 1 of a 2-part series. Part 2 is here.
Via XYZprinting