

You can often be your own worst critic with your finished prints.
Those popular posts you see flying around Facebook or Reddit always seem a nicer finish standard. Over time it’s easy to just accept the level of finish quality you’re currently getting, thinking perhaps the best prints can only be achieved on a more expensive printer, or by someone more advanced than you.
For most of us, just getting the printer working reliably can be a huge step forward, so why fix what isn’t broken?
The fact of the matter is that while a $100 printer won’t necessarily get the same quality prints as a $10,000 printer there are real tips and best practices that can seriously improve your prints, regardless of which level of printing you’re at.
This isn’t a quickly mashed ‘best of’ tip list of mediocre advice we’ve quickly Googled. This is solid advice, specifically for getting the best finish quality we’ve gathered over years of 3D printing experience. Regardless of how advanced your printing skills are, we’re confident you’ll find something that will improve your prints.
Sometimes you just need something to look a little less, well, 3D printed. That’s why we created this handy 3D print finish quality infographic . In this article we’ve taken 9 tips from the infographic to share with you.
Let’s delve in:
1. A common problem with short layers (think the chimney stack on a Benchy) that take less than 10 seconds is they easily overheat, so can look sloppy. To get around this, you need to either increase cooling or slow down these layers. It may also be a sign you’re printing at the top end of the material temperature range, so maybe dial that down.
Or you could always print multiple objects at once, which will increase time for each layer.
2. Want better Overhangs and Bridges? It helps to lower the layer height and increase cooling. Slower printing speed will also help you span longer distances and achieve over 45° overhangs.
3. Under Extrusion or Spongy Prints? Everyone’s experienced this at some point. It’s a reminder to always take care to ensure your nozzle is perfectly clear. Using a good cleaning filament can help, especially when changing from a higher temp material to a lower one (i.e from ABS to PLA) or when printing composites.
Something people always forget to check is that their feeder gear isn’t slipping, check the teeth are good and the grub screws are tight.
4. Supports being stubborn? Some slicers create easier to remove supports than others, but the secret is just to increase the Upper Vertical Separation Layers in the slicer. This will give a slightly bigger gab between the support and your model. A must when printing supports with PETG filament.
5. Lower layer height will smooth out the stepping on your print. But for best results always ensure your layer height is around 30-50% of the nozzle diameter. E.g a 0.15mm or 0.2mm layer height for a 0.4mm nozzle works great.
6. Tighter filament width tolerances will give you better finish quality. Fluctuations in diameter of filament, even by +/-0.10mm can give you a rough or sloppy finish quality as some areas slightly under or over extrude.
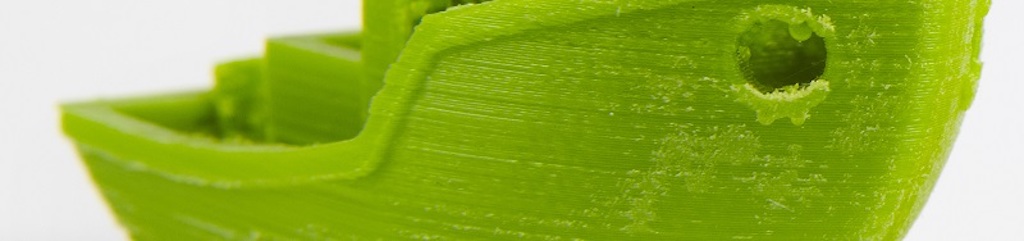
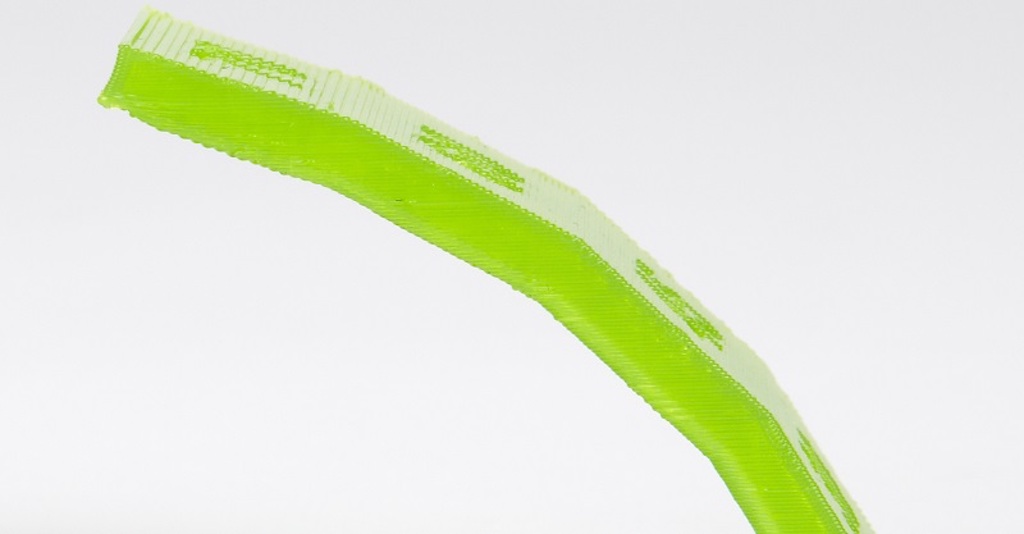
7. Dry your filament! All FDM filaments are hygroscopic, so absorb some moisture. Even a little can give your finish quality a rougher texture. This is very well noticed when printing clear materials – dryer filament gives a clearer result.
8. You know about acetone smoothing for ABS, ASA or PMMA prints – but how can you finish with other materials? Use wet sand paper and increase through from about 400 to 2500 grit and Brasso polish to shine. You can surprise everyone with your mirror finish PLA prints.
9. To get a really professional finish, build up coats of high build filler primer. Once each layer is dry, sand it down and repeat until smooth. You can then paint with a plastic paint to give a true professional grade finish to production quality prints.
These tips alone should have noticeable effects on your prints, check out the full infographic to get the rest of the advice.
Hopefully you can now save time post print finishing by getting better results straight from the bed. Maybe you’ll have something you can be proud of to show off in the 3D printing community too. You don’t always need an expensive printer to get great results. And if you print with a higher end machine, you can achieve parts to impress.
Let us know in the comments what you think to the tips in this article!
Via Rigid.ink