

There’s a very simple technique to enable desktop 3D printers to approximate multicolor prints.
I call it the “swap filament in the middle” technique, but you may have heard it called something else. Regardless, it’s trivial to use and can significantly enhance your prints.
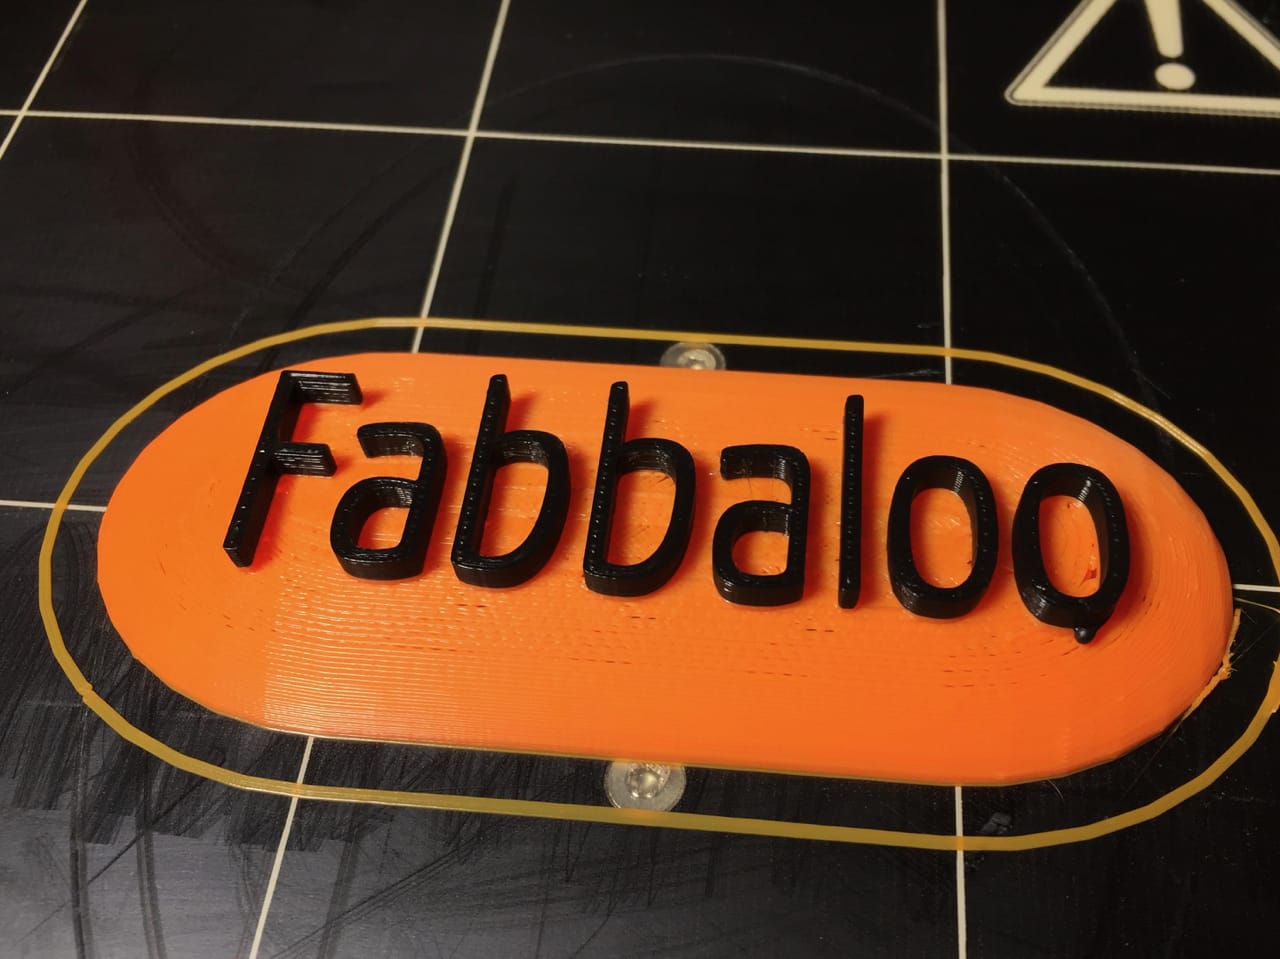
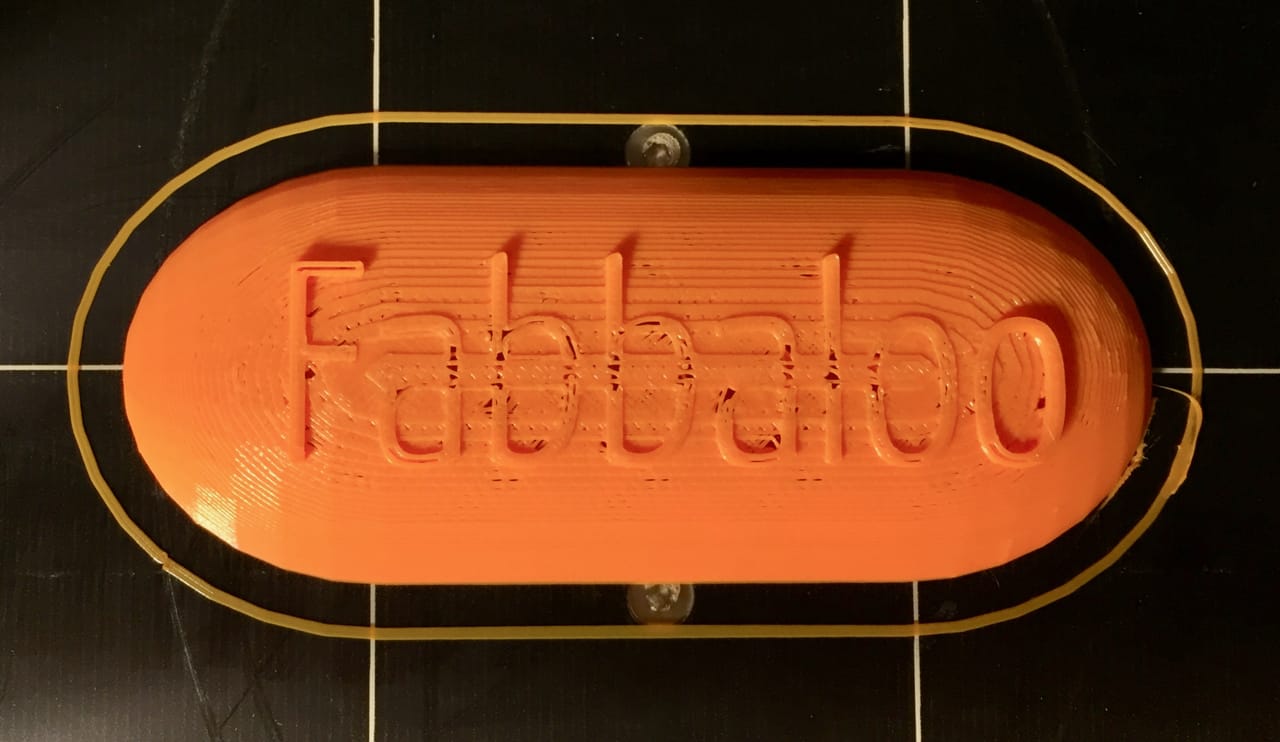
The idea is to stop the print at an appropriate moment and change the filament to another color. Then you resume the 3D print operation and the print will complete, but another color has been used for the top layers.
While you can certainly use this approach for any 3D print, it’s best used for signage and not for items such as vases or functional parts. Signage works best because the structure is typically flat and the lettering is raised above all other materials. Thus it’s easy to make the lettering take on a different color than the rest of the object.
Here’s how to do it:
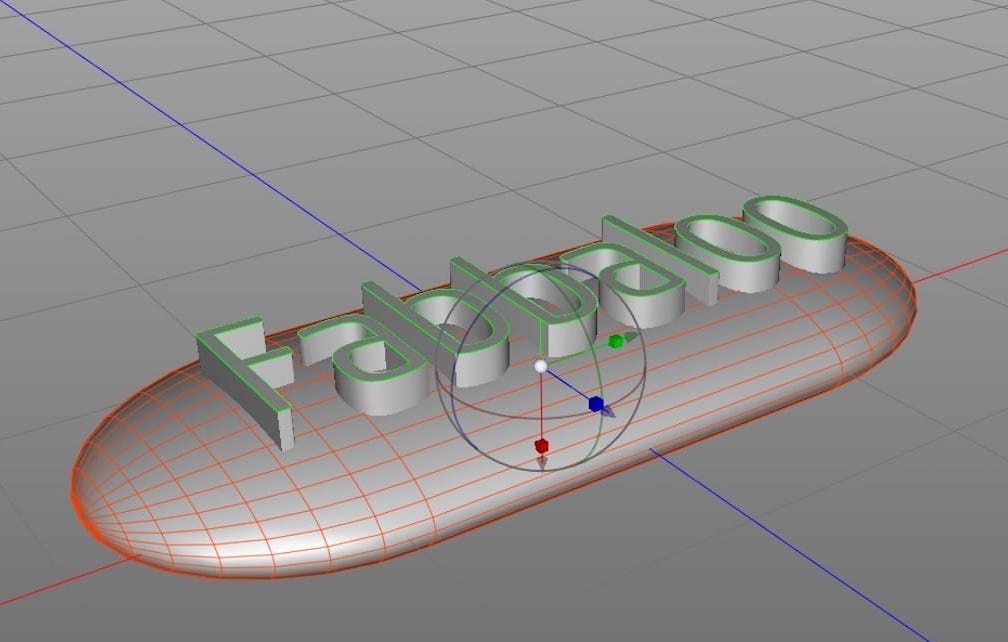
- In your favorite 3D CAD system, create and extrude some text
- Create a block or other shape that completely surrounds the extruded text
- Move the block down slightly to ensure the lettering is emerging from the top of the block
- Export STL and print
- Observe the printing process carefully
- When the print layer is printing the letters, as in it has completed printing the lower block, hit pause on the 3D printer
- Quickly change the filament to the second color
- Resume 3D printing
If you can manage this, then you’ll soon have a two-tone 3D print that’s easily done.
One problem you might encounter is that some desktop 3D printers have pause functions that literally stop the print head at the instant you hit the button. This sometimes can be a problem because the residual heat on the nozzle may melt any nearby printed structures. A good machine will “pause” by actually moving the print head out of the way.
Another problem is that you may forget the print and it will proceed well past the point where you should have changed colors. A good way around this is to employ a utility that can insert a programmed stop on the machine. This way you don’t have to watch as carefully.
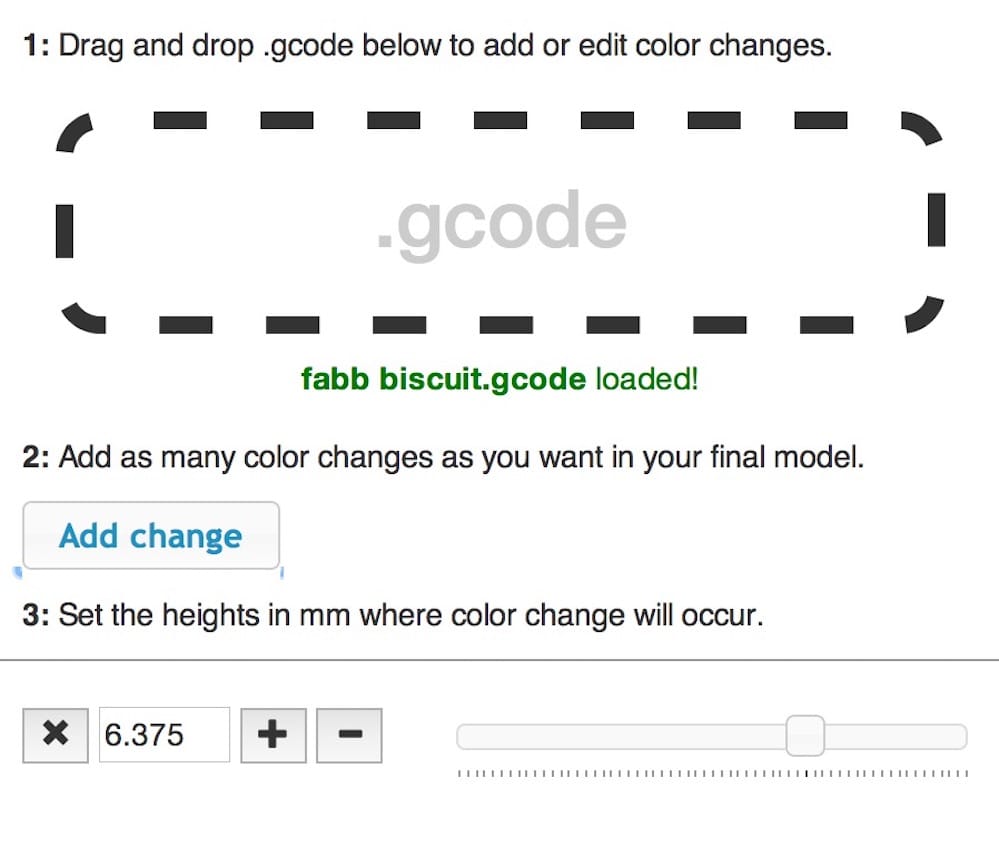
Not all slicing software has this capability, but one that does is Prusa’s “ColorPrint” utility. It’s very easy to use: simply drop GCODE that you’ve sliced in the usual manner on to the ColorPrint window, and specify the height in millimeters where you’d like to pause. You can insert any number of stops if you like. Then it rewrites the GCODE file to include the pause instructions, which, at least on a Prusa machine, will push the tool head aside for a proper materials change.
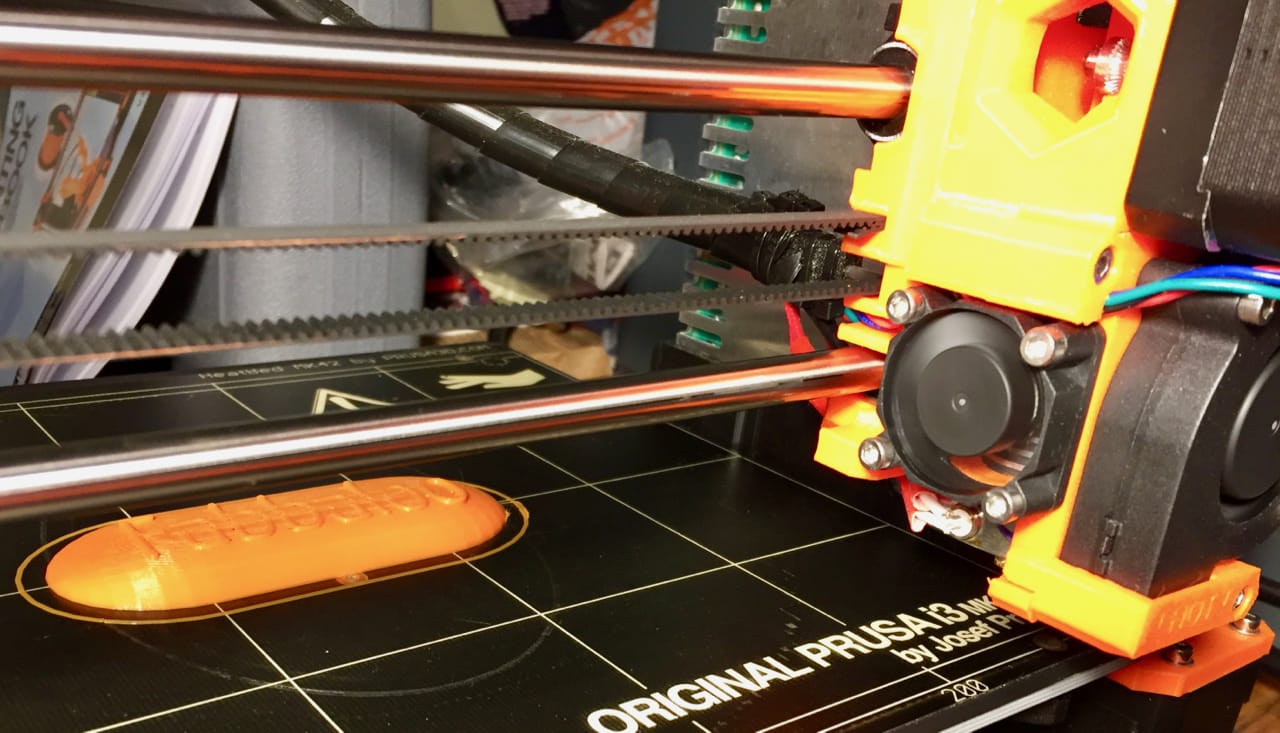
One tip is to have the second (or third, etc) material handy to ensure the materials change happens quickly. Here I’ve loaded a second spool on the rack, ready for action.
If you haven’t attempted this technique before, give it a try.