
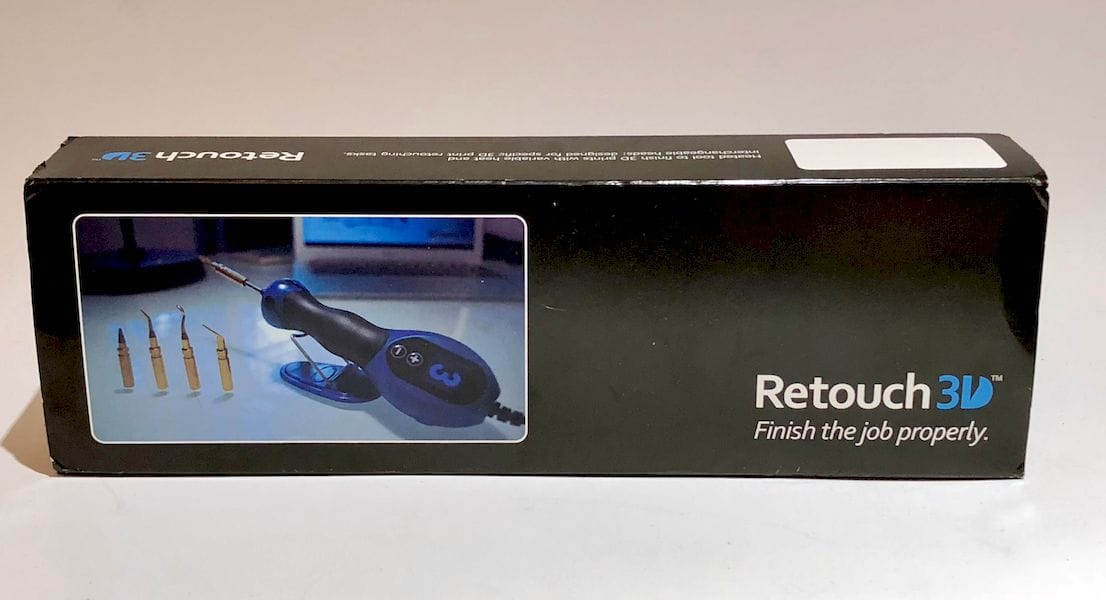

The Retouch3D is an inexpensive finishing tool that’s specifically designed for 3D printing.
It’s essentially a handheld heater, similar to a soldering iron, but with some twists that make it extraordinarily useful for fixing up 3D prints.
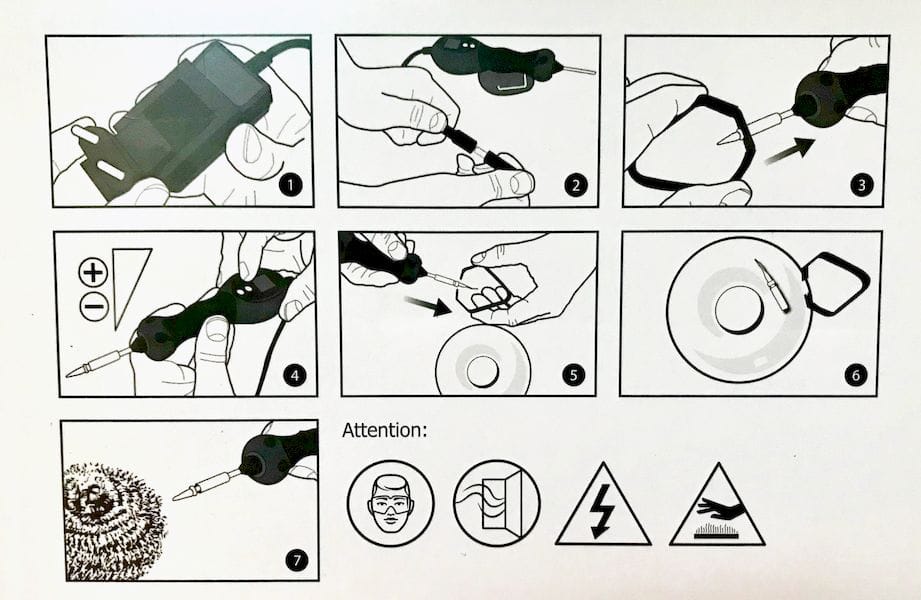
The Retouch3D comes with clear, detailed and easy to understand operating and maintenance instructions, written in six popular langauges. But the instructions, portrayed visually here, are extremely simple. This is a very easy machine to use.
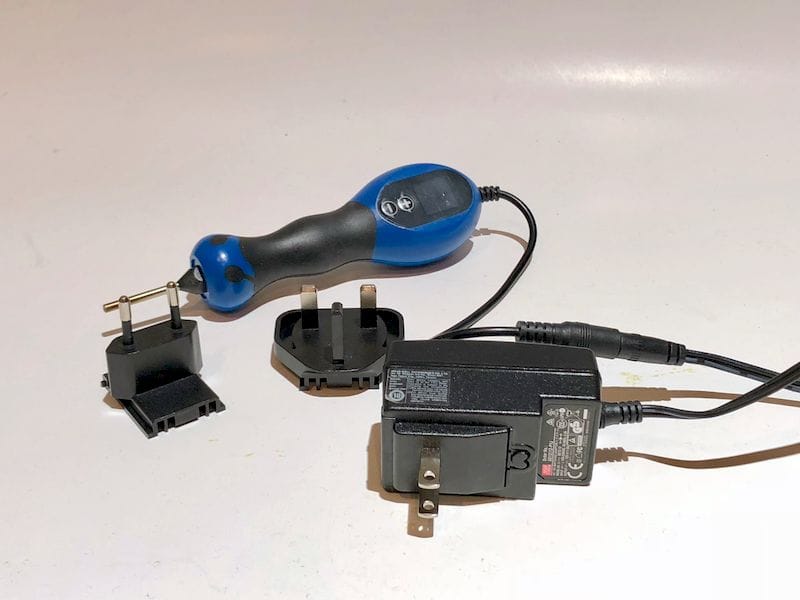
The Retouch3D conveniently includes UK, EU and US adaptors. I simply slid the adapter on that I needed, but if you are from another region you’ll have to supply your own adapter.
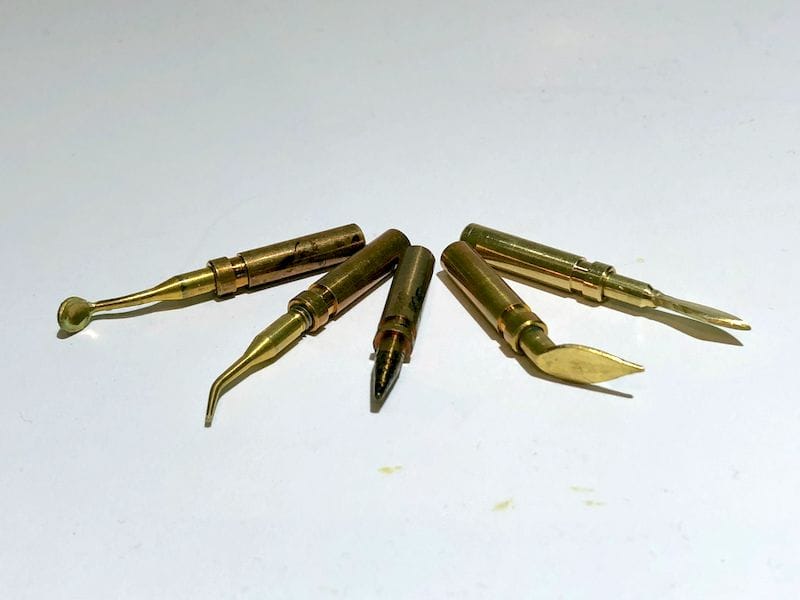
The Retouch3D is equipped with multiple tips that can be used for a variety of repair operations. Unfortunately, the original plastic bag containing the tips was not in a resealable, so I found my own small container to keep all of the tips, the tip tool and the stand in.
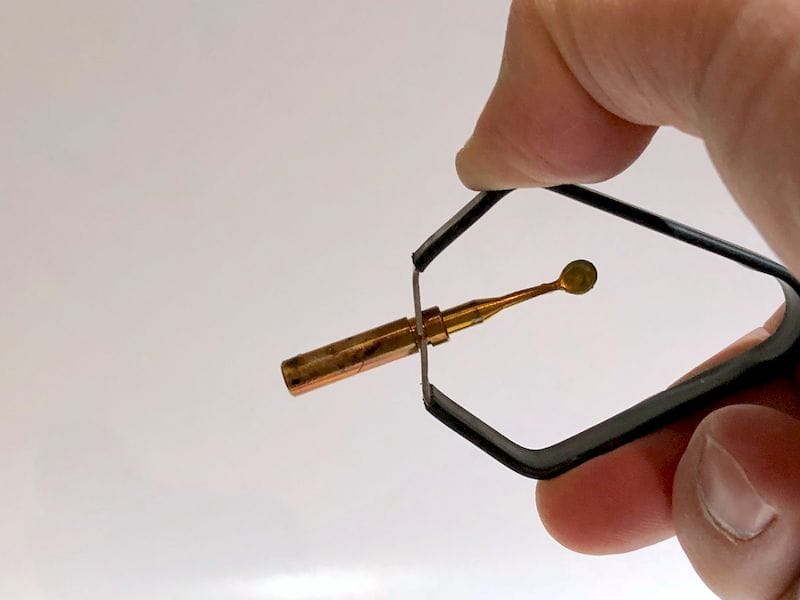
The “tip tool”? Yes, there is a special clamp-like device that perfectly grabs the tips for removal and insertion onto the hot end of the Retouch3D. This is actually quite critical, because the tips can be quite hot and you don’t want to burn your fingers.
Before you start, find a heat resistant surface to put the heated tips on when not in use. If you were to place hot, used tips on plastic or wood surface you will probably have a bad day. I used a silicone baking mat, which worked perfectly.
One issue encountered: I needed an extension cord as the cord was not long enough. But for those in a workshop with a nearby set of plugs, this may not be an issue. In fact, you might want to select a spot that has a nearby plug.
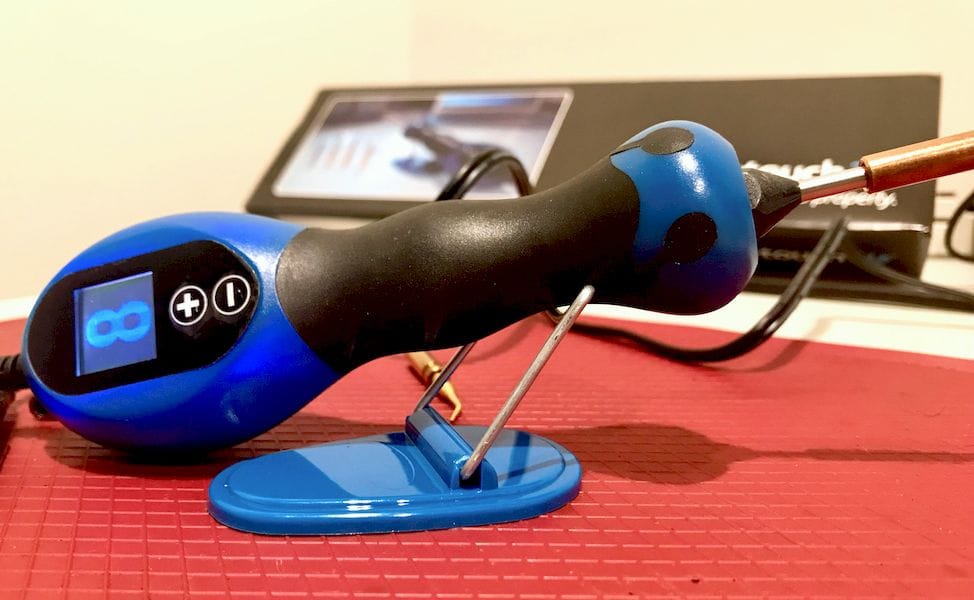
Once plugged in, the Retouch3D starts at power level “1”, which is prominently displayed on the handle. You select + or – to raise or lower to the appropriate power level. I’m not sure of the actual temperatures at the tip, but the range of available temperatures should cover the most common materials like PLA and ABS.
You’ll have to experiment to find the most appropriate temperature for your project, and remember that the temperature could be different for the same material depending on what you’re doing. For example, if you’re whisking off thin strings, you may need a lower temperature. On the other hand, if you’re drilling a series of holes quickly, you might want a higher temperature.
I added a tip with the tip tool, and allowed the Retouch3D to heat to the desired temperature which is, according to instructions, about 3 minutes.
I first tested the heat setting on a spare piece of 3D printed material to avoid damaging the target 3D print. On level 1 power setting it did nothing, so then I moved it up to 8 out of 10 level setting. The variable temperature settings is a useful feature and allows you to control the amount of heat applied.
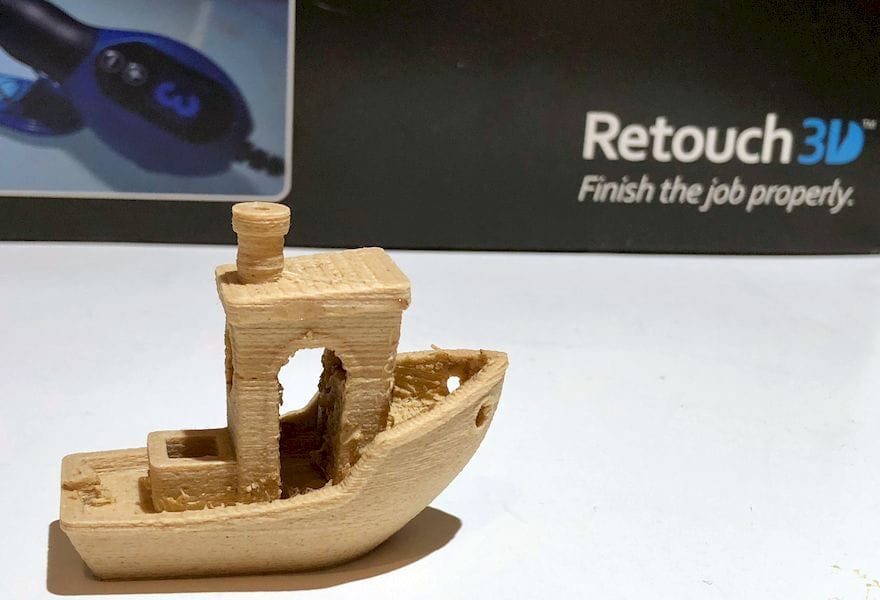
I tried to remove stringy support off of a print. On 8 it very easily removed the support and when it started to produce smoke, I reduced it to 7 heat setting. As you can see, this device does require some fiddling with the power setting.
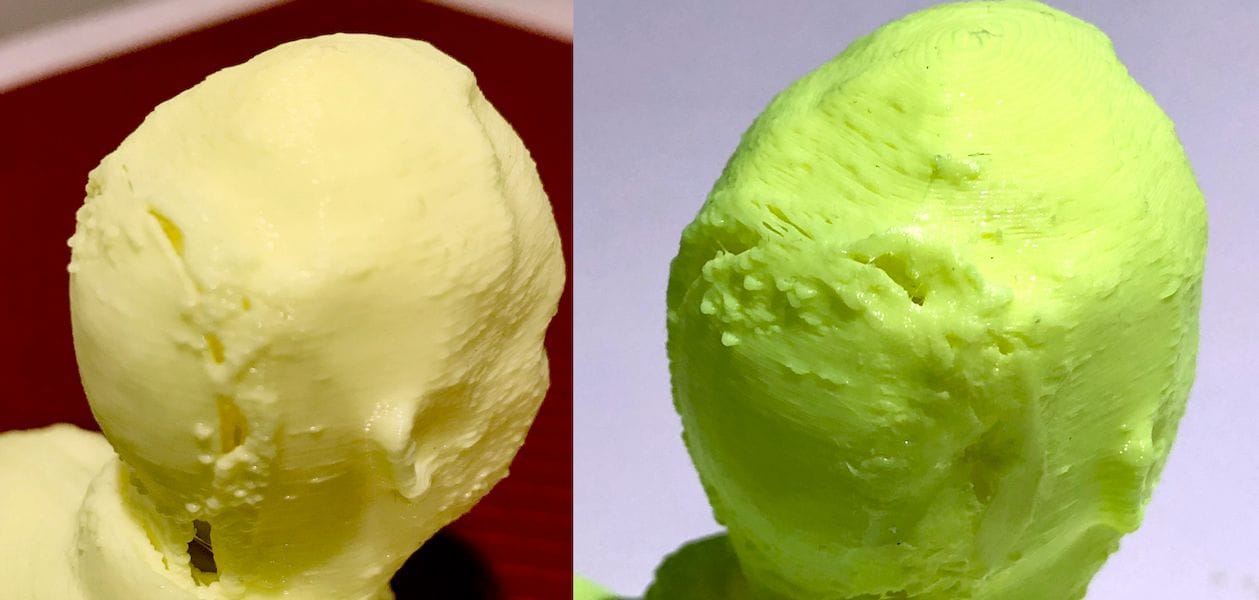
I tried different tips on several different 3D print samples. This head print needed the layer lines smoothed. I tried it with one tip style, but it turned out not the right tip to use. I simply changed tips using the clamp device, and then allowed the new tip to heat up. This one worked to smooth most parts and not so well with the larger hole at the neck.
While the Retouch3D is pretty good at filling small gaps by sliding around material, there is a size gap beyond which it can’t do much. For these you must find some original matching material and “weld” it in, followed by some smoothing operations.
I realized, after the Retouch3D fell off its stand a few times, that I had it set up backwards! If you set it up correctly, it doesn’t fall off.
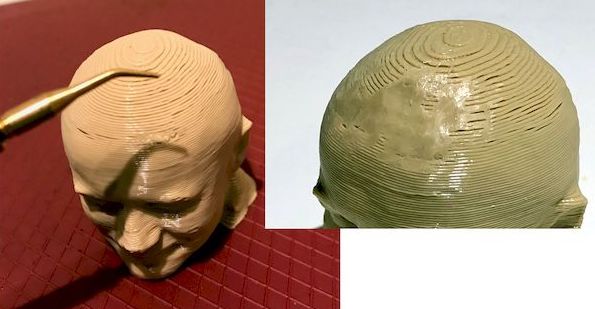
A tip with a flat edge smoothed the lines on the Robert head, our standard test object, very well.
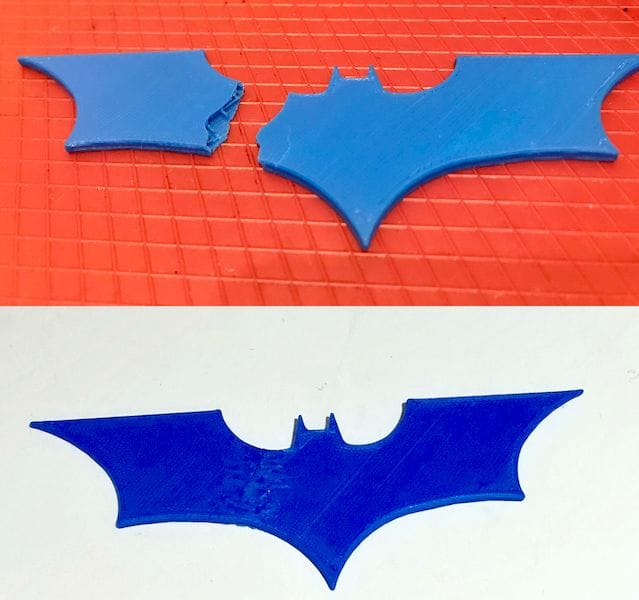
The test I did on the broken bat to fuse it together seemed to work very well and had the most successful results. This was very easy to do and did not require the addition of any extra material.
The hardest test to perform was smoothing a larger area. The tips are small and I don’t think that it is meant to fix large areas. The retouch3D worked well when fixing smaller more precise areas. You can’t have everything!
The Retouch3D is a very handy tool for anyone needing to fix up small areas on 3D prints, and sells for USD$160 for the complete system. I recommend adding one to your growing collection of 3D print tools, because, as their slogan states: “Finish The Job Properly”.
Via Retouch3D