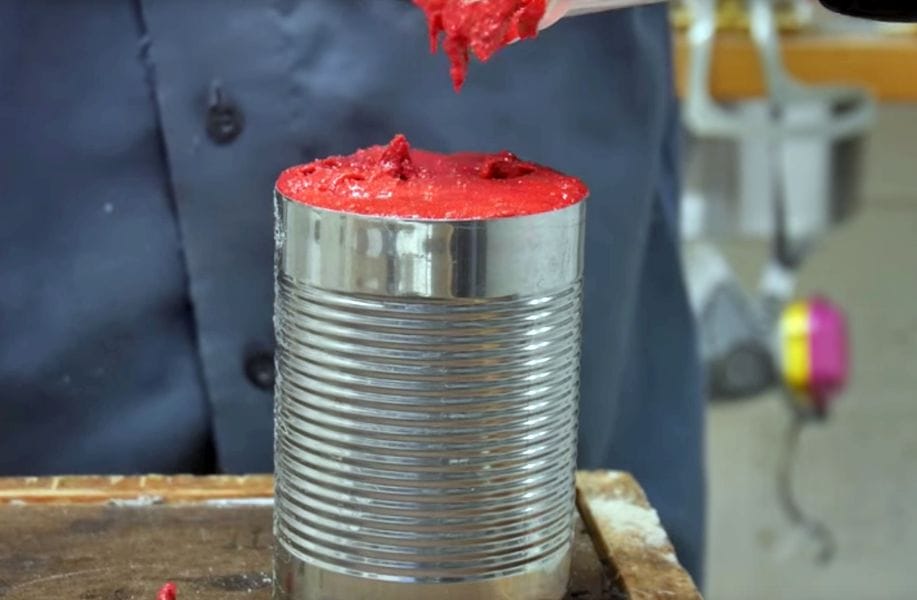
I’m watching a short video showing casting tips.
Casting is not 3D printing, but it is a tightly related making process. That’s because molds for casting are very often 3D printed – if you have a 3D printer and know how to use it.
A typical method for casting would be the following:
- Design a desired 3D object in CAD
- Create a “negative” of the shape by subtracting it from a larger volume
- Split that negative into two halves
- 3D print each half
- Bolt them together
- Pour a liquid material into a hole leading to the negative’s cavity (you did design that, too, right?)
- Wait for the material to solidify
- Split the halves and extract the solid object
- Trim off any excess material
This process has been performed by many and is used for both metal and thermoset plastic resin casting. Well, there may be a couple of extra steps for metal casting, as you must have a mold capable of withstanding the tremendous heat of molten metal. Usually that’s done with plaster or a ceramic or sand-like casting material that’s wrapped around the 3D print, which is then burned out.
The process appears straightforward, but like anything, there are more tricks to the trade than the basics. In a new video from resin-master Eric Strebel, he shows several tips that would be quite useful for anyone performing resin-casting. These are things you wouldn’t know until you actually attempt to do the casting.
They are things you probably want to know before you attempt casting.
Things like how to keep your work table surface clean, for example. That’s something you wouldn’t realize until it’s too late.
If you’re thinking of attempting resin casting, I suggest you watch the video. Even better, you might want to watch some of Strebel’s other casting videos, all of which are quite interesting. We featured one recently that showed how to use a 3D printed mold to produce hundreds of parts very quickly.
Via YouTube

