
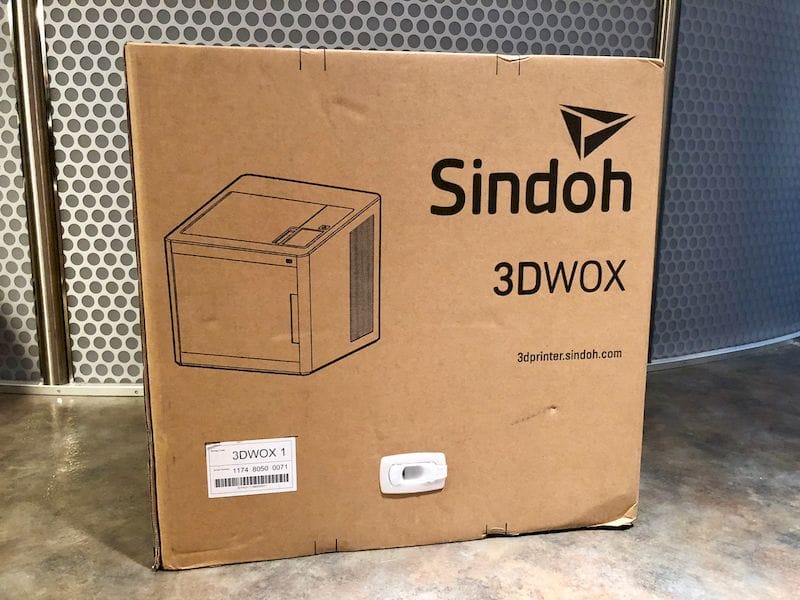
 A new 3DWOX 1 arrived for testing at our lab!
We had the opportunity to do a hands-on test with the new 3DWOX 1 3D printer from Sindoh.
This is part 1 of a 2 part review. Part 2 is here.
The 3DWOX 1 is the latest desktop 3D printer from Korea-based Sindoh, one of the world’s largest manufacturers of photocopiers. While you might think that being focused on another industry may detract from their 3D printing expertise, in fact it is quite the opposite: the company has brought forward many photocopier innovations and practices to the 3D printer market, making their devices quite sophisticated.
We spent considerable time testing their original model, the 3DWOX DP200 a few years ago and were entirely impressed. At the time few, if any desktop 3D printers offered the ease of use of the DP200.
At the time we ruminated about whether that device was really the first consumer-friendly 3D printer because of that very ease of use factor. How easy to use was it? We COMPLETED – not just started – but COMPLETED our first print on that machine in less than TEN MINUTES after opening the box. Before or since, I’ve never seen any 3D printer provide that much simplicity.
The good news is that that sophistication has been inherited by the new 3DWOX 1, which is a kind of super-version of the DP200. It has several important improvements, and an incredible new feature that’s so amazing we’ll describe in part 2.
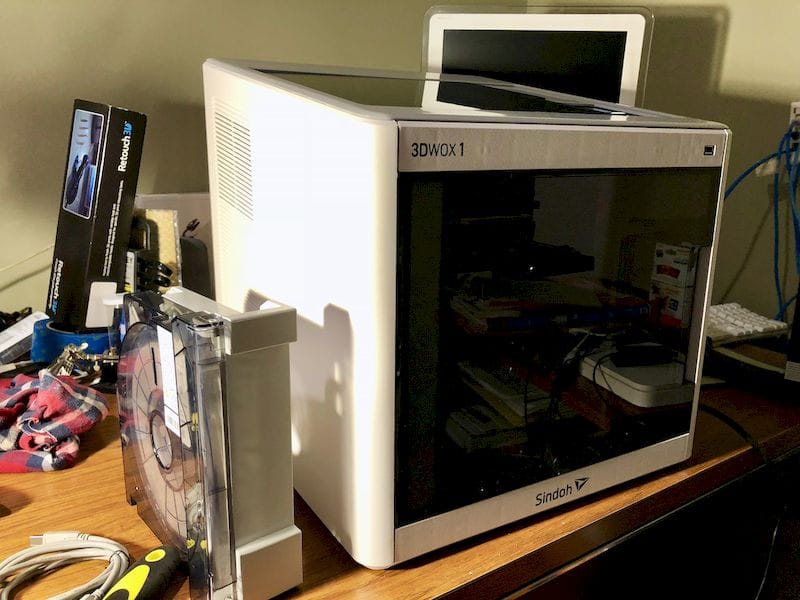 The newly light-colored 3DWOX 1 desktop 3D printer
Externally the device appears to be quite similar to the original DP200, although the case is a light color rather than the black of the DP200. The user interface, provided on a conveniently located color touch screen, will be very familiar to any 3DWOX operator; it hasn’t changed much – and did not need to.
So what’s changed in the 3DWOX 1? Let’s take a look inside.
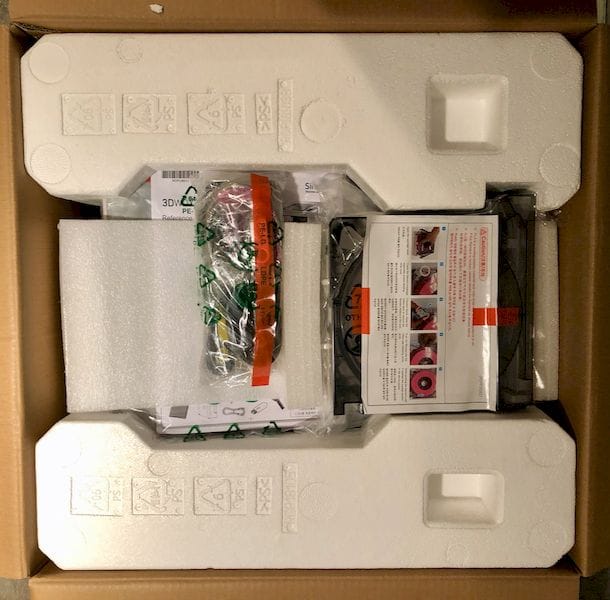 Neatly packed inside the 3DWOX 1 desktop 3D printer box
Inside the box, Sindoh has packed all the elements in a compact manner, with the instructions prominently at the top.
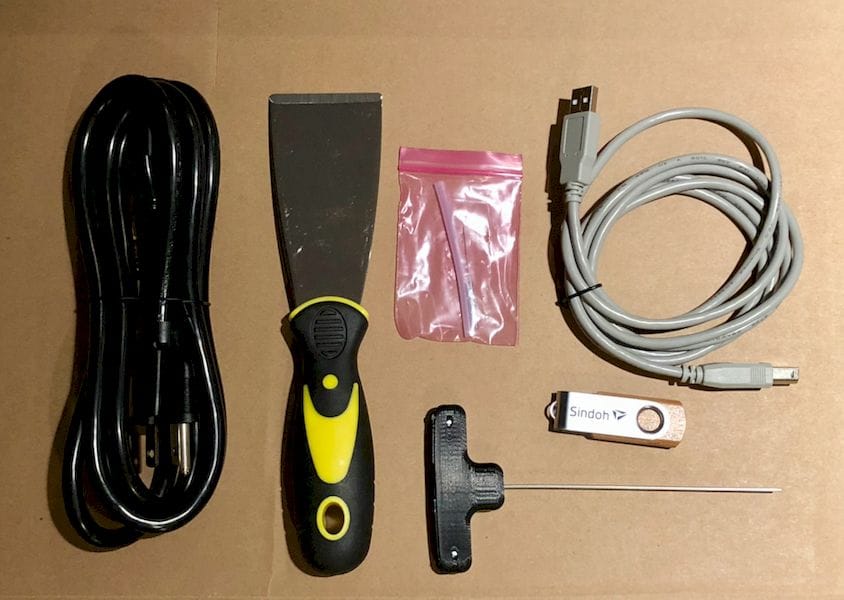 Tools provided with the 3DWOX 1 desktop 3D printer
There are few items beyond the printer itself, and you can see all of them in this image. The usual items are present, including power cord, USB cable, spare PTFE tube, and USB stick with example prints and instructions. A new tool for me is the T-shaped tool, presumably for pushing stuck filament out of the PTFE tube.
I particularly like their scraper, as it not only feels good in the hand, but also has dulled corners that definitely will reduce injuries, unlike some other pathologically sharp scrapers I’ve seen. But it turns out you may never need this tool anyway, as you will see.
The reason for this is that the 3DWOX 1 has an entirely new print surface system. Instead of the rigid removable plate of previous systems, this one has a magnetically attached, spring steel plate, coated with an adhesive layer.
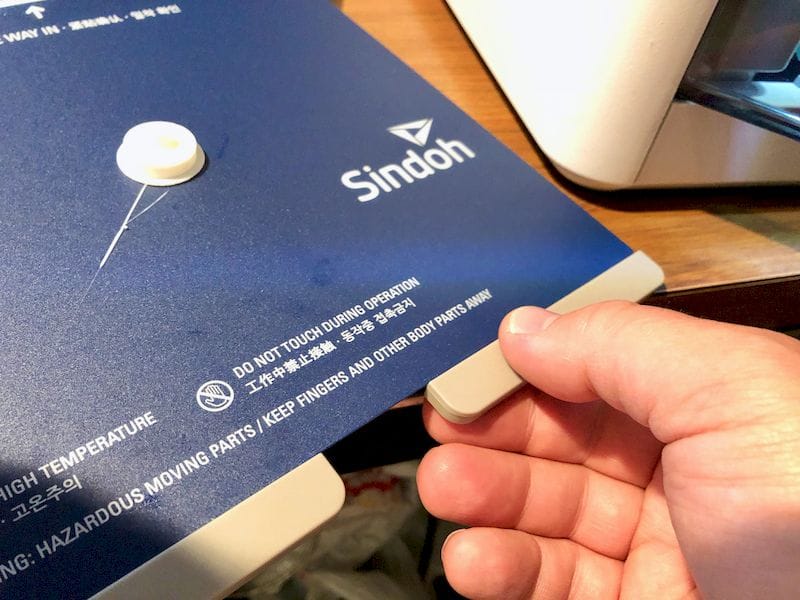
But before printing starts, you must do one thing: level the device. Sindoh provides a wizard function to assist you through the incredibly simple process. The device simply tests the print surface and then reports what you must do:

You simply turn one of two easily found knobs under the front of the print surface. They have exaggerated protuberances on them, making it very easy to rotate them in a controlled manner.
The next thing to do is to insert a cartridge. The 3DWOX 1 does use a proprietary cartridge system – but do read part 2 for a huge surprise on this topic.
The cartridges contain specific thermoplastics known to Sindoh, allowing them to finely tune the printing parameters to ensure near-perfect prints. Admirably, they also don’t charge very much for them, unlike some other manufacturers using proprietary materials. In fact, Sindoh even markets a special cartridge that permits refills to be inserted at even lower cost, quite competitive with alternative sources.
One bugaboo I could say about setting up the 3DWOX 1 is the WiFi SSID password entry panel. It does work, but you need tiny fingers to operate the small virtual keyboard, and it doesn’t show, even briefly, the character you just typed. Thus you probably will end up retyping the password several times before you get it right.
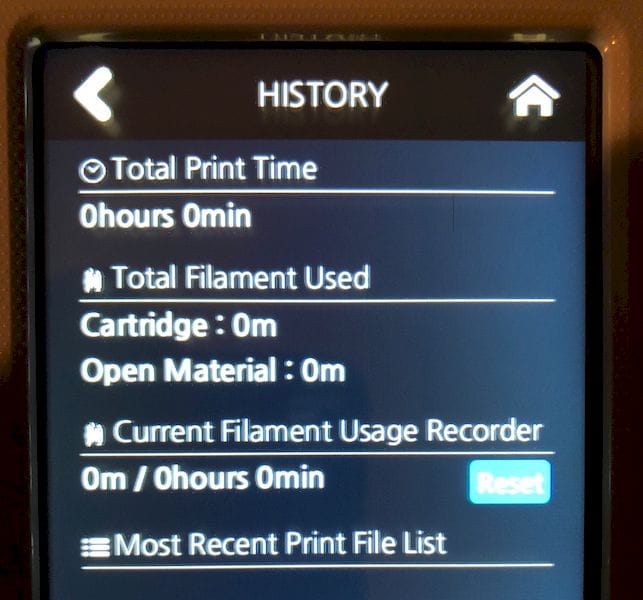
Now you’re ready to 3D print. And you’ll see this statistics screen only once!
 Won’t see this ever again…
I chose to test first with one of their built-in 3D models for testing, the tiny line test. It’s a simple cylindrical object. As you can see, it came out perfectly on the new print surface.
#Line test on bed
 The Sindoh 3DWOX line test sample print on the 3DWOX 1 print plate
Removing objects is ridiculously easy: just twist the sheet – both convex and concave – and the print will usually pop off immediately. No need for a scraper!
The print quality is quite good, very similar to the previous 3DWOX machines.
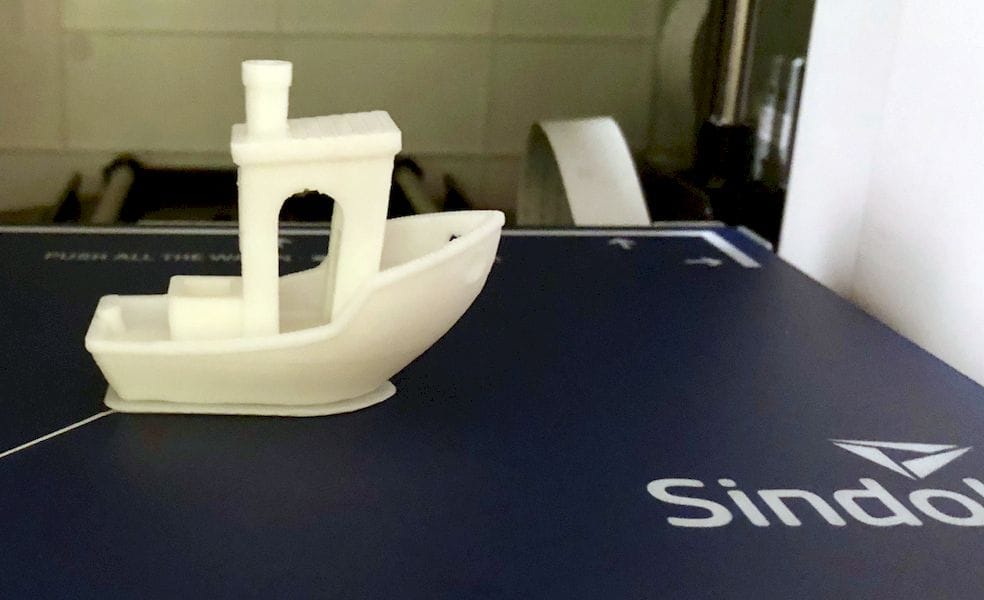 A completed PLA #3DBenchy on the new 3DWOX 1 desktop 3D printer
One curious behavior is that when the print finishes, the printer displays this message:
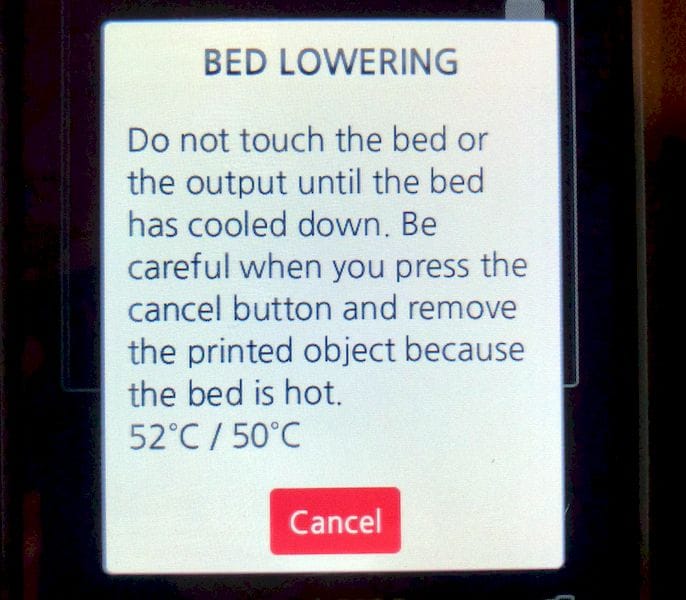 The new 3DWOX 1 desktop 3D printer makes you wait until the print bed has cooled down
And the completed print remains at the back of the machine, as shown here. Evidently they don’t want you to burn your hands on the hot sheet and insist you wait until it cools down.
 While cooling down, the 3DWOX 1 desktop 3D printer places the print far at the back to hopefully avoid burned fingers
They seem to wait until the bed cools to about 50C, which is reasonable. When printing ABS, for example, the sheet could be almost 100C, and you definitely don’t want to touch it. However, cooldown from higher temperatures can take a very long time.
But that simply is a side effect of the enclosed chamber, which does provide advantages in print quality.
Very occasionally a print will not pop off the bed because of its geometry; if it isn’t wide or thick enough to be affected by bending the sheet, you will have to resort to the scraper. However, you need only very gently slide the scraper under a corner (made easily by twisting the sheet again), and slowly edging around the object until it releases. No danger of injury here.
Here the machine has passed our warp test very well.
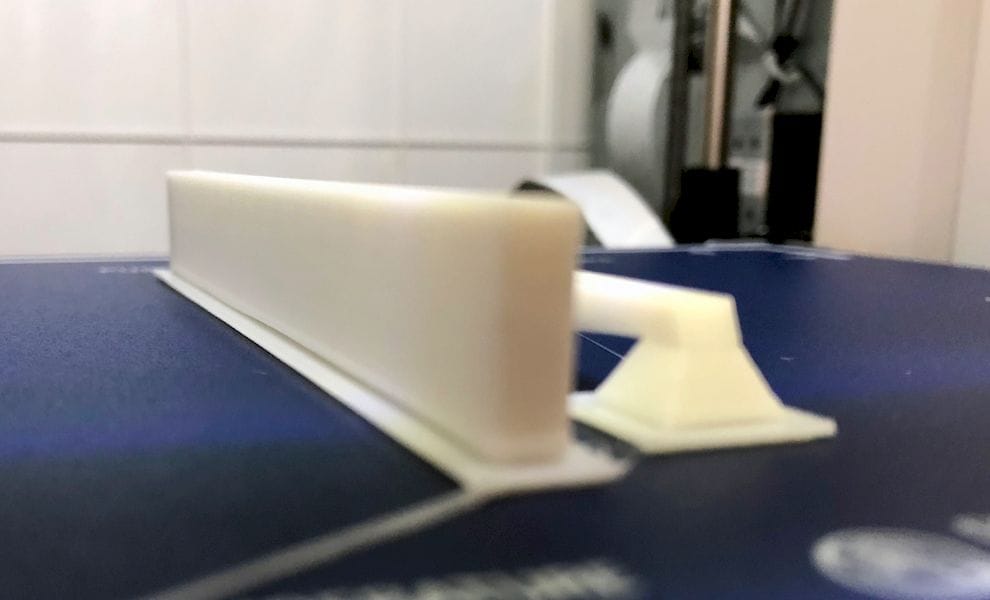 The 3DWOX 1 easily passes our pathological warp test
The bridging test (with PLA) also worked very well:
#Bridge
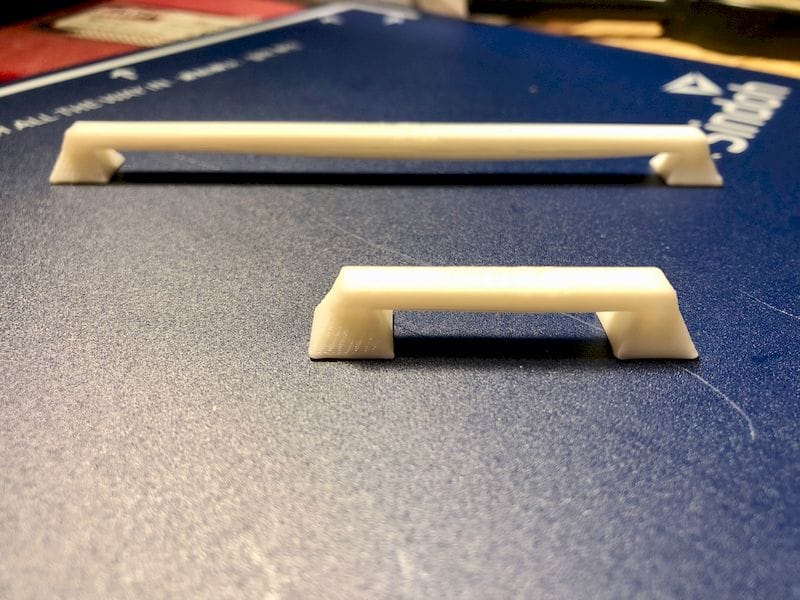 And it also passes our bridge test quite well
After printing with the 3DWOX 1 for a while now, I can certainly recommend it as a very powerful machine. It’s slightly more expensive than the previous model, at USD$1,499, but if you are looking for a high quality, easy to use machine, this could be it.
One more thing: this machine includes an incredibly powerful feature not previously seen in 3DWOX equipment: Open Filament capability! We’ll review this feature in part 2.