
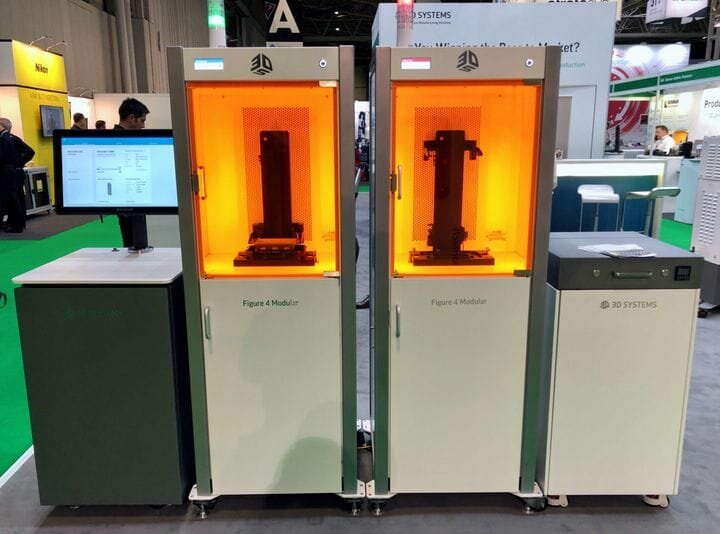

I happened to have a close look at the insides of a 3D Systems Figure 4 SLA 3D printer.
The Figure 4 is one of 3D Systems’ key products these days, as it addresses the needs of both manufacturing and prototyping. It uses the SLA process, in which a laser sweeps across the bottom of a resin tank to selectively cure material. This repeats layer-by-layer to form complete objects.
Figure 4 Advantages

The main claim to fame for the Figure 4 device is its ability to be automated. By combining a robotic arm with the device it is possible to 3D print, move those prints to other workstations for various forms of post processing, such as cleaning, curing, painting, etc.
This approach works quite well. I recall at one event seeing this robotic approach in action. The setup at the 3D Systems booth was printing objects, cleaning and curing them, and dropping the resulting parts in a bin. However, I don’t think they realized what was happening as the bin was soon overflowing with sample prints, and they kept coming.
More recently I had a look inside the Figure 4 to learn more about its 3D printing process.
But what’s to learn? SLA is SLA, is it not?
Traditional SLA Challenges
Well, there are many variations of SLA systems, although each involve firing a laser through the bottom of a transparent resin tank. The problem with that is the newly-solidified resin tends to stick to the tank bottom. This requires a halt to printing while the new layer is carefully peeled off the tank. This not only slows 3D printing operations considerably, but also tends to wear out the tank bottom.
SLA Adhesion Solutions
Several companies have attempted various solutions to this problem, most notably Carbon, who developed an oxygen-permeable layer that allows oxygen to inhibit the curing just next to the tank bottom. By doing this, Carbon is able to 3D print far faster than conventional SLA 3D printers and formed the basis of their company.
A few other companies have invented different techniques for handling this issue, such as non-stick surfaces, etc. It turns out that 3D Systems has their own solution in the Figure 4 3D printer. We know the Figure 4’s print speed is pretty quick, but how does it manage to do this?
It turns out they have an air-based adhesion solution that’s a bit different from other companies’ solutions.
Figure 4 Air Layer
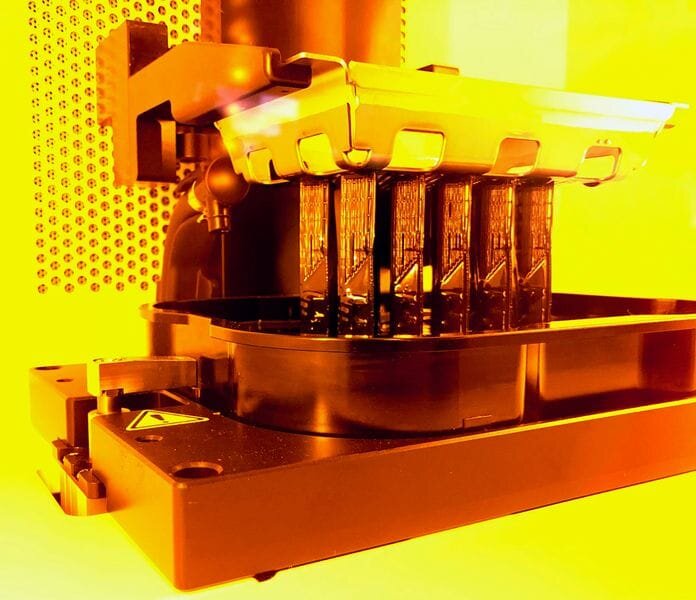
The Figure 4 has a special film to separate the resin from the laser mechanics, and it is air permeable. The built plate is locked down by a vacuum system, and the permeable layer allows the natural formation of a 10 micron air layer on the wet side of the film. There is apparently no need for pumping air through the film.
I had some concerns that the interface between the air layer and the resin might be irregularly shaped, perhaps causing quality issues when 3D printing, but it turns out this is not the case. The air layer is perfectly flat due to surface tension, and thus provides a perfectly flat resin surface for the laser to impact.
The result of this is that the Figure 4 can 3D print near-continuously without the need to pause for “peeling”. I was told by a 3D Systems representative the system is theoretically capable of 3D printing at 100mm vertical per hour in solid form, which is quite impressive.
There now seems to be more than a few “fast” SLA 3D printers on the market, with the Figure 4 being one of them. It may be that advanced adhesion solutions such as 3D Systems’ may soon become an expectation of every SLA 3D printer.
Via 3D Systems