

We managed to acquire a brand new CR-10S and put it through some tests.
This is part 1 of a two part report; part 2 is here.
The CR-10 (and its successor, the CR-10S) are an interesting desktop 3D printer. I’ve noticed it gradually become quite popular, now appearing on the top ten in 3D Hubs’ quarterly trends report, as well as very frequent mentions in discussion forums. There are a ton of modifications appearing as well.
We decided we needed to find out more about this machine, and courtesy of global 3D print reseller GearBest, we obtained a CR-10S and gave it a quick test.
Not having used the machine, I suspected the reason for its popularity might be the combination of low purchase and good quality prints. But let’s draw conclusions after using the machine.
The CR-10 is the original model, which is still available for purchase, should you choose that model. The CR-10S adds some bells and whistles, such as automated bed leveling and the ability to install a filament-out sensor.
However, the two machines are very similar. The standard build volume on the CR-10 (and S) is a massive 300 x 300 x 400mm, capable of 3D printing very tall objects. It’s also possible to purchase even larger volumes, with Creality producing alternate models of 400 x 400 x 400mm and an almost unbelievable 500 x 500 x 500mm. We tested the standard volume, 300 x 300 x 400mm, which was plenty big enough for anything we could handle – and meaning we had sufficient material for such large prints.
But let’s open the box and see what’s inside.
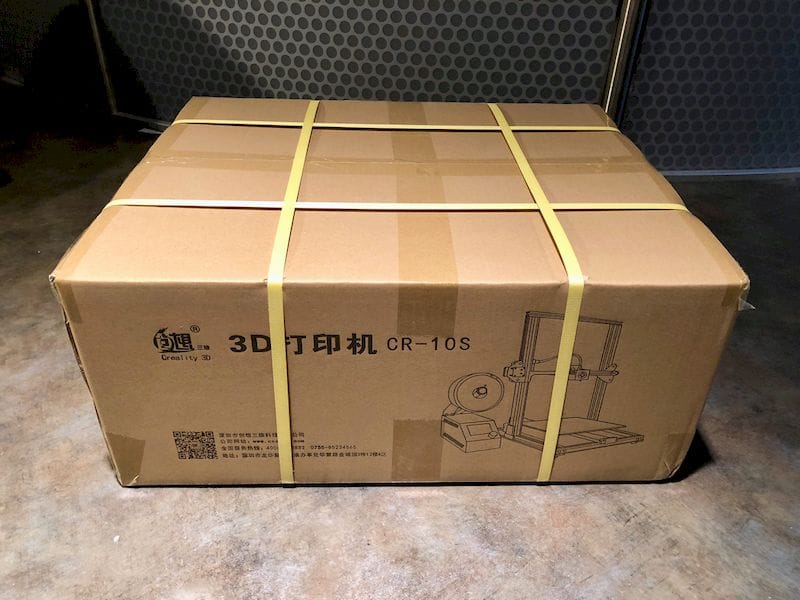
The first thing I noticed with the CR-10 is that the box is nearly a flat-pack, like you’d get from Ikea. This is quite different from the assembled 3D printers we usually receive, which must contain the entire build volume inside the shipping box. The CR-10S is slightly unassembled, and thus they can break it down to a much smaller shipping size – but at the expense of having you put some of the machine together.
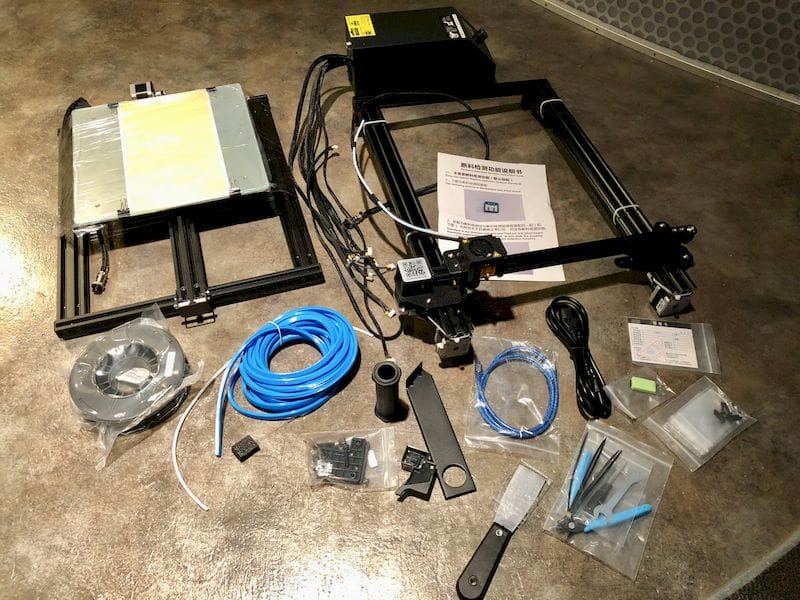
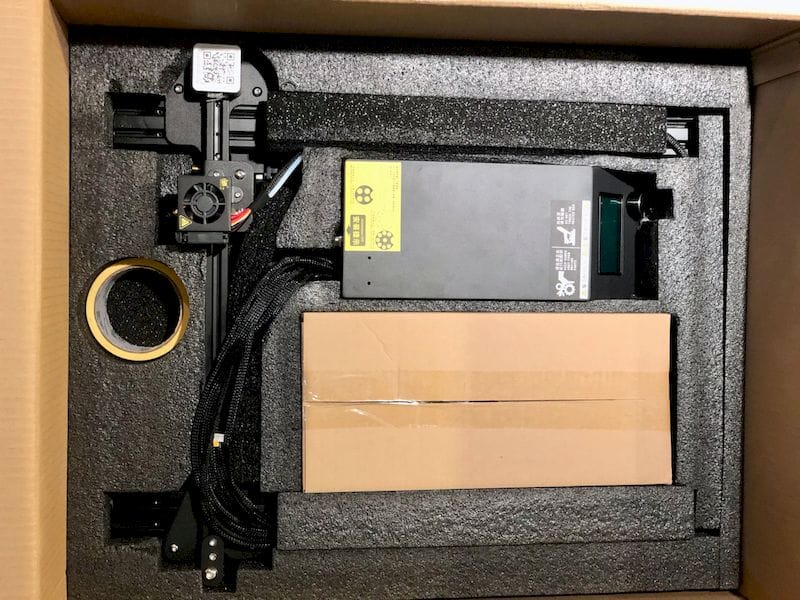
Specifically, there are three main pieces to this machine: the Z-axis frame, the XY axis frame with platform, and the power supply / controller. The job of assembly is simply putting these three bits together, after extracting them from packing foam, tie-wraps and clear wrap.
There are only four bolts required to mount the two frames together, and it’s easily done, although you may need an assistant to align the two pieces while inserting bolts. Once the frames are installed, there are a few minor items to attach, such as the end-stops.
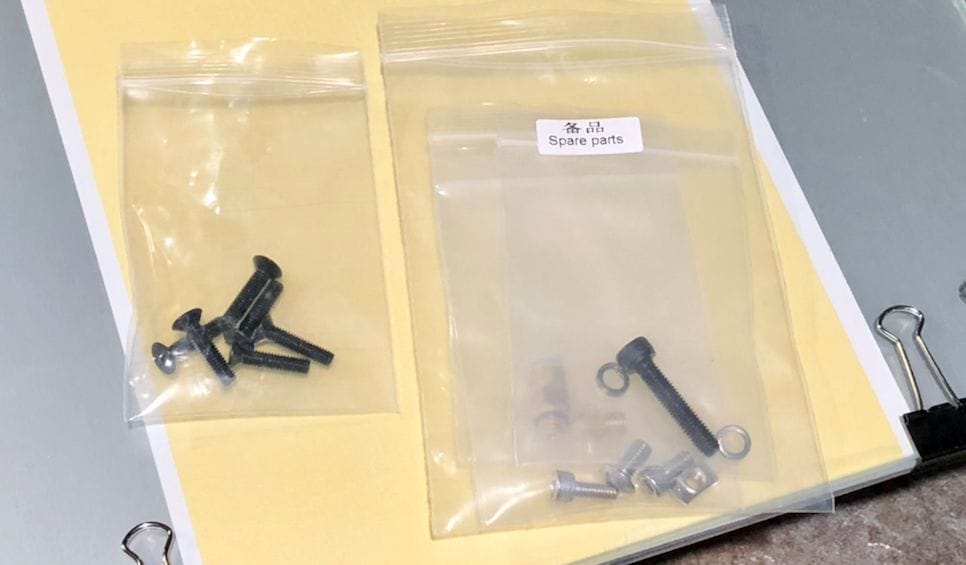
One minor issue we encountered was that the documentation is not always clear. Rather than saying “use bolt #5 to attach X to Y”, they often simply say “attach X to Y” and you sometimes must find the correct bolts from among the several zip-lock plastic bags of bits. Strangely, some of the required bolts were found in the “Spare Parts” bag. They were not spare parts; they were required. So it was slightly confusing during assembly, but any competent tech would easily find their way through the process.
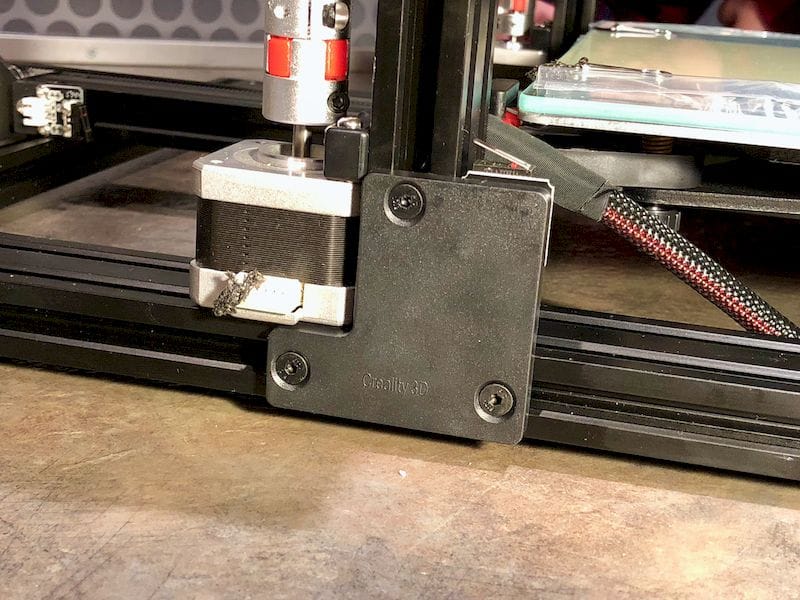
At this point you must attach the power supply / controller to, literally, everything. There are nine cables emerging from the back of the unit that must be plugged into stepper motors, heaters, fans, end-stops and of course, a power source.
This arrangement is a bit unusual for the 3D printers I’ve used, all of which have internalized control boards and power supplies. Rather then ending up with a sealed single unit, you have an open frame with a secondary box and a ton of cabling in-between. It does take up quite a bit more table space.
According to Creality, the assembly process is “Ten minutes to install and test”. I would challenge this statistic; I think you could only do this if all the parts were laid out ready for assembly in advance, and you’d previously assembled a couple of units. Otherwise you’re going to spend at the very least half an hour to an hour carefully going through the assembly instructions.
Yes, you could go faster, but I always am very careful when assembling a unit, because if you do something wrong and wreck a component, you may then be waiting days or weeks for a replacement. Take each step very carefully. And as I mentioned, the instructions are not always clear and you must stop and consider what they are saying opposite the available parts and components.
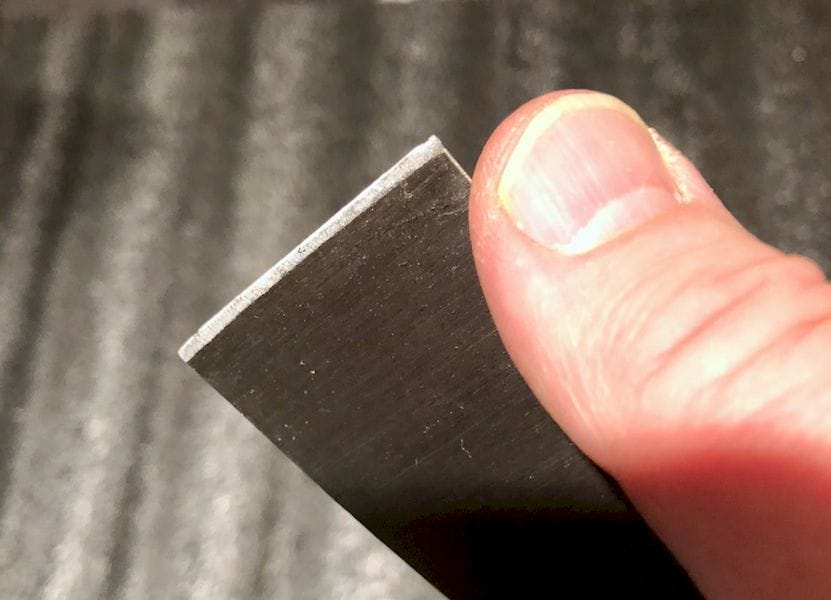
I should mention that the CR-10S comes with a very good set of tools. There are multiple sizes of allen keys, snips, wrenches, extra tie wraps and a scraper to lift prints off the bed. I suggest EXTREME caution with the scraper, however, as it is simply the sharpest scraper I’ve encountered with a 3D printer. It’s literally razor sharp and would very easily shave off a big hunk of your body if an accident occurred. Please be very careful with the scraper!
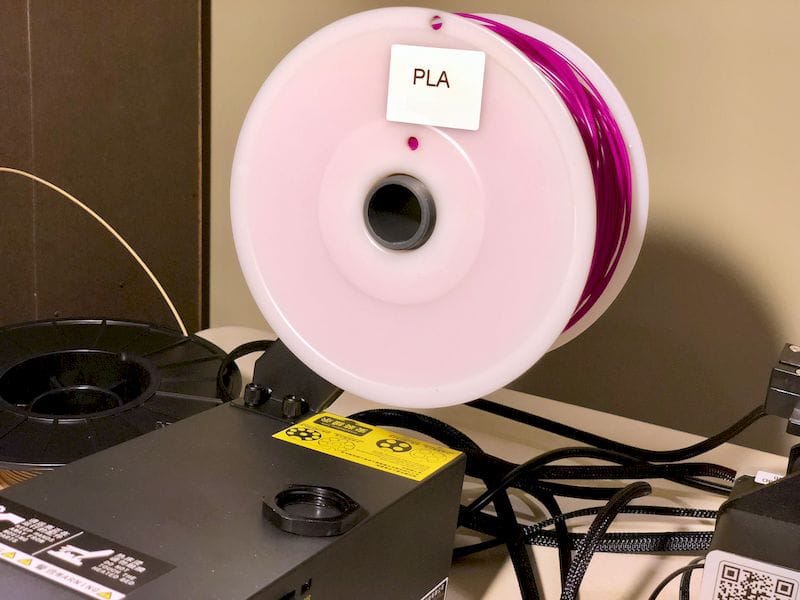
The spooling system on the CR-10S is, as you might expect, straightforward. It’s a horizontal post upon which you plant your spool. It seems to work reasonably well in my testing, but I found that some spools, such as the one above with a 32mm hole diameter and wide width, did not fit unless I removed the guard on the end of the post. Even then, I experienced snagged filament and gaps in the print when the spool wouldn’t rotate easily. For such unusual spools I think you’d have to rig up a special spool holder. However, I expect this system could fit most standard spools today except for the very thin / wide versions that you sometimes encounter.
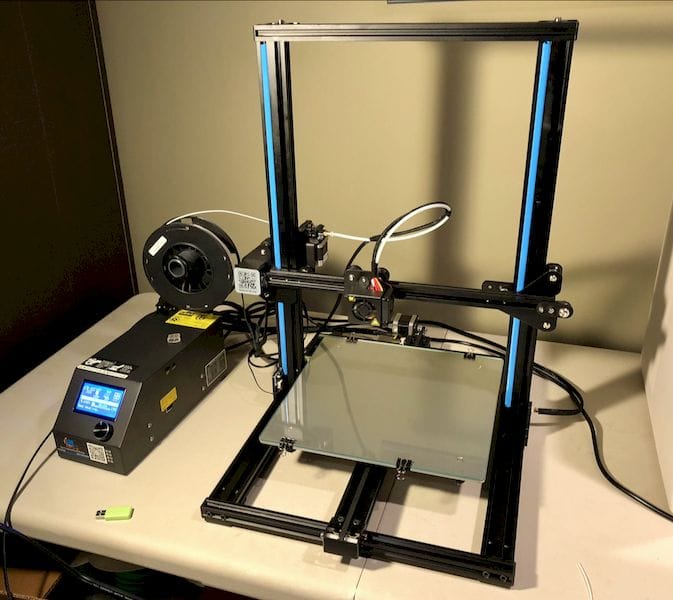
The rather large frame is well built with extruded aluminum and linear rails, so it works quite smoothly. It’s also very tall, as you can imagine.
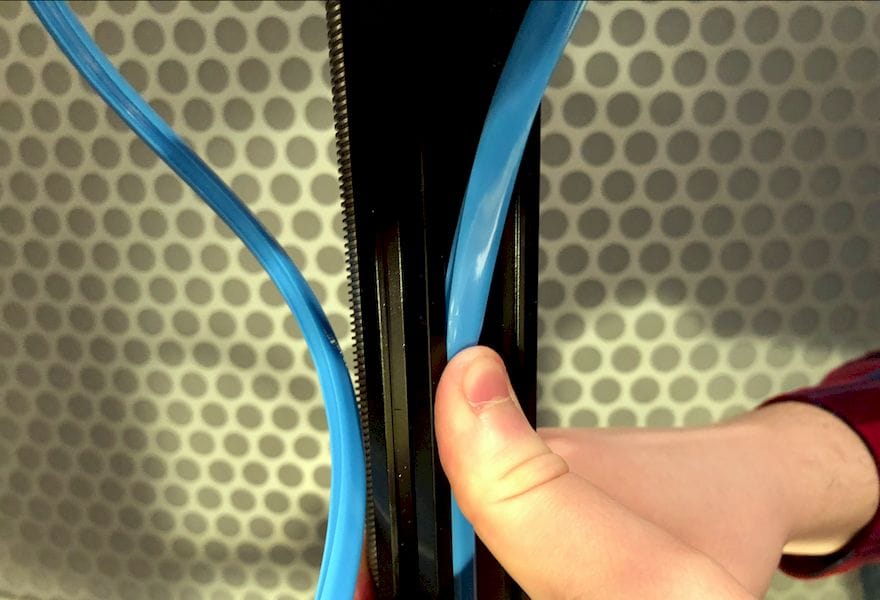
It’s not all hardware; there is a slight bit of style to the CR-10S, through the use of this insertable tubing. I suspect it normally has an industrial use, but here it’s for show, unless you decided to route cables through it. We received very appropriate blue tubing for our CR-10S, which is easily applied – or not if you don’t worry about such things.
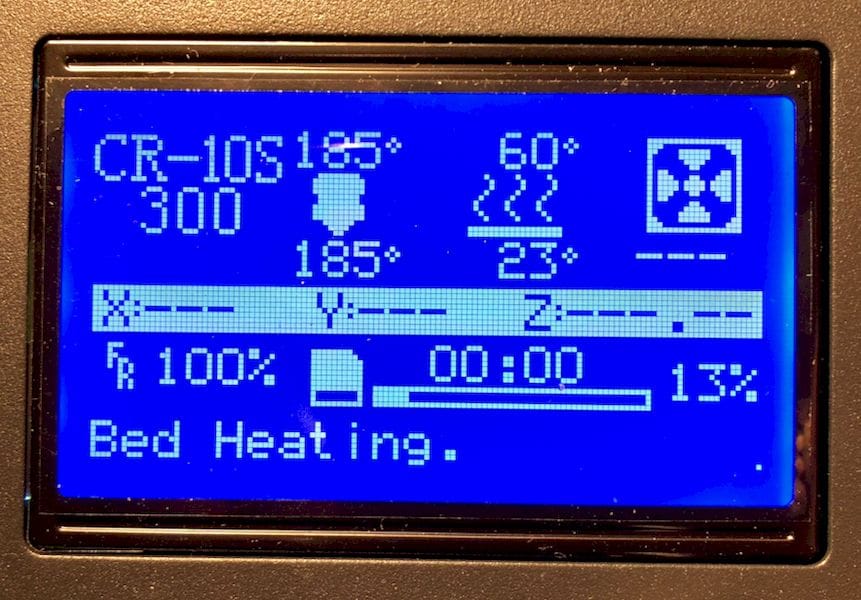
Operation of the CR-10S is through its LCD panel, which is not nearly as fancy as some other color touchscreen machines, but after all, this is a budget machine, not a luxury 3D printer. Input is handled through a single rotating knob, which is used on many other devices and should be familiar quickly.
The CR-10S includes an automated leveling process of a sort, but I felt it necessary to do it manually to ensure it was at least close. The manual process is actually quite easy, mainly due to the large easily grasped thumbwheels under the corners of the build plate.

Some thoughts about the build platform. It’s a glass plate placed on a heated aluminum bed. I read reports that this glass is sometimes warped, but I did not find this to be the case with my CR-10S. In any case, it’s apparently very easy to replace them with 12” x 12” mirrors found at local hardware stores if the plate happens to be warped.
Adhesion is always an important topic for desktop 3D printers, and this is also the case with the CR-10S. There are some machines that can 3D print PLA very well on clean, heated glass surfaces. But it seems that the CR-10S is not one of these devices. I tried several times, and while there was a slight bit of stickiness, I could not reliably stick on plain glass.
This called for additional adhesion measures.
This is part 1 of a two part report; part 2 is here.
Via GearBest