
Sculpteo produced quite a comprehensive guide to 3D printed inserts.
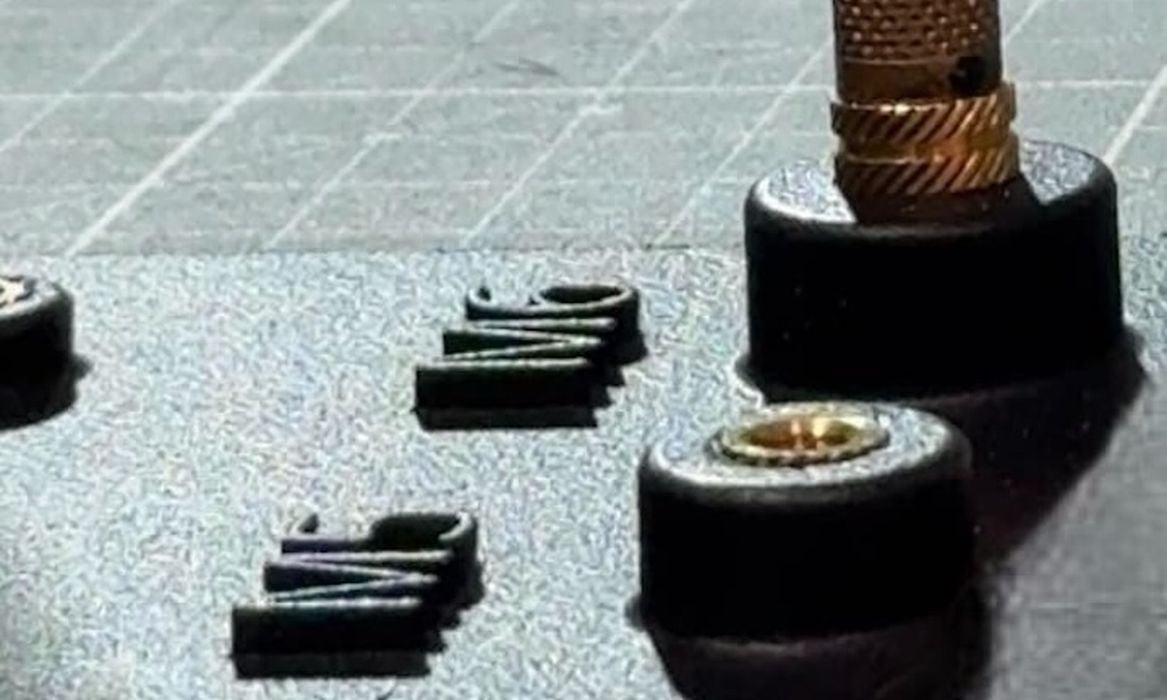
Inserts are becoming increasingly popular in 3D print projects. The idea is to insert a threaded nut of some design into a plastic 3D printed part. This allows that part to be bolted to another, and effectively allows for the construction of more complex projects.
Using inserts is relatively straightforward: heat a metal insert, and then slowly press it into the part at the desired location. The heat softens the plastic, which then allows the insert to proceed inside the part. When the part and material cool, the insert is then fixed into the part.
Pretty easy, right?
Well, no. There are quite a few complications to this process, aside from pushing the insert straight.
That’s where Sculpteo’s detailed guide comes in. They performed extensive testing on a variety of different insert scenarios to determine the best practices.
Factors they considered:
- Diameter
- Length
- Insert surface geometry
They measured a number of different combinations of these factors to see which scenarios offered the best pull-out resistance. Testing was done with commercial testing gear, suggesting the results should be quite valid.
What did they find? I encourage you to read the entire report, but here are their key takeaways:
- Increasing diameter increases strength
- Longer inserts are stronger
- Wall thickness is essential
With those in mind, they then provide six steps designers should take when considering the use of metal inserts in 3D printed parts.
After reading this report, you’ll no doubt have far better results on your own inserts.
Via Sculpteo