
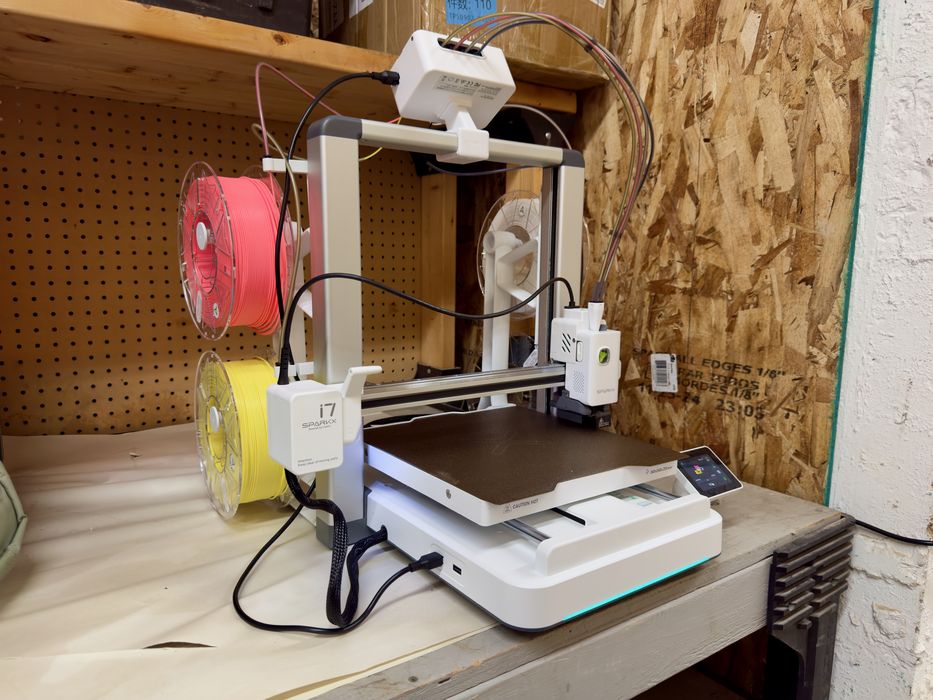
Our look at the SPARKX i7 3D printer concludes with software, print results and final thoughts.
This is part three of a three-part series; please read parts one and two.
SPARKX i7 3D Printer Software
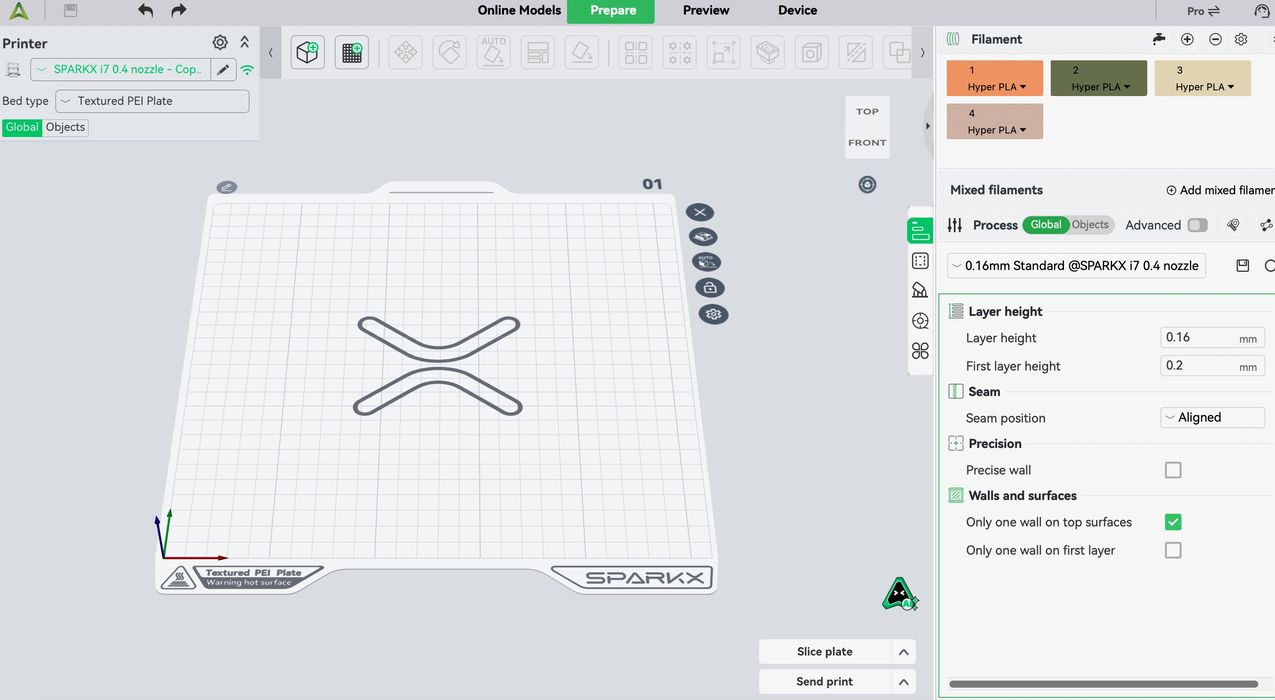
The main way I printed on the i7 was through Creality Print, their standard FFF systems management tool. It allows you to load a 3D model, select materials, colors, and other print parameters to preview the job. Then, once satisfied, you can send the job through the network to the i7 for printing.
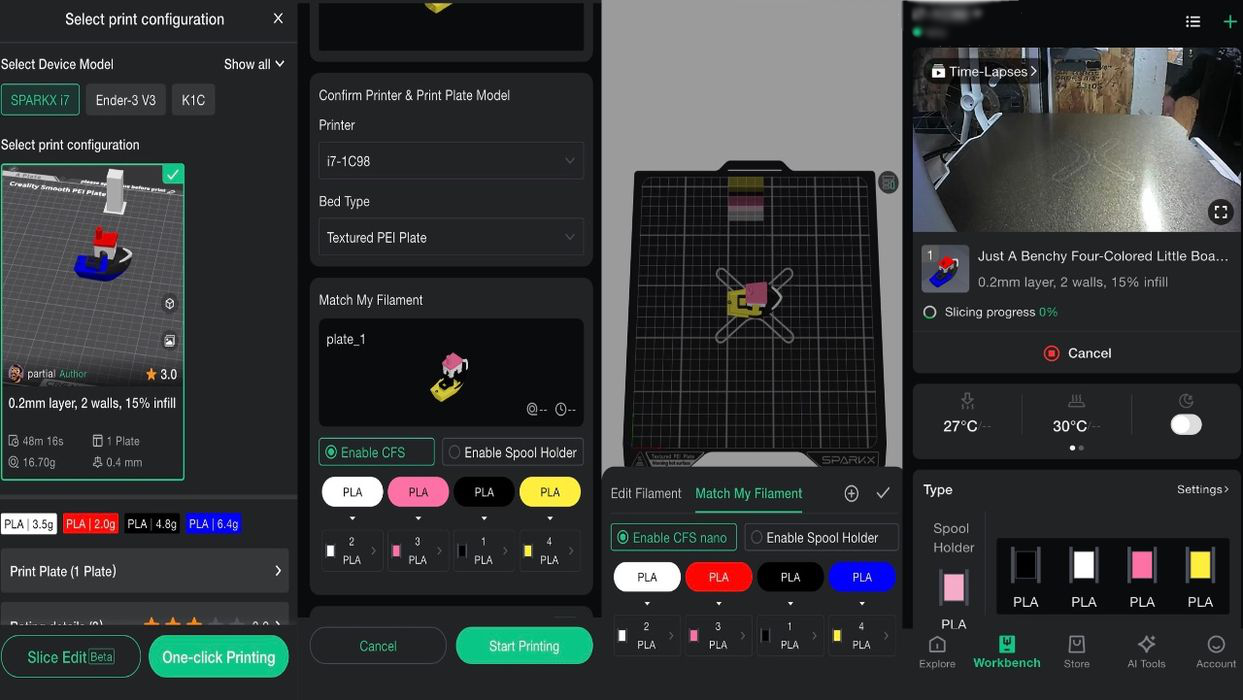
There is a mobile app as well, and it can also be used to launch jobs on the i7. However, it’s not quite as flexible as the desktop app. Here you can see some views of the app in action.
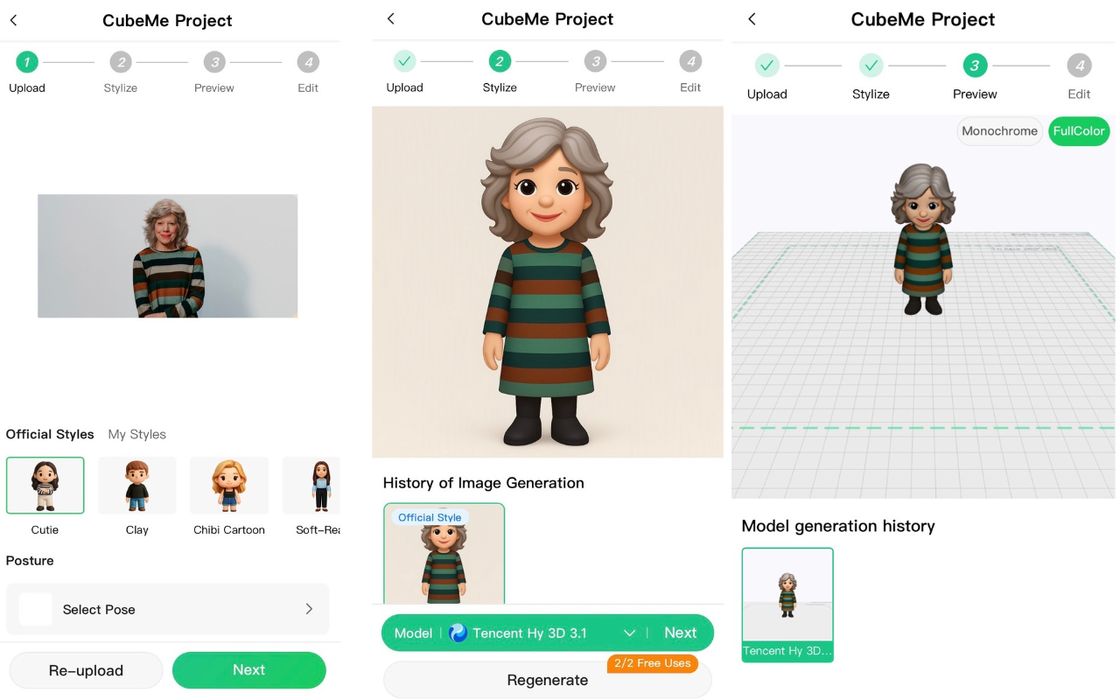
Creality has an AI Creation tool, “CubeMe”, that is a fun feature to turn 2D portraits into 3D models. I had to try this feature! It was fun, but I’m not sure that it looked anything like me except for the color of my hair and stripes on my dress.
SPARKX i7 3D Printer Print Results
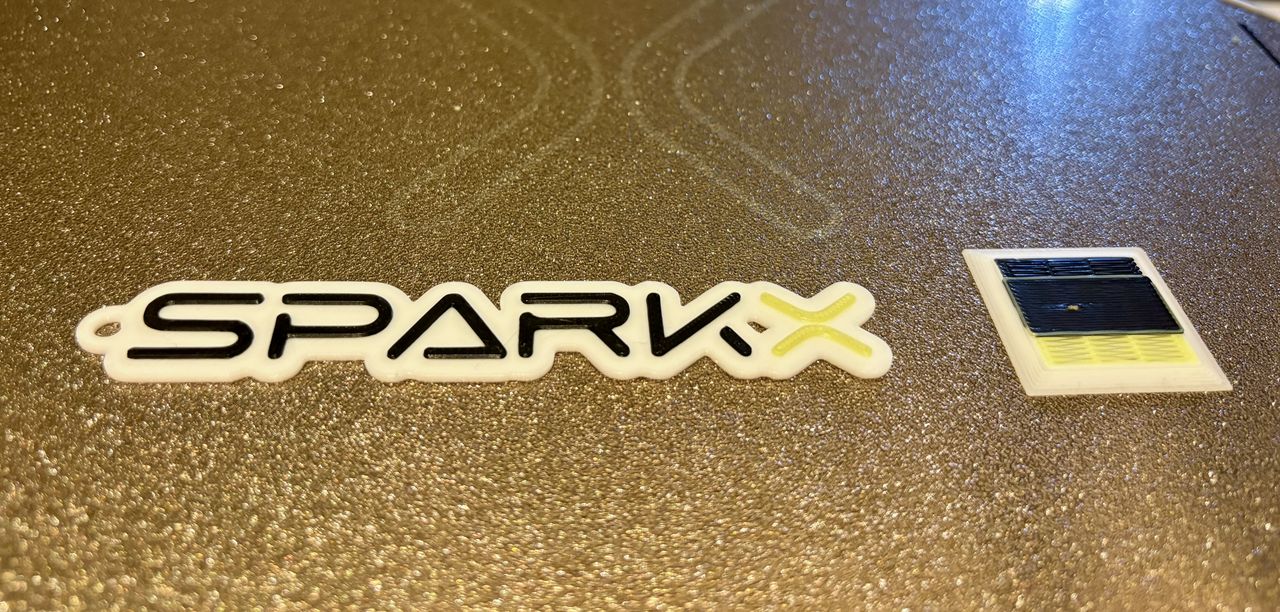
Print results on the i7 were excellent. For an open gantry, bedslinger system, the quality was about as good as you could expect. Here I printed the SPARKX logo in multiple colors.
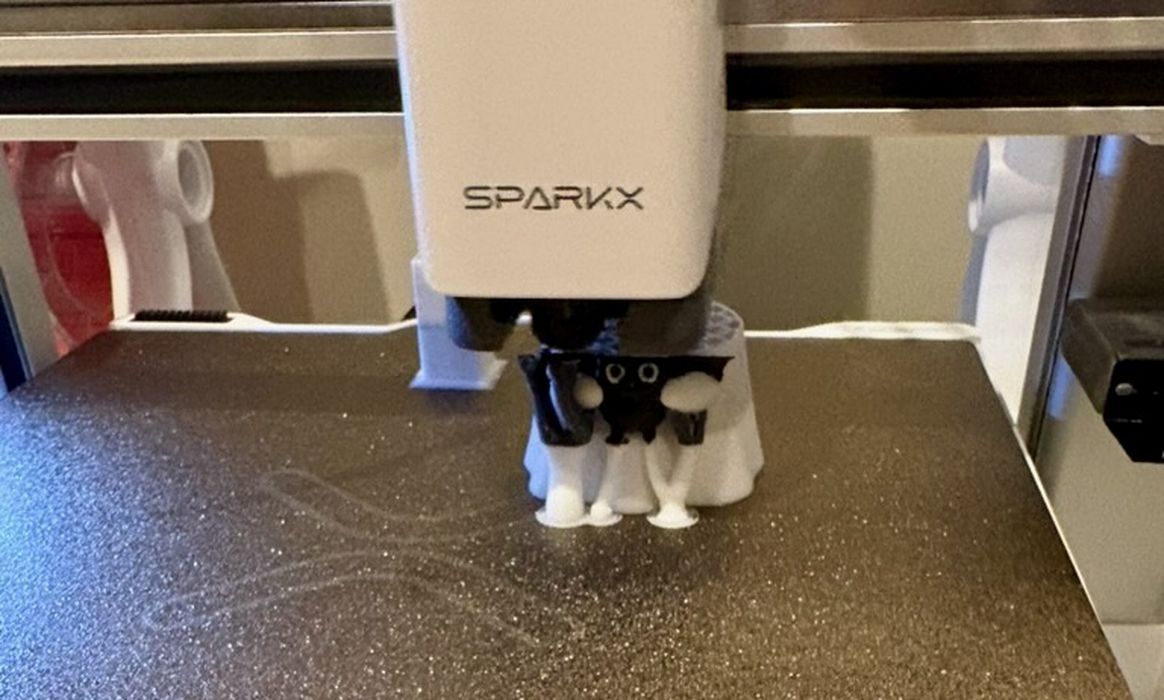
My next job was printing a two-colour ghost model. This was the model that generated the waste shown earlier.
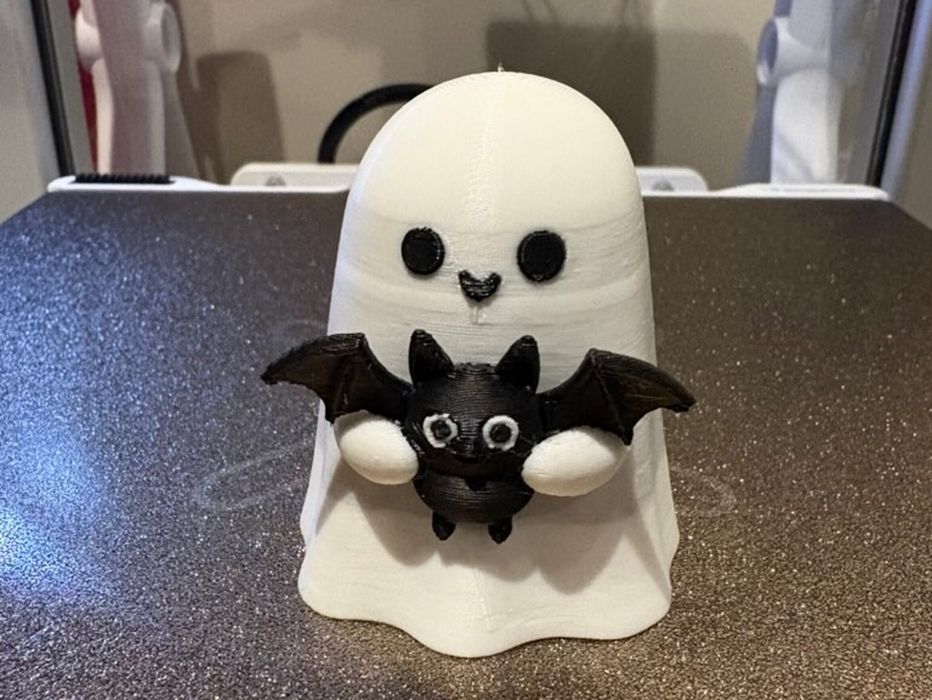
Here is the little ghost all printed. It looks great!
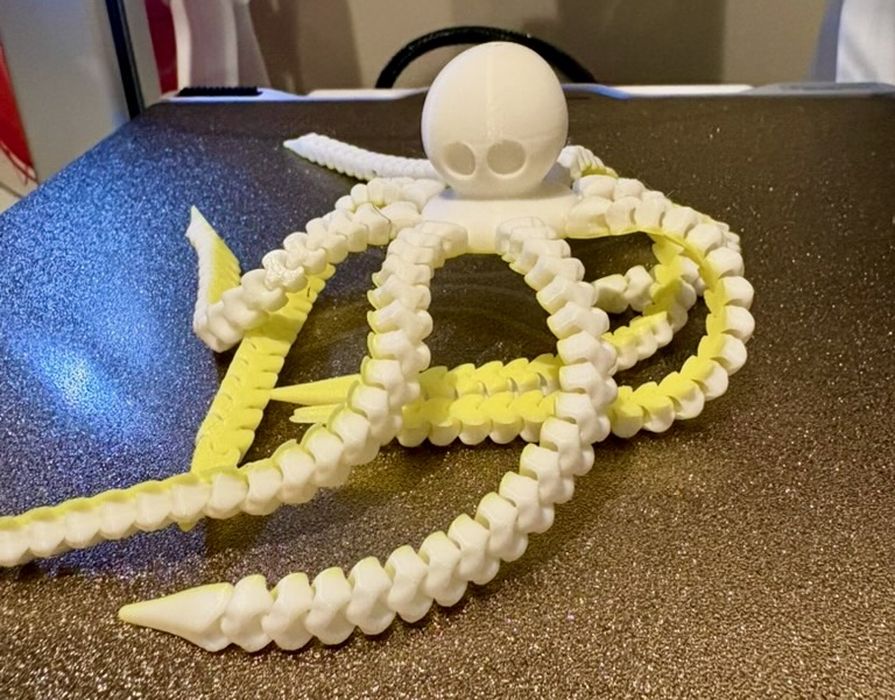
This one was more complicated. It is a fully articulated octopus 3D model. This tested the i7’s ability to print with gaps sufficient to move the limbs, which it did perfectly.
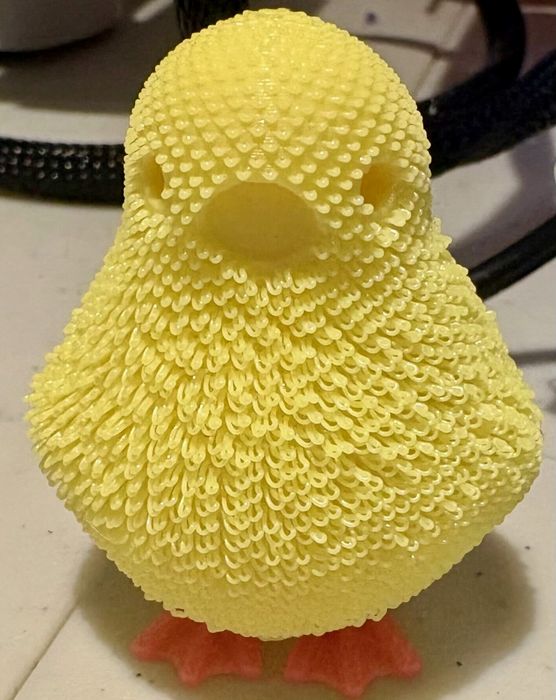
Finally, this crazy bird showed how you could stress the i7 with a different extrusion pattern. It’s a really interesting 3D model that has a very unusual surface.
SPARKX i7 3D Printer Final Thoughts
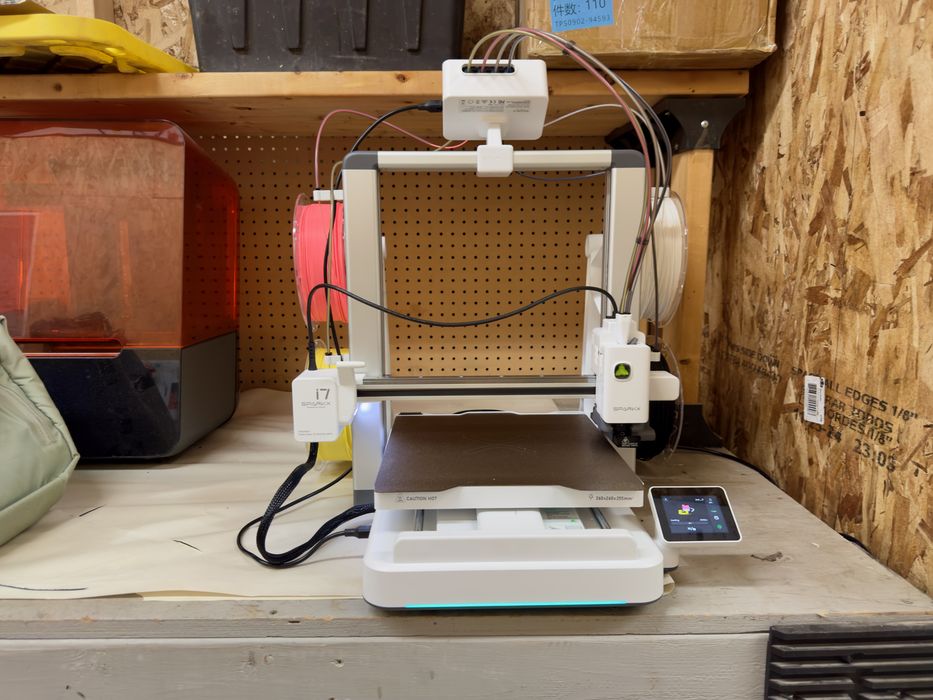
I like the new design of this 3D printer. The light in the dark was terrific, and it was able to indicate printing in progress, print completed, print paused, and printing error.
The print quality on all parts was very good. The fuzzy chicken looks amazing, and so do all the other parts I tried printing.
My only frustration with the i7 was how long it took to print some of the multicolor prints, along with the amount of material waste. Yes, there is less waste than usual, but having seen some other systems that have dedicated nozzles, even the low amount of waste now seems to be too much.
Having said that, the waste cost is still very little, and you probably don’t need to worry about it. I just don’t enjoy throwing it all away.
3D model selection is key. By selecting a part with fewer colors and orienting it properly, the material waste can be a lot less.
Creality SPARKX i7 Combo 3D Printer is currently for sale at US$279.00, and with the CFS nano it is only US$299 — that’s twenty bucks more for a multicoloured system!
This price is great value for the printer, and it should ship in early November. Beginner 9/10 Enthusiast 7/10 Professional 6/10
CREALITY
SPARKX I7
★ BEGINNER 9/10
★ ENTHUSIAST 7/10
★ PRODUCTION 6/10
BEST FEATURES
✔︎ Low price
✔︎ Industrial design
✔︎ Quality prints
QUESTIONS
✖︎ Multicolor waste
✖︎ Multicolor speed
✖︎ Spool setup
This is part three of a three-part series; please read parts one and two.
Via Creality
https://creality.com/