

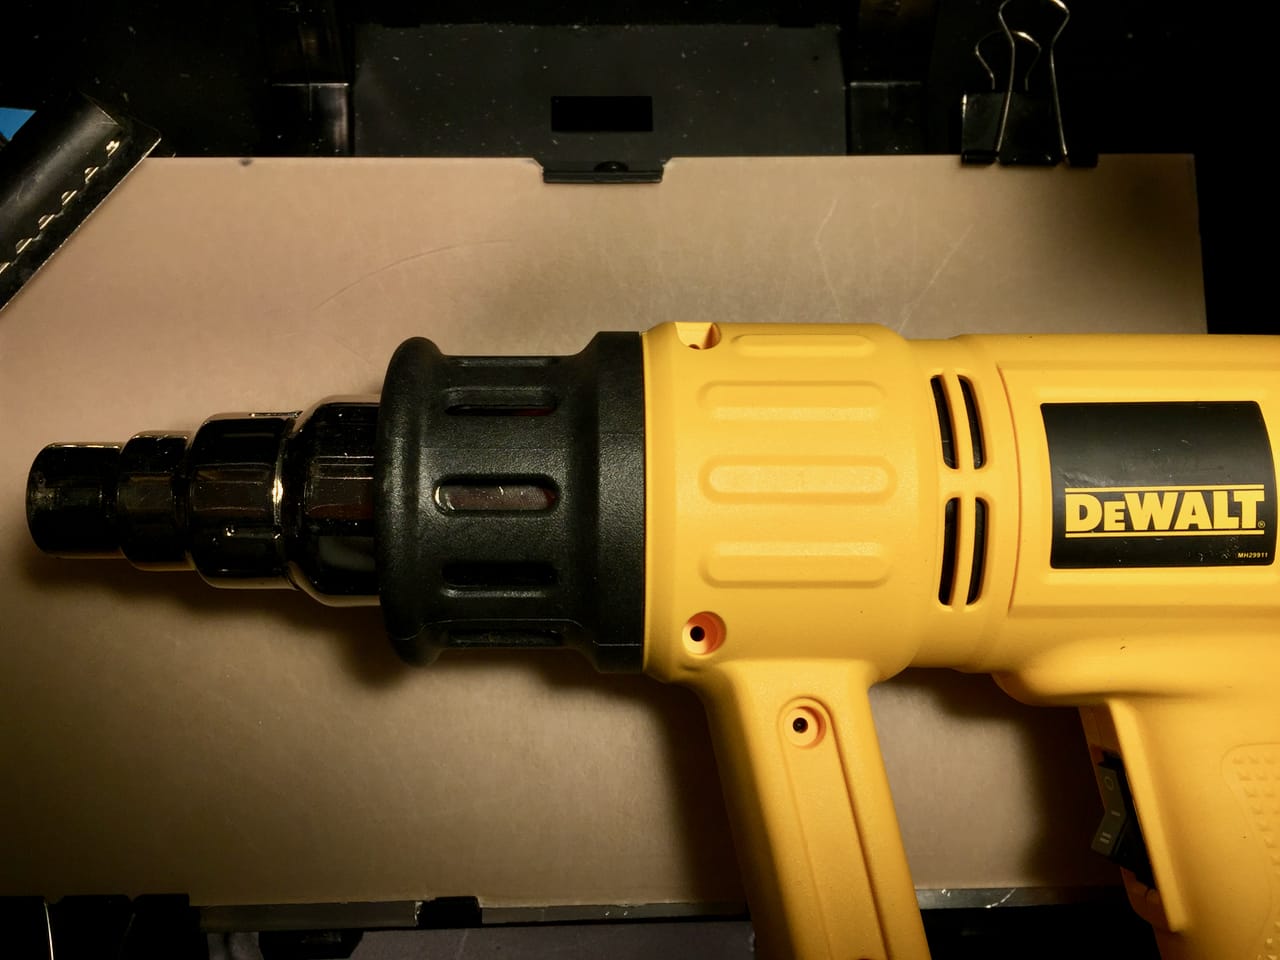
There are plenty of ideas for tools required to help operate desktop 3D printers, and one of them is the heat gun.
I’ve found a couple of interesting use cases for the heat gun, so it resides beside the 3D printers, ready for use. But what are these uses?
One use is for direct 3D print repair. There are cases when you’ve mistakenly chosen to print a thin wall that was actually a bit too thin, and slight overhangs result in holes or blobs.
This situation is actually easily rectified with a heat gun and a small flat metal tool, like a screwdriver. The technique I use in this situation is as follows:
- Cut a length of identical filament and hold it in your hand
- Fire up the heat gun and point it at the end of the filament
- Wait until the filament is plenty soft. I mean, really soft
- Then swiftly move the melty plastic on top of a small hole in the print. It will surely look ugly
- Then bring up your flat metal tool and warm it up with the heat gun
- When at a sufficient temperature (which you will determine through trial and error), GENTLY smooth the blob that you just deposited
- The tool will cool off quickly, so you will have to reheat it from time to time
- After several careful moves, you will restore a relatively smooth surface and will have filled the hole
- Sand as required once cooled
But that’s not all I use my heat gun for. The other major use is in cleaning print beds.
One one of my desktop 3D printers I happen to print PLA on a cold bed, usually covered with one of those removable bendy plates that provide additional adhesion. These plates are invaluable for non-heated desktop 3D printers, which otherwise struggle to print anything successfully. I recently 3D printed 150 objects consecutively without a hitch on such a plate.
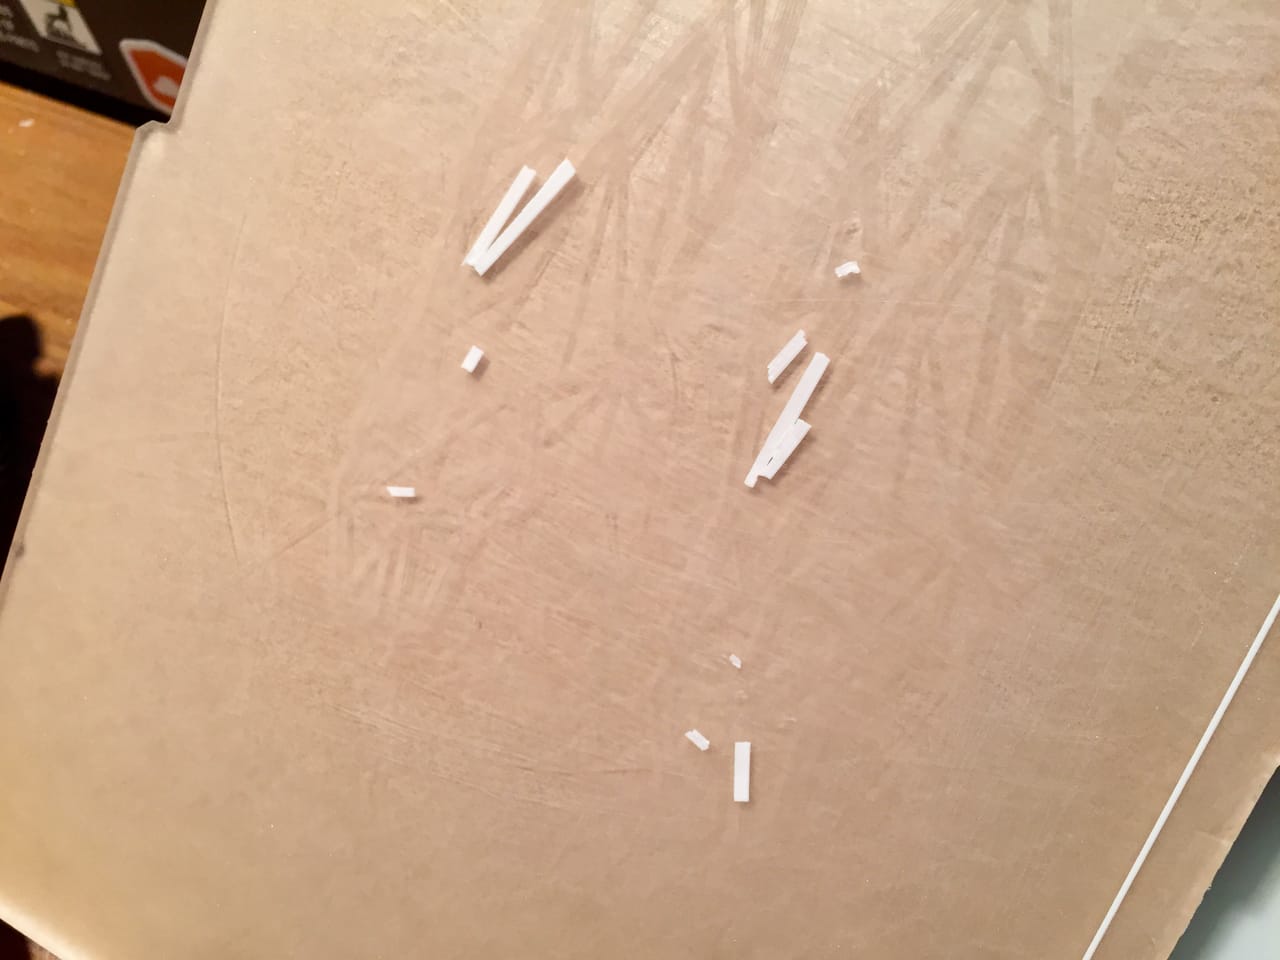
But these plates do stick too much sometimes, as you can see in this image. When popping off the print, sometimes a bit of PLA can be left behind, and it can be a terrible exercise to remove it.
Initially, I used the “brute force” method to remove such blobs. These would sometimes come off, but more often than not they’d simply grind down to a thinner layer that was essentially permanently attached.
For a while I tried using a dremel to buff it off, but, like the brute force method, risked permanent damage to the normally smooth print plate.
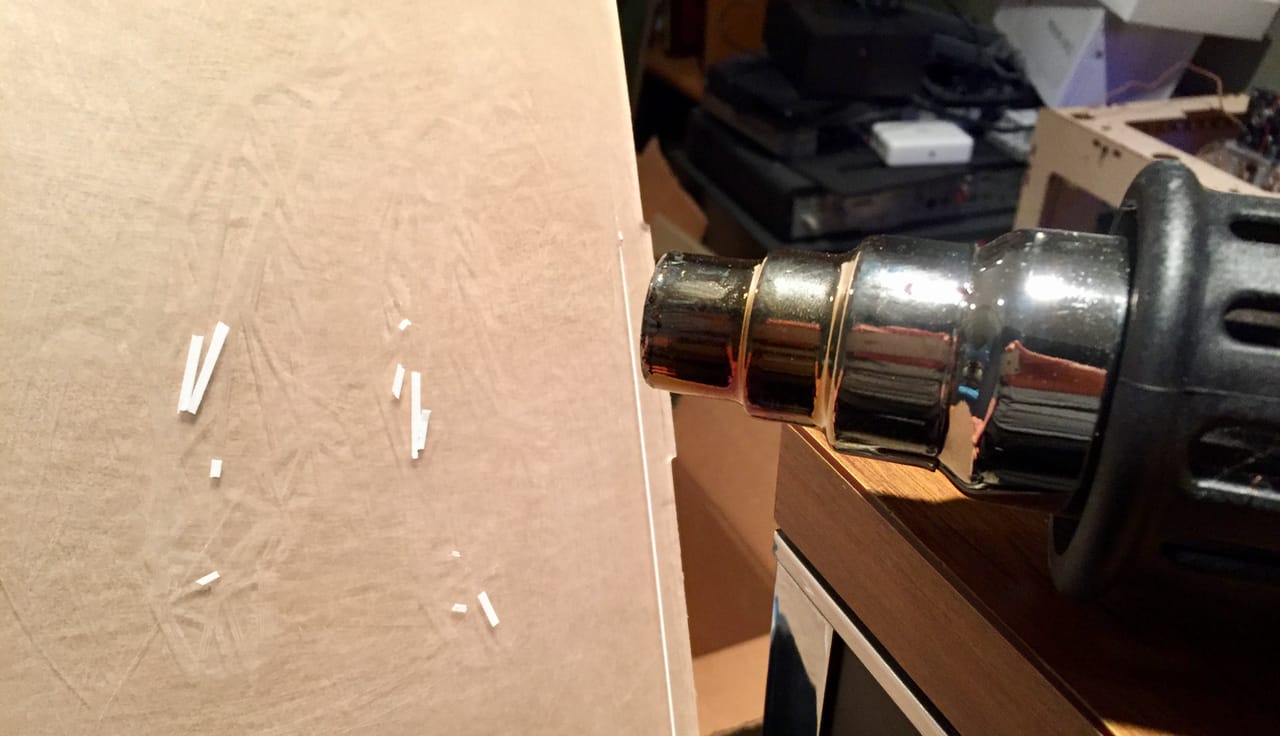
Enter the heat gun. Here’s how to clean the removable build plate of PLA with the heat gun:
- Position the plate 20-30 cm away from the hot nozzle
- Switch on the heat gun and slowly let the plate heat up
- Be very, very careful to not overheat the plate, or you can damage it – Pay Attention!
- Observe the residual PLA; after a very short time, it will soften!
- The build plate does not soften, as it has a much higher melt temperature than PLA
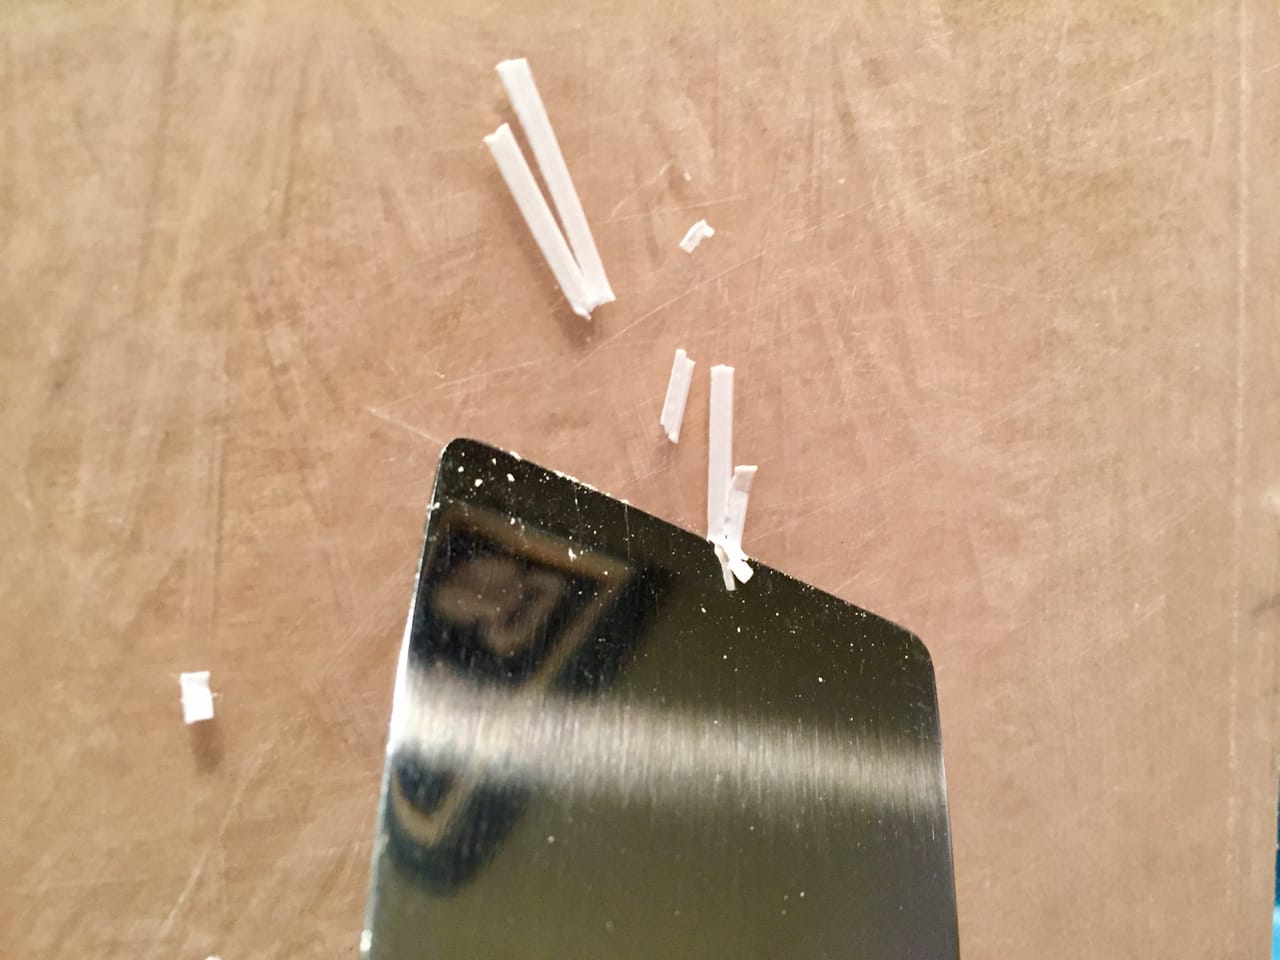
- At this moment, pull out a scraper and deftly slide off the residual PLA, which will be quite malleable
- Scrape the entire surface to remove any trace of PLA
- Switch off the heat gun and enjoy your perfectly clean, perfectly flat and undamaged build plate
And that’s why I love my heat gun.