


This month’s selection for our community support program is the fascinating Otto DIY project: build your own robot.
Each month Fabbaloo selects a worthy non-profit project or activity contributing to 3D printing and provides not only a published story on the project, but also free advertising on our well-read pages. If your project would like to take part in the program, please fill out our application form here.
Launched by Colombian Camilo Parra,Otto is an open source project to provide plans for building an interactive biped robot, which happens to make liberal use of 3D printed parts.
The completed robot is programmable and can perform a number of tasks, including:
- Walking
- Avoiding obstacles
- Dancing (!)
- Making sounds
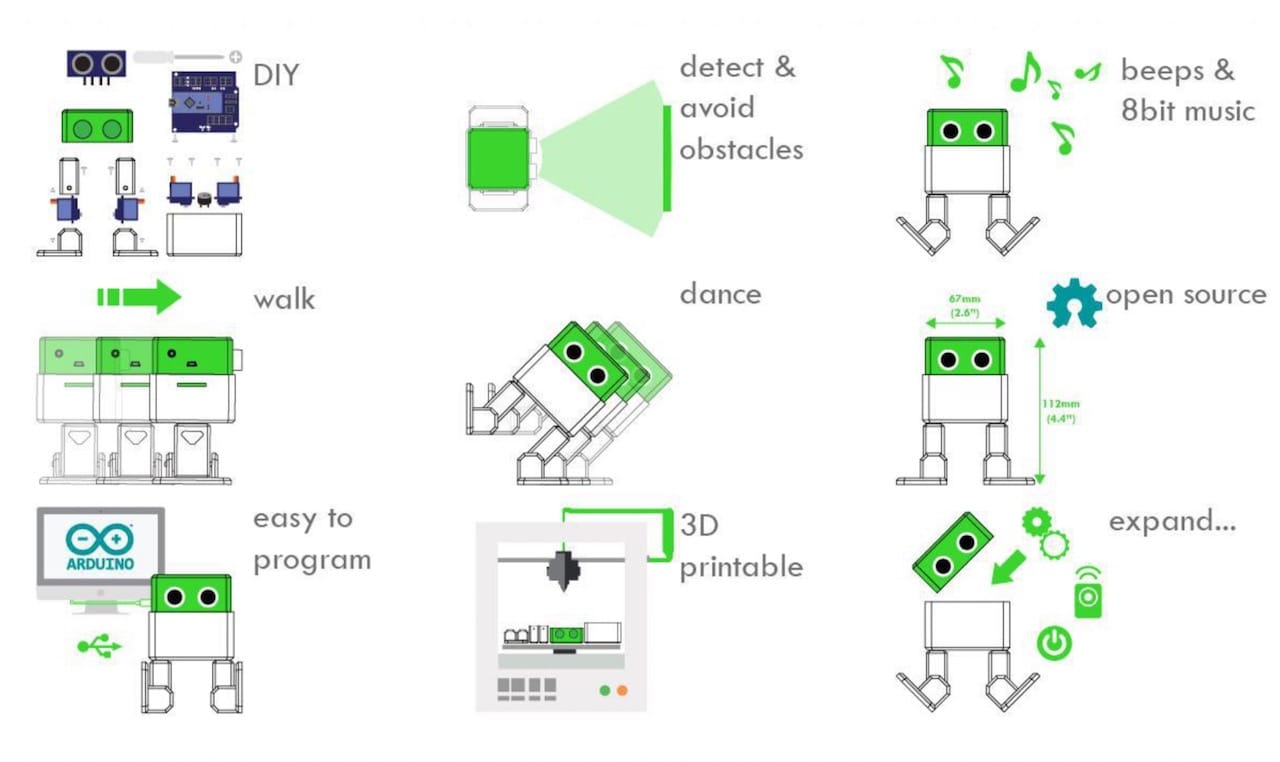
And it’s expandable to do anything else you can imagine that can physically be implemented on the Otto platform. This is, of course, enabled by the open source nature of the project: you have access to the design files for this work.
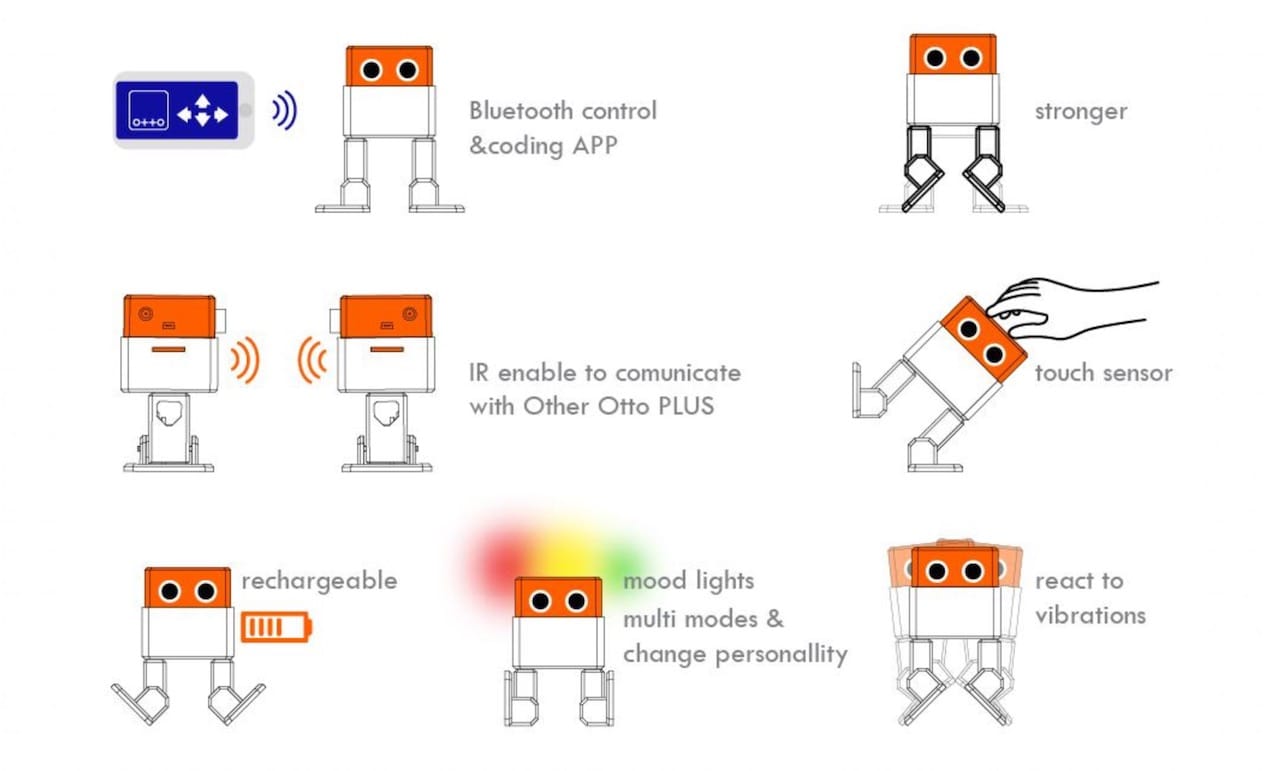
As you can see in this chart, the Otto platform is easily adaptable to include a variety of sensors or other active components, such as lights or touch sensors. There’s many possibilities here.
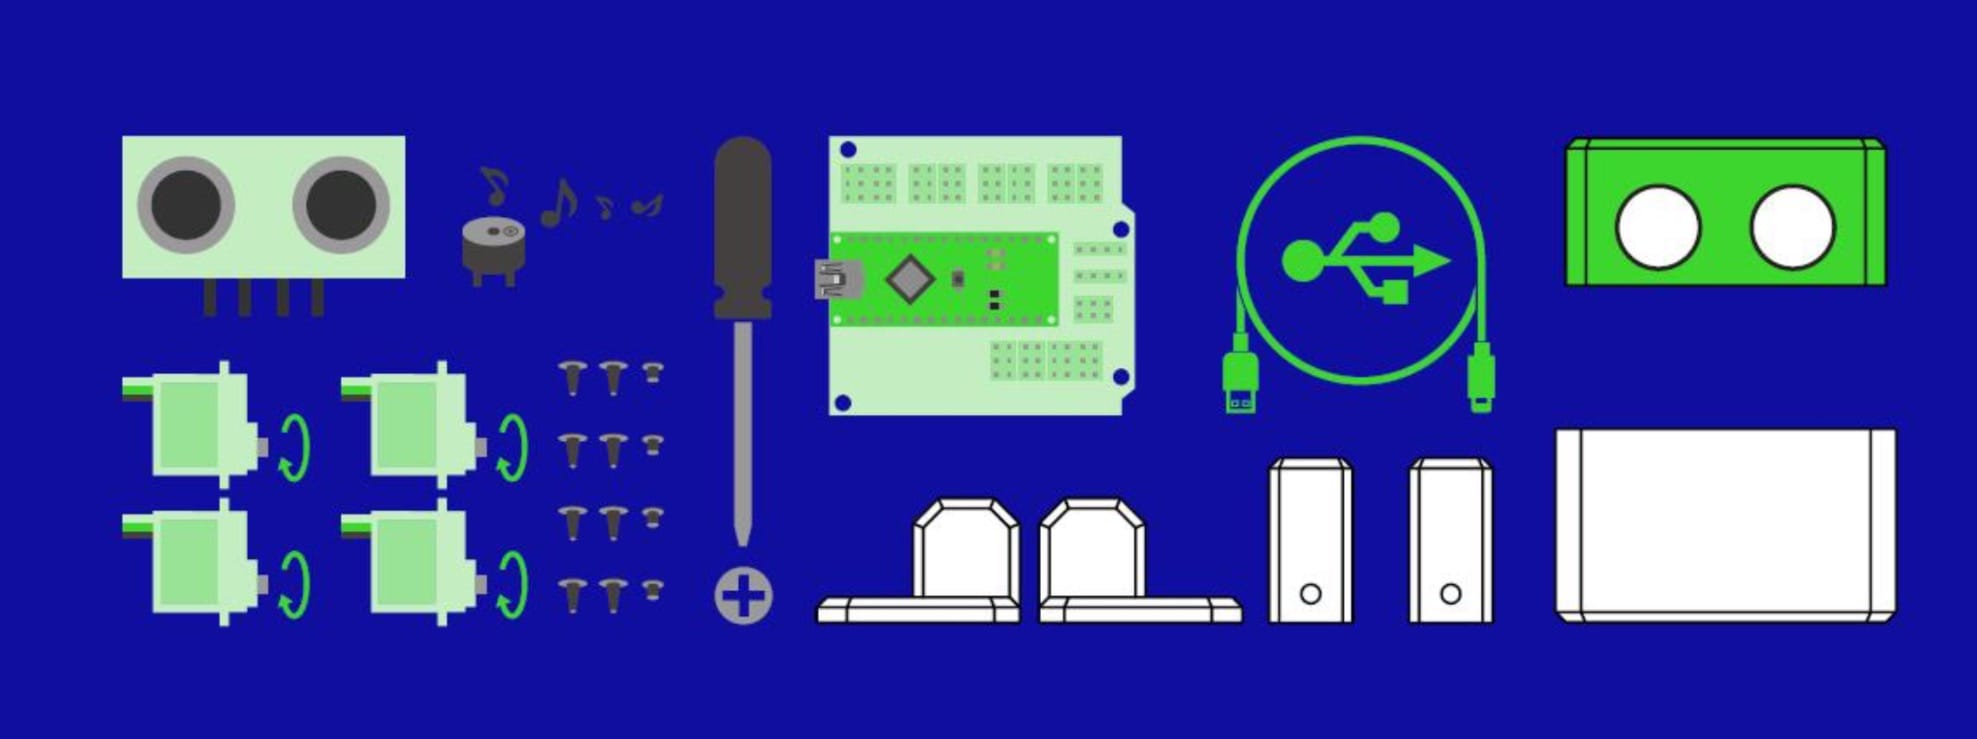
Building an Otto is straightforward and involves purchasing a number of low cost standard electronic components they say are “easy to buy basically everywhere”, and that’s likely true. There are a number of 3D printed components as well, and they are printable in “less than 10 hours” on standard 3D printing equipment.
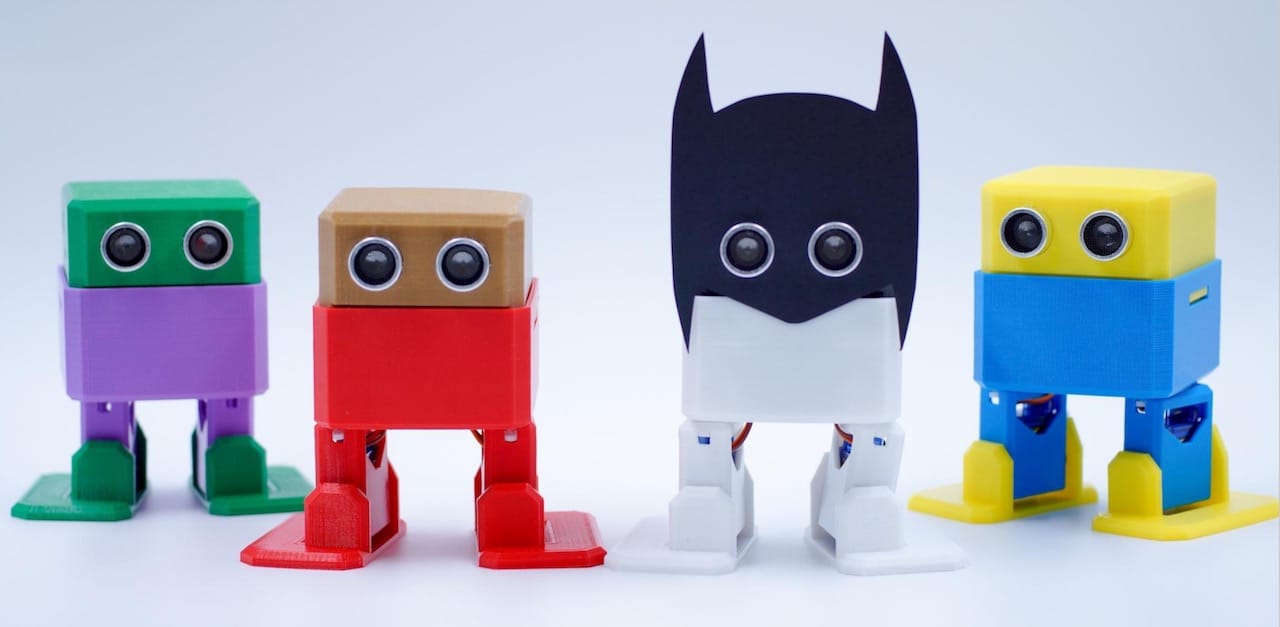
Construction of the Otto is said to take only one hour, and likely can be done by almost anyone. There aren’t that many parts, and as you can see at top, even children might be able to put this item together.
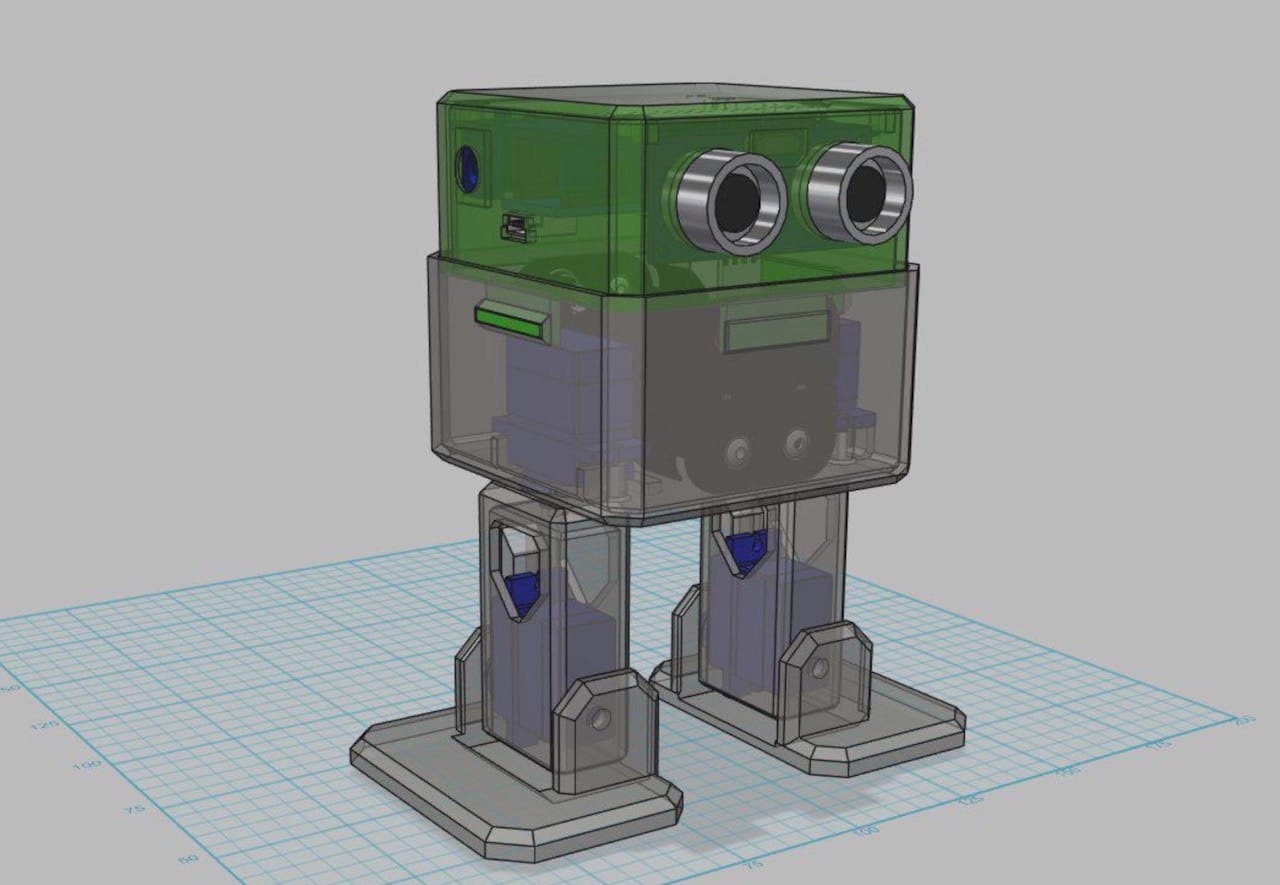
The robot was designed in the now-defunct Autodesk 123D Design, however the 3D model files are distributed in STL format. That’s certainly usable for direct 3D printing, but you won’t be able to directly modify them easily. However, you can import them into your CAD program and work around them.
All files are available for download once you register to the project’s mailing list.
Who is this for? Anyone interested in making their own robot, certainly, but I propose that educators might find this project of great interest, as it could provide students with a project involving several different disciplines that results in a cool item.
The Otto project hopes to have participants share their results with each other through posting modified versions of Otto on Thingiverse and through the use of hashtag #OttoDIY.
Via Otto