
Do you have a resin 3D printer? Here’s a whole bunch of tips for you.
In the past couple of years I have been doing quite a bit of resin 3D printing, and I’ve learned a great deal. Now it’s time to share my learnings with you.
These tips are in random order, and cover aspects of machine operation, safety and job setup.
Take It Slow

DO NOT RUSH. Before doing anything, especially when wet with resin, carefully consider your next move. The most critical point is when you first loosen the print platform and it’s drippy. Don’t move fast; move with purpose. Remember, resin is toxic and you don’t want to be making mistakes.
Regular Routine
Always have a regular routine when processing completed prints. There are quite a number of steps required to safely remove and post process a resin print. It’s way too easy to forget what to do, so get into a regular routine and repeat it each time. You might even consider writing down your procedure, at least until you get it straight.
Gloves!
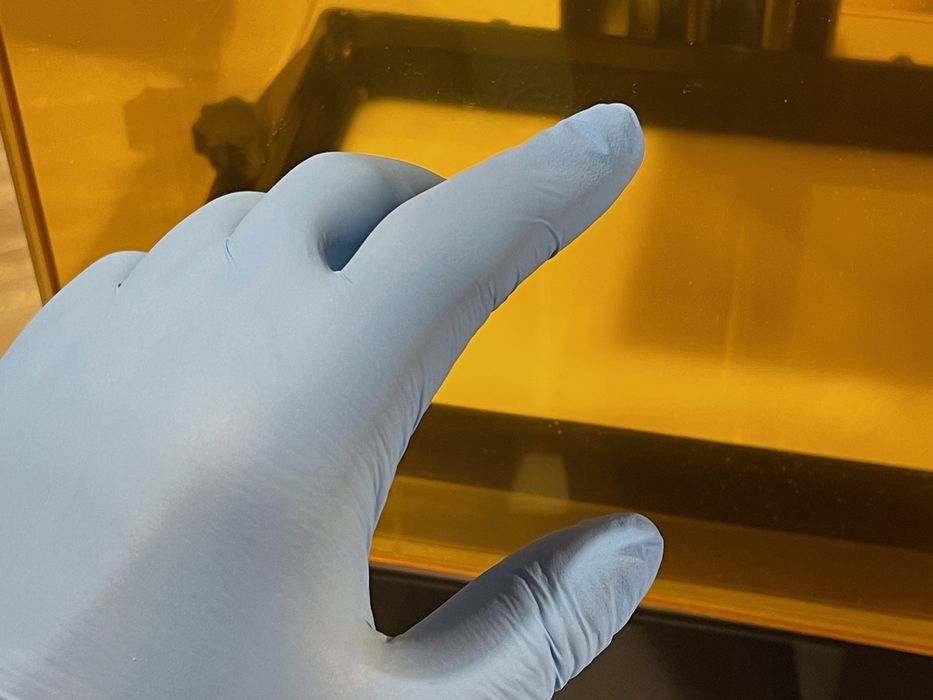
Wear nitrile gloves the right way. Splashes and drips can easily happen. Make sure your gloves are actually on and covering as much skin as possible. You don’t want ANY drips of resin on your skin. I’ve seen several cringey videos where resin 3D printer operators handle resin and IPA with bare hands, and that is a complete no-no.
Conserve Expensive Resin
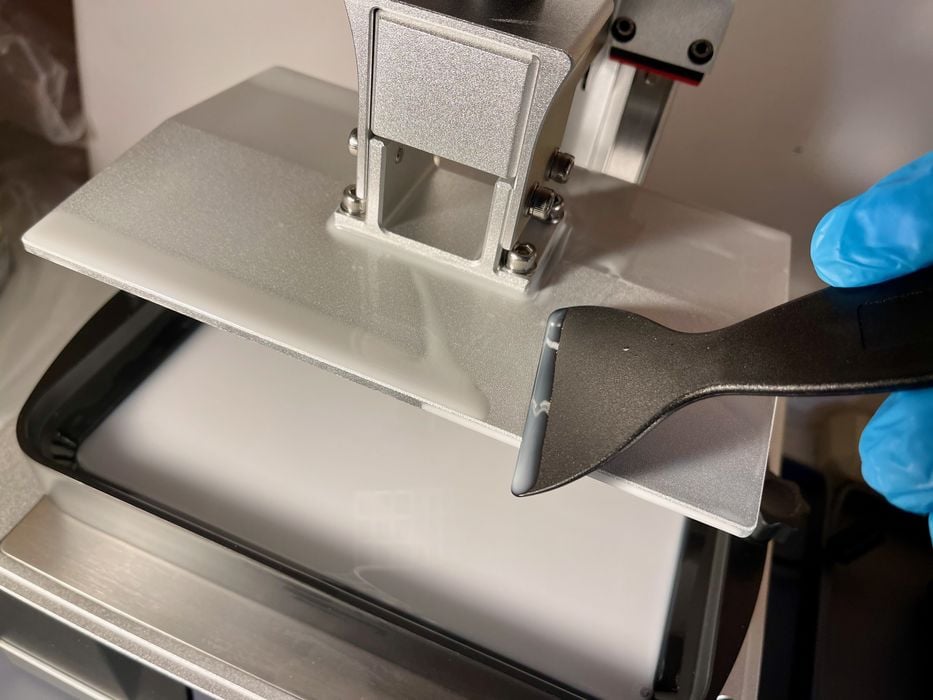
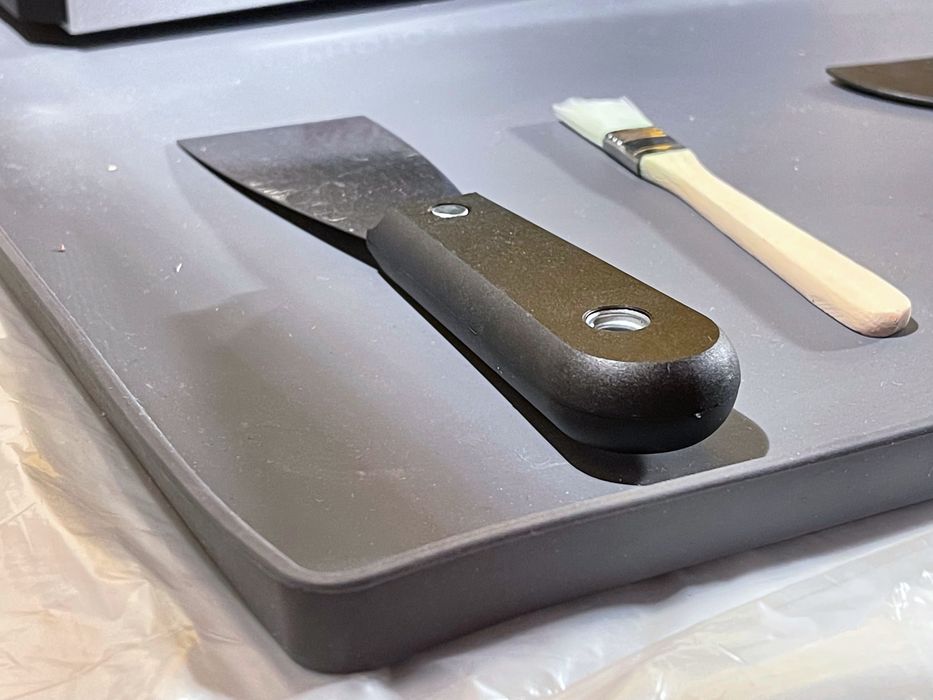
Save resin by scraping resin off the build platform before cleaning. I can’t imagine someone dropping the entire wet platform in the washer, as there would be resin wasted that could be recovered. Take a scraper and slowly — very slowly, push the loose resin off the plate’s top and bottom back into the resin vat.
Wash The Plate
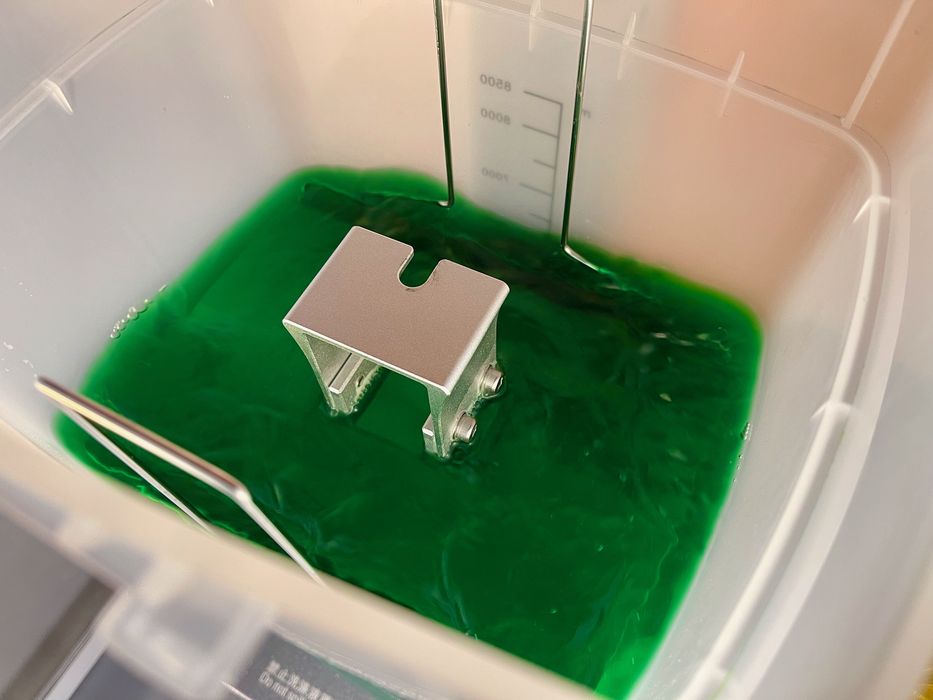
If possible, wash the entire (resin-scraped) platform and not just the 3D prints. This is significantly tidier, and doesn’t really waste any material that wouldn’t already be wasted. Otherwise you’re going to get resin everywhere if you try handling a resin-soaked platform during print removal. Keep the prints on the plate while doing so and they won’t toss around and get damaged in an active cleaning station.
Don’t Overexpose
Don’t overexpose the bottom layer; you need far less time than you might think. Overexposed first layers cause the print to stick far too tightly and this makes it difficult and sometimes dangerous to fingers to remove. You need the print to stick, that’s all. Overexposure will also wear out your light engine much faster. Note that resin manufacturers tend to specify rather high bottom exposure times to ensure prints work, but ignore the problem of difficult removal. Start with the specified bottom time and then go lower.
Use a Raft
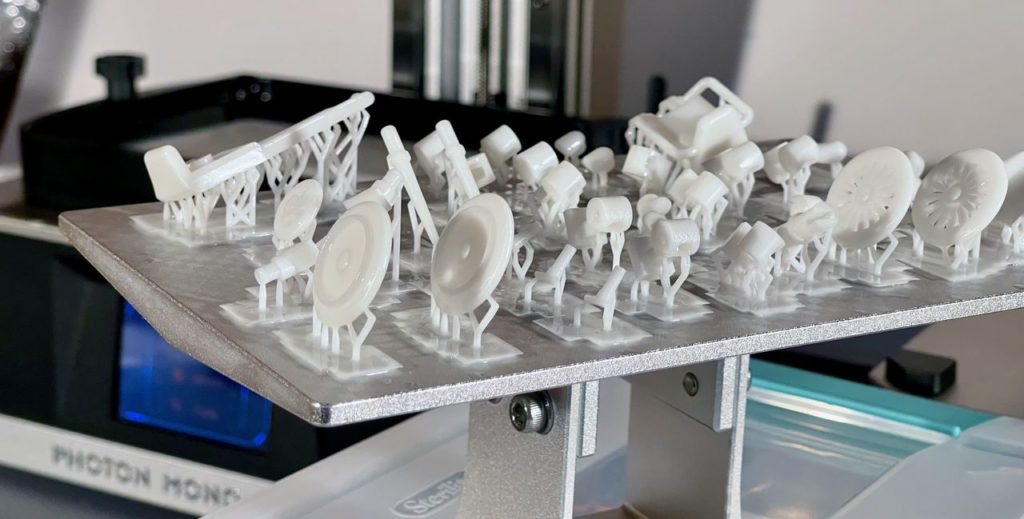
Always, always, always use a raft. This is because removing a print almost always messes up the first few layers and edges when chiseling it off. Remember, fresh prints are still a bit soft and can be easily bent during removal — unless you use a raft. Destroy the raft, not the print.
Use Removable Rafts
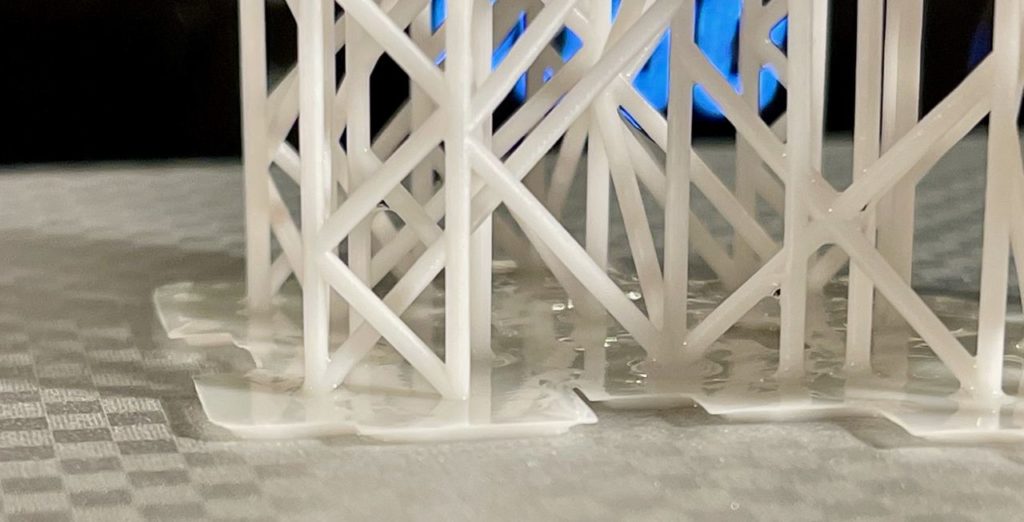
Rafts should have a wedge shaped edge for easy removal. By having a slight overhang on the raft, it makes it very easy to catch the removal tool and pry off the print. Sometimes this requires a special raft setting in the slicing software; other times it’s the default.
Use Silicone Mats
For your resin 3D printer work area, use a silicone mat instead of the normal table surface. The silicone mats are flat and have a tall edge to contain any catastrophic spill you might accidentally encounter. If so, the wet mat can be placed in the sun for easily curing the mess. These silicone mats are quite inexpensive and can be found for sale as “pet feeding mats”. Be sure to get one that’s flat and has a tall edge.
Check Plate Attachment
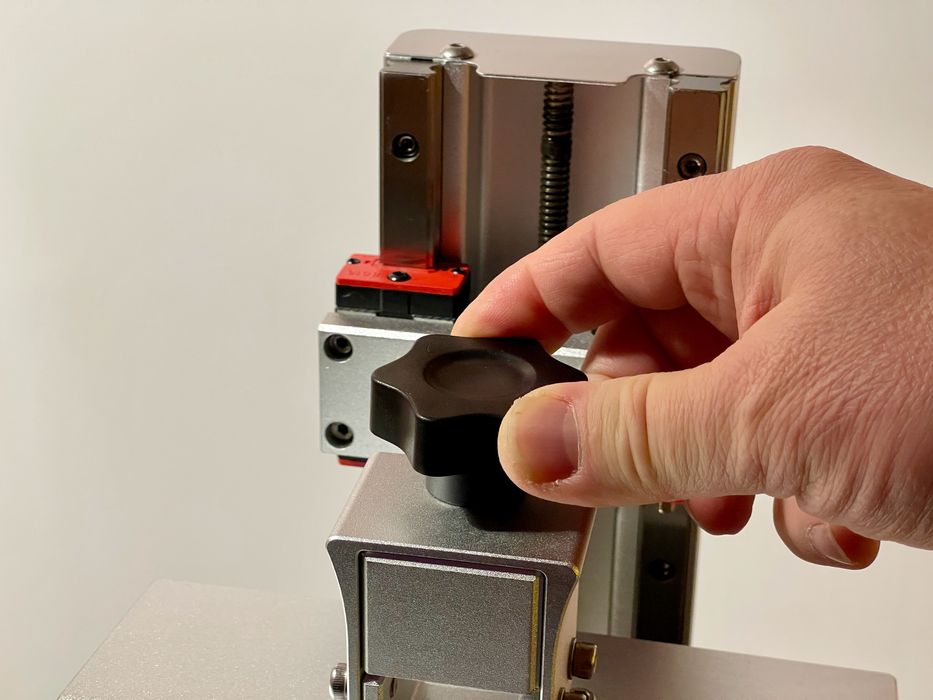
Ensure the platform is tightly attached before starting a print. This might be obvious, but print removal requires removing the print plate, and it might be many steps later when you are to replace and tighten it up, depending on your specific routine. Don’t forget to tighten it, or your next job will no doubt fail.
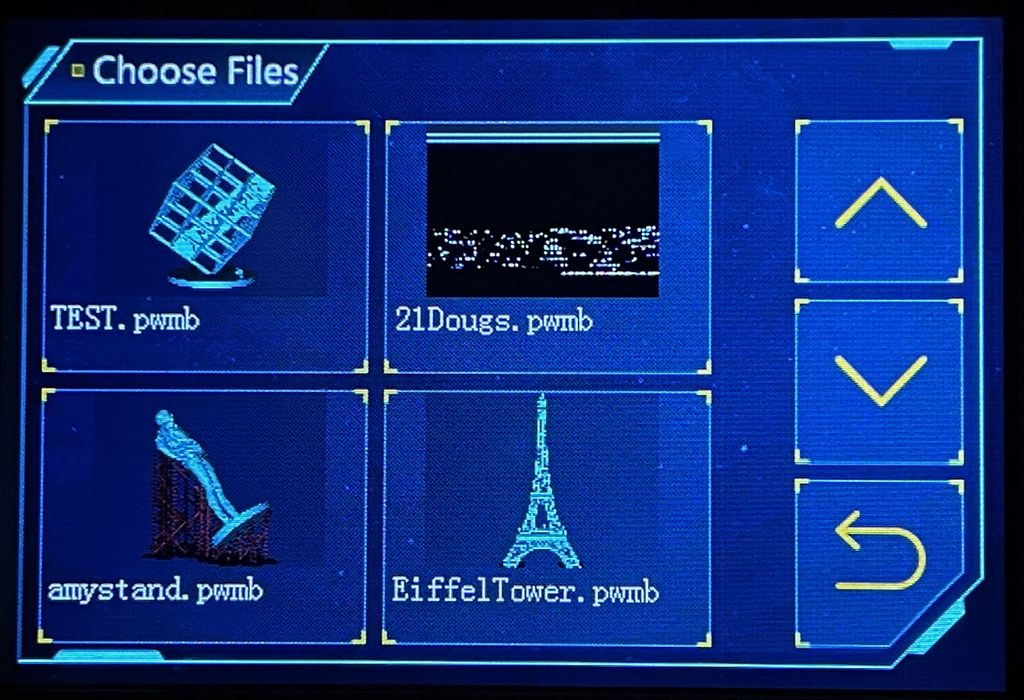
Tune For The Resin
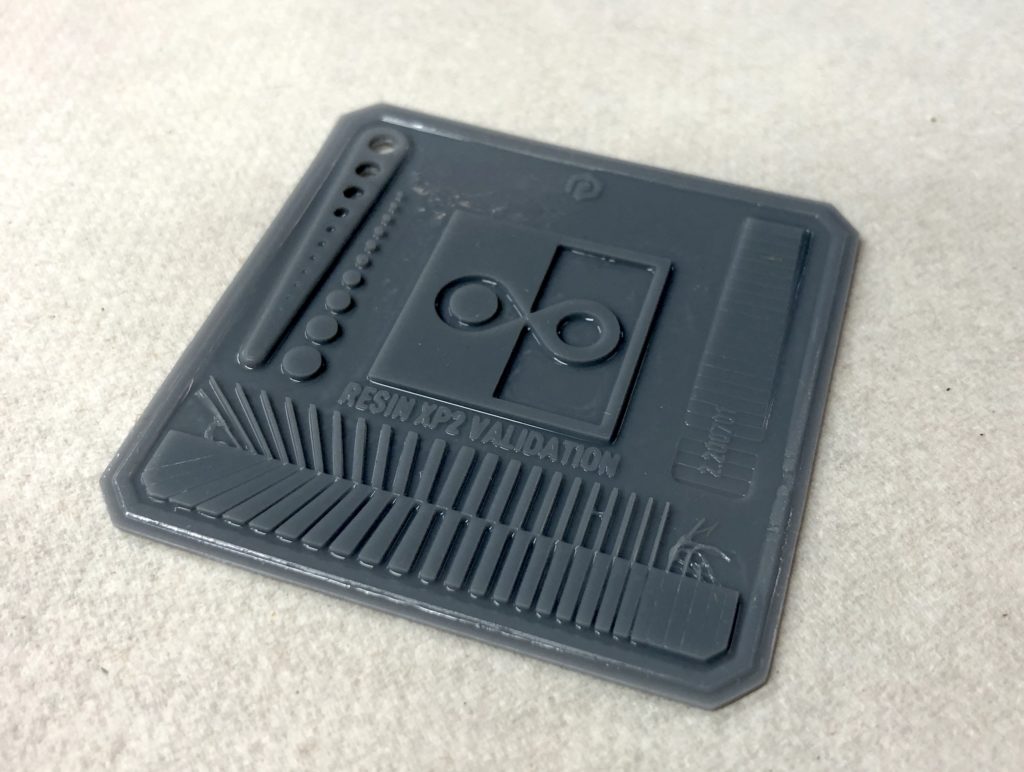
Fine tune your exposure duration before attempting a final print. This is best done with a calibration print, such as this one, the Validation Matrix. It’s possible to quickly iterate through a series of different exposure times to determine what timing works best for your particular combination of resin and machine.
Level The Plate
Resin prints will fail if they don’t stick to the plate, and the most common reason for that failure mode is because you didn’t level the bed. Even if you have, it can drift over time, so get in the habit of reseting the leveling, particularly if you’ve encountered mysterious print failures.
Separate IPA and Resin
IPA is the most common solvent for cleaning 3D printer resin, and so it’s usually found nearby the printer. However, don’t ever drip IPA into the resin! Keep the two separated so that you cannot accidentally do so.
Open The Trash
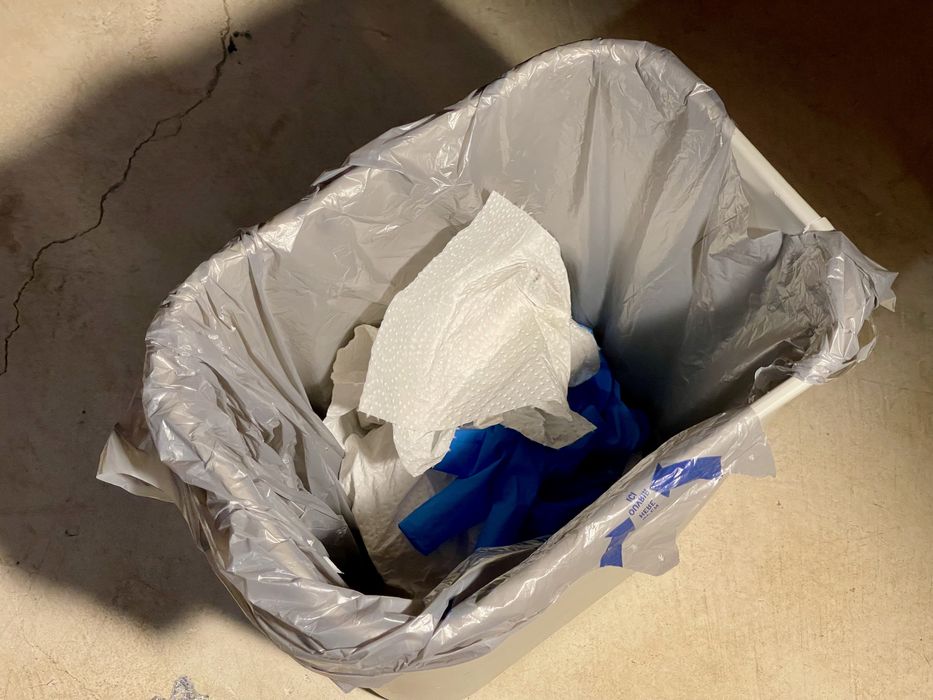
Have a trash can open and ready to receive waste before starting post processing. You absolutely don’t want to be opening your trash can lid with sloppy resin-soaked gloves on. Make sure it’s ready to receive a tossed paper towel without issue.
Buy Even More Paper Towels
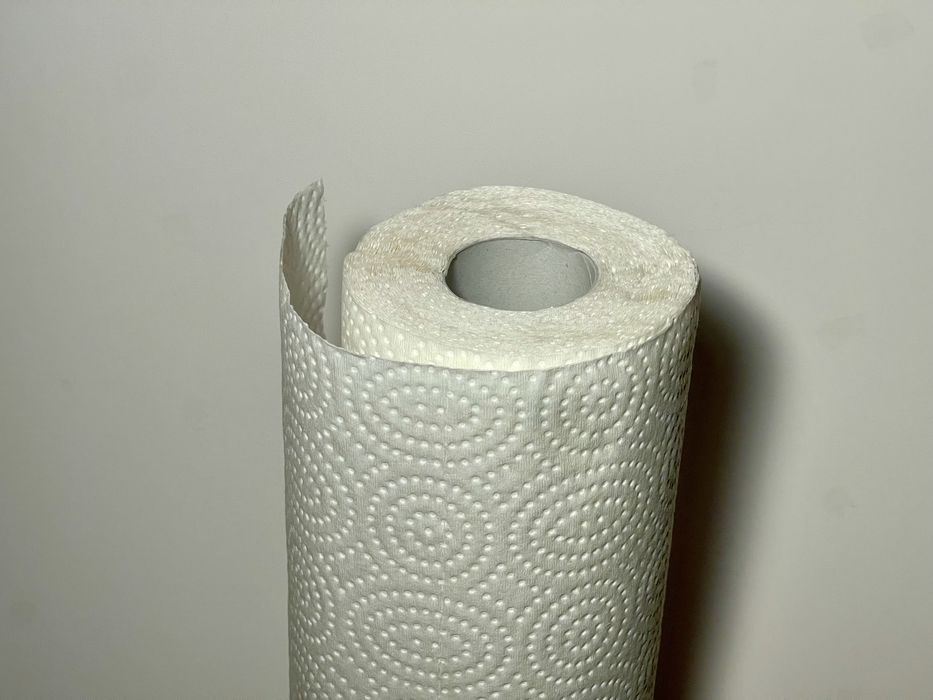
Have lots of paper towels handy, and make sure they are loose and ready to grab. Paper towel dispensers help, but if you have wet fingers, that’s messy. Just pull off and separate several paper towels in advance and set them by your work area for instant use. Buy far more than you think you might need.
No Button Pushes
Don’t ever touch any buttons, lids or panels with “wet” gloves. This is my rule, and it seems to work: all my equipment remains clean of resin. However, this requires you opening things up before you go into “wet mode”, and then replacing things when you’re clean and dry. Take careful note of the sequence of your post processing steps.
Only Touch Certain Items When “Wet”
Decide what surfaces will be touched by resin-soaked fingers and what surfaces will not. This includes tools. In the end, my wet gloves touch only: the print platform, paper towels, a couple of specific tools and that’s it. Everything else I can do when clean.
Keep PPE Handy
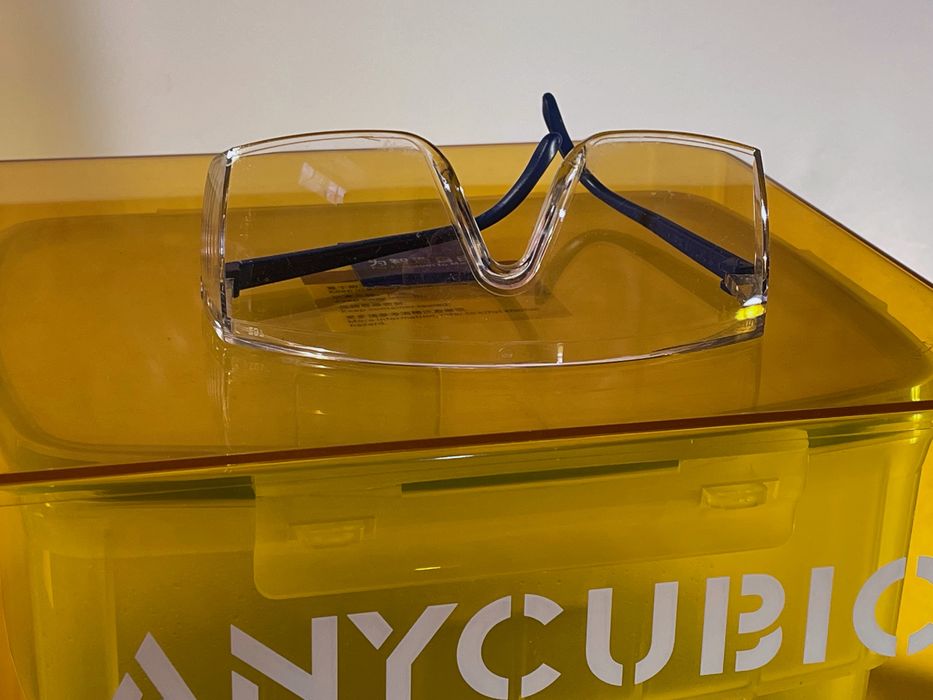
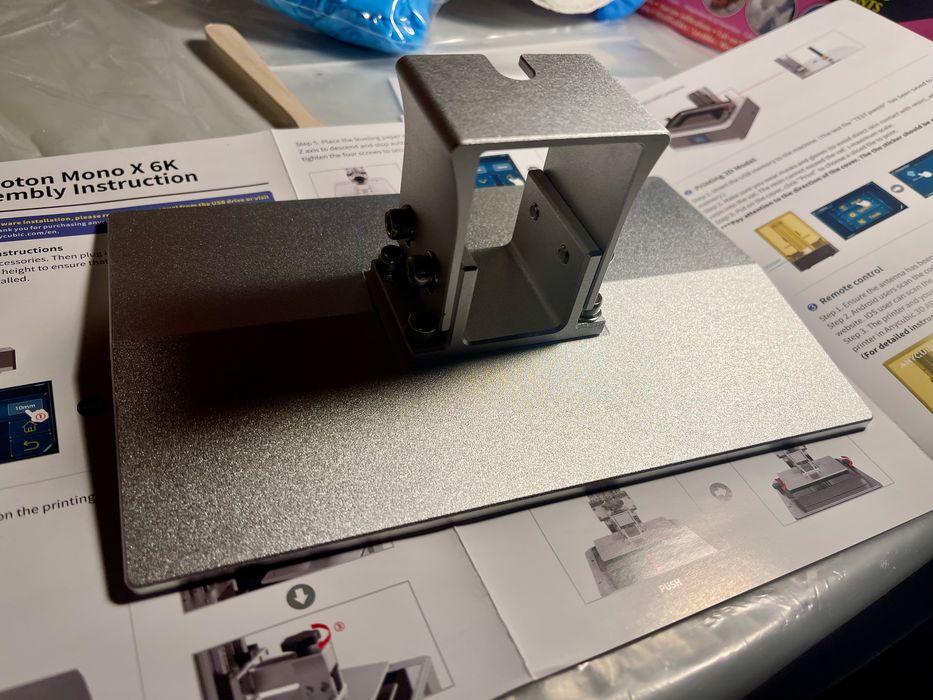
Put your PPE on top of the machine to ensure you put it on before working. You can’t print unless you’ve dealt with the PPE!
Keep PPE Usable
If your safety glasses are scratched so much that you can’t see properly, get a new pair. They should be so clear you forget you’re wearing them.
Ventilation!
Ensure there is sufficient ventilation; you don’t want to smell or be exposed unnecessarily to toxic fumes from the resin. Opening a window is likely insufficient, so you will need an active, powered ventilation solution.
Blow Those Gloves
Blow into nitrile gloves to make it easier to put them on. An easy thing to do, get in the habit.
Punctures Happen
When removing supports, sharp pieces could puncture your gloves. If this happens, remove the gloves, wash profusely and then get new gloves. To prevent this from happening, be extraordinarily careful working with the print, watch where the sharps appear and avoid them if at all possible.
Be Consistent
Always repeat your 3D printing operational steps in a consistent order, and only change your procedure when you identify something to improve.
Get Everything Ready First
Get ALL the required equipment ahead of time, which includes items like tubs, paper towels, funnel, paint filters, IPA, dipping tools, etc.
There you have random 24 tips for resin 3D printing. I’m pretty sure that you already knew a bunch of them, but there’s likely a few you didn’t. Certainly these are not the only tips, as I’m always learning more — as should you.