
You’ve probably done them all: the eight dumbest 3D printing mistakes — FFF edition.
Operating a desktop FFF 3D printer can be a ton of fun, except when you make mistakes. Mistakes can cause print failures, but also embarrassment when they are so obvious you really should not have made them.
Let’s take a look at my list of eight of the dumbest FFF 3D printing mistakes you can make.
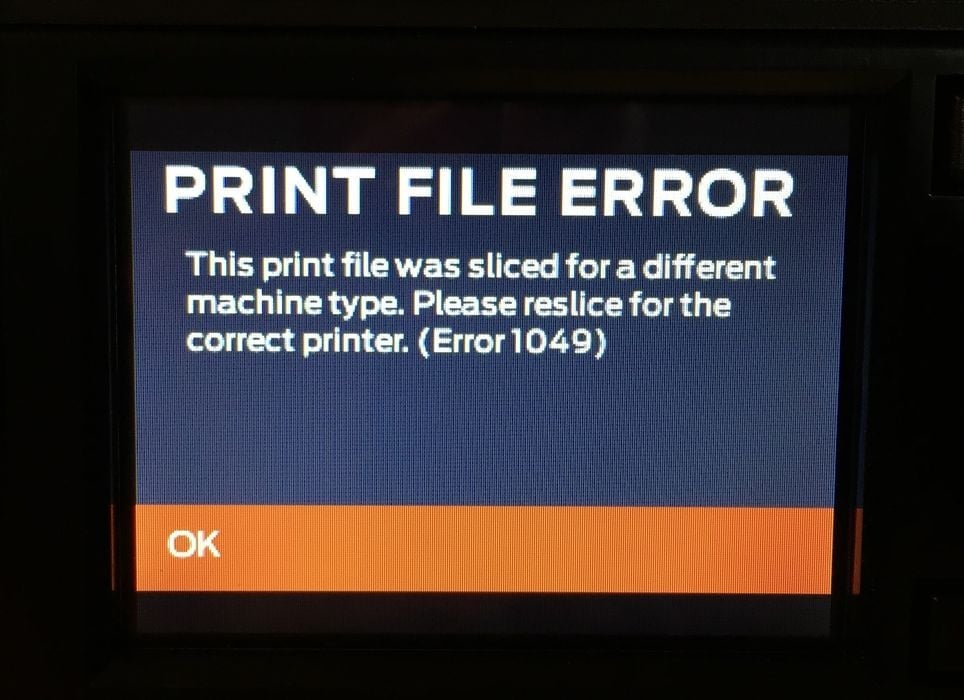
Mismatched Filament
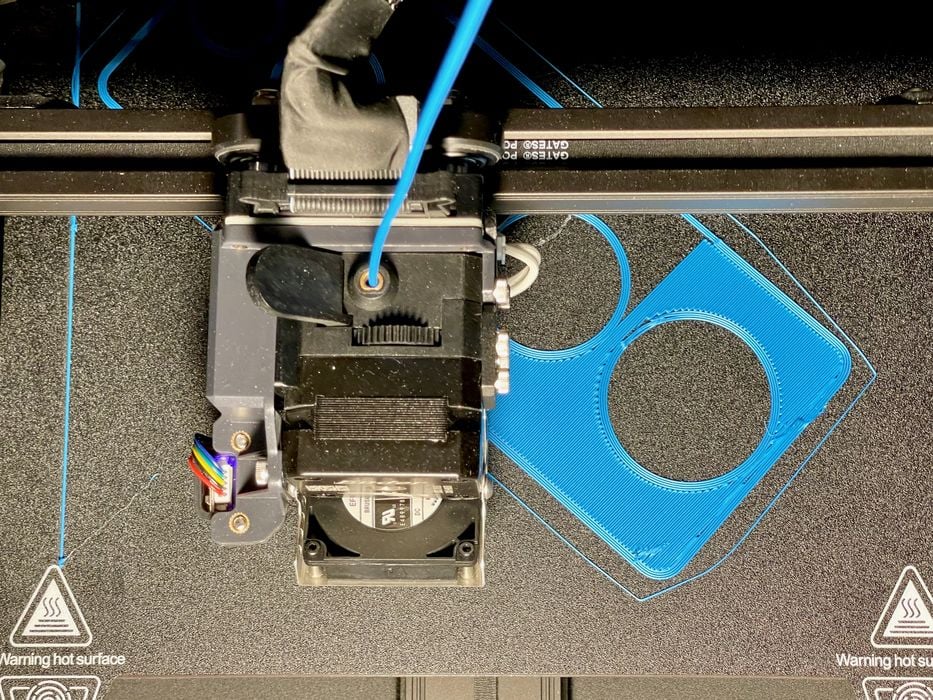
Symptom: Why is there no extrusion? Is there a jam? No, it’s because you are trying to print a higher temperature material like ABS or ASA when you’ve sliced the job for PLA temperatures.
Cause: This is a common mistake and it’s caused by forgetting to select the proper material when slicing a print job. It’s easy to focus on other parameters and forget to match the slicing material to the actual spool on the machine.
Solution: Always doublecheck the spool type and slicing material.
Forgetting Support Structures
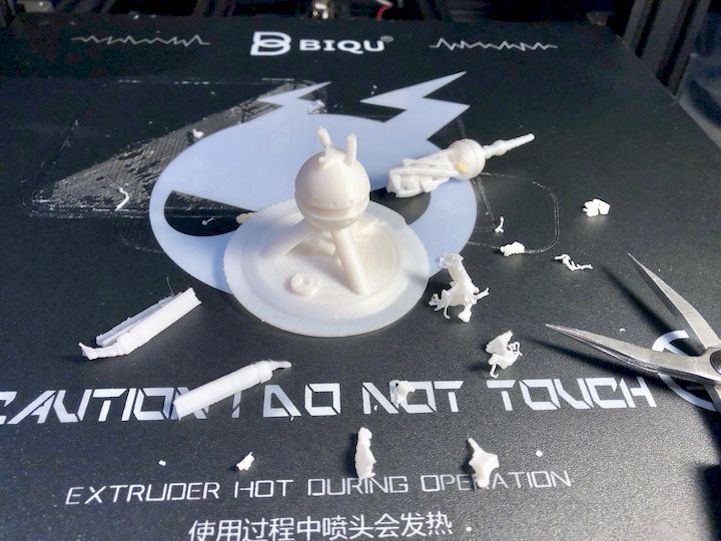
Symptom: “Why is this print all spaghetti?” “What happened to the underside of the protrusion?” “The print just failed, I don’t know why.”
Cause: In your rush to get the print going, you forgot to tick the “generate support structures” option in the slicer. Thus, the print proceeded and as soon as it reaches an overhang, mayhem occurs. Most people want to print without support, so that option is usually turned off and some even get used to not using support. But you shouldn’t.
Solution: Always take time to look closely at the geometry of a 3D model to see if there are overhangs. Then consider whether your setup can handle them. If not, turn on the support generator and make sure it covers all unsupported portions of the model.
Not Checking GCODE Toolpath
Symptom: “This part is far more flimsy than I thought it would be,” “Why is there a gap in this wall?” “I thought this was going to be hollow!”
Cause: You might think you have everything set up correctly in the slicer, but you really can’t be sure unless you zoom through the GCODE preview to see what is actually going to happen in the print. Often you’ll see things going very wrong before the print even starts, and can take corrective action.
Solution: Immediately after slicing completes, always hit the print preview button and use the slider to check how each and every layer is to be produced. That allows you to easily see anything amiss, and will save you a wasted print.
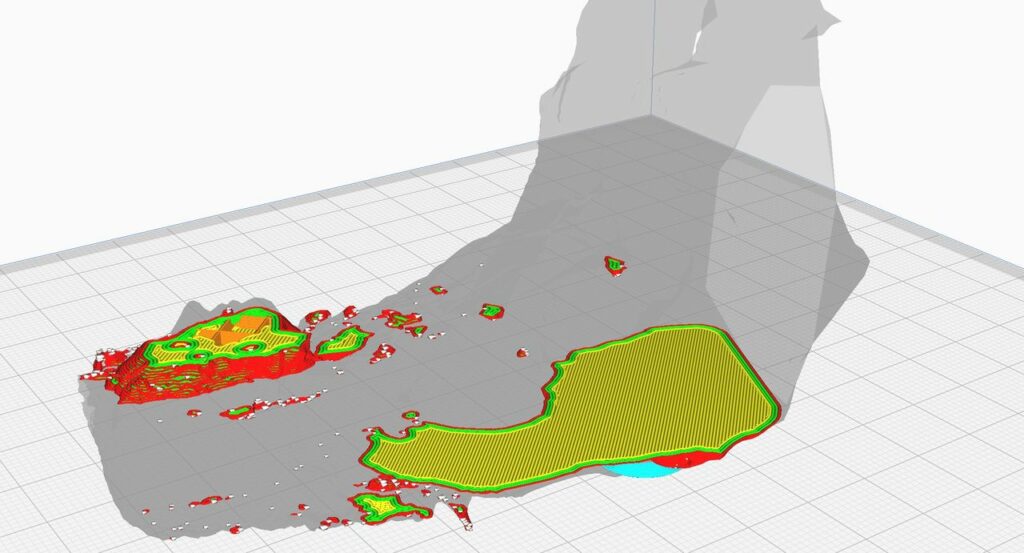
Assuming the Bottom is Flat

Symptom: “This print isn’t sticking to the bed properly, I think the plate needs a wash.”
Cause: While the 3D model you obtained might appear to have a flat bottom, in fact it’s not. The slicer then dutifully creates a first layer that has only a very small portion on the bed, and the second layer is printed in the air. The print usually fails.
Solution: This is easily detected by using the GCODE preview as above, but if it is present, you must take the 3D model and do a quick “plane cut” to ensure the bottom is actually flat. In some cases the model does have a flat bottom, but it’s tipped slightly to have only the corner touching. In that case, use the slicer’s “put this face on the bottom” to rectify.
Filament Run Out
Symptom: “The last part of my job air-printed!”
Cause: The filament ran out while you weren’t looking, and the printer continued “printing” with no filament. Job failed.
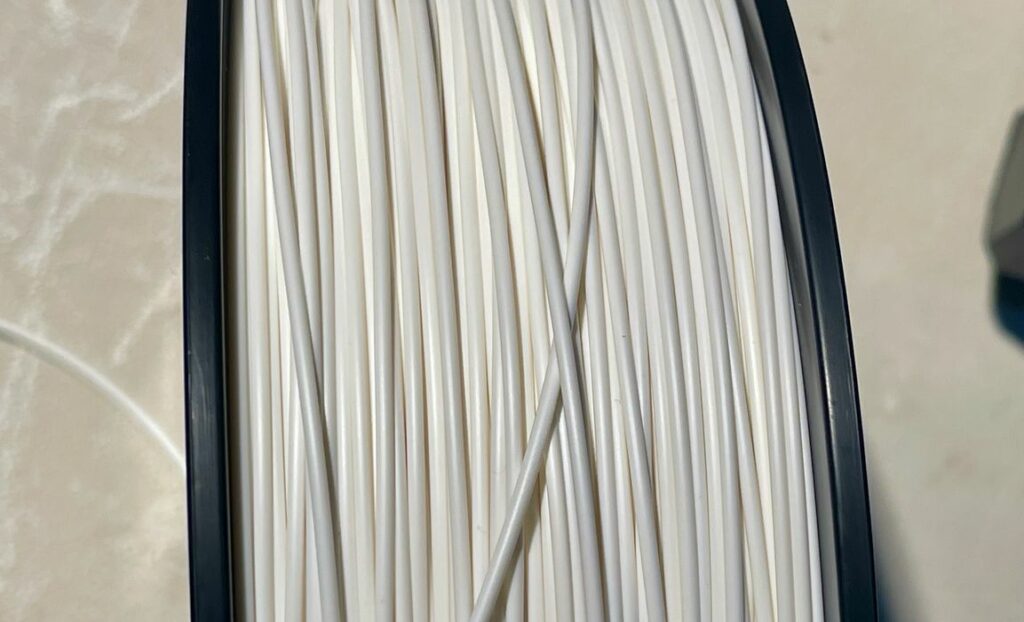
Solution: Always check the spool before starting a longer print job. It’s possible to weigh spools to see how much material is actually left on them, assuming you have an empty spool to subtract its weight.
Another solution is to equip your 3D printer with a filament-out sensor that can automatically pause the job when the spool is empty, allowing you to replenish material. Finally, make sure the filament-out sensor is actually enabled.
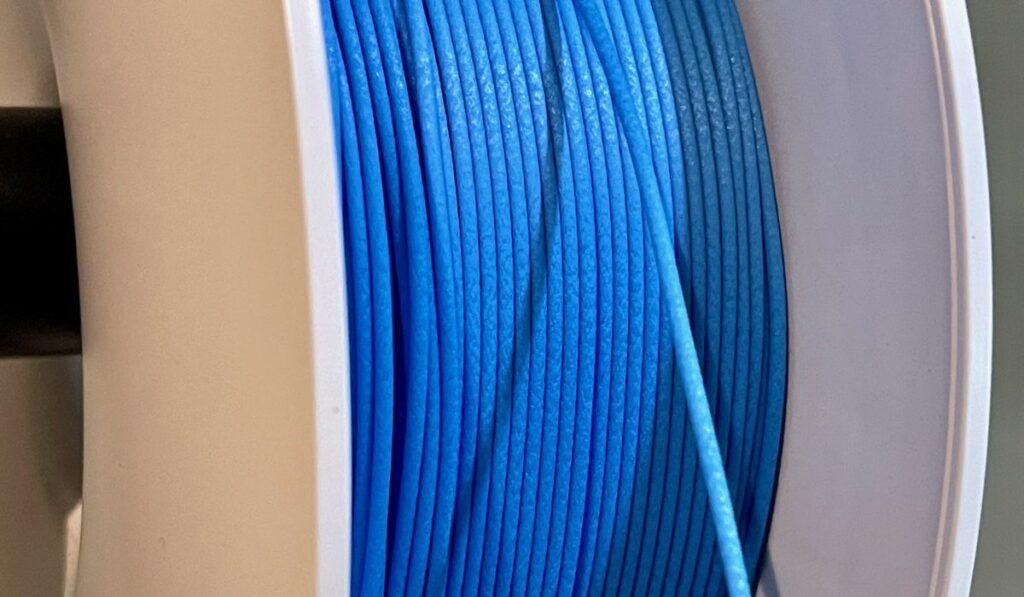
Filament Tangled
Symptom: “My print job air-printed again, but it had plenty of filament left!”
Cause: Unbeknownst to you, there was a single tangle in the filament. As the print proceeded, the extruder was able to pull a fair length of filament from the tangle. However, eventually the tangle became tight and the extruder started slipping, stopping material flow to the hot end.
The tangle was caused by a loose filament end somehow getting under one of the loops.
Solution: Be very, very aware of the filament end. Always keep it under control: in your hand or securely stuck in the filament notch/hole in your spool. If it’s ever loose, the coil will almost instantly spring back and form a tangle. If that happens, roll off a long length of filament manually and re-spool to get rid of the tangle.
Leaving 3D Printer Unattended

Symptom: “My house burned down because the printer caught fire!”
Cause: 3D printers are not particularly reliable machines. Some very low-cost machines (mostly older models) actually don’t have thermal runaway detection circuits, allowing the machine to overheat in some situations. This has actually caused house fires in some circumstances.
Solution: First, ensure your machine has a thermal runaway procedure. Second, don’t leave a 3D printer unattended for any length of time. Most devices are still not quite reliable and can fail one way or another, and it’s best if someone is nearby to handle things. Finally, get a smoke detector and put it by your 3D printer.
Leaving Weird Options On During Slicing
Symptom: “Wait a moment, why is this print completely hollow?” “There’s something terribly wrong with the printer, the surface is all wobbly!”
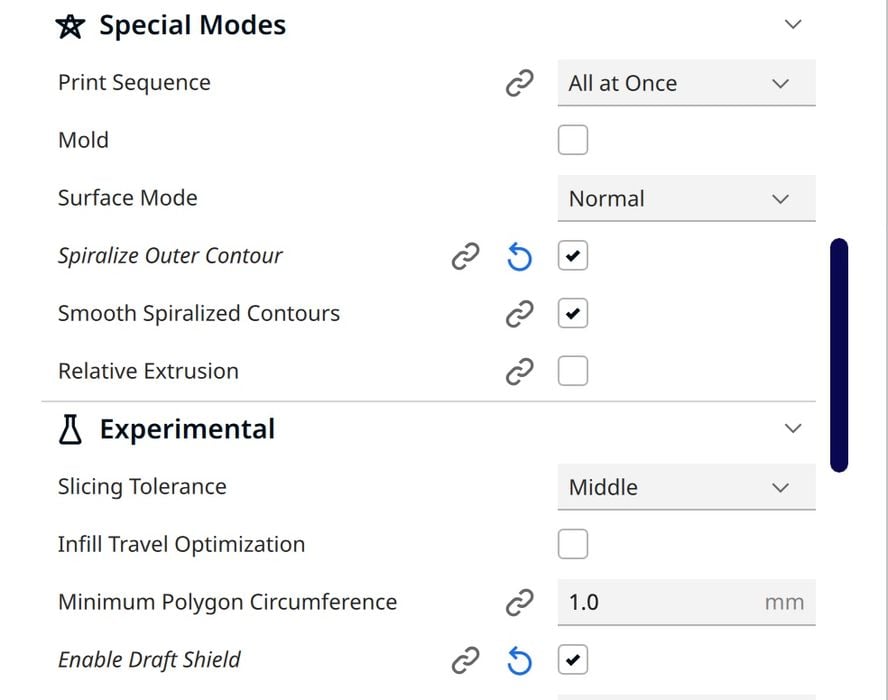
Cause: Popular slicing software often has some very interesting experimental features, and it’s fun to try them. But after trying them out, you forgot to turn them off. Typical failures in this scenario include leaving the “Spiral” or “Vase” mode on, printing your model with a single wall. Another failure is leaving “fuzzy skin” on, which generates that incredibly cool texture you wanted on yesterday’s print — but not on today’s.
Solution: When reviewing the slicing parameters, make sure you venture into the experimental section to ensure settings are correct. In fact, always review ALL of the slicer settings before committing to print.