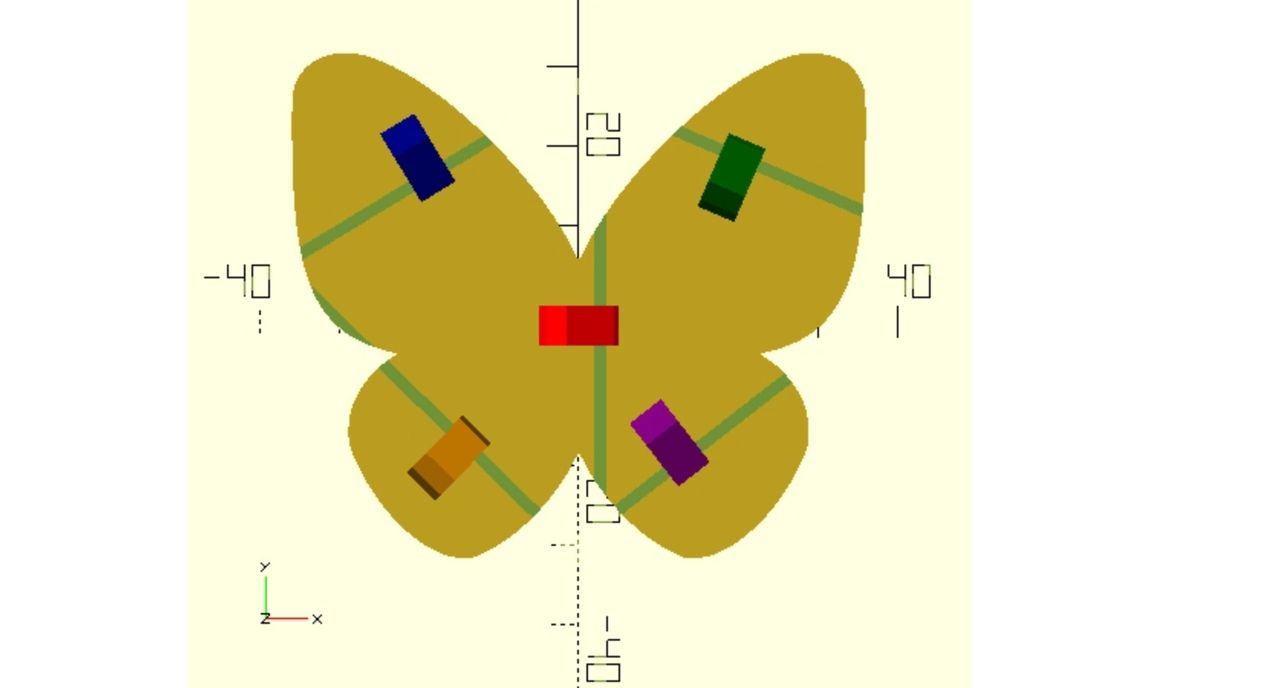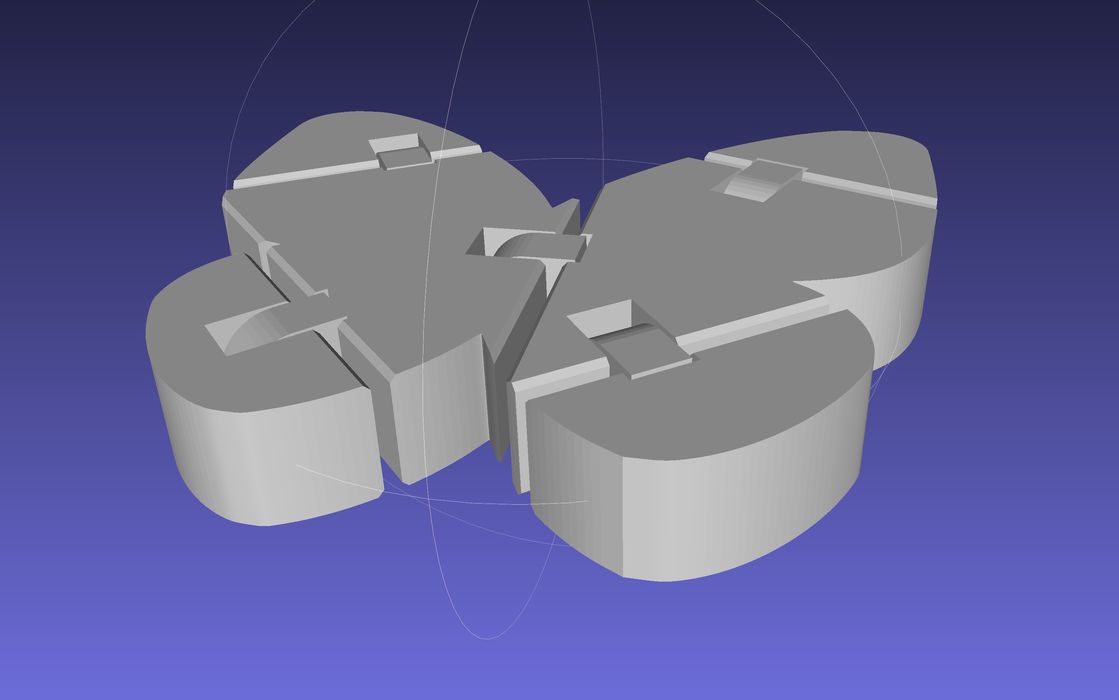
Have you ever seen those articulated 3D prints and wanted to make one yourself? Now you can with Flexifier.
Articulated 3D prints are specialized 3D models that have segmented a solid structure and included hinges between them. The models are designed to be printed in place, meaning they are essentially pre-assembled right off the 3D printer.
You can imagine how one could produce a 3D model like this:
- Select a base, solid 3D model
- Identify where the joints could be located
- Cut the model along the joints
- Add space between the joints
- Insert a pre-designed hinge mechanism into the gap
- Join all the pieces together
- Export and print
That’s not going to be much fun, and particularly if you don’t already have a pre-designed hinge mechanism. You know how to make hinges, don’t you?
If you don’t or do not want to go through all those steps, then consider using a new web app called “Flexifier”.
This service accepts as input a 2D PNG file. Typically this would be a silhouette icon of some sort, like the butterfly image I’ve used in this story.
Flexifier then provides a busy control panel where you can work on the output. You can specify how thick you want the image to be extruded, I used 10mm.
Adding hinges is a bit strange using the app, but once you get the hang of it, you can quickly add as many as you require.
Here’s how it works: the proposed hinge location appears as a block in the editor, and you then shift the X, Y and rotation sliders to move it around and orient it over the section you’d like hinged. Then hit the “Add” button to add the hinge. Repeat as necessary.

In my case I added several hinges (poorly) to the butterfly image and then generated the output. You can then download the STL 3D model generated, as you can see above.
This 3D model is ready for printing, and you just need to slice it. Because it’s a 2D extrusion you don’t need any support structures.
One caution: be sure you have the size of the 3D model correct, because the hinges may not work if you shrink the model: the hinges require gaps to operate properly. If they are too small then the hinge may seize up.
Another caution: the authors of the service say that it is possible their server may be overrun at times, and they’ll have to reboot it. Therefore if you’re having issues, consider coming back later and perhaps it will be reset.
Flexifier is a terrific utility that can be used to create all kinds of fun prints. I intend on using it myself for several projects. Thanks, Flexifier!
Via Flexifier

