
Gluing is a practice all 3D printer operators will eventually perform, and Prusa Research has published what could be the definitive guide for it.
Why glue 3D prints at all? Are they not “complete” when they come off the 3D printer? There are really two reasons for doing so: to assemble a larger object than can be 3D printed; or to assemble parts that are difficult to 3D print as one part, perhaps because of orientation requirements.
The former is perhaps the more frequently encountered scenario, as there are an increasing number of projects involving large pieces. Sometimes these don’t fit within your 3D printer’s build volume, and something has to be done.
The solution is to chop the 3D model into two or more sections, then print them. They can be glued together to re-form the intended model.
But how exactly is this done? What type of glue is best? How should it be applied? Is it better to use a slow-curing glue or a fast-curing glue? Which brands are best, and which should be avoided?
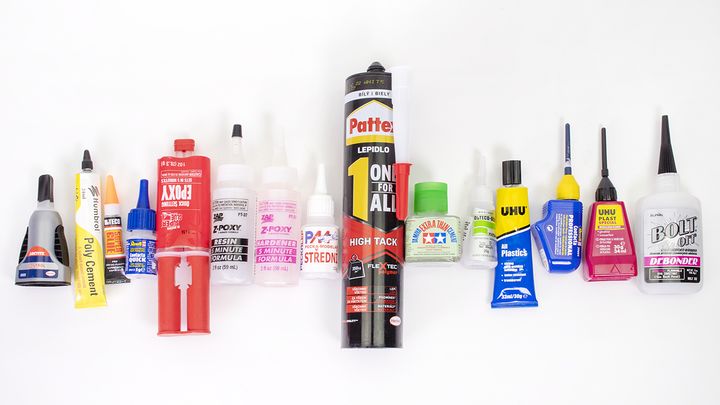
The answers to these and related questions are quite long, but fortunately Prusa Research has developed a very comprehensive 5,000-word guide to this subject. Almost all of the answers are contained within the lengthy guide, which covers the four basic types of glues typically used in 3D printing:
- Cyanoacrylates (superglues)
- Solvents
- Epoxies
- Construction glues
Prusa Research explains how each type of glue works, best practices on how to apply them, and even recommends multiple brands that could be considered. This is all essential knowledge, particularly if you haven’t begun 3D print gluing previously.
The guide also includes plenty of safety cautions and tips including coverage of toxicity, ventilation, etc., but sometimes mentions quite shocking scenarios:
“But seriously, opening a CA tube with your teeth while immersed in work and emptying it into your mouth is… an imaginable situation. By the way, one of our colleagues glued his knees together when he instinctively tried to catch a falling CA tube by slamming his thighs together, similar to an ice-hockey goalie save! 🙂 So, be careful.”
Cutting 3D Models
One possibly missing aspect of the gluing guide could be instructions on how one might go about segmenting a 3D model. That’s understandable, as it is a “gluing guide”, not a “cutting and gluing guide”. But nevertheless, you won’t likely be gluing unless you’re also cutting 3D models.
You might think it’s just a matter of using a plane to chop a 3D model into two 3D printable parts, but there’s a bit more science to it than just that.
When I cut 3D models for this purpose, I always try to envision the resulting geometry of the two segments prior to cutting. What is the printability of each? Is there a flat bottom that will easily stick to the print surface? How many overhangs are generated? Or eliminated? Along what axes will stress occur, and therefore which orientation would the segment best be oriented?
There’s another problem with gluing not mentioned in the Prusa Research guide, and that is alignment. If you cut a model into two, you have a nice flat surface on each that can be glued together, but how do you ensure the two pieces are actually aligned?
Sometimes this occurs naturally due to the geometry, but often that’s not the case. You can attempt to align the edges of the plane cut together, but in some mechanical models that is ambiguous, and you need other means to align parts.
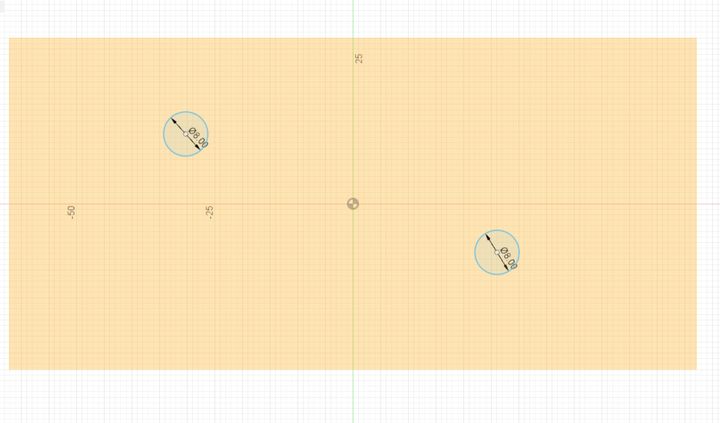
The approach I use is to insert some pegs and holes, and it’s very easy to do. On the plane of cutting, draw a circle and then extrude it both ways into each segment to remove some material. This makes a hole in each segment.
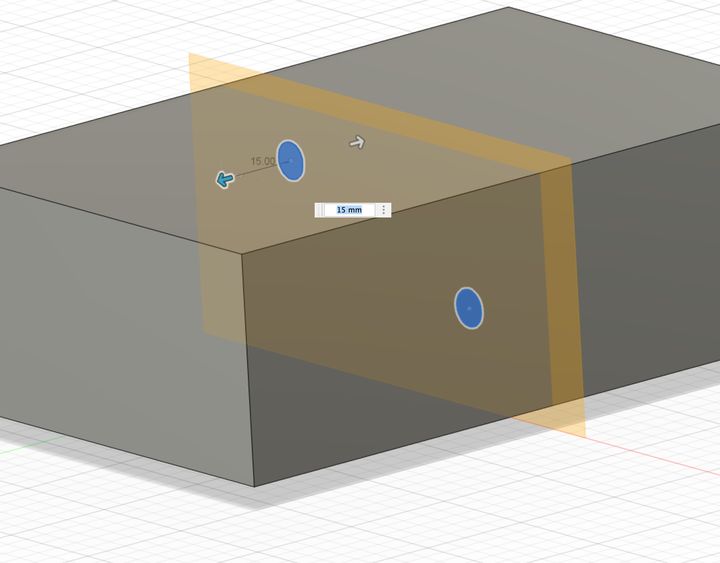
Then, using the easy-to-remember dimensions of the hole (you did pick an easy-to-remember diameter, didn’t you?) create a standalone cylinder shape of the same dimensions. Well, actually, make it slightly smaller, perhaps 0.5mm on each side. Print those and use them in the holes.
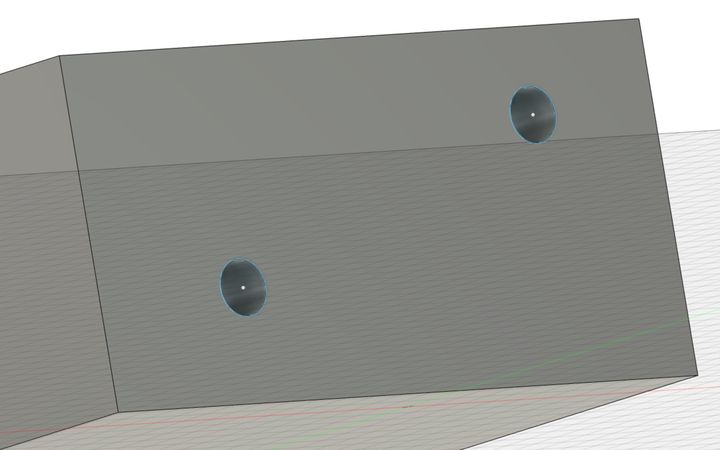
Important: make more than one hole, otherwise your alignment pegs will spin and prevent alignment. Two holes are usually all that’s needed.
And once you’ve done that, you can get back to the gluing guide and assemble a perfectly aligned large 3D print.
Via Prusa Printers