

3D printing is the next big activity for hobbyists and manufactures alike.
The revolutionary printing processes have many applications, ranging from fabricating automotive parts to developing new limbs. But what exactly is 3D printing, and how do the machines turn spools of materials into shapes? And what does it take to turn the raw output into a shiny new product?
3D Printing: The Basics
3D printing is the process of turning a specialized design into a physical object using a special printer. The printer forms the object by extruding material layer by layer through a free-moving wand, which resembles a stylus. The properties and usefulness of the finished product depend on the materials used.
There are several different 3D printing technologies, each using different methods to create objects. The stereolithography (SLA) method is the oldest one around. SLA printers use data from standard triangulation language files to extrude liquid plastic into shapes. As the machine finishes each layer, it lowers its platform slightly before starting the next. Although SLA printing is great for prototypes, it’s not often used to create final products.
Similar to SLA printing is the fused deposition modeling (FDM) method. FDM uses heated thermoplastic extruded layer by layer to create a part, and is perhaps the method the public is most familiar with.
Unlike the SLA methods, FDM printed parts are great for both prototypes and end-use cases. Using a CAD model, the printer computes the X, Y and Z coordinates required to build the model. Like SLA, it then uses heated plastics to form the object layers. However, the FDM system is capable of making support layers out of special materials, which can be removed once the object has hardened.
The last printing method we’ll review here is selective laser sintering (SLS). SLS is pretty far removed from both SLA and FDM printing methods. It uses a high-powered laser to fuse layers of powdered material like nylon, glass, aluminum or steel.
After the laser makes a pass, a roller spreads more powder over the object, preparing it for another run. Because the part is nestled in the powdered material, it doesn’t need any extra supporting structures. SLS works with a wide variety of materials, so it’s often used for printing customized parts.
Creating Finished Products
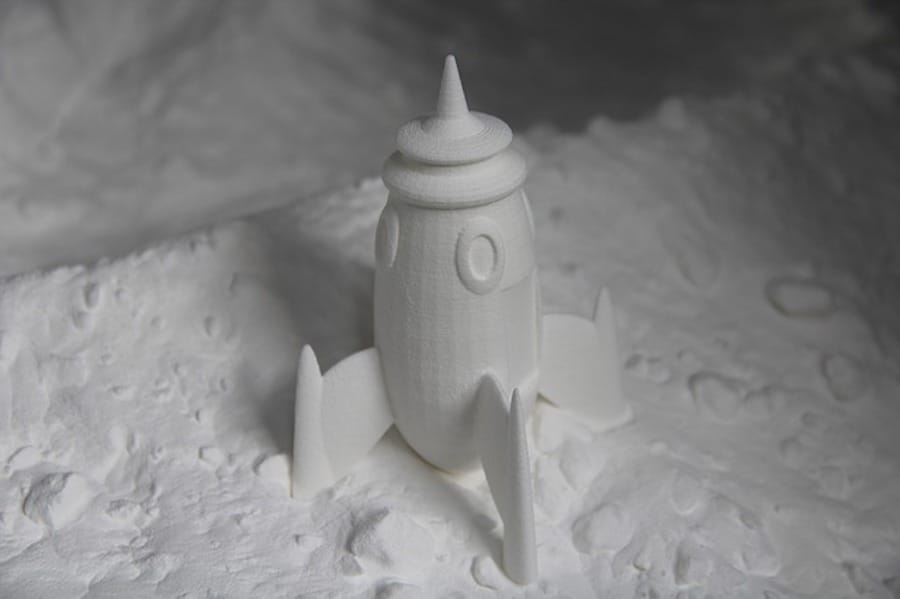
As previously stated, 3D printed parts require a finishing process before they’re ready to use. Because the process is done in layers, the parts often have a rough look and feel. The mark of a good craftsman is how well they clean up their parts after the printing phase. But how are the products cleaned? And what else can you do to them after they’re polished?
Perhaps the most basic cleaning method is sanding, done by rubbing the product with rough paper. You can either do this by hand or using specialized sanding tools. The process itself is relatively quick, but prepping the part for painting takes longer, as it needs time to prime and dry.
Bead blasting is another quick technique. The process works exactly as it sounds, blasting the part with small beads to remove layer lines, producing a matte finish. However, the blasting takes place in a closed chamber, limiting the size of the object. The process also must be done one at a time, limiting its potential for mass production.
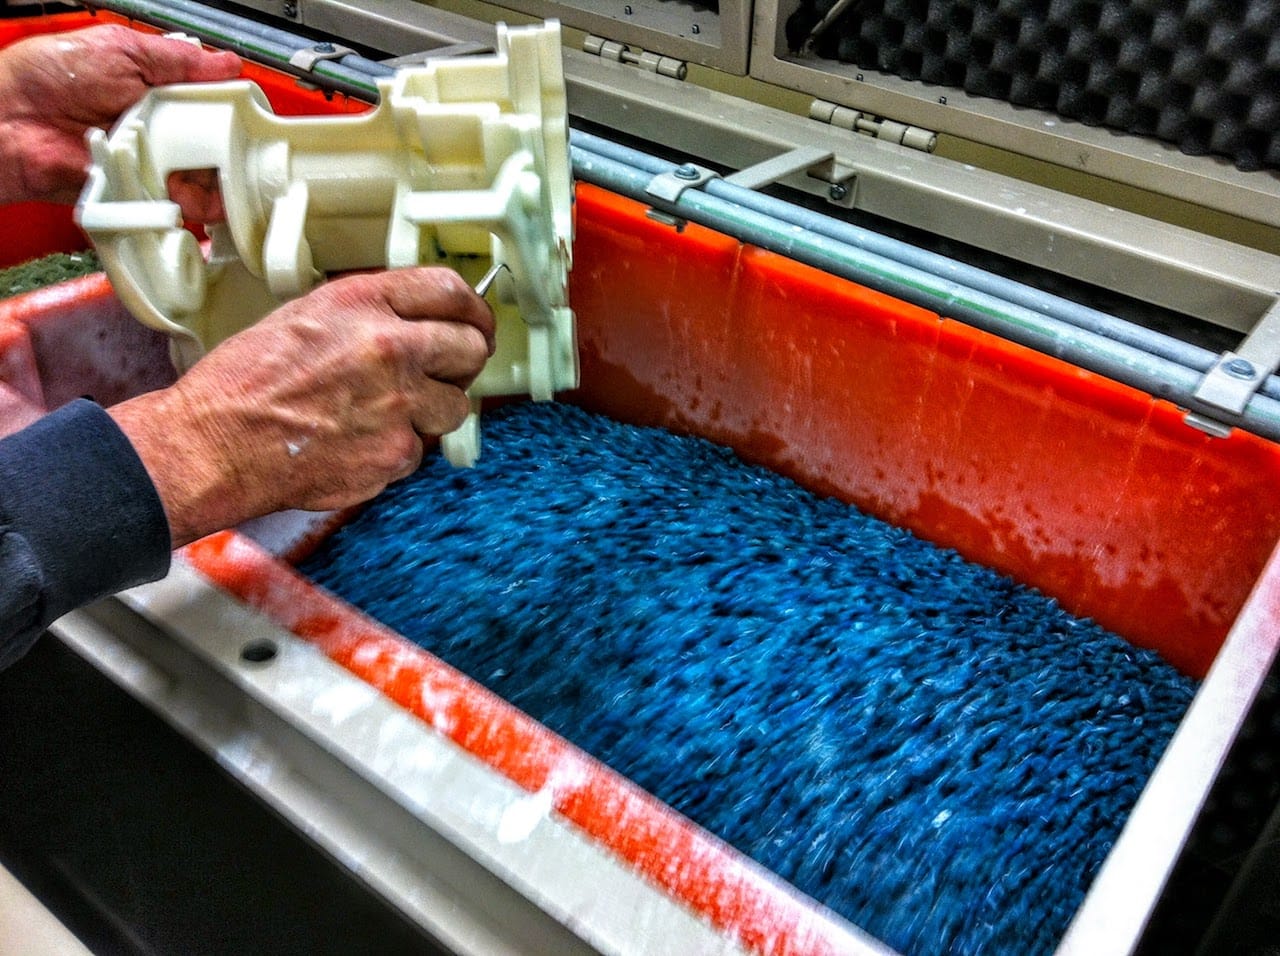
To mass finish products, you’ll need to use either tumble or vibratory finishing. Tumble finishing works by placing the parts in a special barrel, along with water and abrasive agents. A machine then rotates the barrel, causing the parts to tumble. The friction produced wears away the rough edges of the part. While inexpensive, this method increases the risk of pitting the parts, as they may bump into each other.
Vibratory finishing works by placing the parts and abrasive agents into a holding tub. This tub vibrates, creating a grinding action. This method produces a smooth finish without wearing down the part too much. However, these systems are more expensive than the tumble ones.
Finishing Touches
Once you’ve cleaned and polished the product to your liking, you’re ready to prime and paint. You’ll want to use an aerosol primer made especially for models, which won’t add much bulk — thus obscuring small details. After spraying on a coat of primer, allow it to dry, sand down any rough patches and give it a final coat. Make sure to use the product lightly, to avoid pooling on the product.
After the priming process, you’re ready to paint. You can use acrylic paints and brushes or airbrushes, depending on the look you’re going for. Sometimes, you may want to keep your object brightly colored. Other times, you’ll need to aim for realism, as some people find it hard to take candy-colored parts seriously.
You’ll want to paint your object using thin coats, to avoid obscuring details. Allow the paint to set for at least 30 minutes in between layers. For best results, you should polish between applications. Depending on the purpose of your part, you may want to explore other finishing options, like applying epoxy or vapor smoothing.
Although 3D printing is the manufacturing method of the future, quite a few steps go into making a finished product. After printing, you must clean each part to remove any supporting structures and smooth rough edges. Afterward, you have a plethora of sealing and painting options to choose from. The final product is well worth the effort. Who knows, maybe 3D printing is just the hobby for you.