

Are you haunted by “stringies”? There’s an incredibly easy way to remove them.
What’s a “stringie”? It’s that very light hairlike structure that’s bridging between two portions of prints made on extrusion-based 3D printers. They occur because the still-hot nozzle drips a small bit of fluid thermoplastic while in motion, even though the extruder motor is stopped.
This can typically happen on a layer with non-contiguous portions, where the hot end must jump between two zones without printing. During this non-printing period, leaks can occur, and they instantly solidify – being so thin – and result in those hairlike bridges I like to call “stringies”.
I recall my earliest 3D printing attempts, where the stringies were actually quite solid and it required some effort to remove them. Sometimes on a complex 3D design with lots of protrusions you’d find so many stringies that you simply tossed the print away and started over, as the removal process would have been too laborious.
There are two ways to deal with stringies. One is to avoid them entirely through proper 3D print parameter settings.
The key parameter involved in these drips is called “retraction”, which refers to the ability of the extruder to actually reverse just before a non-printing movement to “slurp” up the fluid thermoplastic and thus avoid the drip.
Sometimes the material is incredibly loose at the desired temperature it tends to drip more, and in those cases you’ll have to alter the retraction setting by increasing the retraction distance and/or speed.
But in spite of seemingly correct settings, you may still encounter very thin hairlike structures bridging portions of your 3D print.
One way to remove them is by gently picking them off, but inevitably you will miss some. I found another way to do this that is far more efficient: hot air.

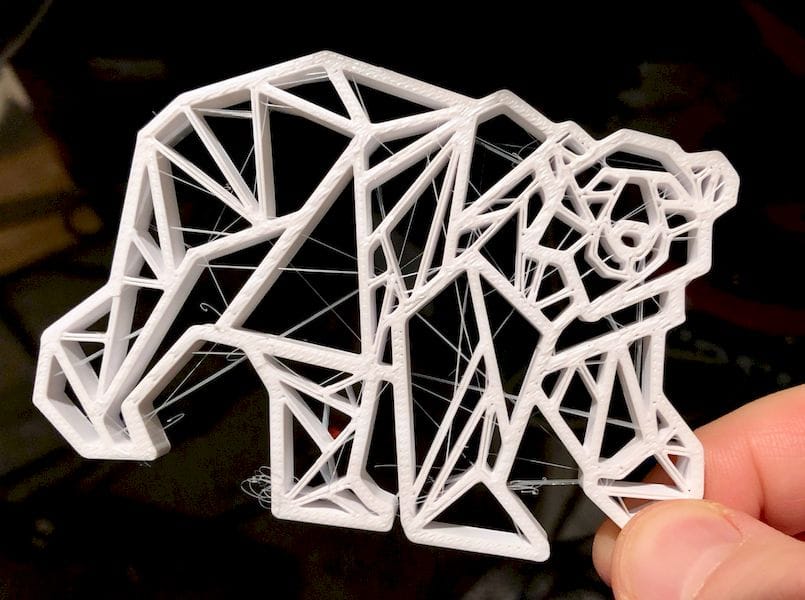
In the example at top, I had 3D printed a number of abstract polar bears, but there were, as you can see, plenty of hairlike structures throughout the print.
The solution was this:
- Fire up the heat gun
- Ensure the heat gun’s temperature is reasonably high and stable
- Grasp your hairy 3D print on a corner, perhaps with pliers
- Swiftly move the print into the hot air flow for only a second or less
- If the print is multi-sided, repeat for the other sides
- The heat will almost instantly melt away the hairlike structures, but leave the remainder of the print secure
This technique is far faster than removing the structures manually, and almost guarantees you’ll get all of them. I’d make a video, but it would only be a second or two long! The hairs simply disappear.
There is a downside to this approach: it is possible to damage your print, particularly if it is made from a lower-temperature material such as PLA. If exposed too long, you may find portions of the print itself becoming droopy. This means you’ve either held the print in the hot air flow too long, or its delicate structures are too fine and prevent this technique from being used.
As I’ve said before, a heat gun is an essential tool for desktop 3D printing.