

With the increasing buzz over the near-necessity of dual extrusion, we thought we’d say a few words about how this is done.
Dual is the ability for a filament-based 3D printer to use at two different materials. These could be entirely different materials, or as simple as two different colors of the same material.
Why dual extrusion? While some may have interest in 3D printing models with two colors, that’s more of an aesthetic property rather than a functional capability, and is thus best used for artistic, hobby or visual evaluation applications.
The most practical and popular reason for using dual extrusion is the ability to 3D print with dissolvable support material. This very powerful technique enables complete freedom of design; there is no longer any need to consider the complexities of support structure design or removal. You simply drop the print into a liquid solution, often plain water, and wait for all the support material to dissolve, revealing the completed print with all its fine details intact.
In non-dissolvable support scenarios, 3D printer operators are required to manually snip off support structures, with the associated danger of damaging the print itself. In many geometric scenarios, it’s possible to “lock” support structures inside where they cannot be removed.
For these reasons dissolvable support structures are of extreme interest. If you’re using dissolvable supports you will have no concerns about the geometry of your 3D model. Just print it.
But how is dual extrusion enabled in 3D printer hardware? It turns out there are multiple approaches, each with advantages and disadvantages.
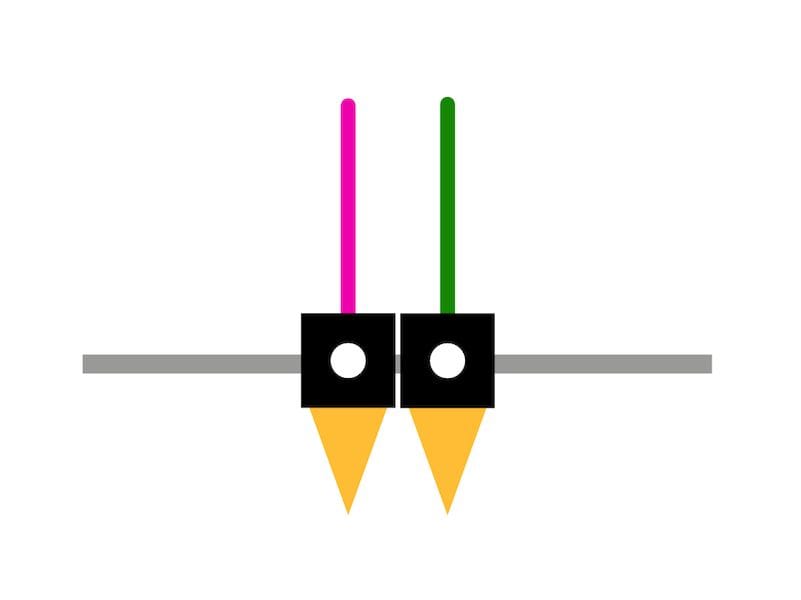
Parallel: The earliest form of dual extrusion was, and still is the simplest approach: strap on a second hot end and extruder to operate in parallel with the first toolhead. These were relatively simple to design into hardware, but had several disadvantages and are thus not favored as much these days.
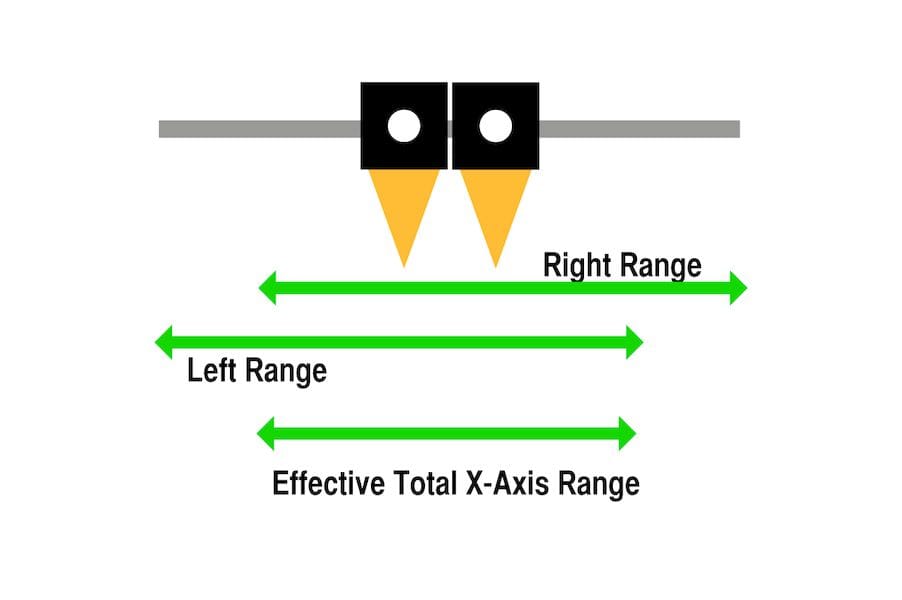
Three main issues are present in the parallel approach. First, the effective build volume shrinks somewhat, as the two hot ends are unable to reach beyond the “other” hot end.
The second issue is weight. Two hot ends, and sometimes extruder motors as well, weigh quite a bit and impart a lot of motion momentum challenges when attempting to move the nozzles around at high speed.
Finally, and for me the fatal flaw in this approach, is that the “other” non-active nozzle can very often drip material while it awaits use in a heated state. These drips can pollute the print, or even worse, solidify and get tangled up with the print to push or dislodge it, causing the print to fail entirely.
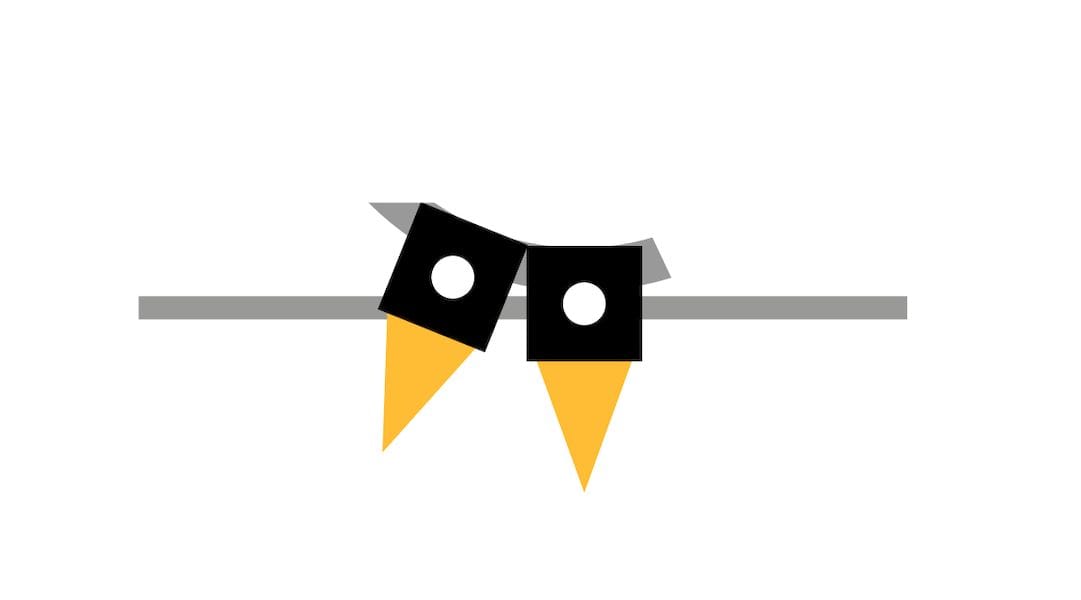
Tilting: A modification of the parallel approach is found in several systems, in which the two nozzles are actually moved out of the way of the printing plane when not in use.
This is accomplished by lifting the inactive nozzle, sometimes by a tilting mechanism that can tilt one way or the other to engage either nozzle.
This approach is better than the typical parallel approach, but still can suffer from drips and momentum challenges. However, some systems employ a bowden extruder approach to minimize this issue.
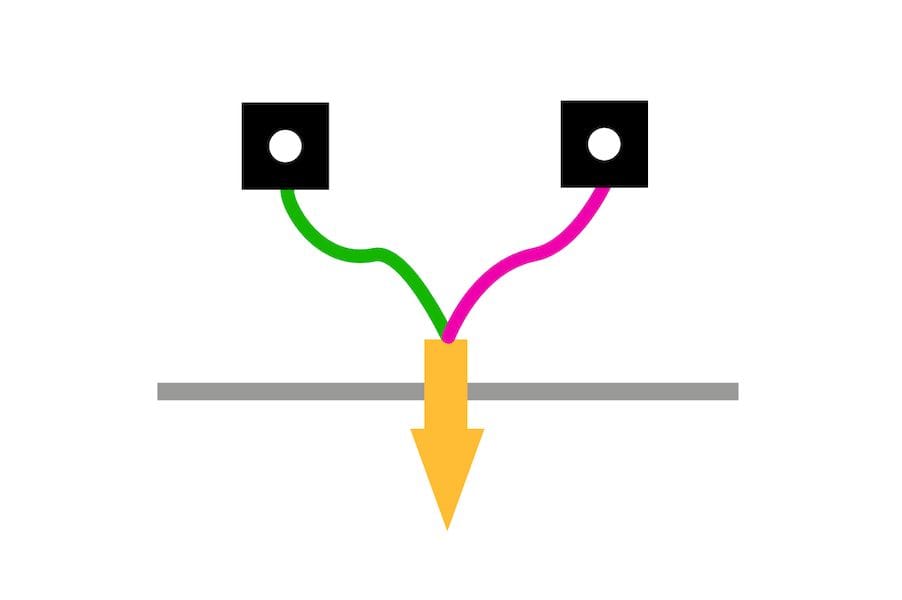
Mixing: A more recent approach is actually quite simple. The “mixing” hot end appears to be a single hot end and nozzle, but in fact is is a complex shape that allows more than one filament to enter it.
Advanced slicing software manages the precision movements of the two extruders to feed material into the mixing nozzle. It is possible to extrude one material by feeding it at 100% speed, with the other extruder at 0%, or vice versa. It’s also possible to mix materials, for instance by running each extruder at 50% speed.
This solves the momentum problem and the drip issue, but introduces another challenge: mixing latency.
If you’re currently printing from extruder A and wish to switch to extruder B, then you must purge the mixing nozzle of “A” material before proceeding with the print. This switch then requires the toolhead to move off to the side and dump out material for a time sufficient to ensure the new material combination is pure. So you waste some material and add to the print time. But this approach otherwise works very well.
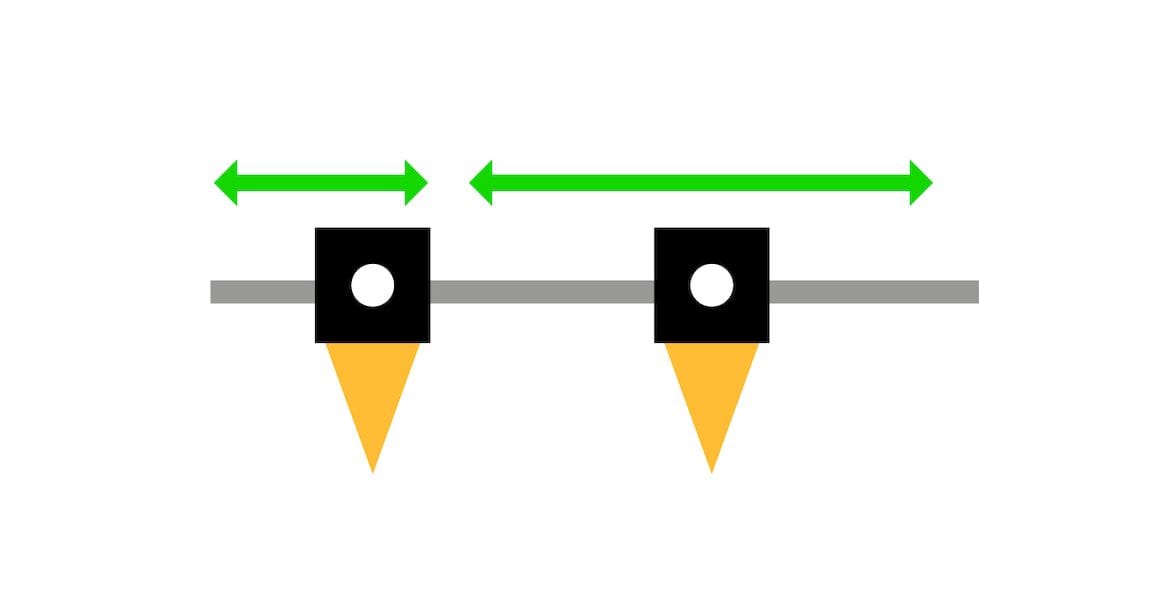
Independent: A very recent approach is to employ dual independent toolheads. Essentially this is the same as the parallel approach, with the difference being that the two toolheads can move independently. Very often they are mounted on the X-axis, so “independent” means only on that axis; they move coincidentally on the Y-axis.
This approach, though quite complex in hardware and software, does allow some interesting angles: you could theoretically print two different objects at the same time, or have two toolheads work on the same object at the same time in parallel, so long as they don’t interfere with each others’ movements.
One more disadvantage of this approach is that it is typically available only on more expensive units. Perhaps this will change in the future.
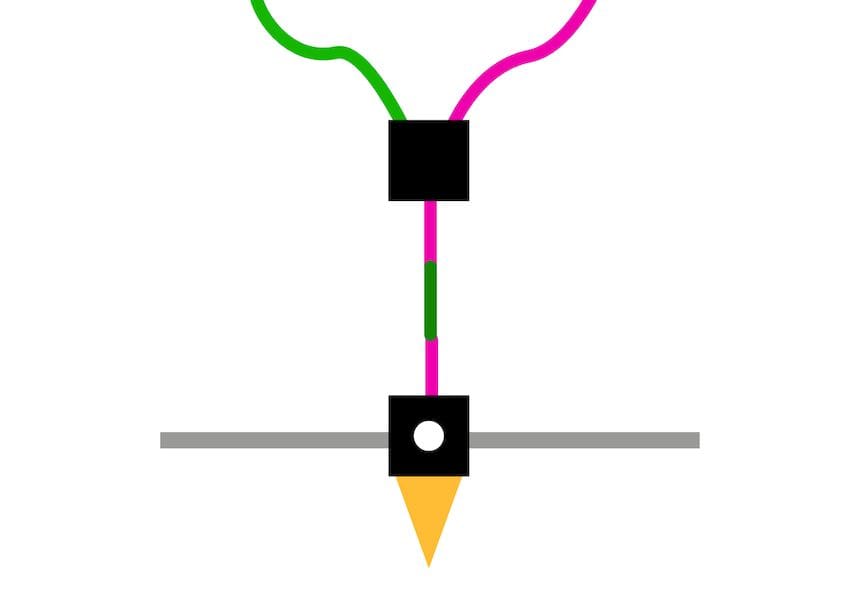
Custom Filament: One company has a very unique approach to dual extrusion: Mosaic Manufacturing’s Palette produces a custom filament based on the needs of the multiple materials required. Their software detects the tool changes required for a print and then literally snips segments of filament to appropriate length and bonds them together. This forms a custom filament suitable only for that particular print, but it could indeed deliver crisp changes that are essentially dual extrusion – or as many different materials as you’d care to involve.
This approach is unique to this company’s products, but there is one disadvantage: if a print fails, particularly near the beginning of the print, then the remainder of the custom filament is useless and must be discarded. You’ll have to recreate the entire custom filament, which could be quite long. This could waste time and materials, but if things work you can get a very nice multimaterial print, including dissolvable support.
Robotic: A final method might be a robotic approach. I’ve not yet seen this done, but it is certainly theoretically possible. Two robotic arms, each equipped with a filament extruder and hot end, could work in simultaneously on a single print, with one holding the dissolvable support material.
However, this approach is likely to be quite expensive, as the robotic hardware is frightfully expensive, as will be the complex software required to operate it.
Dual extrusion? Entirely possible, but choose your method carefully.