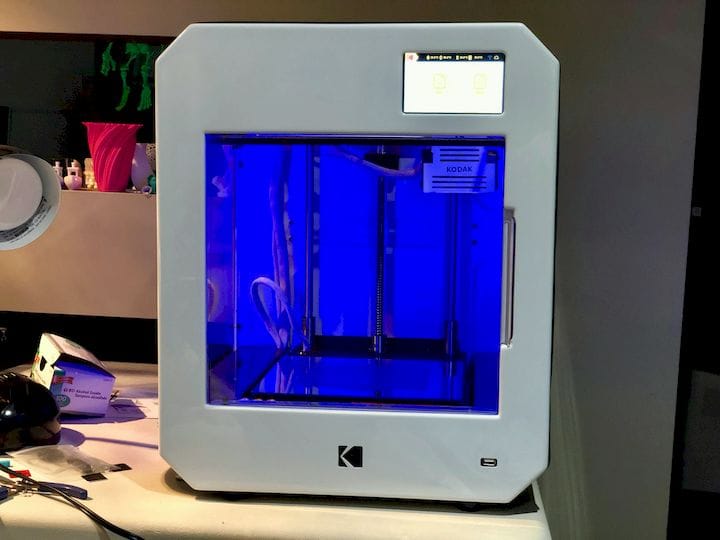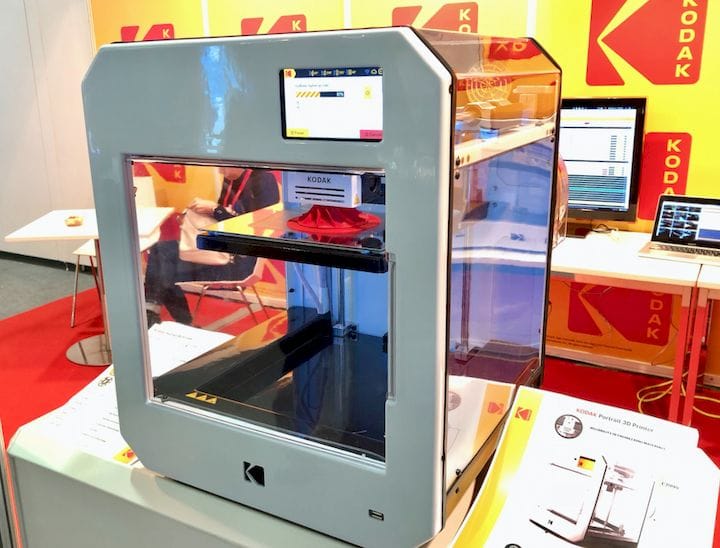
![The Kodak Portrait 3D printer reviewed [Source: Fabbaloo]](https://fabbaloo.com/wp-content/uploads/2020/05/image-asset_img_5eb0970cf140c.jpg)
This is part 4 of a 4 part series reviewing the Kodak Portrait 3D printer.
Part 1, Kodak Portrait 3D printer Unboxing and Setup, is here.
Part 2, Kodak Portrait 3D printer Basic Operations, is here.
Part 3, Kodak Portrait 3D printer Advanced Operations, is here.
In previous segments we’ve gone over setup and the basic and advanced operations of the Kodak Portrait 3D printer. But we had a number of other observations on this device we had to report beyond the basics. Here are the likes and dislikes we encountered during our testing:
Kodak Portrait 3D Printer Likes
![Piles of resealable filament bags for the Kodak Portrait 3D printer [Source: Fabbaloo]](https://fabbaloo.com/wp-content/uploads/2020/05/kodak-portrait-3D-printer-materials_img_5eb0970d7398b.jpg)
Sealed filament
At all stages of operation, the filaments are air-sealed. Kodak vacuum seals the filaments in a re-sealable foil bag. When you use them, they’re mounted on a special sealed canister, and tubes feed the filament to the machine. The material is rarely exposed to the air, and thus moisture absorption and dust effects are minimized.
![Friendly touchscreen interface on the Kodak Portrait 3D printer [Source: Fabbaloo]](https://fabbaloo.com/wp-content/uploads/2020/05/kodak-portrait-3D-printer-loading-filament_img_5eb0970dc504d.jpg)
Touchscreen
The touch screen on the Kodak Portrait 3D printer is not enormous, but the interface is well-designed and very easy to follow. We had no trouble navigating with it.
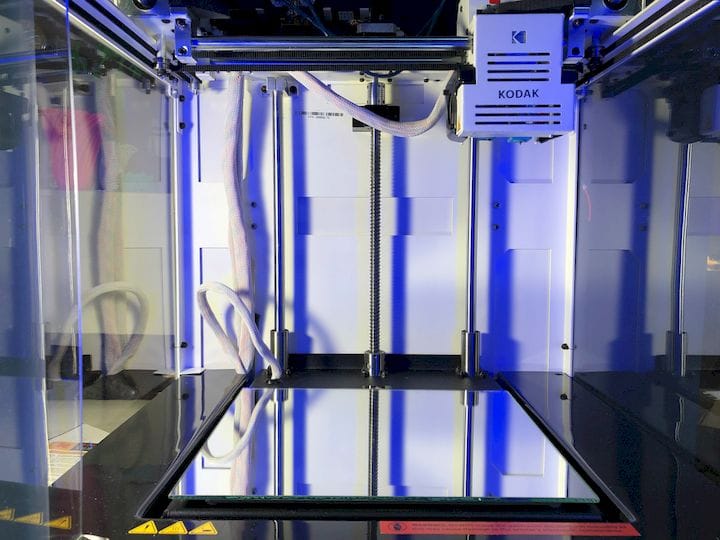
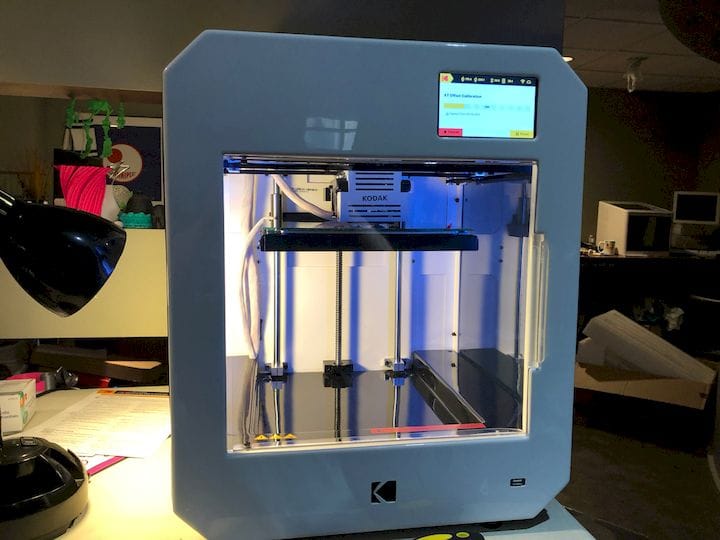
Clear Case
Some manufacturers go to a lot of trouble to design a fancy case, but most times we just want to see what’s going on inside the printer to determine if things are proceeding well. In the Kodak Portrait 3D printer, three walls and the top are perfectly clear acrylic, allowing plenty of light in and the ability to see the print taking place from many angles.
![The Kodak Portrait 3D printer has lighting systems on the pillars [Source: Fabbaloo]](https://fabbaloo.com/wp-content/uploads/2020/05/kodak-portrait-3D-printer-lighting_img_5eb0970e109dd.jpg)
Lighting
The machine includes a color coded lighting system that displays different colors depending on the state of the machine. This looks cool and could be interesting in a dimly lit office setting.
Calibration
There is very little calibration to be done on the machine, and all of it is mostly automatic. The touchscreen has wizards to help you through it all, and anyone could get this done.
Odorless
The Kodak Portrait 3D printer includes a HEPA filter that extracts odors and particles from the build chamber. This means when the build chamber door is closed there is virtually no odor present. Thus this machine could be considered for office use.
![Excellent print quality from the Kodak Portrait 3D printer, this print in ABS [Source: Fabbaloo]](https://fabbaloo.com/wp-content/uploads/2020/05/kodak-portrait-3D-printer-absexample_img_5eb0970e50f5e.jpg)
Quality
Although the print quality varies somewhat depending on which materials are used, it is generally very good or better than most machines we’ve used. The Nylon 6 is particularly good.
![The Kodak Portrait 3D printer includes an actual tool box [Source: Fabbaloo]](https://fabbaloo.com/wp-content/uploads/2020/05/kodak-portrait-3D-printer-toolkit_img_5eb0970e9ec5c.jpg)
Toolkit
A terrific toolkit is included with the machine, and it’s not just a “bag of stuff”. No, it’s an actual tool BOX that can hold your tools.
![The Kodak Portrait 3D printer includes a rather nice cover [Source: Fabbaloo]](https://fabbaloo.com/wp-content/uploads/2020/05/kodak-portrait-3D-printer-cover_img_5eb0970eeff56.jpg)
Cover
Included is a canvas-like cover you can pull overtop of the machine (even when filament canisters are mounted) to cover it up. I am pretty certain this is the only 3D printer that comes with a cover of this type, and again, makes it more suitable for use in an office setting.
Kodak Portrait 3D Printer Dislikes
![A print is clearly on the bed in the cloud slicer for the Kodak Portrait 3D printer [Source: Fabbaloo]](https://fabbaloo.com/wp-content/uploads/2020/05/kodak-beyond-the-bed_img_5eb0970f58943.jpg)
![The print actually was off the bed on the Kodak Portrait 3D printer [Source: Fabbaloo]](https://fabbaloo.com/wp-content/uploads/2020/05/kodak-portrait-3D-printer-off-bed-actual_img_5eb0970fb7984.jpg)
Off Bed
Sometimes when we were laying out a print job, the 3DPrinterOS cloud system would report a print as being “off the bed”, when in fact it definitely appears to be on the bed in the preview screen. However, it was correct, as you can see in this image showing where a circular print took place. A bit confusing, and likely a 3DPrinterOS issue, not Kodak’s.
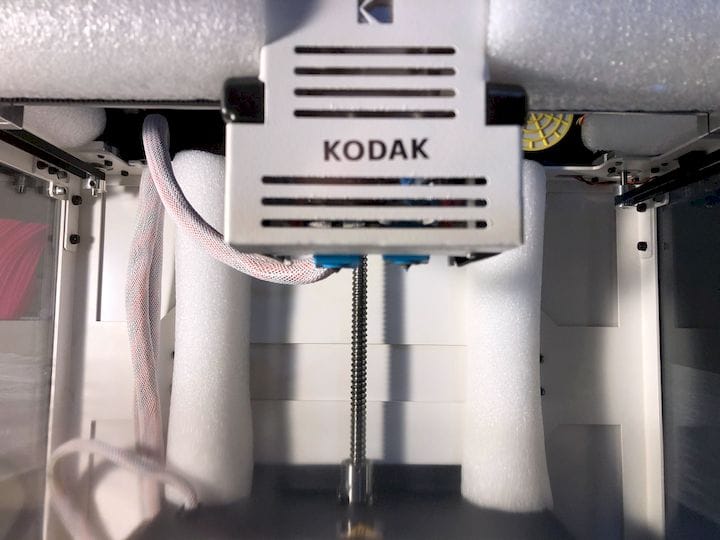
![Dual nozzles on the Kodak Portrait 3D printer [Source: Fabbaloo]](https://fabbaloo.com/wp-content/uploads/2020/05/kodak-portrait-3D-printer-dual-nozzles_img_5eb0970ff3dc6.jpg)
Dual Extruder
After we caused a jam in extruder 1 by using PLA+ improperly, we didn’t want to make the same mistake. We ended up placing a warning label to make sure everyone put materials in the correct extruder.
Fan
While the filtration system definitely eliminates odors, it is a bit loud. It out-audios the motion system entirely, so the only noise you typically hear is the filtration fan. It also runs continuously when the machine is powered on, because it doesn’t know if odors are present or not in the build chamber. It would be nice if this fan were replaced with one with fewer decibels.
Speed
While the Kodak Portrait 3D printer delivers prints with exceptional quality, it is also quite slow. For those looking for rapid prints, this is not your box. For us, however, it was just right; I’d rather have a good quality print eventually than a bad one right away.
![Unable to register the Kodak Portrait 3D printer due to a WiFi issue [Source: Fabbaloo]](https://fabbaloo.com/wp-content/uploads/2020/05/kodak-portrait-3D-printer-register_img_5eb09710470d6.jpg)
WiFi
We were unable to connect via WiFi, and ended up hardwiring the Kodak Portrait 3D printer to the Internet. This worked very well, but evidently there is a bug that Kodak is working on to make the WiFi more reliable.
![It’s challenging to reach inside the Kodak Portrait 3D printer for service [Source: Fabbaloo]](https://fabbaloo.com/wp-content/uploads/2020/05/kodak-portrait-3D-printer-difficult-maintenance_img_5eb097109a23a.jpg)
Access
With a sealed top, you sometimes must awkwardly reach inside. Fortunately you can see what you’re doing, but really hands must be much smaller and fingers longer to work inside this machine. That is, unless you remove the top, which is easily done with four bolts.
![Setting up spool holders on the Kodak Portrait 3D printer [Source: Fabbaloo]](https://fabbaloo.com/wp-content/uploads/2020/05/kodak-portrait-3D-printer-screwdriver_img_5eb09710dd7de.jpg)
Screwdriver
While the included toolkit was extensive, it did not include a Philips screwdriver, which is required for a few things, notably mounting the spool holders. It would be better to include all required tools in the kit.
Local vs Remote Operation
While most of our tests triggered printing from the cloud system, we occasionally found ourselves in front of the device when a print came loose from the bed. This means you must cancel the job. Sometimes we would quickly do this from the machine’s front panel, and it correctly stopped the job. However, a few times we found the cloud system from 3DPrinterOS would lose track and incorrectly think the device was still printing when it was not. Again, a 3DPrinterOS issue, I suspect.
![You need all hands to load the Kodak Portrait 3D printer’s canisters [Source: Fabbaloo]](https://fabbaloo.com/wp-content/uploads/2020/05/image-asset_img_5eb0971133511.jpg)
Canister Loading
While the filament canisters are wonderful for holding the spools secure during printing, they are a bit of a pain to load. Normally we simply mount a spool on a hanger and push the filament into the machine, but that is not how it’s done on the Kodak Portrait 3D printer. Instead you must un-bag your spool and disassemble the canister, which is made of three separate parts. These must be lined up carefully, which is sometimes difficult to do as there are no visual aids for orienting the pieces with each other. And you must do this while holding the filament tight, or else it may spring off the spool. Spool handling was perhaps the most tedious aspect of the machine.
Kodak Portrait 3D Printer Conclusion
After using the Kodak Portrait 3D printer for several weeks, we can say this is a very good machine. It is extremely easy to use, as the designers have thought through the entire usage process and implemented ways to ensure success.
![The Kodak Portrait 3D printer [Source: Fabbaloo]](https://fabbaloo.com/wp-content/uploads/2020/05/kodak-portrait-3D-printer-full-machine_img_5eb09711890be.jpg)
Their cloud system and print profiles are key to the ease of use of the machine. We found them easy to use and almost always able to produce quality prints, albeit slowly.
The ability to immediately 3D print in a wide variety of materials is an especially powerful feature. There is no need to swap hot ends or other changes; just load up the filament and print your job.
For those running a 3D printer in an office or prototyping workshop environment for a group of users, the Kodak Portrait 3D printer could be a very good choice.
Via Kodak 3D Printers