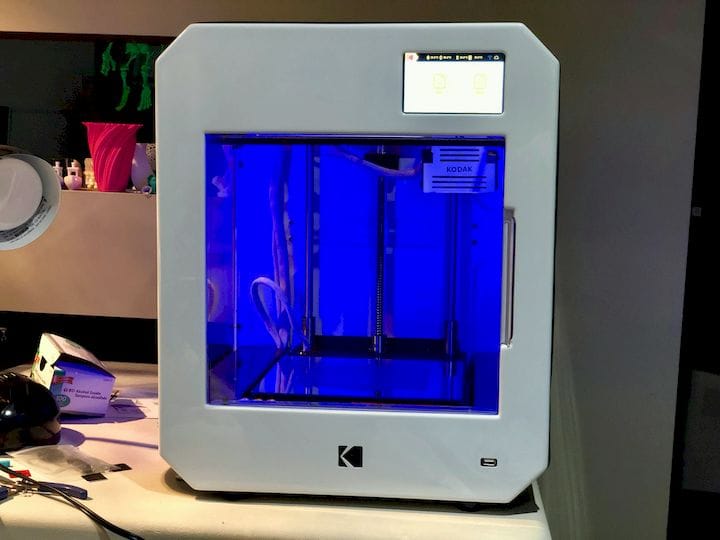
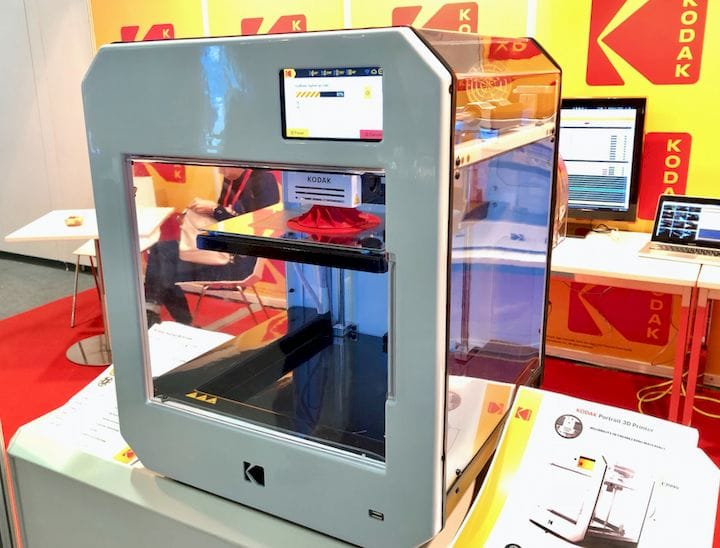
![The Kodak Portrait 3D printer reviewed [Source: Fabbaloo]](https://fabbaloo.com/wp-content/uploads/2020/05/image-asset_img_5eb09714c305f.jpg)
This is part 3 of a 4 part series reviewing the Kodak Portrait 3D printer.
Part 1, Kodak Portrait 3D printer Unboxing and Setup, is here.
Part 2, Kodak Portrait 3D printer Basic Operations, is here.
Part 4, Kodak Portrait 3D printer Final Thoughts, is here.
While the Kodak Portrait 3D printer includes quite a number of convenience features, the core feature is no doubt its ability to 3D print in many materials seamlessly. This is due to their extruder / hot end system that is unique in the industry.
Kodak Portrait 3D Printer Dual Extrusion
![Material selection possibilities on the Kodak Portrait 3D printer [Source: Fabbaloo]](https://fabbaloo.com/wp-content/uploads/2020/05/image-asset_img_5eb09715205dc.jpg)
All other dual extrusion 3D printers we’re aware of use identical extruders and hot ends, but the Kodak Portrait is quite different: it includes a standard PTFE-laden hot end and an all-metal hot end.
This solves a major dilemma faced by multi-material 3D printer operators: some materials cannot be easily 3D printed with all-metal hot ends, like flexible or low-temperature thermoplastics, while other materials like nylon, ABS and others thrive in all-metal hot ends. The Kodak Portrait includes both at the same time, offering the ultimate in material choice.
It means you can mix, say, flexible and nylon material in a single print job.
Kodak fortunately sent us a selection of their collection of 3D print materials, so we were able to test a variety of filaments on the Kodak Portrait 3D printer to see how well they printed and how difficult or easy it was to use the machine. Let’s see what happened.
Using PLA On The Kodak Portrait 3D Printer
![A nice dual color print from the Kodak Portrait 3D printer [Source: Fabbaloo]](https://fabbaloo.com/wp-content/uploads/2020/05/image-asset_img_5eb0971562e97.jpg)
PLA+ and PLA Tough are two basic materials that will probably be frequently 3D printed on the device. We found them extremely easy to print, and the results were fantastic. In addition to the Anubis 3D print we posted in the previous segment of this series, we printed a number of PLA items.
We found the print quality of both PLAs to be excellent. We even managed to 3D print a dual material PLA+ print here:
![Another very nice dual color print from the Kodak Portrait 3D printer [Source: Fabbaloo]](https://fabbaloo.com/wp-content/uploads/2020/05/image-asset_img_5eb09715aa0b7.jpg)
This was enabled by using the Kodak cloud system. 3DPrinterOS does allow for dual extruders. As you load up separate STL files for each component, you can assign an extruder to them for the print job. It’s a bit tedious if you have a ton of segments, but it does work very well. One bug we found in 3DPrinterOS is that you cannot re-edit a multilateral layout; if you go back to, say, change one segment’s extruder, you will find that the entire model is now a single object. We’re told 3DPrinterOS is working on this issue.
But there were some problems in doing so. We loaded both extruders with PLA+, including the all-metal hot end. This worked okay, but after the print completed there was an issue: the all-metal hot end is very good at distributing heat, which evidently caused the low-temperature PLA+ to melt a bit higher than normal, causing a serious jam.
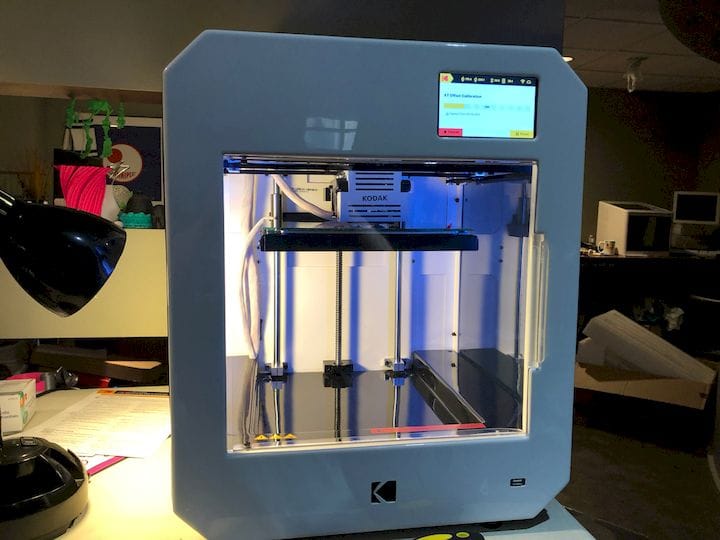
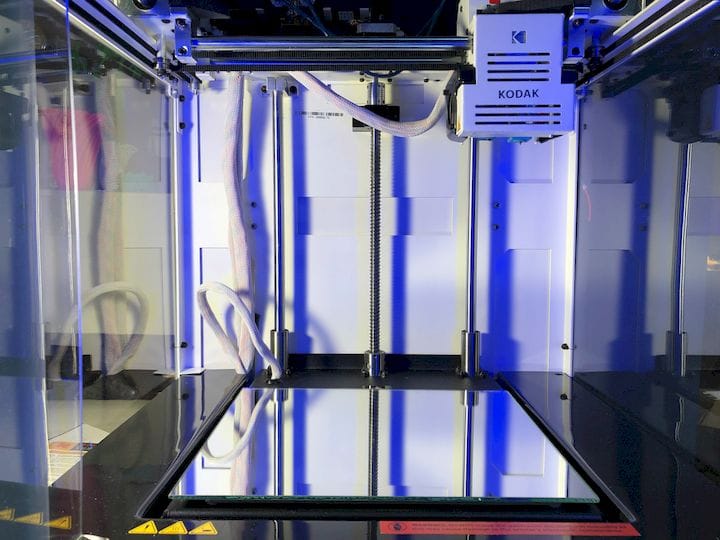
Troubleshooting The Kodak Portrait 3D Printer
In a way, we were happy to have this problem, as it is something that would eventually happen to anyone using the device, and we wanted to see how challenging the troubleshooting process might be.
![Accessing the Kodak Portrait 3D printer’s hot ends is easy with a pop-off panel [Source: Fabbaloo]](https://fabbaloo.com/wp-content/uploads/2020/05/kodak-portrait-3D-printer-panel-remove_img_5eb09715ee30d.jpg)
![The Kodak Portrait 3D printer’s hot ends easily drop down for maintenance [Source: Fabbaloo]](https://fabbaloo.com/wp-content/uploads/2020/05/image-asset_img_5eb097163de1d.jpg)
It turns out it was quite easy to fix a jam. You simply pop off the hot end cover — no bolts required. This exposes the hot ends. Then you can drop the affected hot end down by removing a single bolt. This allowed me to heat up the extruder and free the misbehaving filament easily. It seems that this device is fairly easy to maintain as well as operate.
![A HIPS 3D print from the Kodak Portrait 3D printer [Source: Fabbaloo]](https://fabbaloo.com/wp-content/uploads/2020/05/image-asset_img_5eb09716846fa.jpg)
We printed objects in other materials from Kodak. Here we 3D printed in HIPS, a popular material. We found the printed objects to be very strong, but HIPS seemed a bit sloppy to print with, as it was not the greatest with bridges or overhangs.
Using PETG And ABS On The Kodak Portrait 3D Printer
![A beautiful PETG vase produced on the Kodak Portrait 3D printer [Source: Fabbaloo]](https://fabbaloo.com/wp-content/uploads/2020/05/image-asset_img_5eb09716e37af.jpg)
PETG is a wonderful material to print on the Kodak Portrait 3D printer. We had a transparent purple spool, and the results were well formed and appear quite beautiful when complete. PETG sticks very well to the bare glass plate, and is easily removed when it cools down a bit.
ABS is always tricky to print on any 3D printer due to its tendency to warp off the print plate. For ABS testing we used one of the Collapsible Basket 3D models, which happened to be our Design of the Week a while ago.
![A massive ABS full-plate print on the Kodak Portrait 3D printer [Source: Fabbaloo]](https://fabbaloo.com/wp-content/uploads/2020/05/image-asset_img_5eb0971732d55.jpg)
This print occupied the entire build plate with ABS, so we were quite curious to see if it maintained adhesion. And it mostly did. There was a very, very slight curl on one corner — and the rest of the print finished without incident. In fact, the basket is fully functional, after we removed countless brims:
![Completed basket ABS 3D print on the Kodak Portrait 3D printer [Source: Fabbaloo]](https://fabbaloo.com/wp-content/uploads/2020/05/image-asset_img_5eb097177d4c1.jpg)
ABS works very well on this machine, and part of the reason why has to do with the enclosed build chamber. The control panel monitors the interior temperature and while printing ABS we found that temperature to be around 45C, making a great environment for ABS printing.
Using Nylon 6 And Flexible Filament On The Kodak Portrait 3D Printer
Flexible material testing was accomplished with Kodak’s Flex98 filament. This material must be printed with the non-all-metal extruder, and is printed directly on the glass plate without adhesive.
We found the Flex98 prints to be fantastic in quality. By using the pre-made print profiles from Kodak, there was almost no issue with any of the prints we performed.
![Wonderful flexible RC tire 3D printed on the Kodak Portrait 3D printer [Source: Fabbaloo]](https://fabbaloo.com/wp-content/uploads/2020/05/kodak-portrait-3D-printer-flex98_img_5eb09717be545.jpg)
Here we see an RC tire 3D printed in Kodak Flex98. While we don’t have an RC setup here, the tire itself appears to be fully functional — and quite strong.
Finally, we used Kodak’s Nylon 6 filament for a few tests. This very strong material is quite suitable for mechanical prototypes, especially any items that involve snap-fit fixtures.
![Incredible nylon 6 print on the Kodak Portrait 3D printer [Source: Fabbaloo]](https://fabbaloo.com/wp-content/uploads/2020/05/kodak-portrait-3D-printer-nylon_img_5eb097180f411.jpg)
Using Kodak’s print profiles once again, we had success using Nylon 6. However, we did find that Nylon 6 does require a perfectly applied dimafix adhesion solution to the plate. One of our prints failed when we lazily attempted to re-use a plate that had recently had a previous print on it. By cleaning the plate and re-applying the dimafix solution, the Nylon 6 print adhered correctly through the entire print.
The resulting prints were spectacular in quality. Here we see a turbine impeller print that came out very well. It is certainly functional, and even the layer lines are difficult to see. It’s pretty clear this material and profile could be used for serious prototyping.
![Superb 3D print quality on the Kodak Portrait 3D printer [Source: Fabbaloo]](https://fabbaloo.com/wp-content/uploads/2020/05/kodak-portrait-3D-printer-nylon-quality_img_5eb0971858359.jpg)
The Kodak Portrait 3D printer works very well for all of the materials sourced from Kodak, while it can also handle third party materials. There are no features to require use of their proprietary filaments, although their print profiles were incredibly helpful. We did not do such testing yet, but may do so in the future.
Next, let’s pull together our thoughts on the Kodak Portrait 3D printer.
Part 4, Kodak Portrait 3D printer Final Thoughts, is here.
Via Kodak 3D Printers