
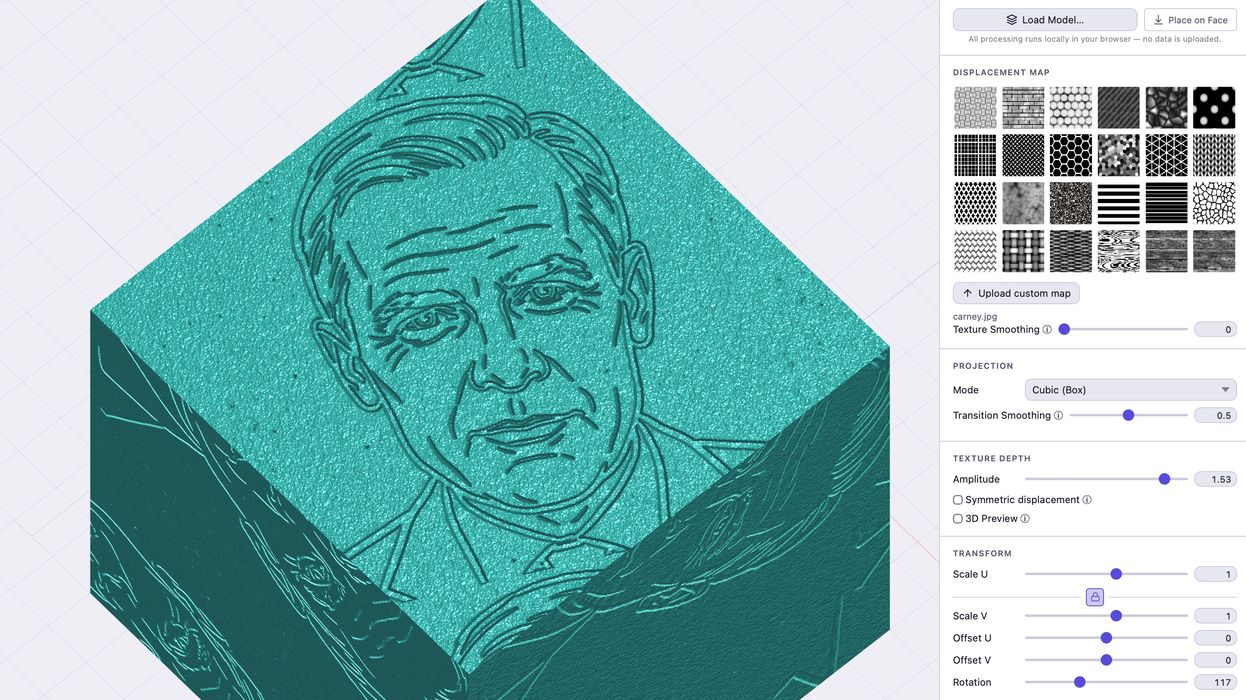
A new online tool makes 3D model texturing incredibly easy.
BumpMesh was developed by popular 3D print YouTuber Stefan Hermann, inspired by the effects of the “fuzzy skin” slicer option — and fuelled by the latest AI software development tools.
Fuzzy skin is indeed powerful: it creates a slight wobble of the toolhead when printing exterior perimeters. This gives your print a “fuzzy skin” that can easily obscure print flaws and even provide an attractive surface.
Attractive as that is, it’s quite limited. You can only produce a “wobble,” and other patterns are not achievable.
But now they can be with BumpMesh. It’s a web-based tool that allows you to apply a given texture to an uploaded STL 3D model. Hermann provides an extensive explanation of the tool in this recent video:
Unlike Fuzzy Skin, which is literally one ticky box and a slider, BumpMesh provides a huge number of parameters that you can play with.
Not only can you use any of the twelve interesting pre-loaded textures, you can upload your own. They just need to be a white/black pattern, with white representing raised areas.
It’s more than just applying a texture; BumpMesh allows you to specify the manner in which the texture is projected onto the object’s surfaces, as well as the height of the displacement, rotation, smoothing of edges, resolution, and much, much more.
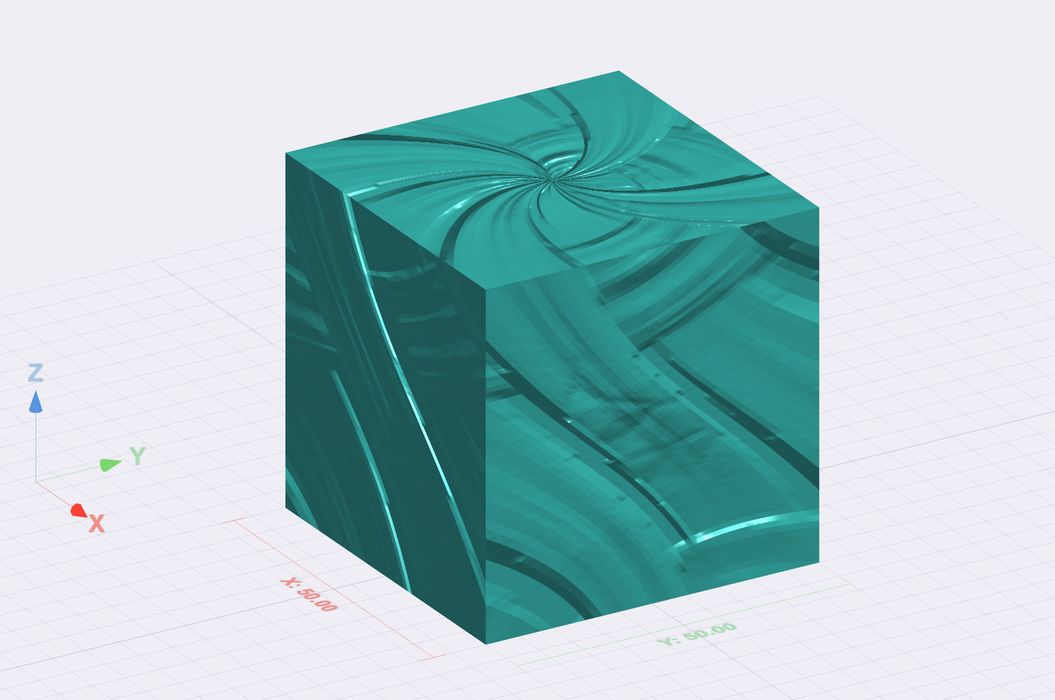
The number of variations is astounding. By playing with the sliders in the tool, you can generate amazingly attractive patterns that would far exceed anything that you can do with the now obsolete Fuzzy Skin slicer feature. Take a look at the box at the top I created using BumpMesh in less than a minute: it would take a long time to create that effect in any CAD tool. Here, it’s instant.
Fortunately, there is a specification for the number of output triangles in the STL mesh, because you could generate a staggeringly huge file if you pushed all the features to the max.
I tried making my own texture, which is pretty easy. Just take any image and decrease the saturation to zero — making it a grayscale image. Make the image square and small, and then upload it to BumpMesh using the “Upload custom map” button. It’s automatically applied to the current 3D model.
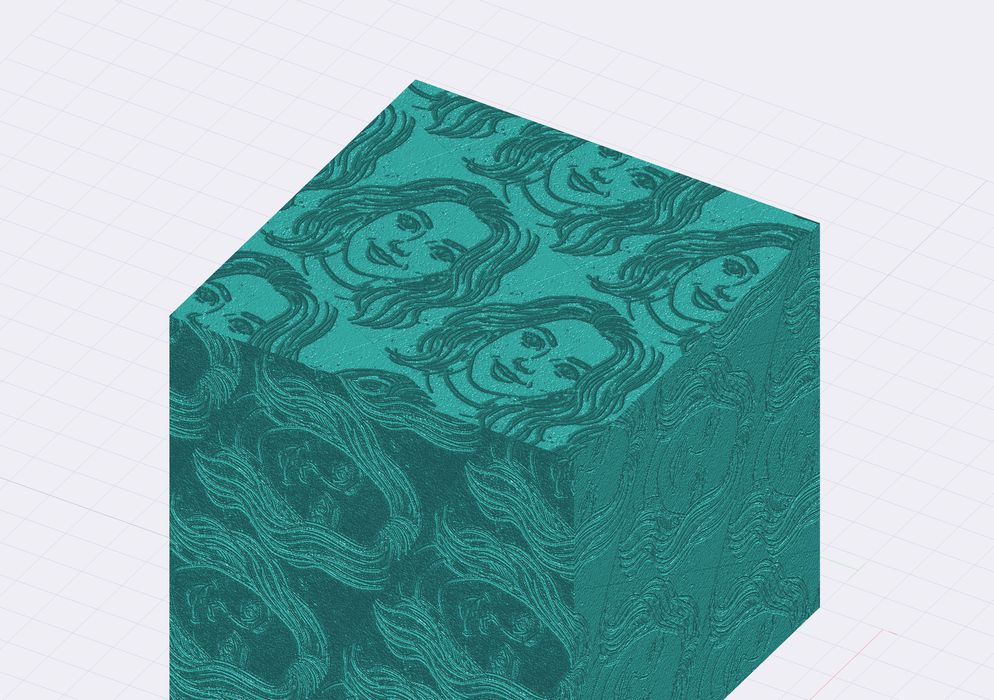
And here you can see that it worked very well. Because you can bring your own textures to BumpMesh, the possibilities are literally unlimited.
Hermann is providing BumpMesh as a free service to the public, but if you would like to support him (and you should), give his many 3D print videos a watch.
Via BumpMesh