
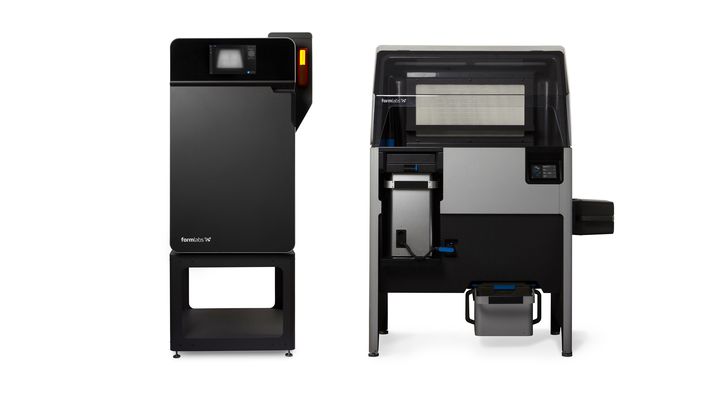
Recently I had the opportunity to take a closer look at Formlabs’ recently released Fuse 1 SLS 3D printer.
The wait to do so was a bit long, as Formlabs first announced the device way back in 2017! However, it seems that the company has been diligently working behind the scenes for all that time to ensure the device and its material systems work quite smoothly. After a delay, the Fuse 1 was released at the start of this year.
The Fuse 1 is quite a departure for the company, which previously offered only SLA-style 3D printers. Aside from the layer-by-layer concept, the SLS process is entirely different from SLA. The material, for example, is powder rather than the liquid resins used in the SLA machines.
While it’s a bit tricky to travel to see a Fuse 1 in action these days, Formlabs offered a virtual tour instead. Formlabs staffer Joshua Niman walked me through the operations of the new machine and explained things quite thoroughly.
Let’s walk through the end-to-end operation of the Fuse 1 so that you can get a clear picture of how the device works and how it might fit into your workshop.
Fuse 1 Job Setup
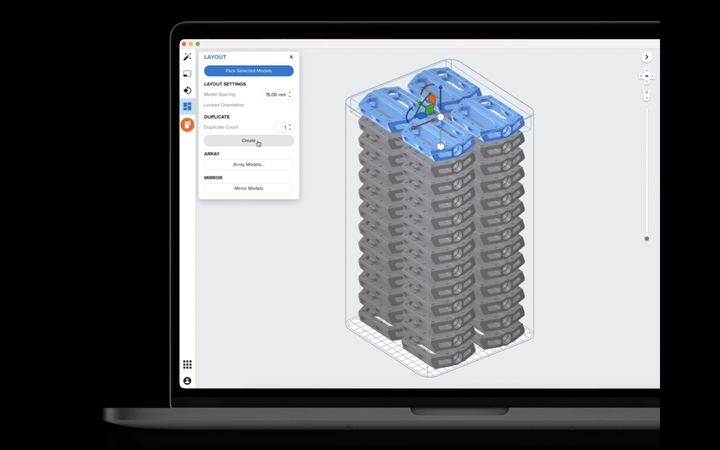
Formlabs made waves with their SLA software, PreForm. It’s certainly the most straightforward 3D print job management software I’ve used. Now, Formlabs has adapted PreForm to also prepare jobs for the Fuse 1, even though that machine uses a completely different 3D printing process. The good news is that all the ease-of-use features of PreFrom carry forward into the SLS world.
One very important thing to know about the Fuse 1 is that it is NOT a machine for single prints. It’s designed to be a batch machine, where you can load up the entire build volume with parts and run the job overnight.
This is easily accomplished with PreForm, where you can “Tetris” objects tightly together in three dimensions within the build volume. Unlike FFF or SLA equipment, you can always use the entire build volume, right to the top, because separate objects are supported by unfused powder.
Note that the Fuse 1’s build volume is tall in orientation, rather than wide. This configuration makes for a less expensive device, but still allows larger prints if tipped on end.
Fuse 1 Power Loading
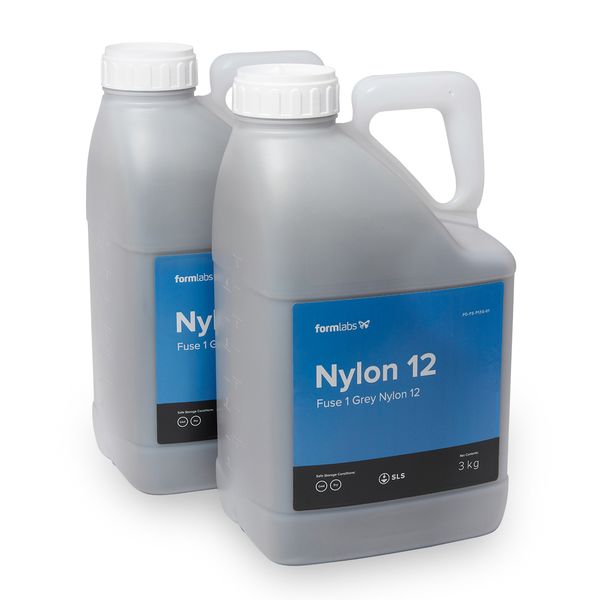
Gray nylon 12 powder is currently the only option for the Fuse 1, although I have a sense Formlabs is secretly developing additional materials. This would parallel their process on the SLA equipment, where they started with one material but now offer a wide variety.
The powder is housed in a hopper at the top of the Fuse 1, where it will be gradually used during 3D printing.
Before you start the print, however, it’s a good idea to clean the “optical cassette”, a part that might become dusty during operations.
Fuse 1 Job Monitoring
While the Fuse 1 has a highly usable color touchscreen, it turns you might be doing most of the job monitoring elsewhere.
The Fuse 1 is network enabled, and you can monitor and even observe jobs in progress. That’s important, because unlike an FFF or SLA device, there’s no windows to see the machine in action. Instead the Fuse 1 has a camera that points down on the print plane, and this is viewable remotely.
Fuse 1 Unloading
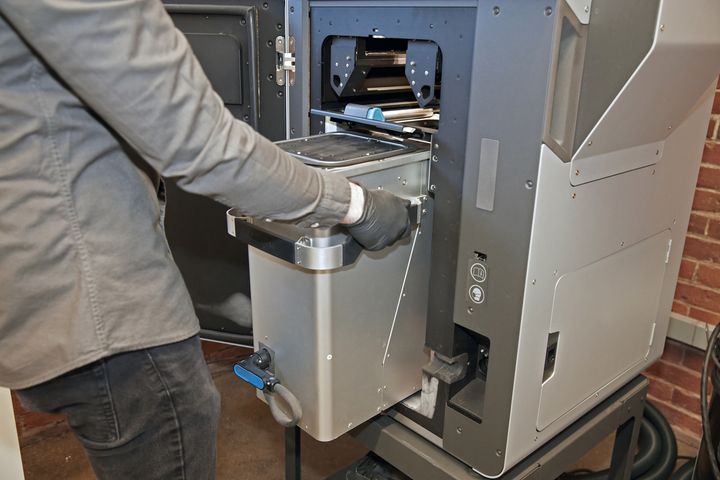
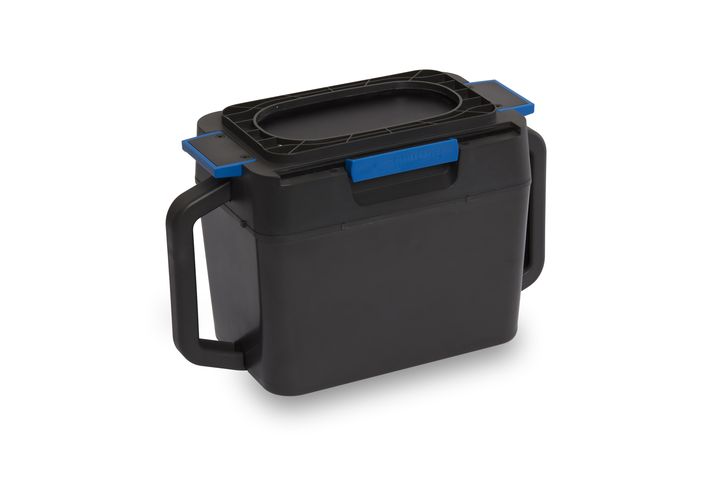
Once jobs complete there are a number of steps to take that are quite different from SLA or FFF 3D printing processes. At job conclusion you have a build chamber that’s filled to the brim with powder, and the printed objects are buried inside. They must be removed, but this is not done on the Fuse 1 itself.
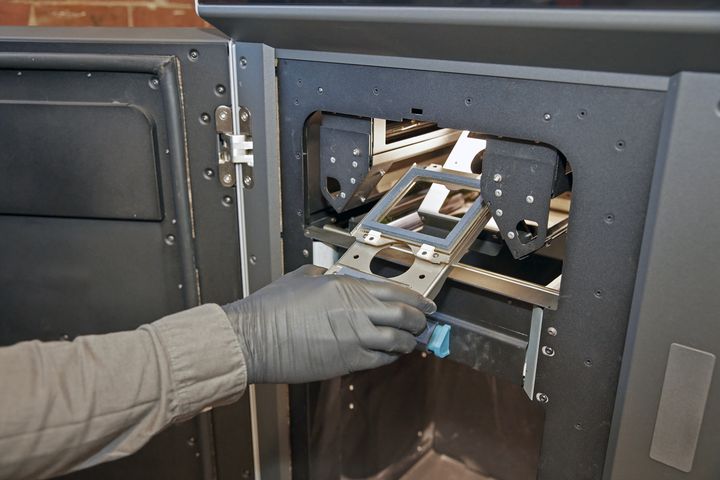
The build chamber is actually detachable. The process is to unplug its control cable, and then the 60lb (27kg) full build chamber easily slides out.
Note that in the image, the operator is wearing heat-resistant gloves. This is because the build chamber will be quite hot after printing. The heat was generated throughout the print job by the powerful laser that selectively fused nylon particles. You must wait about 90 minutes for it to cool down before removal.
Formlabs explained that you must allow the build chamber to cool down slowly after printing completes, and this could take typically 10-15 hours. The reason for the slow cool-down is to ensure the parts don’t warp and remain dimensionally accurate.
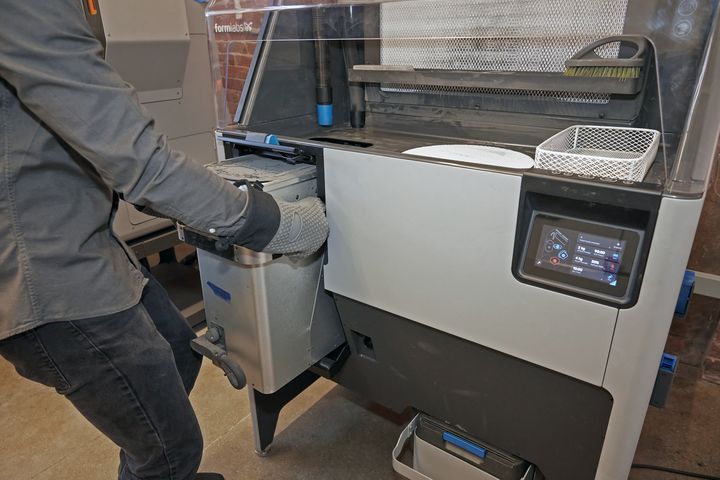
The hot build chamber is moved into the associated “Sift” unit, the Fuse 1’s cleaning station. The build chamber’s control cable is plugged into the Sift to allow it to monitor the cool down — it will notify you when it’s sufficiently cooled.
Note that if you happen to own a second build chamber it’s possible to load it into the empty Fuse 1 and start a second job while the first one cools down. For heavy use, operators might consider having several build chambers at the ready.
Fuse 1 Print Cleaning
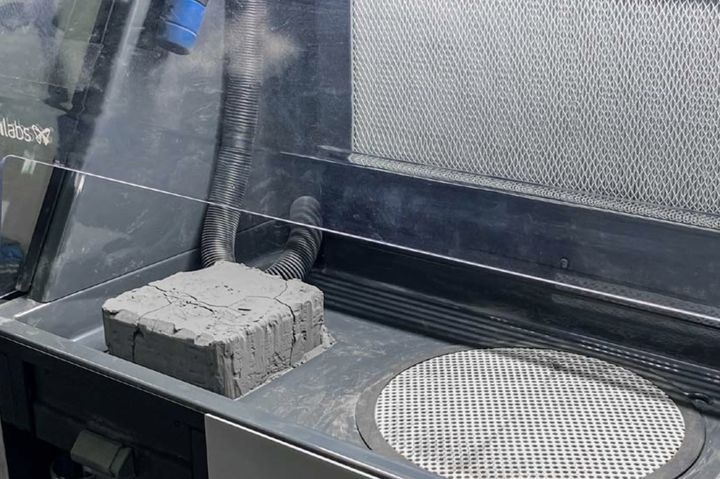
Parts must be then removed from the cooled-down build chamber. The top is removed, and the Sift operator is able to gradually push up the powdery contents into the Sift work area.
The Sift’s work area is contoured to encourage powder to remain in the unit, and there’s a window providing additional protection. It’s recommended you use gloves and a respirator during cleaning.
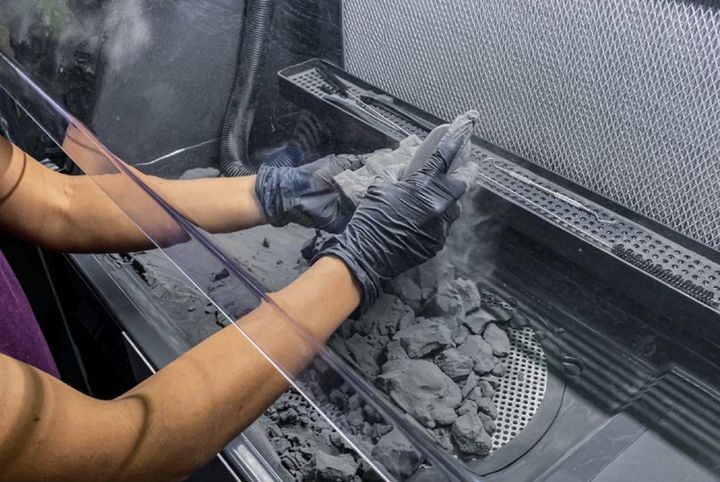
Slowly the powder rises, and loose powder is collected by vacuum into a recovery chamber. Gradually the actual prints poke out and can be carefully brushed and removed. Formlabs recommends a final separate cleaning with either compressed air or if high unit volume, glass media blasting. At this point the parts are finalized and ready for use.
Fuse 1 Powder Recycling
But what about all that unused powder? It’s been sifted to remove extraneous bits by the Sift and is ready for reuse in a subsequent print job. However, it’s not advised to use 100% recycled powder in new jobs. Instead the idea is to mix in some fresh powder, and the Sift can be set to provide the exact ratio, be it 50-50, 60-40, or another ratio. Formlabs says the machine can handle 70% used to 30% fresh, which is quite good as far as SLS equipment goes.
The two powders are combined in this carrier, and then mixed. The mixing is fascinating: you strap the carrier onto the side of the Sift and it spins it around automatically.
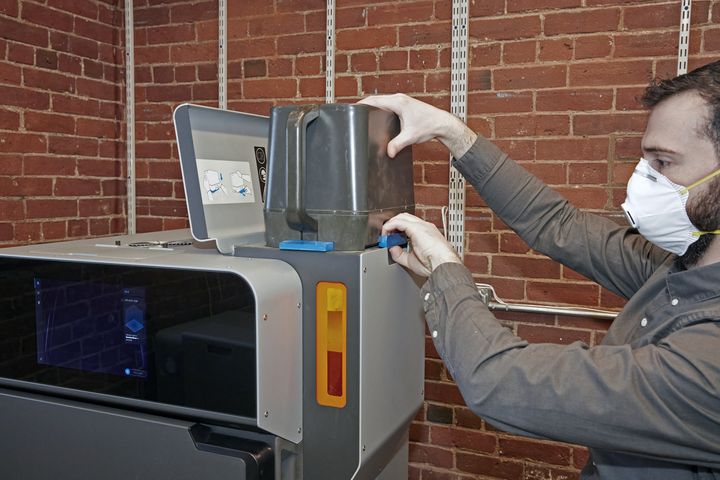
Once completely mixed, the carrier is then placed on top of the Fuse 1’s hopper and the sliding door is opened to let the powder fall into the printer.
At that point you’re ready for another 3D print job on the Formlabs Fuse 1.
The operational process for the Fuse 1 is somewhat more arduous than for a simple desktop 3D printer, but it’s designed for manufacturing small quantities of parts in high quality.
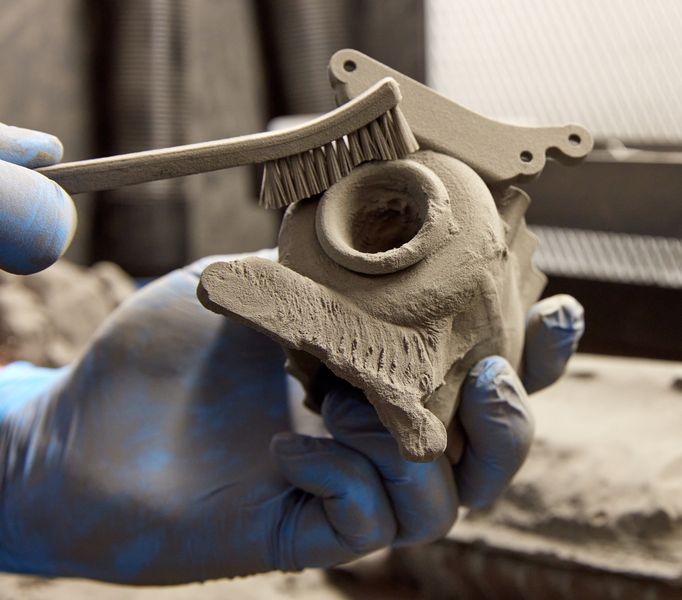
As you can see in this image, the parts made on the Fuse 1 are of amazing quality. The surfaces are smooth, hinges use very tiny gaps, snaps work well and surface details, including thin walls, are excellent.
If you’re looking for an inexpensive system to 3D print high-quality nylon parts in batches, the Fuse 1 could be a great choice.
Via Formlabs