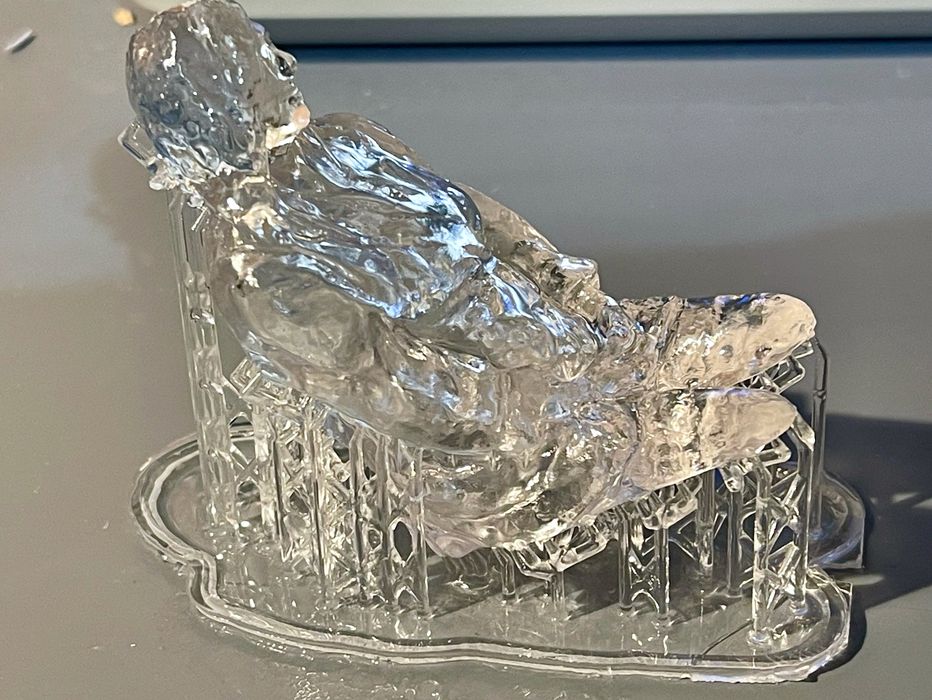
We had the opportunity to test out Anycubic’s new High Clear 3D printer resin — it’s completely transparent!
Clear Resin Background
Completely transparent 3D prints are rarity, as it is mostly impossible with FFF 3D printing due to the nature of the process. However, with resin 3D printing there is at least a possibility of achieving a totally transparent print.
That requires use of very specific clear resins and careful print procedures, as well as some post processing, as we found out.
Typically clear resin prints are polished afterwards to obtain a crisp result, but as you’ll see in this review we learned of another method that actually works really well.
One standard complaint about clear resins is that they tend to have a yellow tinge of color that is exacerbated by additional curing. That’s bad news for someone that wants to place a transparent 3D print on their windowsill. I was quite interested to see the color of clear prints made with Anycubic’s new resin.
Anycubic’s High Clear Resin Packaging
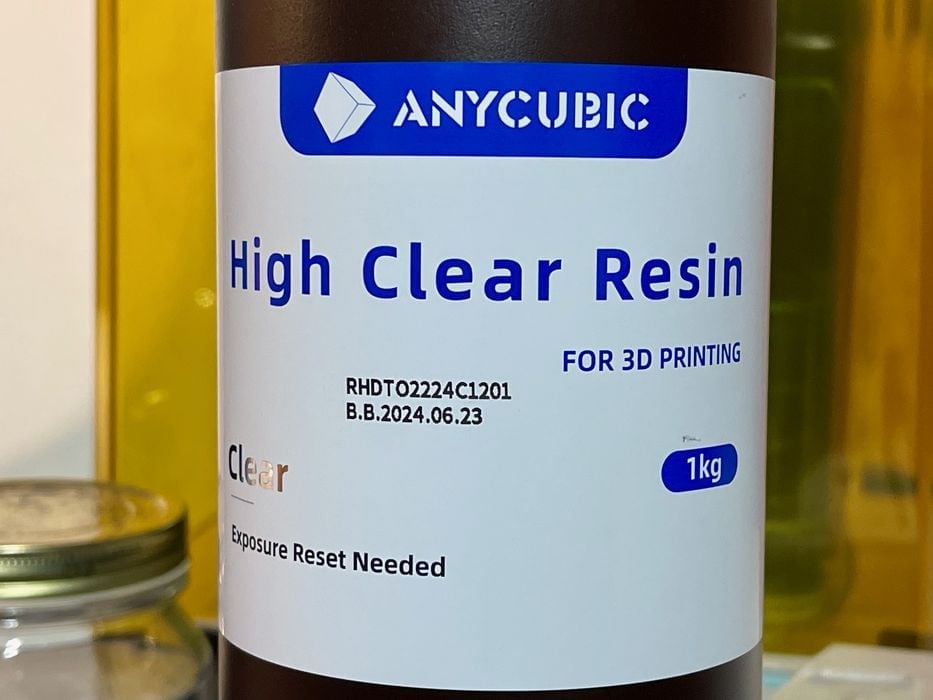
The resin is shipped in a 1kg bottle, which is plenty for printing lots of items. However, do note that with transparent printing there is an increased tendency to print items “solid”, rather than hollowing them out to save on materials.
That’s because the clear resin allows one to peer through the entire 3D model! If you have an interior hollow, the transparent effect is altered somewhat. What I’m trying to say here is that you might need a bit more resin than you would usually use for non-transparent prints, so the 1kg bottle is a good size.
Anycubic ships the bottle in a tough jacket of bubble wrap, and it’s sealed so that spills will be contained. We didn’t see any issues in shipment of this resin.
Anycubic’s High Clear Resin Resin Handling
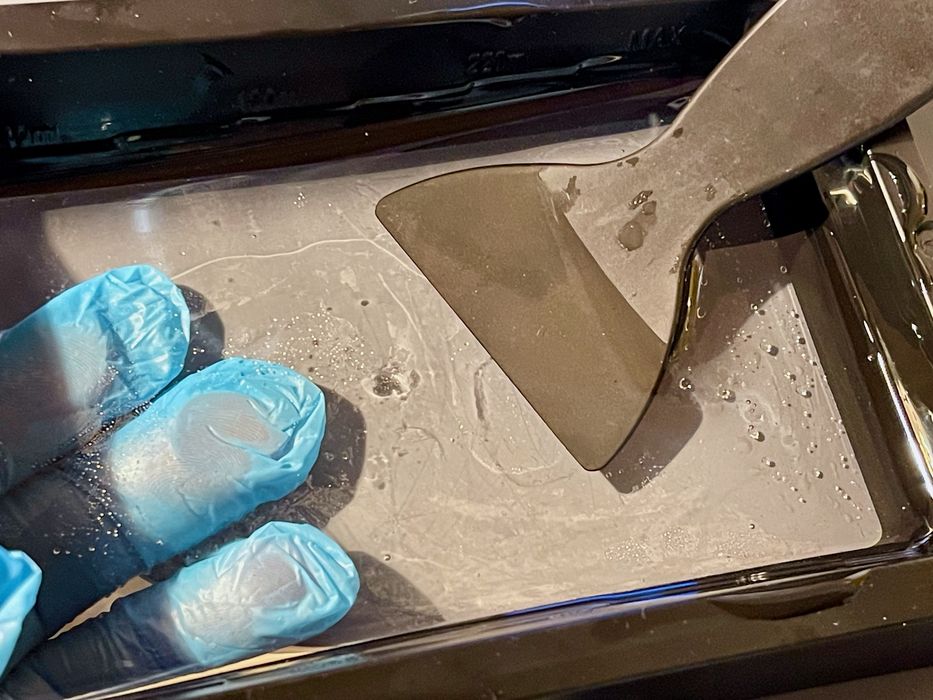
What’s different with handling this clear resin over any other 3D printer resin? Well, there’s one thing for sure: it’s COMPLETELY clear. In the image above it is actually hard to see that there is anything actually in the resin tray.
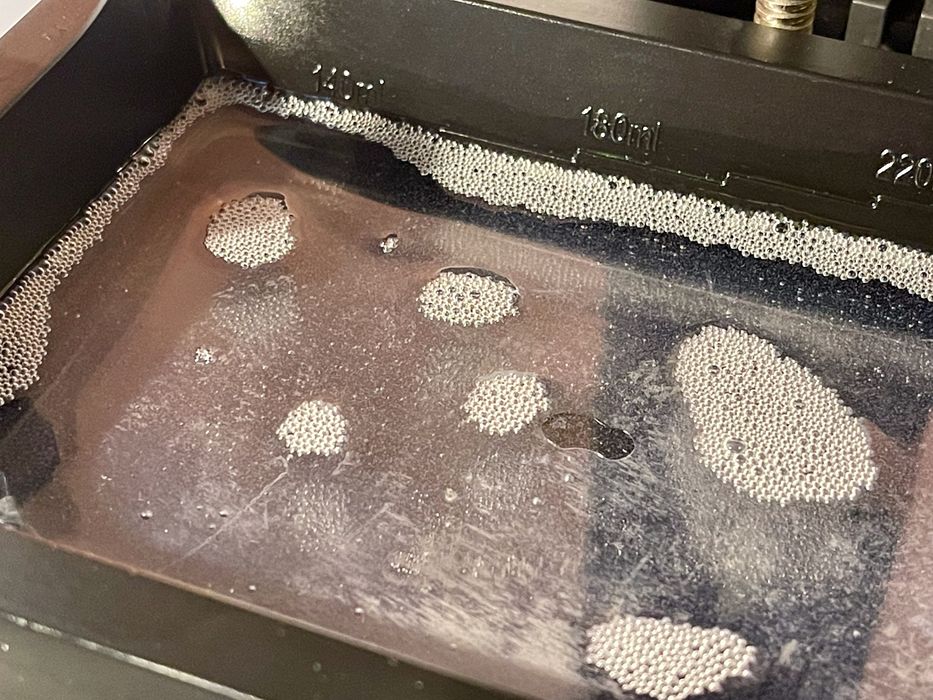
When you first pour the resin into the tray, however, it will have some bubbles in it — because you remembered to shake up the bottle first, right? These bubbles are harmless, and I found I could print right away without issue. After a while the bubbles disappear and you’re left with “invisible resin”.
It just occurred to me that opaque resins very likely have bubbles like this when first poured, but you don’t see them because it’s not clear.
I found this resin to emit basically no odor at all. That is quite unlike most resins that are quite strong — and anything you smell means you are breathing in airborne resin molecules. For very strong odor resins, it’s recommended you use a respirator.
However, for Anycubic’s High Clear resin there was no odor whatsoever. In the past I’ve associated lack of odor to a decrease in active ingredients that cause polymerization, so I suspected exposure times might be higher.
Anycubic’s High Clear Resin Print Calibration
Absolutely all 3D printer resins must be calibrated before use. If you don’t calibrate (or use a system that has already done so), you risk damaging the machine: unformed structures may fall off the plate and then get squashed into the FEP film, usually puncturing it.
I’ve had that happen to me many times, and so I insist on calibrating all resins. The exposure time must be determined for each resin-machine pair.
That said, I did find that Anycubic does provide a very good standard exposure chart on their website. The chart matches their resins with their machines.
In my case I was using an Anycubic Photon D2 resin 3D printer, which is on their list. The entry suggested the exposure time was 4.5s, which is a bit long for that machine, which in the past I’ve used exposures as low as 1.5s for some resins.
This is curious to me because the transparent nature of the resin should allow light to pass through more easily and deeper. However, the polymerization also depends on the chemistry of the resin and the proportion of photopolymer molecules present.
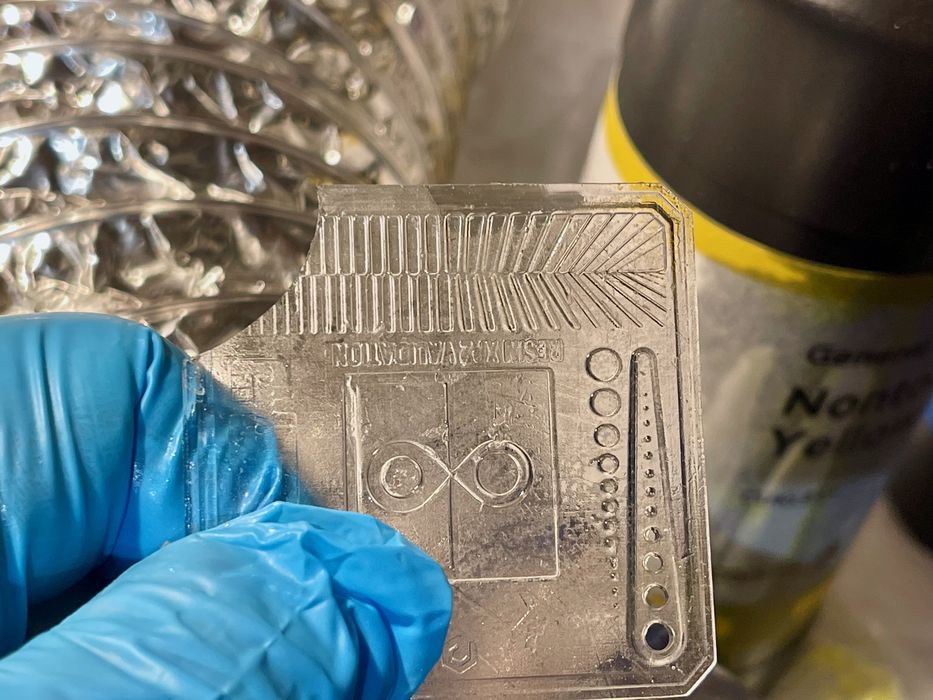
I first tried the standard test chip and ended up with this. Then I realized this could be rather difficult to test because you’re seeing through the print, and that can mess up your perspective. The 4.5s seemed to be close, however, based on this first chip test.
I then moved to my main calibration method: The Cones of Calibration by Tableflip Foundry. This is an incredibly useful calibration model because it tests both success and failure at the same time.
Basically it’s a two rows of opposing cones. The idea is to find an exposure time that allows all of the “success” row to just barely touch, and at the same time not have any of the “failure” cones touch.
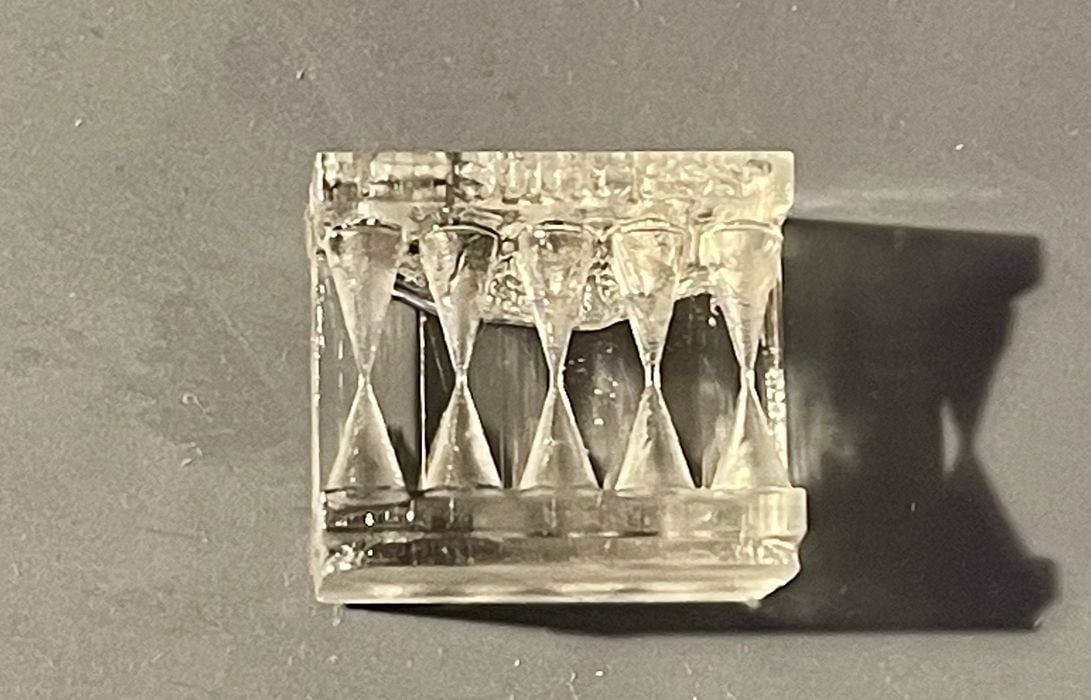
To my great surprise, I could not get the cones calibrated until I hit a massive 13.0s exposure time. By the way, this took most of a day to do, because each cone print takes over an hour, and the ever-increasing exposure times didn’t help.
The 13.0s exposure time is 3X the recommended exposure time, but I thought I would need to use the long exposure to ensure that support structures would be properly formed — they are much like the calibration cones, after all.
Nevertheless, I now had a proper exposure time that I knew would succeed for further tests.
Anycubic’s High Clear Resin Print Results
My first “real” 3D print for this resin was a cool Inuit bear sculpture that I had previously 3D scanned. I thought this model would be terrific if printed in solid clear material to contrast against the bear’s normal cold, black soapstone material.
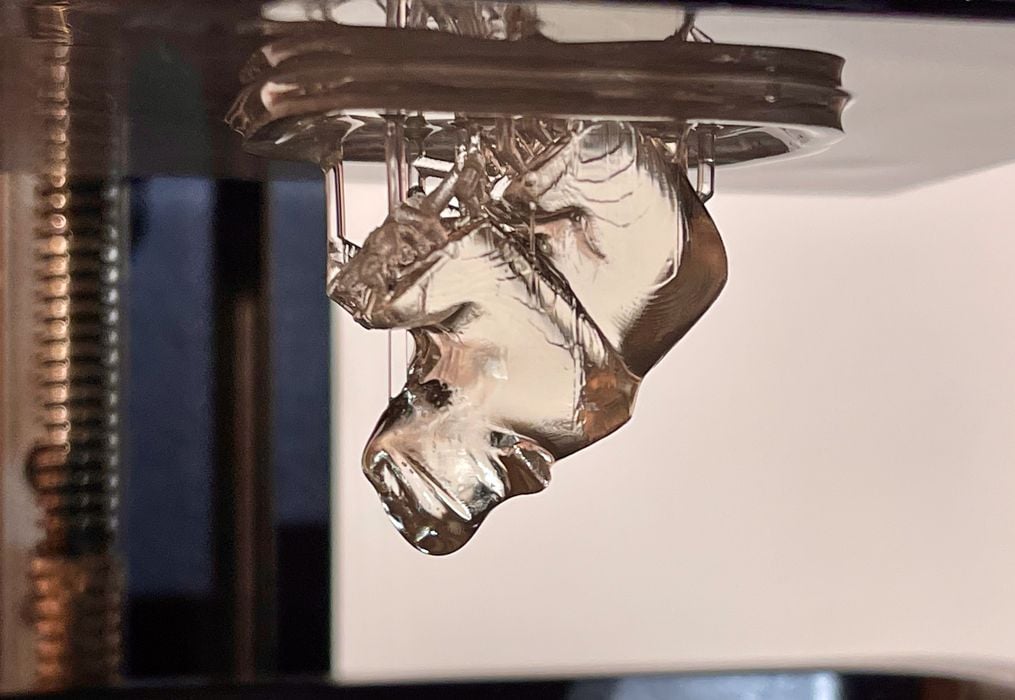
The print proceeded perfectly, as I expected from the excessive exposure time. I did notice that the print was somewhat hard to pull off the plate, likely due to Anycubic’s recommendation of 35s. In the end I reduced this to 28s, which provided plenty of strength, but could far more easily be removed.
After cleaning, the bear looked pretty good. You could just barely make out some layer lines where the print took place.
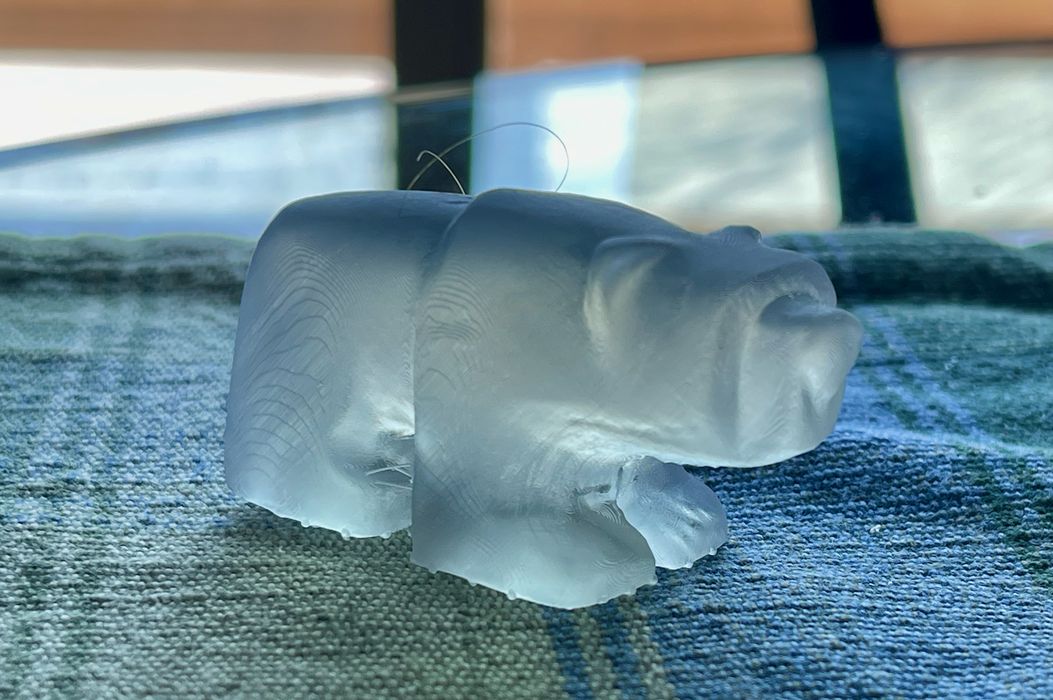
Here is the bear in sunlight, and you’ll notice a slightly foggy appearance. It’s not completely clear as it appeared when freshly printed. That’s because it was wet on the platform. This is what it looks like after processing.
But then I realized Anycubic recommends a special post-processing step. The idea is to “paint” a thin layer of wet resin on the clear print, and then cure it. Supposedly this makes the print far more transparent.
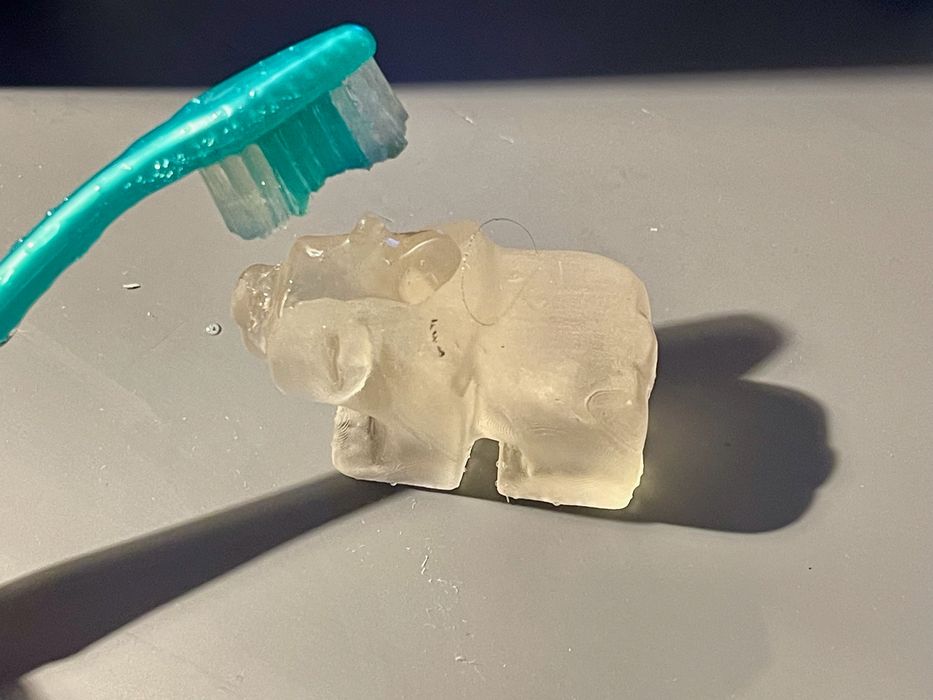
Anycubic doesn’t include a brush with the resin, so I chose to use a spare toothbrush. Those extra toothbrushes you keep getting from the dentist are ideal for this work: just like teeth, all nooks and crannies of the print can be reached with the toothbrush.
As I painted the print, it again became quite transparent.
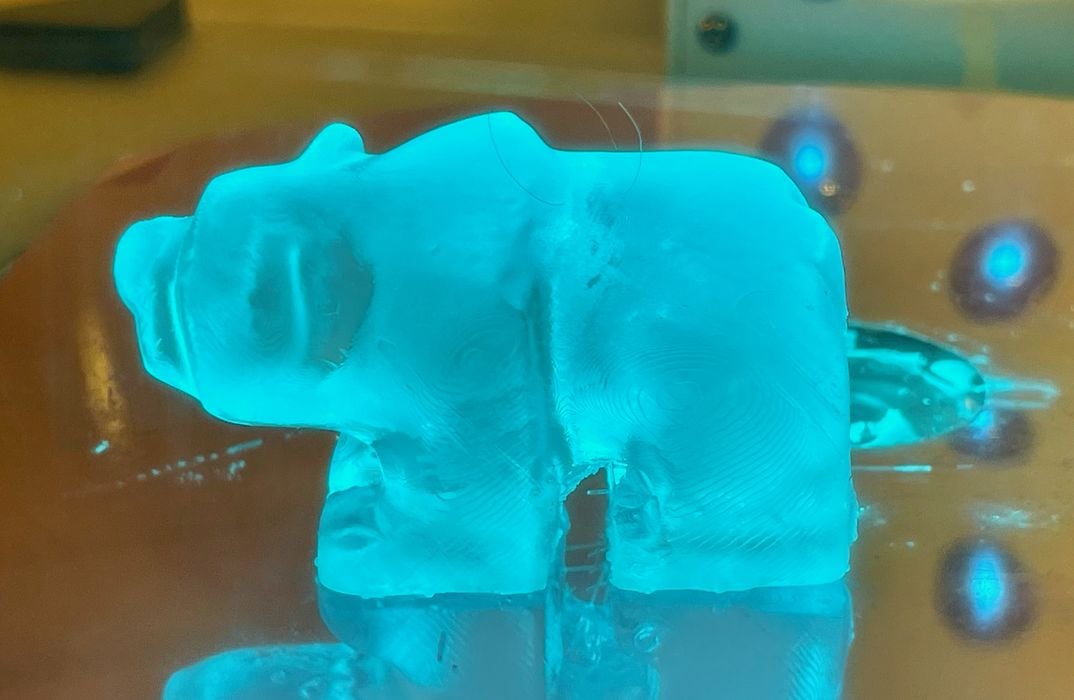
Back into the curing station the bear went.
After final cleaning, and back in the sunlight, I got this:
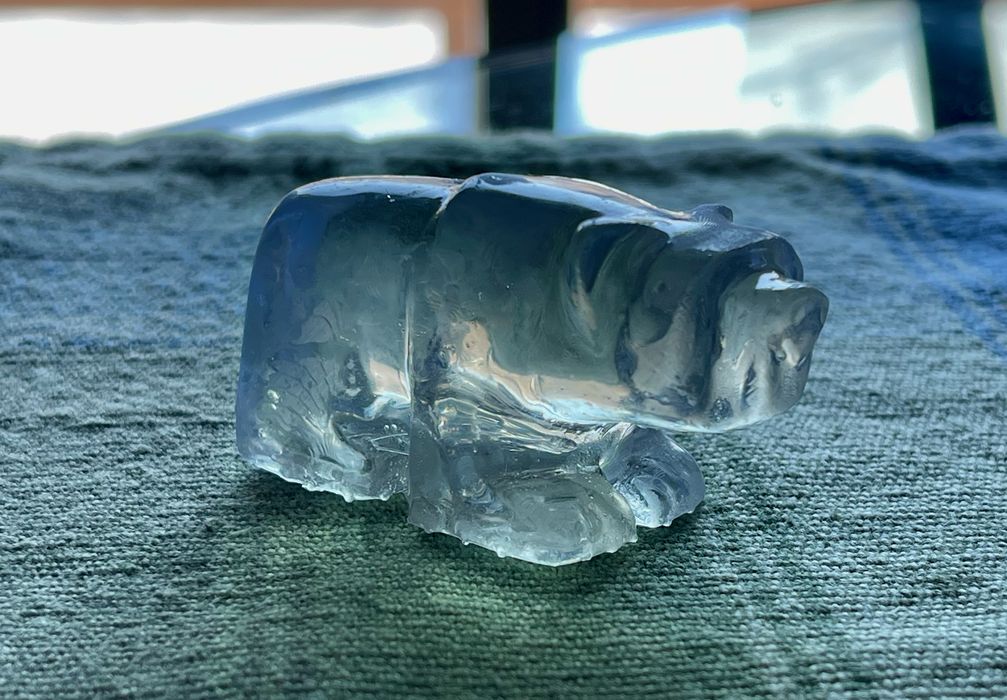
It is indeed VERY clear. This is quite an impressive method for making clear prints.
I was curious about the color, however. Would the clear print be yellow?
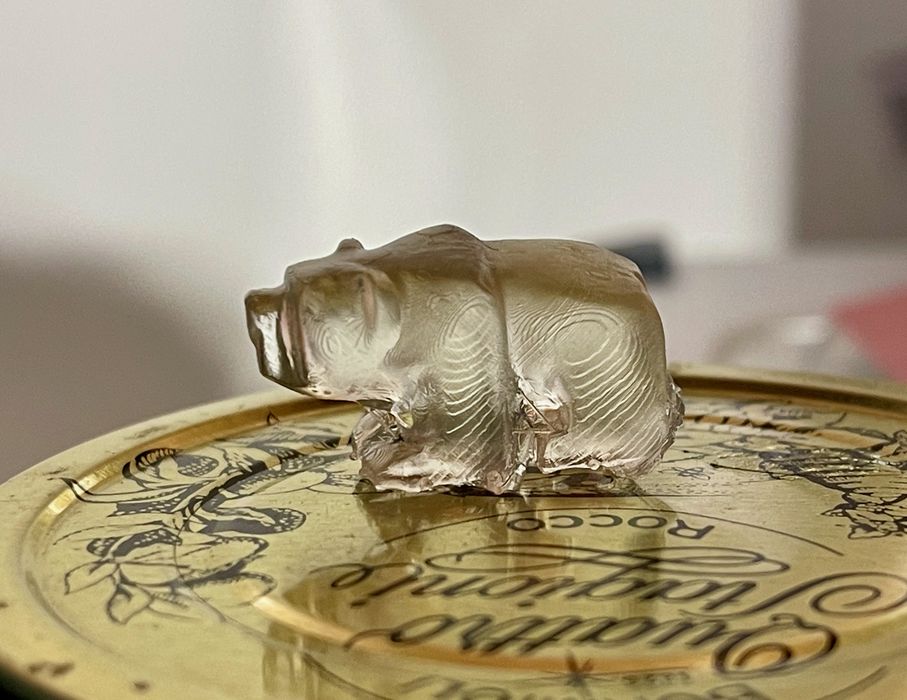
It’s hard to say. I admit it might be very slightly yellow, but the incredibly clarity of the print has it adopting colors of anything nearby. Above you can see it picking up some yellow from a can lid, for example.
To solve the clear color issue, I resolved to do another test: I would vary the exposure times, since extra exposure is said to generate yellow tinges.
I made a small cube 3D model and printed it first with my favorite 13.0s exposure time. Then I ran a second print with Anycubic’s recommended 4.5s exposure time. This is what I got back:
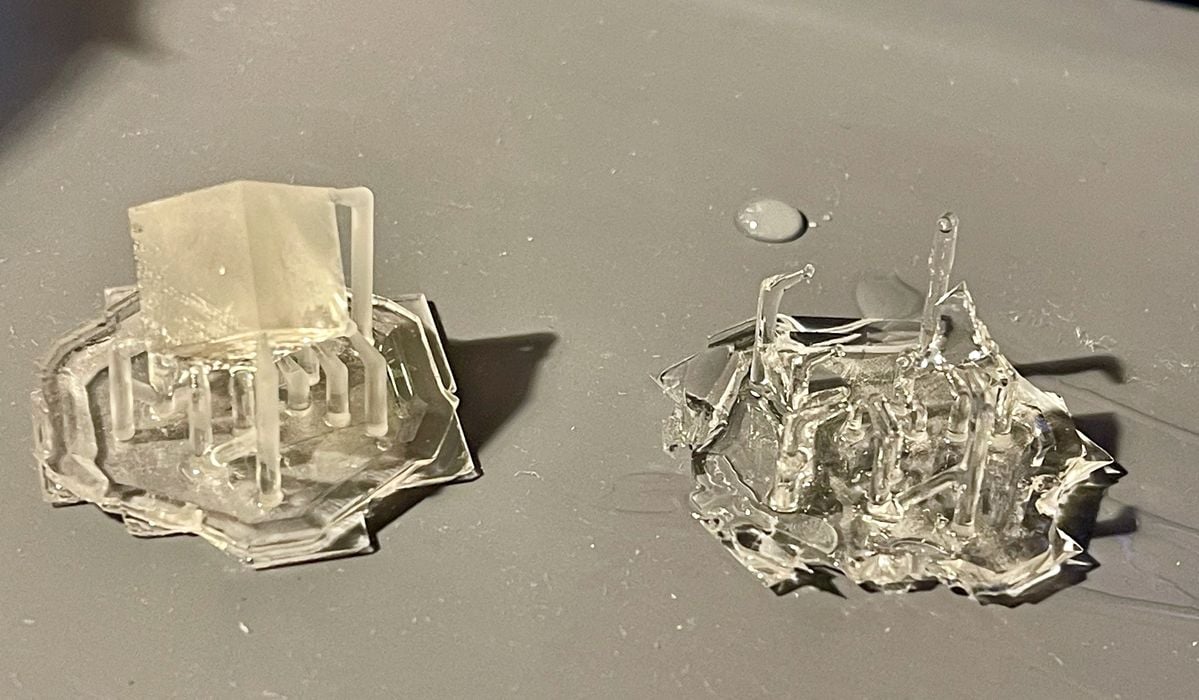
You can guess which one is the 4.5s exposure. That duration is definitely insufficient to properly form the support structures on this machine.
However, you can still see the colors of the material. Does the right-hand print look less yellow than the left? Maybe, maybe not.
In the end I decided the yellow angle was simply not big enough to bother with. You get sufficiently clear prints with this resin.
As for details, I didn’t see any issue: the High Clear resin seems to be able to reproduce tiny structures without issue, so long as you have the correct exposure time.
Anycubic’s High Clear Resin Final Thoughts
This resin is exactly what it says: a material with very high transparency. It prints very well, and the prints are visually stunning if post-processed using the painting technique described above.
Anycubic sells this resin for US$40 per 1kg bottle, and in my book it’s definitely worth the price if you’re looking to print clear 3D models.
Via Anycubic

In my experience, krylon crystal clear acrylic gives great results. It requires a smooth surface, so best if the part has flat sides which are sandable (>800grit works well). As it turns out, the interior of these resin prints are usually very uniform with hardly any features to create diffraction. The exterior of the prints are the issue, so once coated (as with the resin in this post) the parts become very transparent.