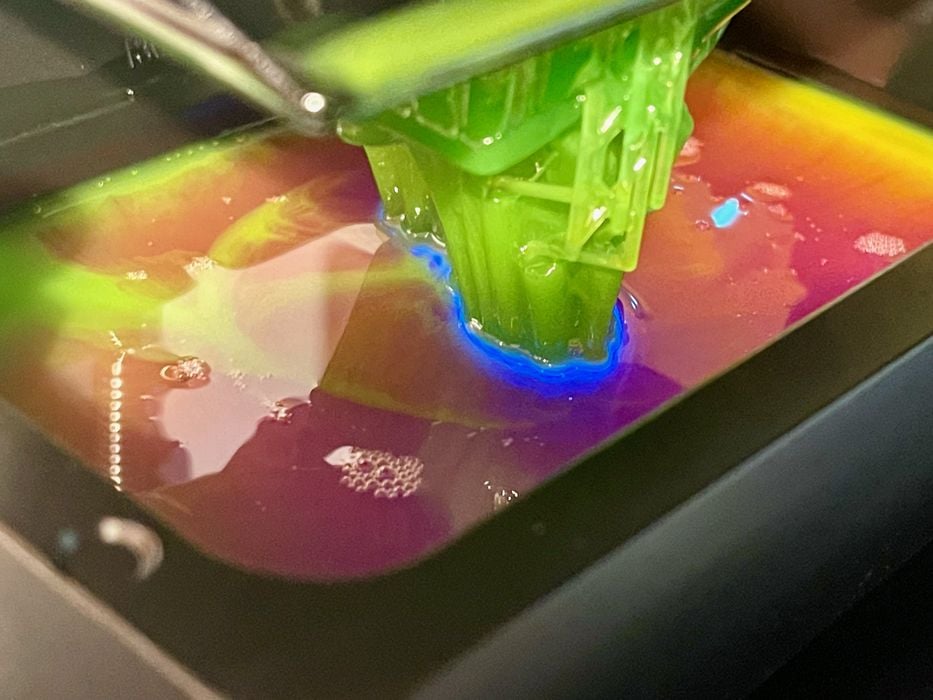
Our review of Carina’s CMYK resins continues with print results and final thoughts.
This is part two of a two part series, please read part one.
Carima CMYK First Prints
After getting the exposure correct I attempted to print a series of objects, all of which came out quite well.
Once calibrated, the CMYK resin works pretty much as other resins. The quality of the prints depends utterly on your calibration skills and the resolution of the specific 3D printer you’re using.
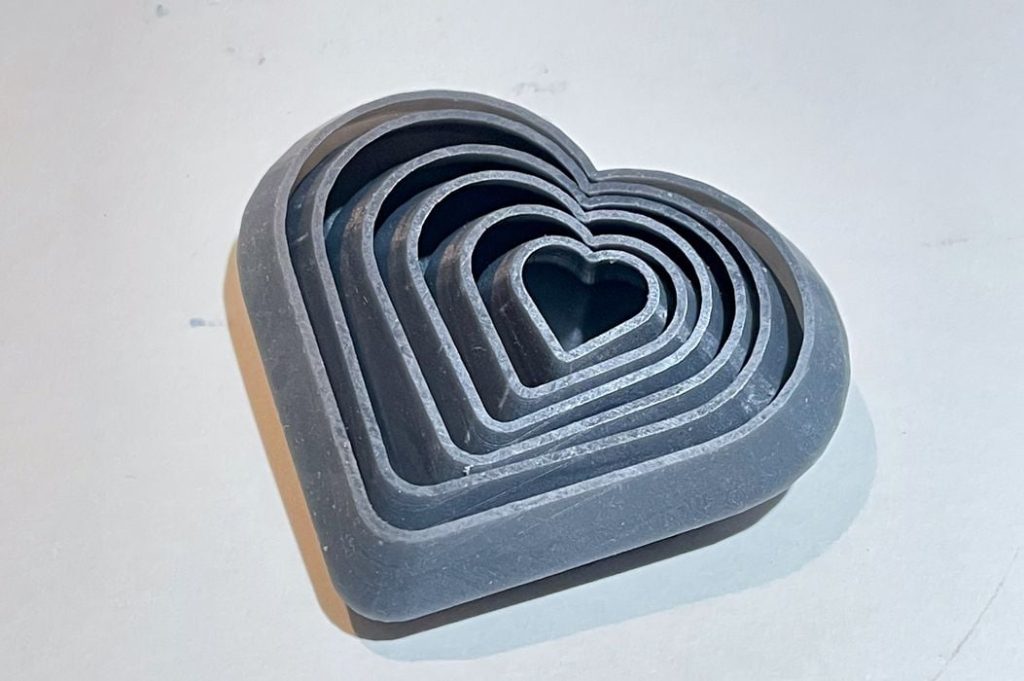
This grey heart came out incredibly well, and shows that the resin can be used to precisely print objects.
Carima CMYK Transparent Prints
I decided to try making a tinted color by mixing blue and clear resin. I discovered right away that this is not going to be a 50-50 mix of clear and blue, but instead is mostly clear and a little bit of blue. If you have too much blue, prints won’t be very transparent.
Then I had to re-calibrate the resin, as this new mix is essentially a new resin. In particular, the transparent component of the mix should allow photons to pass through more easily, and theoretically should affect the exposure time.
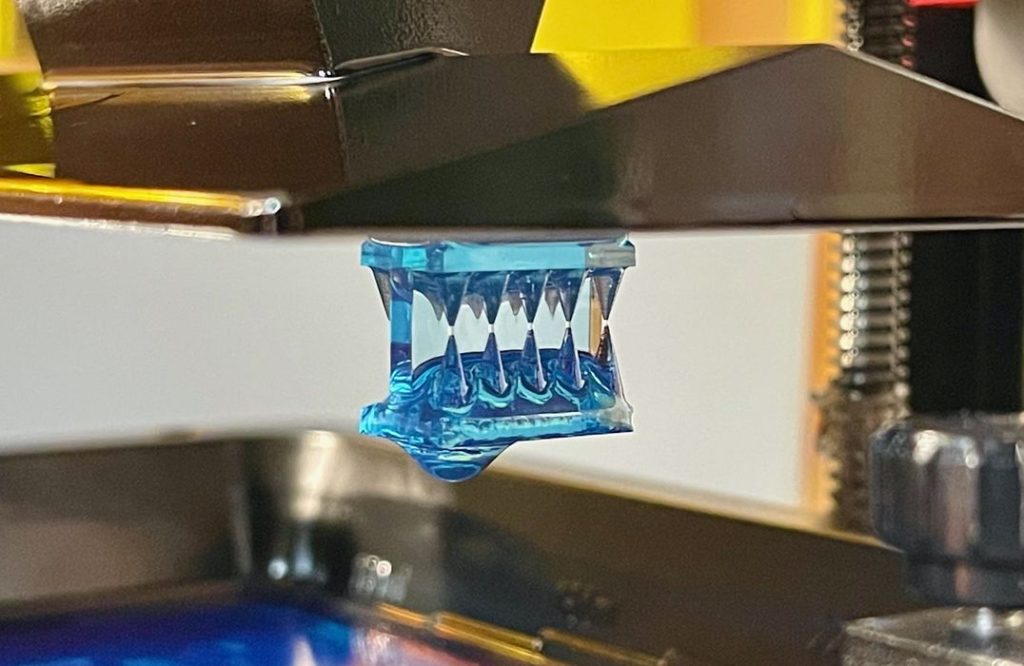
It didn’t. I ended up back a 6.5s exposure time for some unexplainable reason. Eventually I think I figured out what was going on, but we’ll talk about that in a bit.
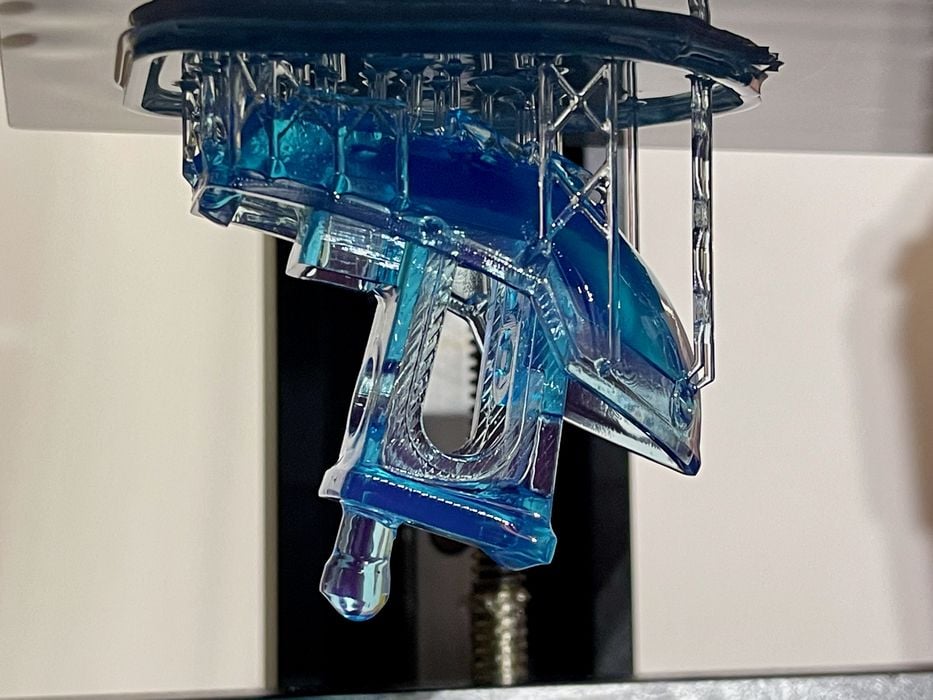
The transparent blue prints came out wonderfully. Here you can see a drippy #3DBenchy fresh off the printer looking wonderful.
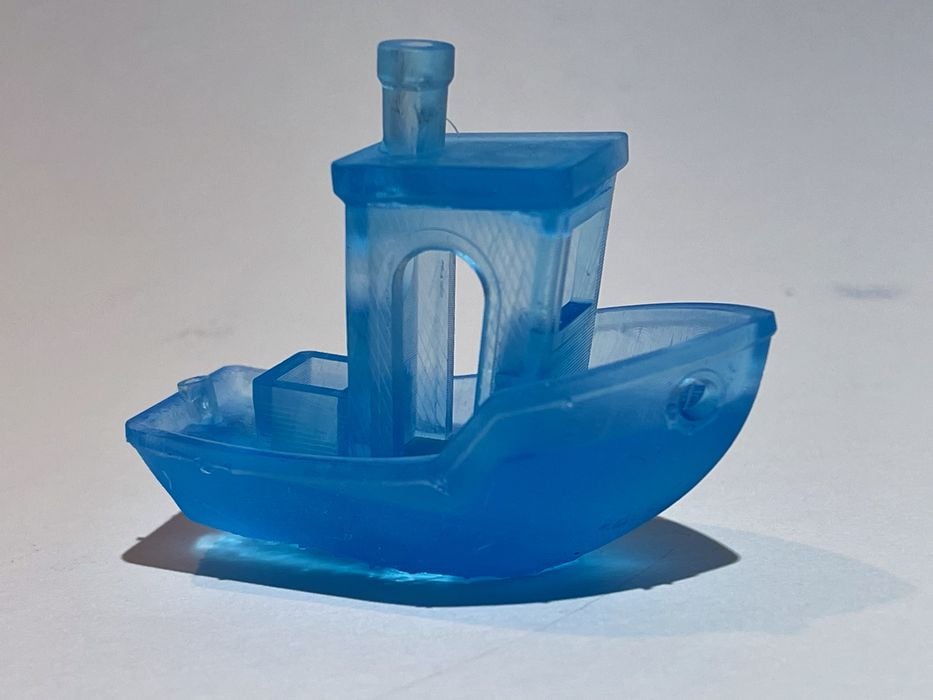
The print also looked just as good when cleaned up.
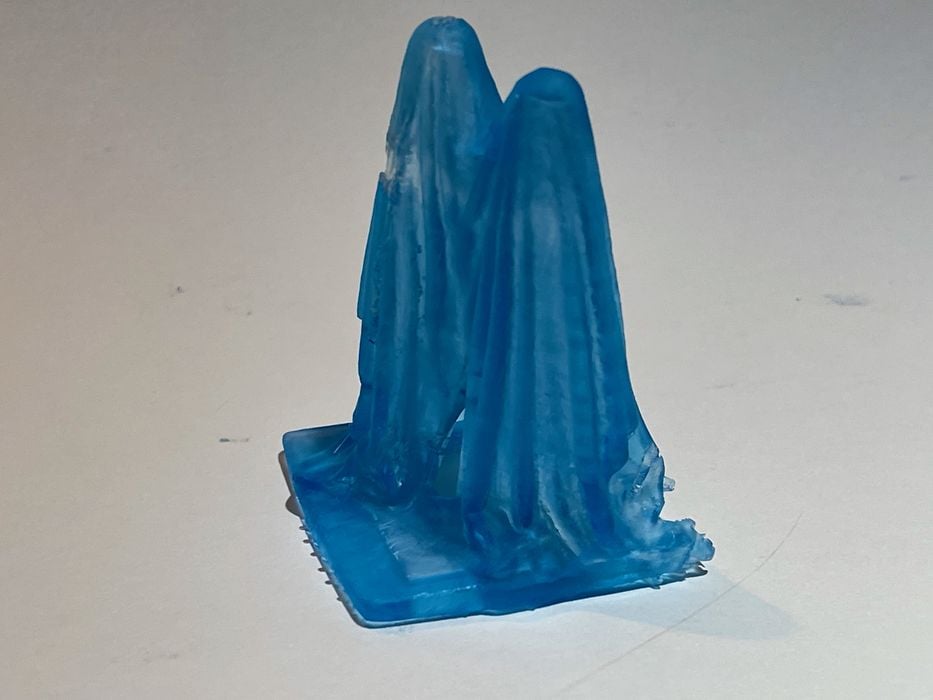
A 3D print of a 3D scanned momument I made also came out pretty well. The transparent component really adds a lot to the final presentation of the print.
Carima CMYK Multicolor 3D Prints
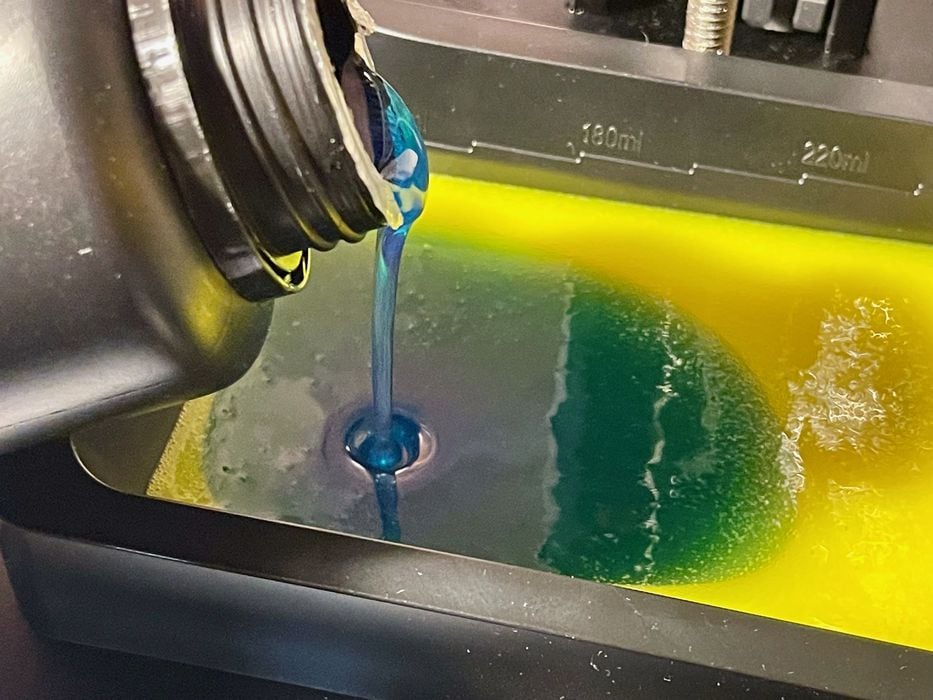
I was told by Carima it would be possible to make multicolor 3D prints, and in fact show some fun examples on their website, where a print gradually changes from one color to another. I thought I’d give that a try.
My plan was to start with blue, and then add some yellow to change the color to green and then yellow. I poured in some resin as above.
My plan failed miserably.
Immediately after the print started, this is what happened:
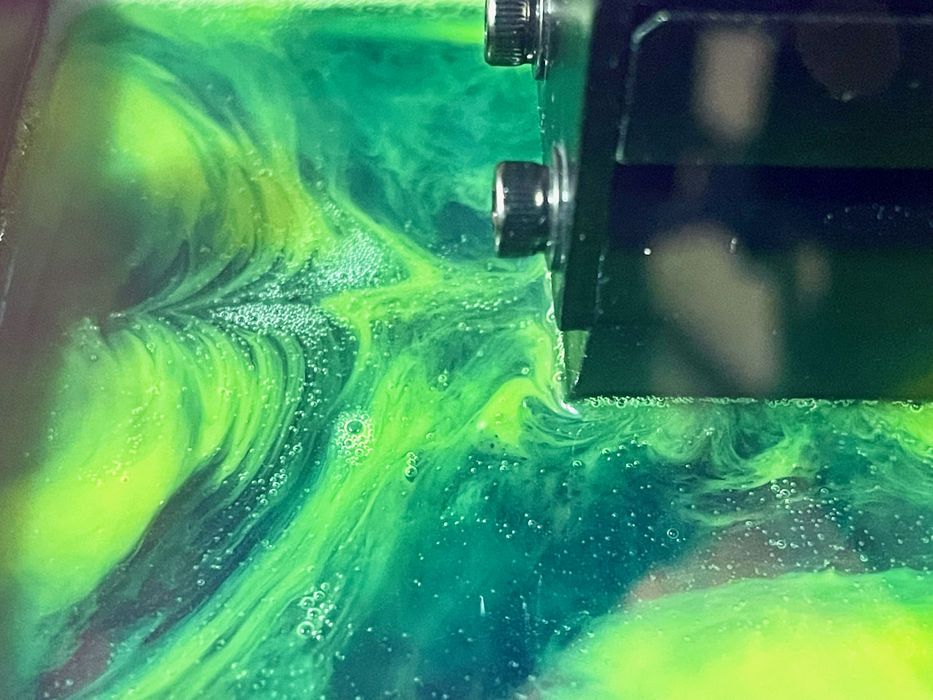
Basically, each time the plate plunged into the tank it would mix the colors together. Within a short time I had this:
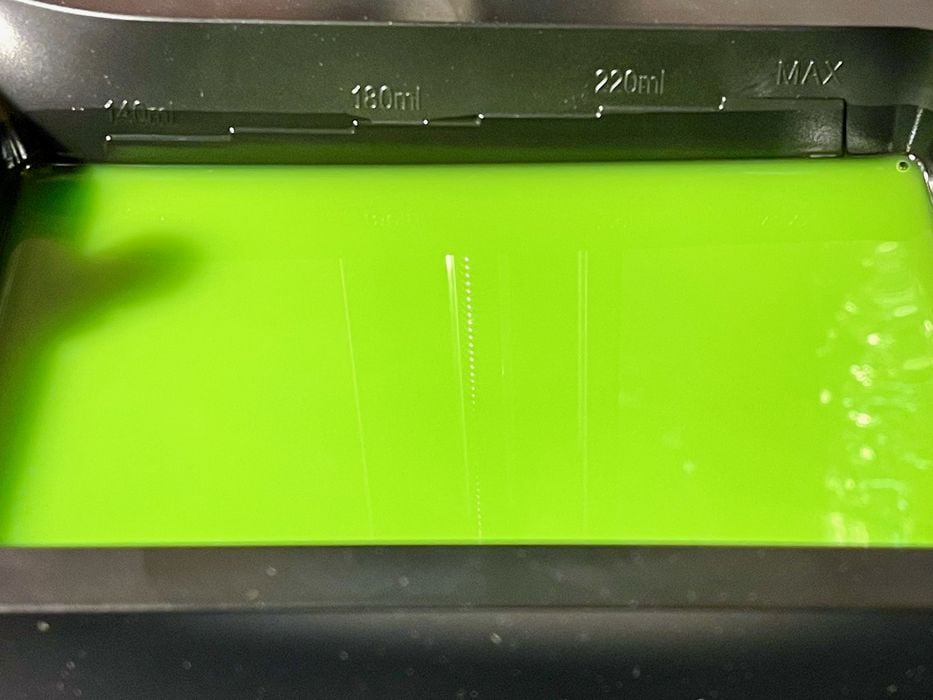
And the print looked like this:
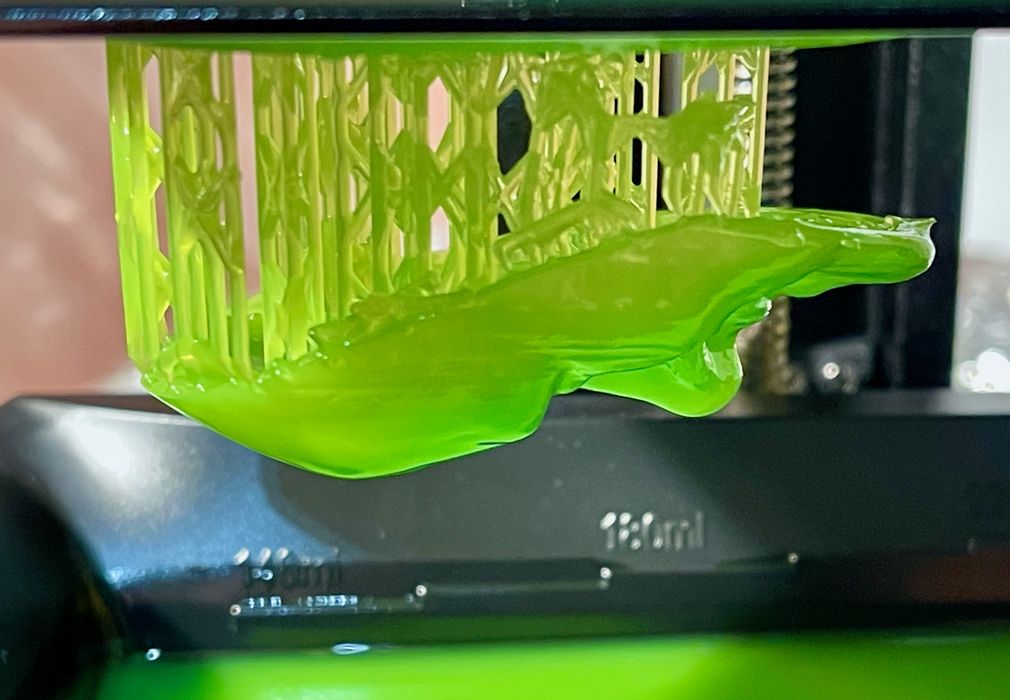
This doesn’t seem to work. As it happened, I ran into the Carima folks at Formnext and asked about this. They shook their heads vigorously as I described what I was doing and insisted that the correct approach is to put in very, very small amounts of resin and let them run out before putting in a different resin.
Aha, this makes much more sense.
I tried this again, but also mostly failed because I am clinically unable to sense the amount of resin I am pouring in. It was always far more than required for this approach. I ended up with a lot of green prints.
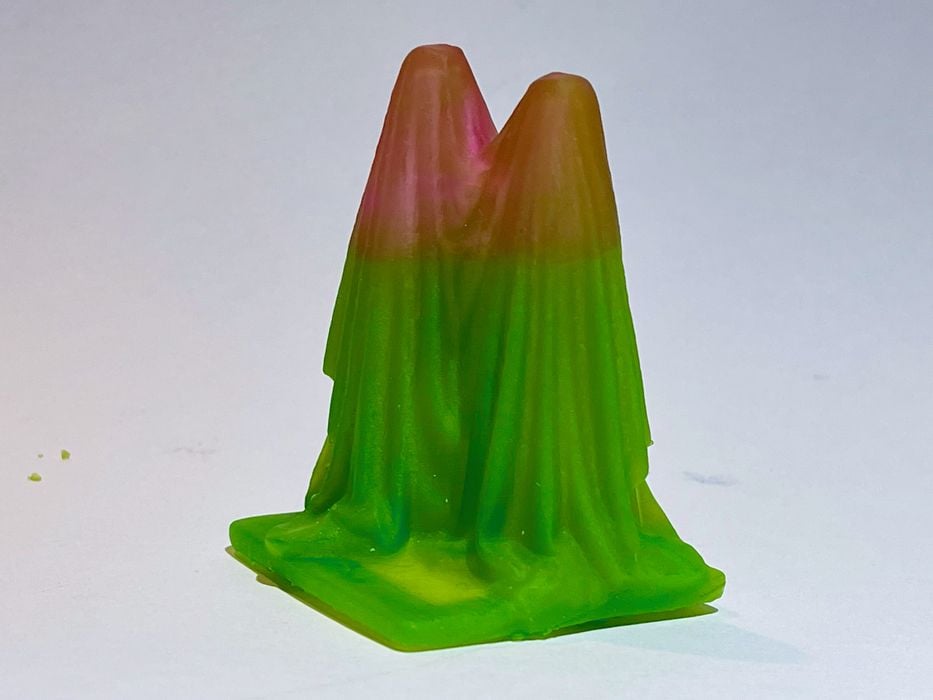
Eventually I got the hang of it and managed to produce this print, which is a mix of colors within the same resin print.
I have to say that making multicolor prints with the CMYK resin is quite tricky, and requires very careful measurement of color applications. It also requires you to basically sit around the printer to see when it’s about to run out. This is not really optimal as it can take up a considerable amount of time.
I think in the future there could be software solutions where the print is automatically paused and the operator is prompted to drop in a specific measurement of new resin.
One issue I realized is that unlike regular resins that can be poured back in the original bottle, you CANNOT do this with the CMYK resin set. The mixed resins are unique and would corrupt the pure CMYK resins. Basically you have to print it all, or pour excess resin into a new bottle. I ended up declaring one empty resin bottle as a general receptacle for stray resin: usable, but with unpredictable colors.
Is Carima CMYK Resin Really Non Toxic?
I thought a lot about the non toxic aspects of CMYK resin and came to some conclusions.
First, you have to understand what toxicity means. It’s a formally defined ratio of a substance, beyond which it is considered toxic.
It turns out that many common items are actually toxic, but we consume them every day: caffeine, aspirins, alcohol, etc. If you take too much, you have a toxic reaction. It’s all about the AMOUNT you consume or are exposed to.
What Carima seems to have done here is lower the amount of toxic elements in the CMYK resin to such a level that they qualify as non toxic. They are literally, formally and legally non toxic.
But there’s still some toxic stuff in the resin, as you can see on the label of each bottle:
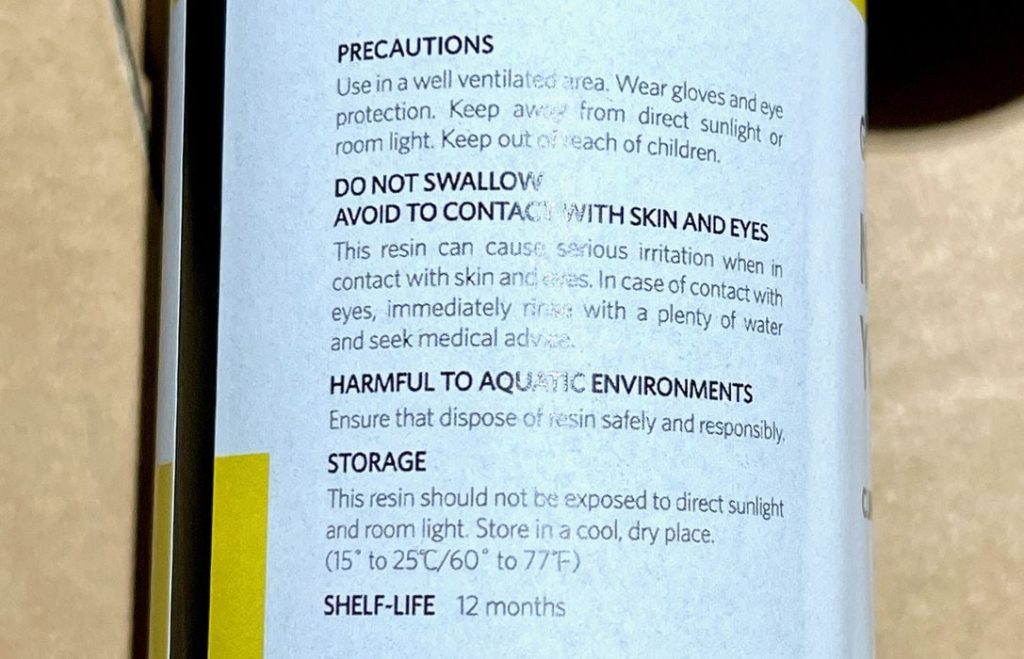
Does this mean this non toxic substance should be poured in a bottle and downed like a beer? Absolutely not! Remember, it’s all about the amount. For example, if a substance is 10x lower than the toxicity threshold, you still get a toxic exposure if you consume 10X as much.
For me, this meant one thing: I did not change my resin 3D printing workflow in the slightest. I still used eye protection, nitrile gloves, safety mats, and careful handling procedures. For all intents and purposes I treated the non toxic CMYK resin the same as I would a toxic resin. However, I knew that if I happened to spill some on myself, it wouldn’t be as bad as regular resin, and that’s something.
One more thing: remember that the exposure time for this resin was far higher than I expected? I suspect that Carima has simply lowered the proportion of toxic photoinitiators in the resin, which would certainly lower the toxicity.
[UPDATE] Carima reached out to explain that their chemical approach. They said: “Toxicity normally appears in monomers or oligomers. That’s why the ratio of Initiator is not related to our non-toxic CMYK resin. The important thing is that we use Monomer and Oligomer that contain a very small amount of toxicity.”
But this also means it may take far more photons to trigger the polymerization process. That’s I think why the exposure time was so long.
[UPDATE] Apparently my suspicions were incorrect. Carima explained to us: “Just because the ratio of Initiator is low, doesn’t mean that it makes a slower response. It occurs because of the high molecular weight of Monomer and Oligomer.”

This also meant that I upped the UV curing time after printing, since more photons are required.
Carima CMYK Final Thoughts
I really like the Carima CMYK resin set. It provides a unique ability to create your own colors, but that does require very precise planning and execution.
The print times on with this resin are much higher due to the longer exposure time. I don’t think that matters too much unless you’re running a production shop.
I did find that I use more resin with this set because you seem to always end up with leftover unusable resin mixes that have to be collected and stored separately.
The resin is formally non toxic, but probably should be treated the same as if it was toxic, but you will be safer using it.
If you’re interested in experimenting with full color mixes in your resin 3D printer, consider trying out the Carima CMYK resins.
This is part two of a two part series, please read part one.
Via Carima


Great article! I enjoyed reading and you covered a lot of material.
2 questions:
– How did you find the fumes? Lesser than standard resins?
– what’s the washing process? You mention they supply a special washer. But if that is not used, is it water washable, or still needs a solvent?
Thx!