

After a wait of several years, we’ve got our hands on the latest version of Simplify3D.
This is part one of a two part series, please read part two.
Simplify3 Background
The 3D print slicing software tool was ground-breaking when it first appeared, as its WYSIWYG interface was revolutionary: most slicers at the time didn’t really show you what was going on. As a result, the software became quite popular.
Many desktop 3D printer manufacturers bundled it with their products because it was an easy way to provide top-quality slicing for their equipment. Many individuals purchased the product and made good use of it on their systems — and still do to this day.
Over time other slicing tools emerged, some open source, some not. Simplify3D provided several updates, and then went quiet for basically three years during the pandemic as we waited for the mythical version 5.0 to appear. Finally, it did, and we’re taking a look at it today.
I had the opportunity to work with Simplify3D for a couple of weeks and want to tell you what I found with this long-awaited software.
Profiles and Processes In Simplify3D
One thing that I should clear up right away is some definitions, since the terminology used by Simplify3D may differ from other slicers, and it’s important to understand what they’re referring to.
In the main Simplify3D window you’ll see a lot of mention of “Processes”. These are the collections of print parameters you would use for a print job, and you can even use combinations of them when using different zones within a single 3D model. You’ll see things like layer height, infill percentages, and so on.
Typically the Processes are what you tweak when dialing in a print job. However, behind the scenes there is something else called “Profiles”.
Profiles are basically default configurations for each machine that are currently defined to your Simplify3D. When you add a new process, it by default takes on the contents of a particular machine (and material) profile.
This can be quite confusing to new users because when you configure a new machine, your processes seem to disappear. In fact the profiles still exist for all the machines you’ve defined, and you can make more processes from them. Simplify3D said processes are intended to be more temporary than profiles, something you’d use within a specific job and then perhaps dispose of. It does make sense, but can be baffling until you get a solid mental picture of what’s going on with processes and profiles.
Simplify3D V5.0 Appearance
Every 3D print slicing program has a slightly different approach for how they portray the various elements necessary for slicing: machine, print parameters, quality, materials, etc.
Simplify3D 4.x used a configuration / model / process paradigm, and pretty much the same approach is done in version 5.0.
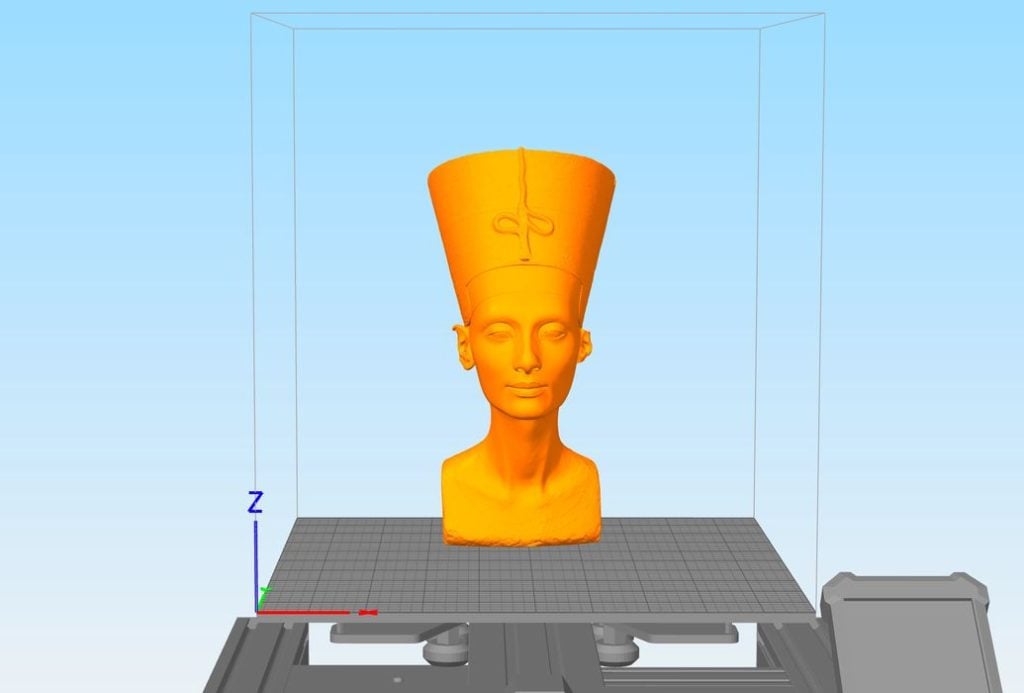
You’re presented with a 3D viewer of the build volume, a list of models that appear in the build volume, and a list of “processes” that can be used. The processes are print parameters that can be applied to an entire print job, a particular model or section of a model.
Double-clicking or adding a process opens up a busy dialog box with twelve tabs for every conceivable print setting. Fortunately, Simplify3D provides a search box at the top to quickly locate any obscure setting you’re seeking, which I found quite handy.
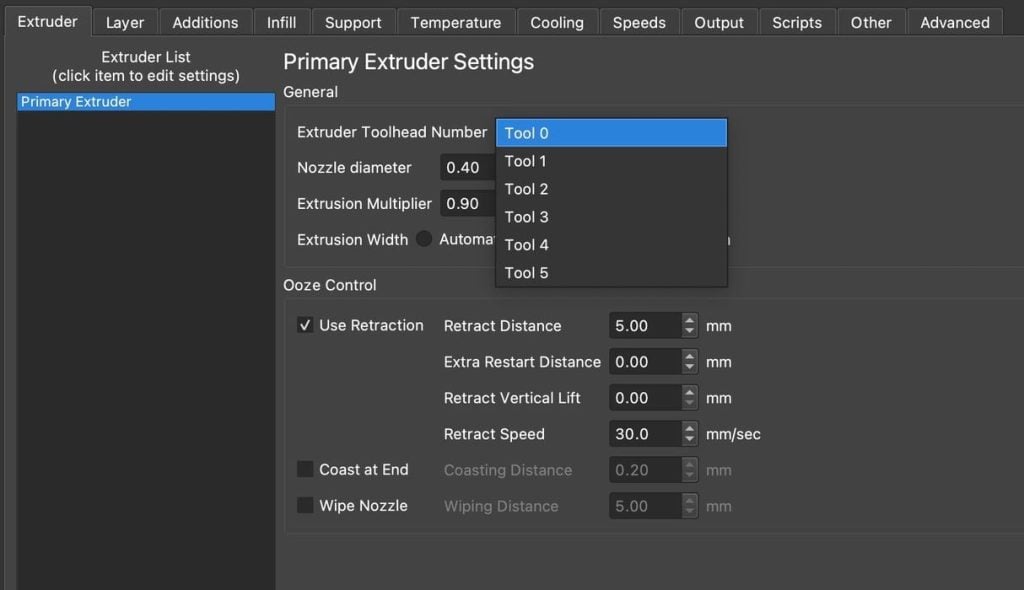
Some of the process tabs may seem a bit busy. For example, you’ll often see mention of “other extruders”, even though the machine you might be using has only one. That’s because the software is usable for many styles of 3D printers. You can use it to control multiple printhead machines, including independent extrusion systems and even mixing nozzles. It’s an extremely flexible system.

There are two pick lists for “auto configuration” (picking a material and a quality level) that will adjust the process settings accordingly, and this can save some effort in setting up a new process. All the usual settings and advanced features are there somewhere, although you may have to troll around a bit to find them — they may not be in the same place you’re familiar with, or have the same name. Simplify3D sometimes uses different terminology for features as compared to other slicing tools you may have been using.
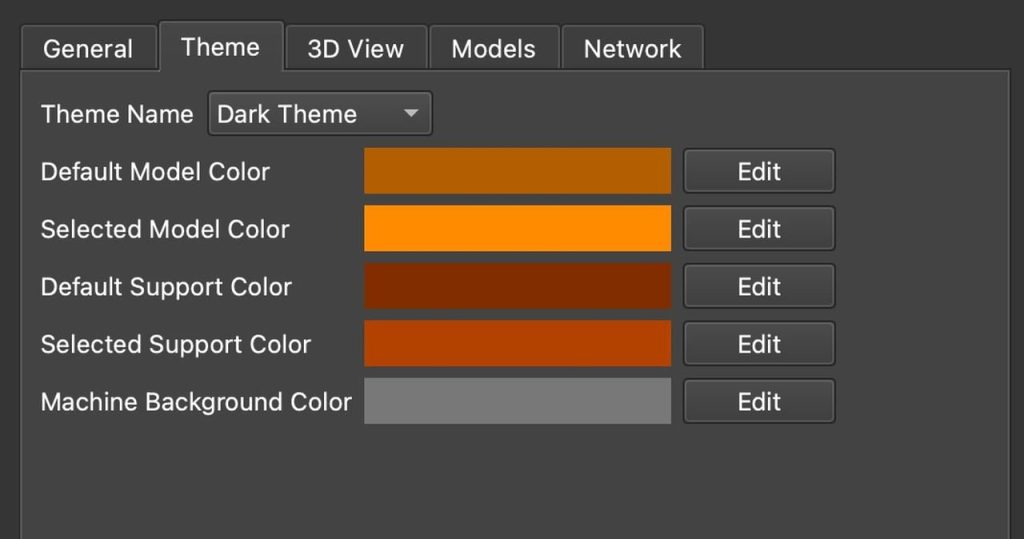
One great feature in V5.0 is that there is now “dark mode”. You can switch the appearance to a less eye-straining view, which I’ve found quite useful.

The major change in the appearance from V4.1 is that there’s a new block of buttons on the right of the window. These control the major functions you’d use during print preparation and execution:
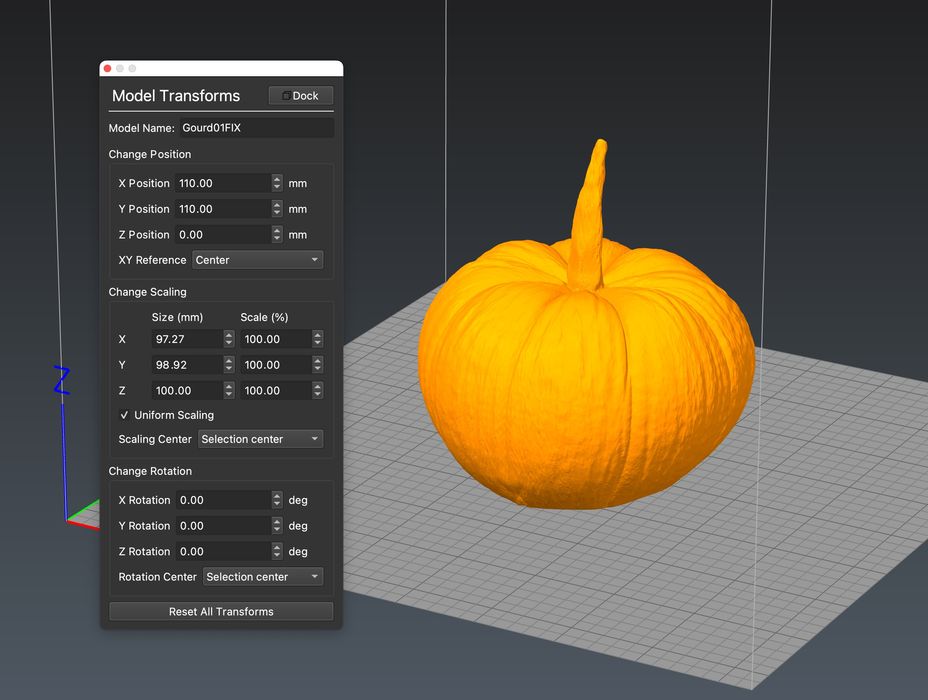
- Model Transforms
- Support Structures
- Cross Sections
- Machine control
These essentially group major categories of functions together in a sensible manner so it is a bit easier to understand what you’re doing and the tools available in that mode.
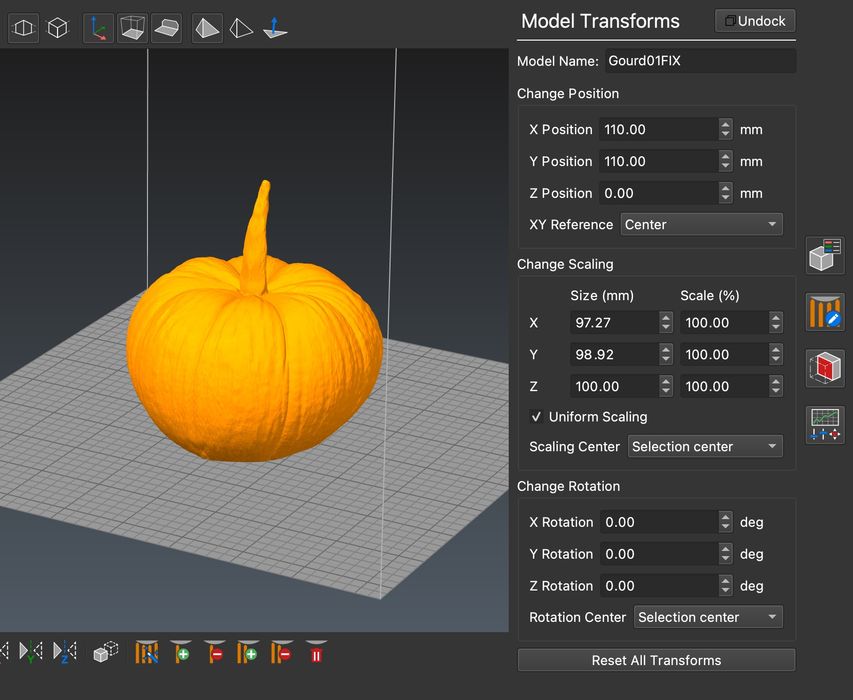
These present context-relevant parameters as you proceed through your job preparation workflow. They can even be “undocked” to float around your workspace if you like. This could be very useful with large monitor setups.
The really interesting change is the support structures panel. Here Simplify3D V5.0 allows you to carefully construct a system of support structures for a 3D model. This is a bit different from the “setting support parameters and hitting the slice button” workflow you see in almost every other slicing system.
Instead in V5.0 you see and manipulate the support structures ahead of slicing, as if they are a model on their own (they are). This appropriately raises the importance of support structures and allows the operator to give them the attention and care they require.
The support features allow you to generate a wide variety of support types, and also add and subtract individual or groups of supports as required. It’s quite reminiscent of using resin slicers to prep their complex support structures, but here you’re doing it for FFF 3D printing.
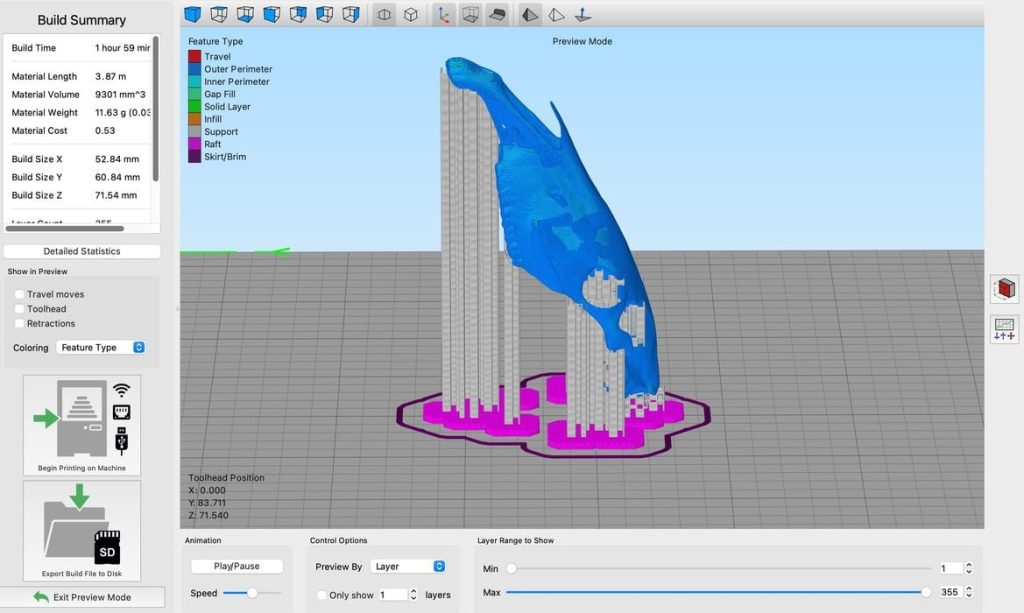
Supports are automatically generated, and you can then adjust them by adding and removing as required with the touch of the mouse. By rotating the view around you can easily see where problems may occur and rectify them ahead of time.
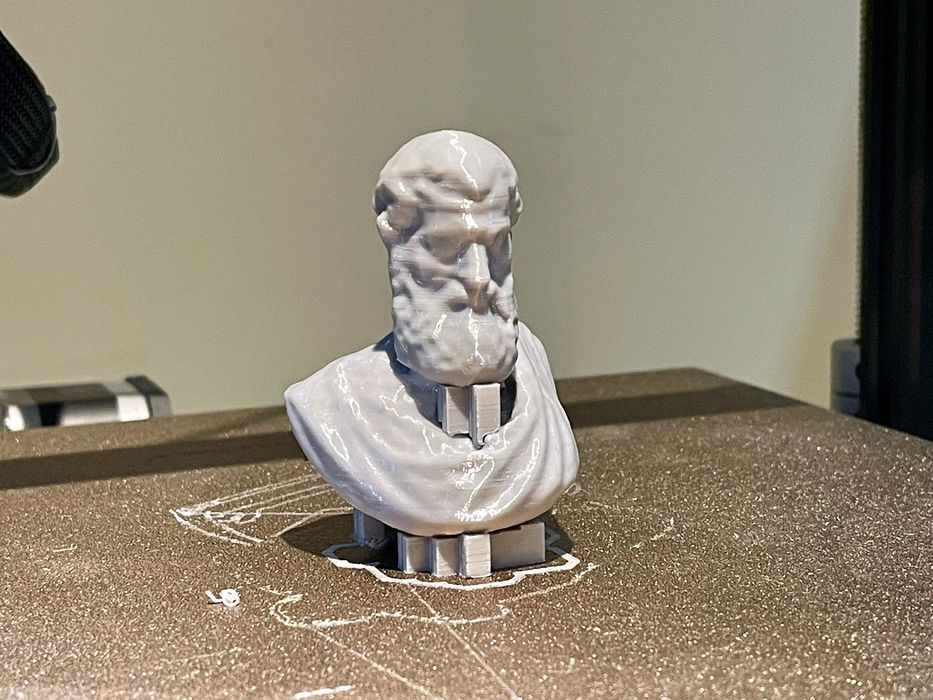
I found the supports that are generated to be notably easier than supports I’ve used in other slicers: they printed more reliably and were often quite easier to remove, leaving little trace on the model itself.
One missing piece from V5.0’s support toolkit is more advanced support structure paradigms, such as complex tree-style supports. These are still under development in other tools, but I’m hoping that Simplify3D is also working on them behind the scenes.
You might be wondering why the Cross Sections panel exists, as it’s not something often seen in other tools. It’s used to (virtually) chop away portions of model so that you can see what’s going on inside the model. This can be of assistance when developing supports, making decisions on infill parameters and so on.
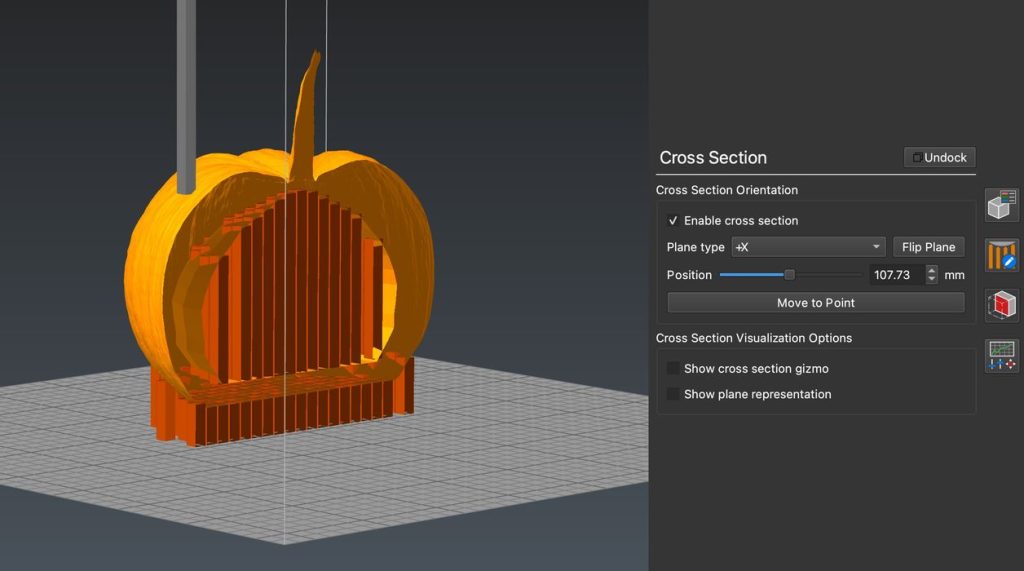
Here you can see inside this Gourd 3D model, where there is quite a bit of internal support. That is something you can’t see from the outside, and can only view using cross-section.
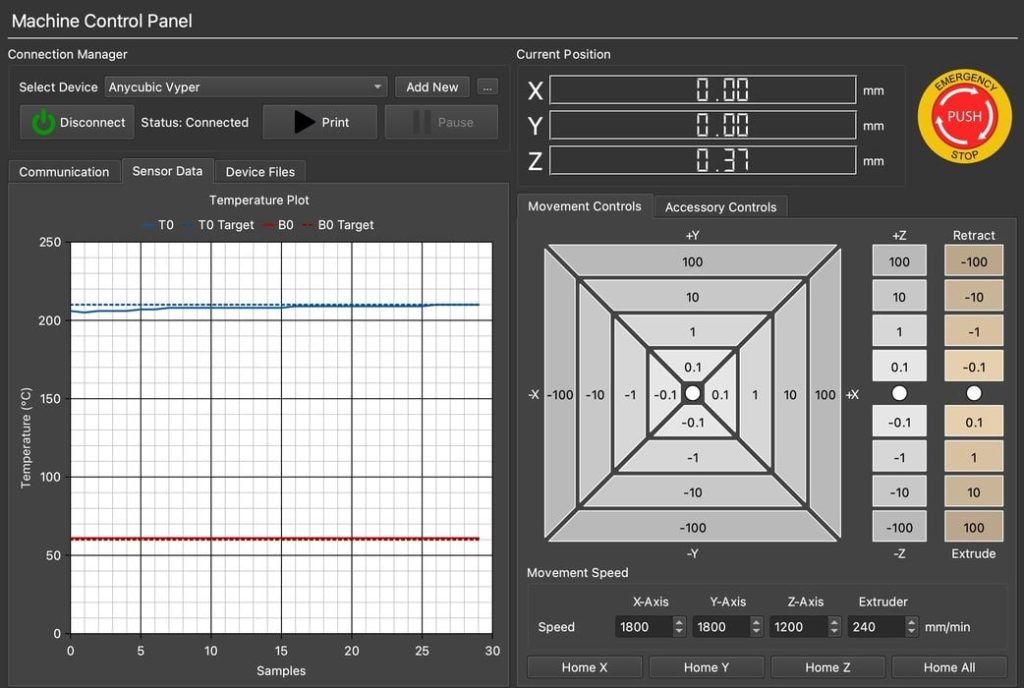
The machine control panel is just that: a way to physically connect to direct or network-attached 3D printers and control them remotely. The panel includes all the usual functions to monitor temperatures, control the motion system, start and stop jobs, etc. I tested this feature over USB connection and it works just fine.
There’s no obvious way to set temperatures from the machine control panel, however. Instead you have to send individual GCODE instructions, which is a bit inconvenient.
[UPDATE] The temperature controls are hidden in the “Accessory Controls” tab, and are able to access all hot ends and the build plate.
New in V5.0 is the ability to connect and control machines via Ethernet or WiFi. I gave the WiFi a test here, but was unable to make it work on a Sindoh 3DWOX1, the only machine in my lab at the moment that has WiFi and also appears in the Simplify3D configuration list. I suspect it’s because I couldn’t find the right port number. If I have time I may test this with an Octoprint installation.
[UPDATE] Simplify3D informs us that they have added WiFi support for around 50 different 3D printers (based on popularity), but it turns out that the 3DWOX1 was not on the list. However, it’s could be added in a future release. If you operate typical printers from Ultimaker, Flashforge, Dremel, Qidi, MakerBot or others, WiFi is likely to work with Simplify3D v5.0.
This is part one of a two part series, please read part two.
Via Simplify3D
even if your printer is listed, they do not connect. Simplify3d has become a huge dissapointment
I am now using version 5. In that version I need to know how to remove or delete unused and unwanted machine profiles.