
Our look at the 3DMakerPro Moose Lite 3D scanner concludes with more operations and final thoughts.
This is part three of a three part series, please read parts one and two.
3DMakerPro Moose Lite Operations Continued
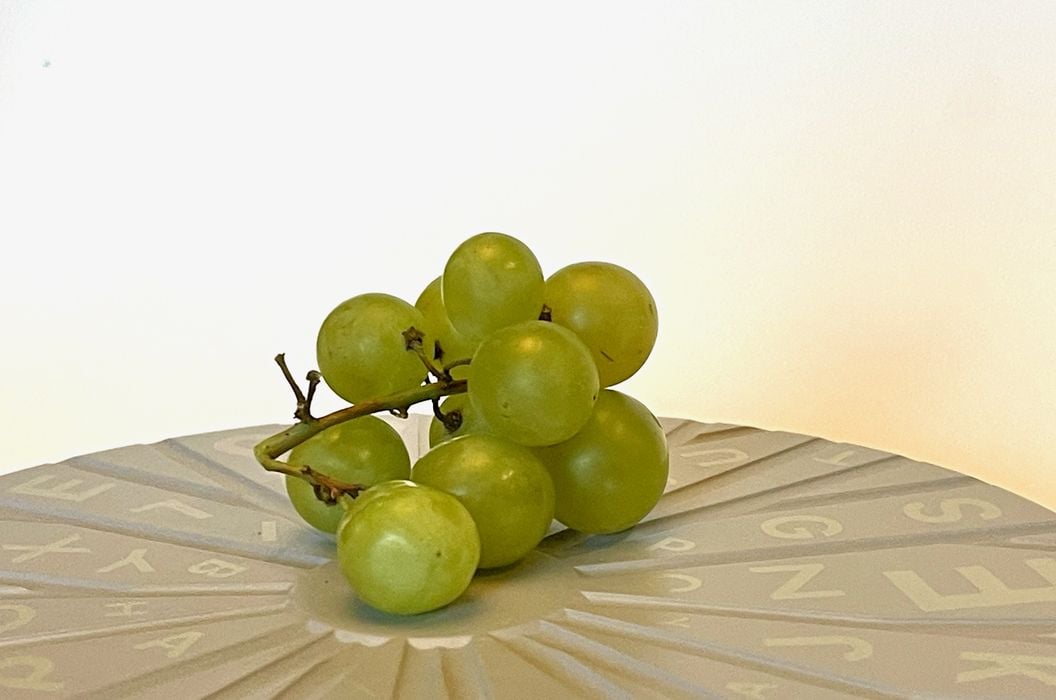
I moved on to test some unusual subjects. I grabbed a cluster of grapes, and wondered whether the Moose Lite could scan the highly complex structure.
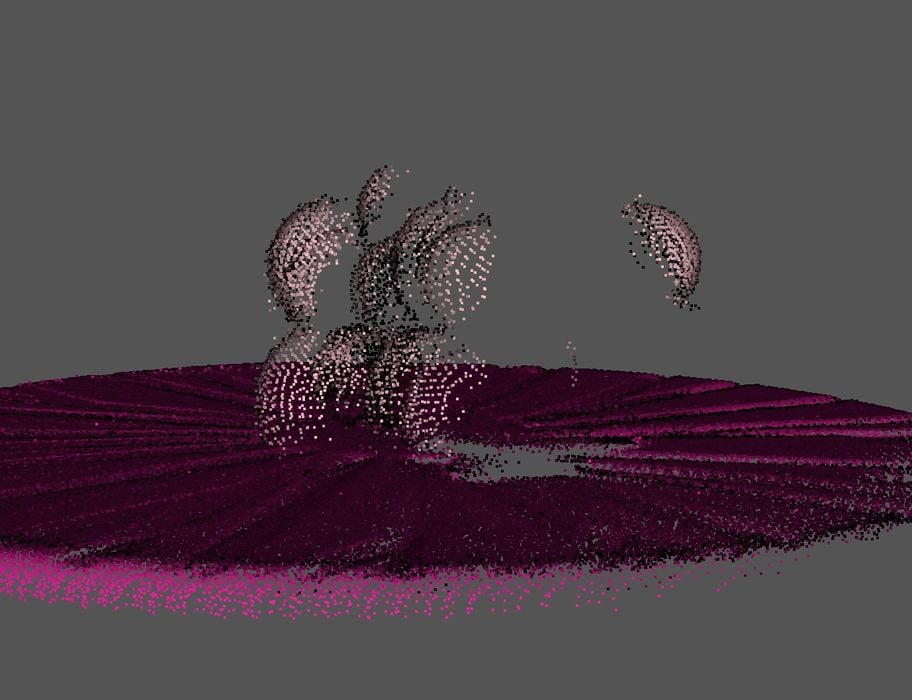
I was quite surprised to see that there was an unusual problem: the Moose Lite could not see the grapes! Evidently the near infrared must penetrate the the grapes to some depth, diffusing the optical reflection and messing things up.
Don’t scan grapes.

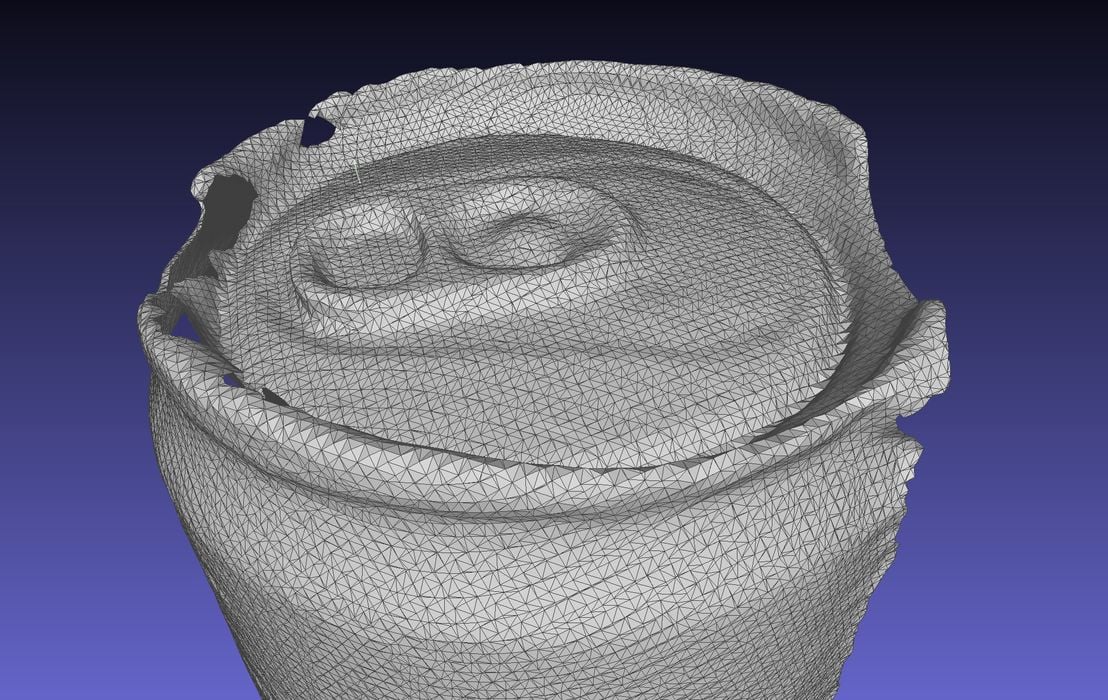
Let’s try a shiny object, and I selected this drink can. BTW, this is a very bizarre flavor, would not recommend. But it serves for scanning.
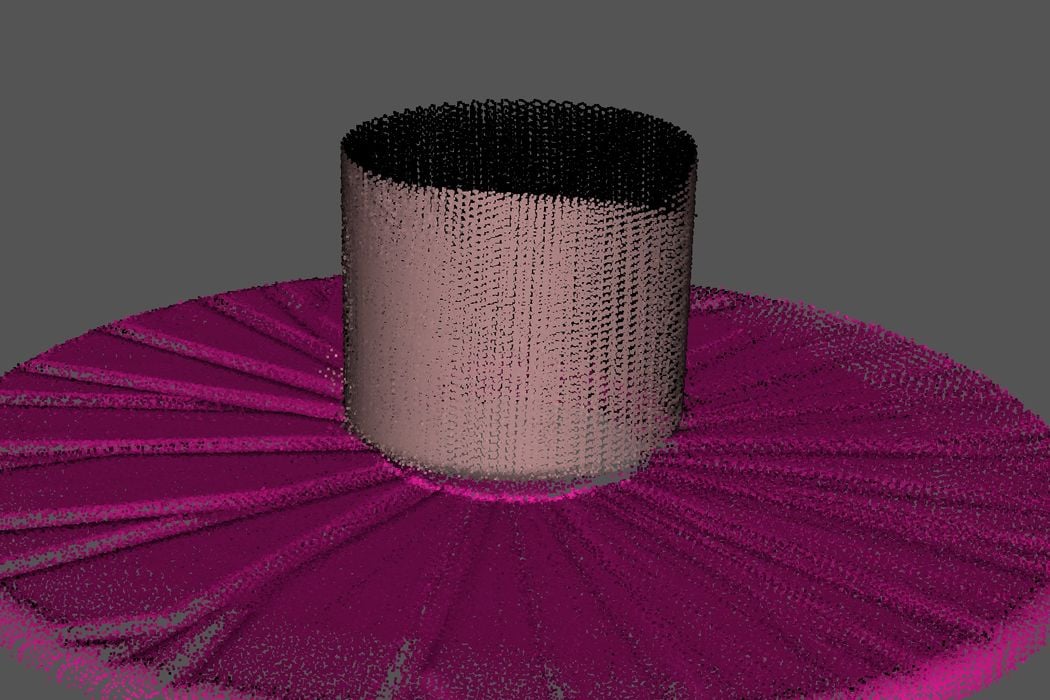
I didn’t expect much, given the quite high reflectivity on the can’s surface. Normally reflective surfaces totally confuse scanners. But here the can’s surface was easily captured by the Moose Lite! I had little difficulty on the bottom segment of the can.
To capture the rest of the can, I laid it on the side and scanned it. However, putting a round can on a rotating platform does make for some fun.

The can scans did not automatically align, so I had to use JMStudio’s manual alignment process. Here you can see what happens: you must move the three point pairs to matching spots on the two scans. That gives the software a clue about how to align them, and it should work easily.
Note that moving the points is not properly explained anywhere. Here’s the key tip: use the CTRL key to click on a point to move, then CTRL click on the spot where you want it moved. DO NOT try to drag the points.
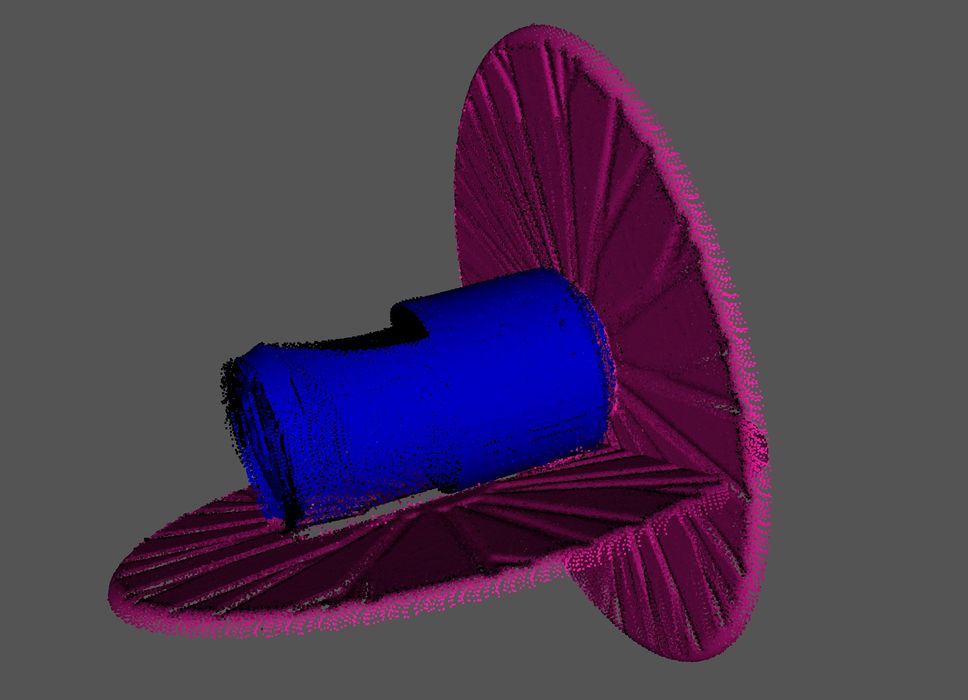
And it worked. The two scans matched perfectly. Note that there is some missing parts, and that’s because I could have done a third scan to capture that. But I was testing the reflectivity, so I didn’t bother.
The 3D model of the can was surprisingly good, considering I was scanning highly reflective metal. Many other 3D scanners would not have seen this can at all.

I brought out a hand drill to see if it could be scanned using handheld mode. This item has a lot of geometry and different materials and brightness.
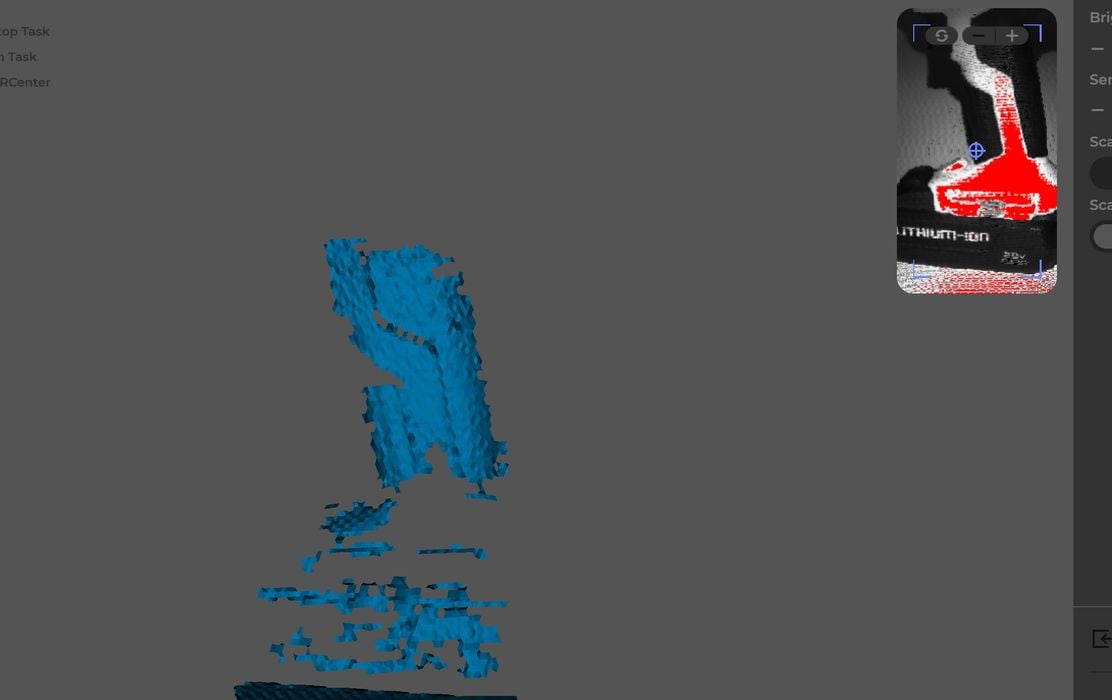
To do this scan I had to bring up the brightness, as some portions were a bit dark. It was a bit strange because some areas were marked red, which means you are not at the correct distance — but the adjacent areas were at the right distance. I wasn’t sure what was happening here, but clearly the Moose Lite responded differently to materials in the drill.
Up to now I had been using “geometry” scanning mode. This tells JMStudio to use the depth measurements to track the orientation and position of the scanner. I decided to try texture mode, which uses the textures seen instead of the subject’s geometry.
Normally you’d use geometry unless your subject is mostly smooth with a varied texture. In other words, use geometry mode if there is geometry, and texture mode if not.
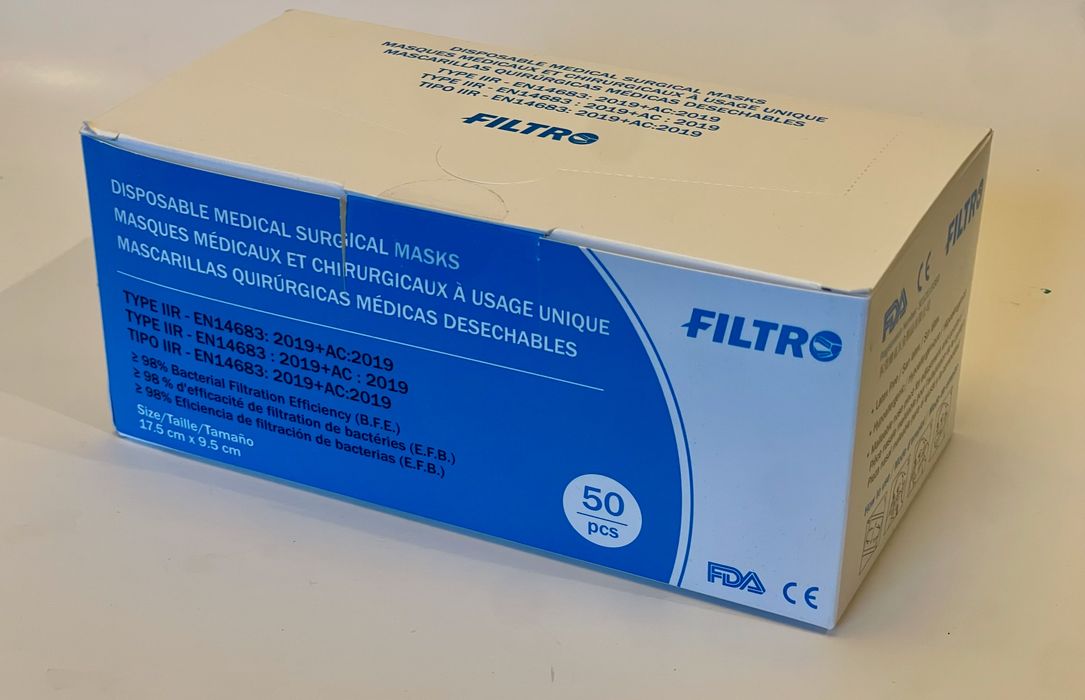
For a texture scan I chose this box. Its geometry is ridiculously simple, but it has a lot of visual textures on the surface.
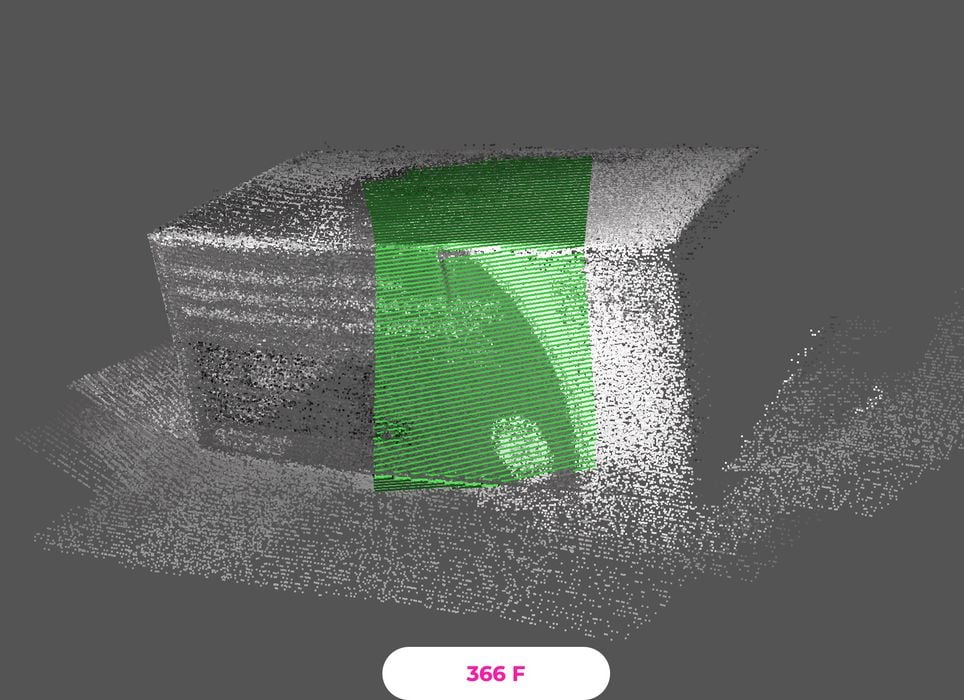
The display in JMStudio is subtly different when in texture mode, as you can see here. Even though the box’s surface is totally flat, the scanner is applying textures to the capture.
When scanning in texture mode the Moose Lite flashes intermittently. During these flashes the scanner is capturing texture images from that angle.
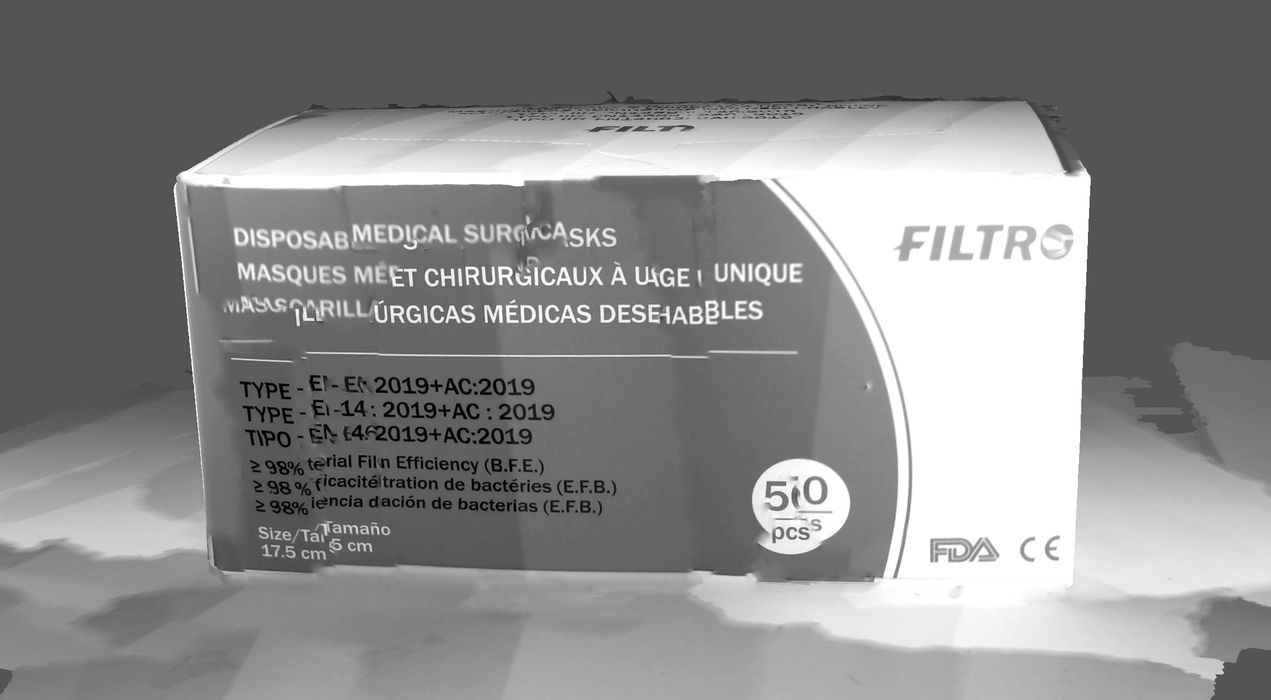
The result is shown above, and yes, it’s a box with the textures. Some of them are a bit misaligned, so this part of the process is not quite perfect. It seems that selected images are just pasted on the surface, and they don’t quite knit together perfectly. I suppose an object with writing would be the most difficult texture to capture, as opposed to shading that you’d find on a figurine.
As I was testing the Moose Lite, the textures are only gray levels, not full color. But it does work. I’m not sure how useful black and white textures can be, as compared to color textures, but they do work.
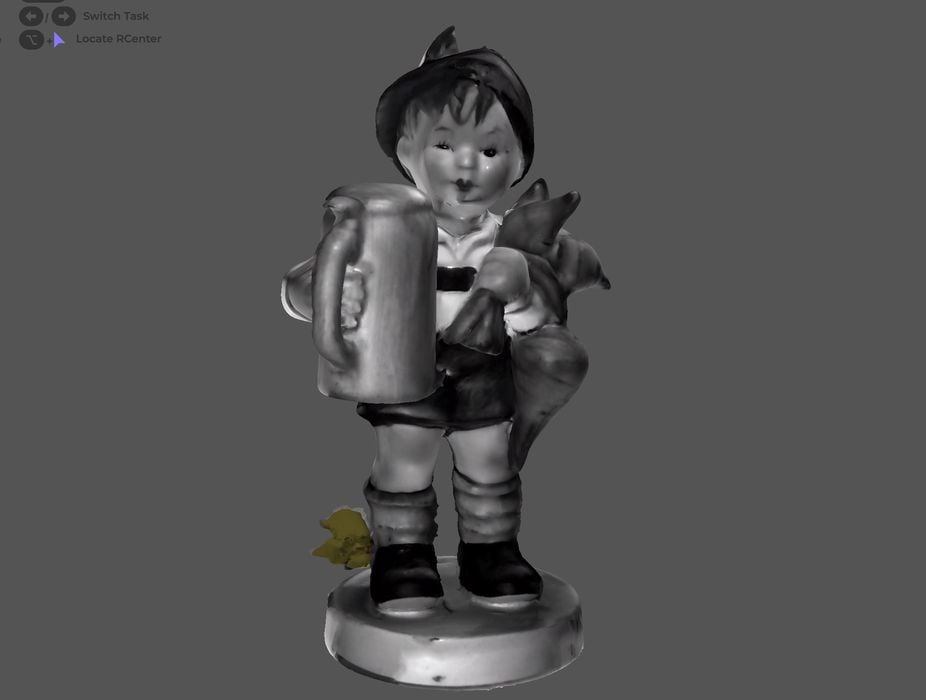
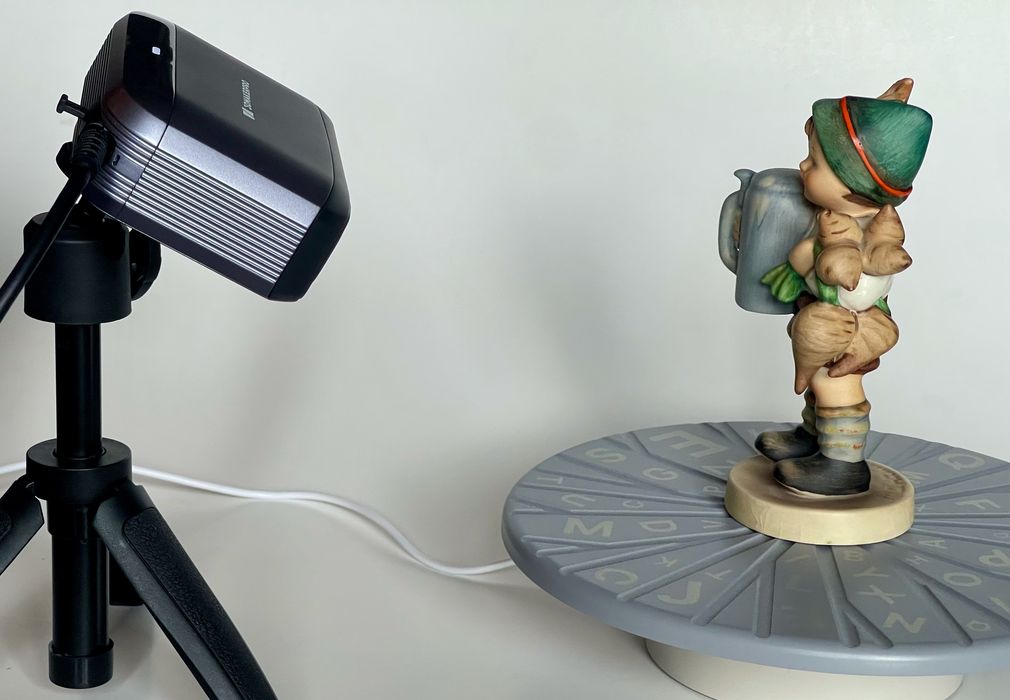
For fun I rescanned the figurine again using texture mode, and found that the scan was not quite as good, but did have textures applied.
Then I realized why I had been receiving error messages when processing textures. It seems that textures are captured ONLY when you are texture scanning mode. This was surprising to me, but once you understand this, it makes sense.
3DMakerPro Moose Lite Final Thoughts
The 3DMakerPro Moose Lite is an extremely good 3D scanner that can be used for small and medium-sized objects in turntable and handheld modes, respectively. Its accuracy and resolution is quite good and I was able to capture some terrific 3D models.
JMStudio is the associated software for the scanner, and it can produce directly 3D printable 3D models easily. It’s very powerful and relatively quick to process scans.
I do have some problems with JMStudio’s interface, which is needlessly confusing, mostly due to inconsistent elements and less visible paths through the workflow. However, once you do learn what to do, it works pretty well.
If you have a need for an inexpensive yet pretty powerful hardware 3D scanner, the 3DMakerPro Moose Lite could be a good choice.
This is part three of a three part series, please read parts one and two.
Via 3DMakerPro