

Our review of the 3DMakerPro Moose Lite continues with a look at operations.
This is part two of a three part series, please read parts one and three.
3DMakerPro Moose Lite Operations
Normally we break down our Hands On reviews into Operations, Software and Results, but here we’re going to jam it all together because that’s how it works on these 3D scanners: you have to operate the hardware with the software to get scans.
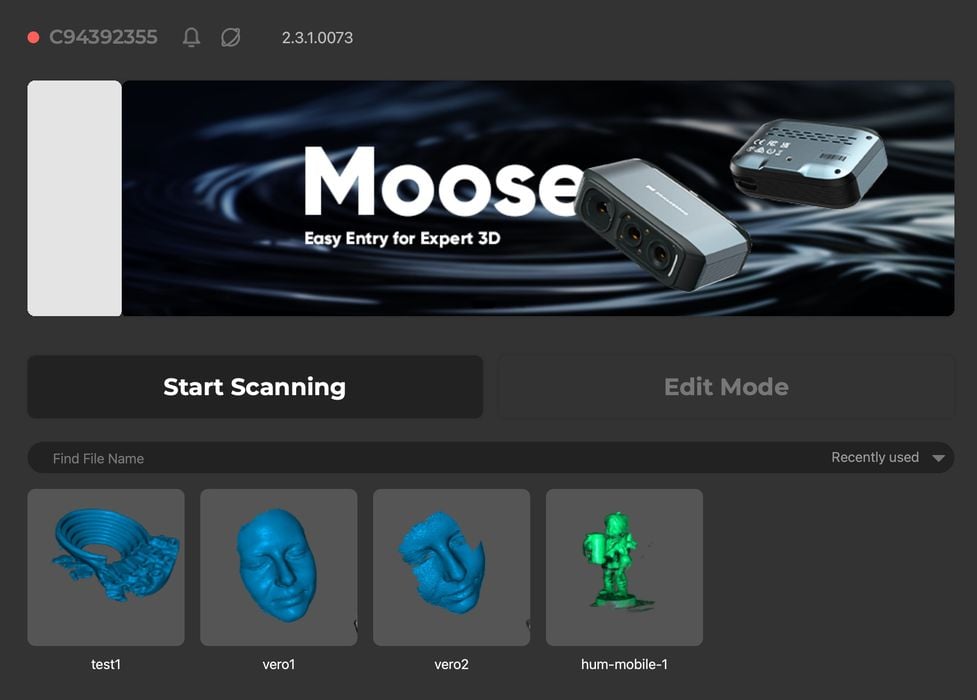
Most of the activity takes place in JMStudio, as the scanner just sits and scans (in turntable mode) or you move it around (in handheld mode). Let’s go through a series of scan projects to understand how this system works.
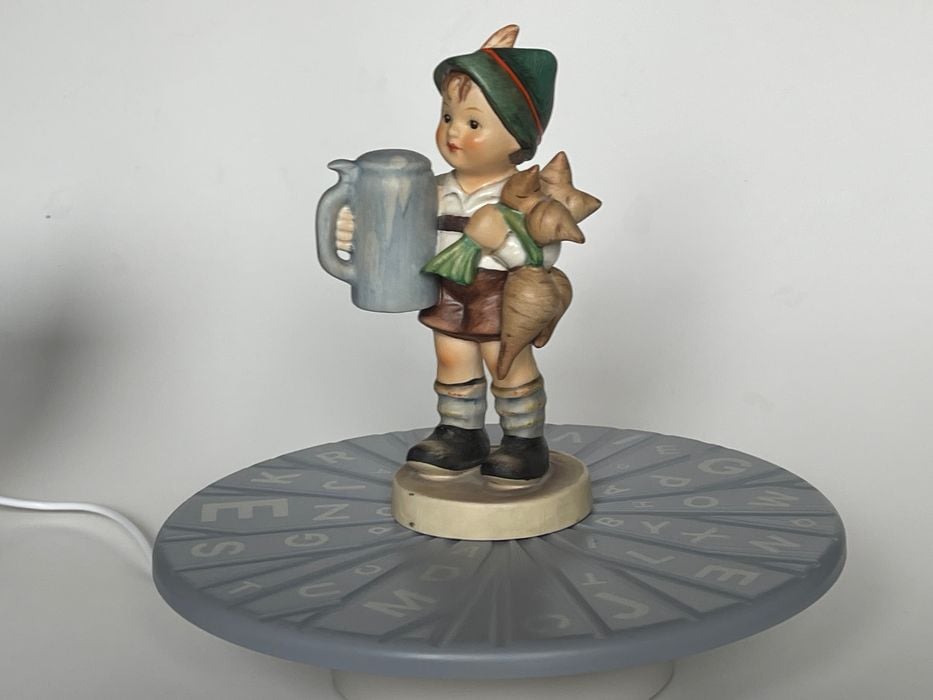
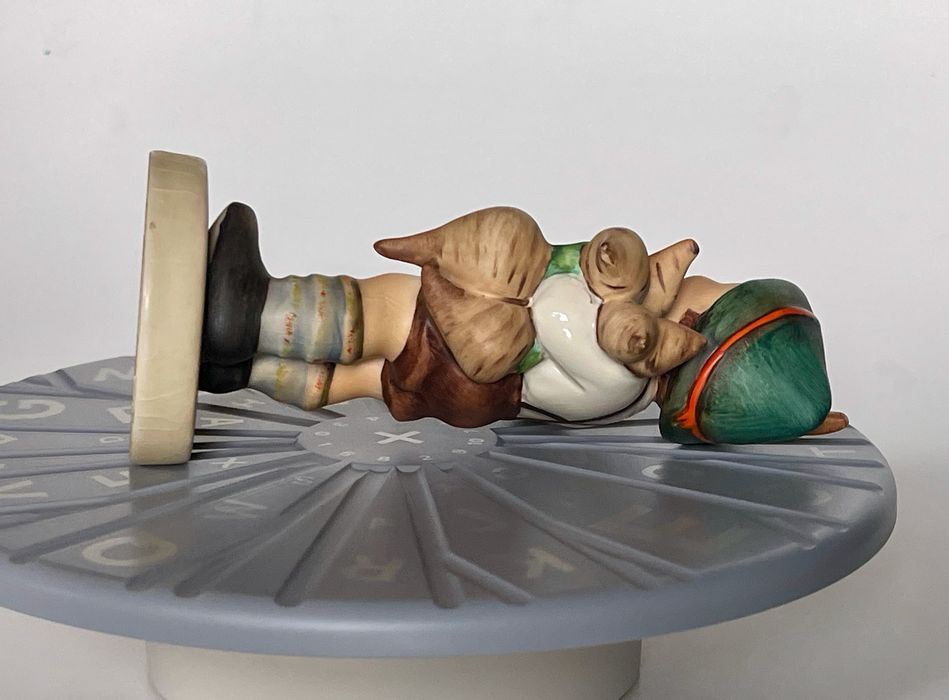
My first subject was my standard scanning object, a 15cm tall Hummel ceramic figurine. The “boy” is a terrific object because it includes a lot of complex detail, texture and has a great surface for scanning — no reflectivity.
I used turntable mode to capture the boy, which is what you do for small objects like this item.
The turntable process is pretty easy — when you understand what’s going on. While JMStudio has very attractive visual elements (except for the hard-to-read grey text on grey background), the workflow and signaling seems poorly thought out. It is very easy to get very confused about what’s happening.
Let me clarify what’s supposed to happen:
- The scan must be initialized (in turntable mode only) to identify where the turntable is located
- A scan takes place
- Another scan could take place if you need more angles
- Even more scans take place for bigger or more complex objects
- The collected scans must be “aligned” with each other so that they overlap properly
- The aligned scans are fused together
- The fused scan is processed to turn it into a mesh, remove stray bits, simplify and apply textures
- The processed scan is exported
That’s what’s supposed to happen, but that series of steps is sometimes hard to visualize in JMStudio because they tend to mix up user interface elements.

Here’s an example. Note that the sequence is supposed to be “initialize”, “scan”, “align”, “process”. Above you see the button configuration when you’re about to start a scan. But what if you want to go back to initialize? Well, that’s the “1” button — which moments earlier was an “Initial” button. Why switch from words to numbers? This type of interface inconsistency happens throughout JMStudio.
That said, once you figure your way through the confusing interface, it is straightforward to use.
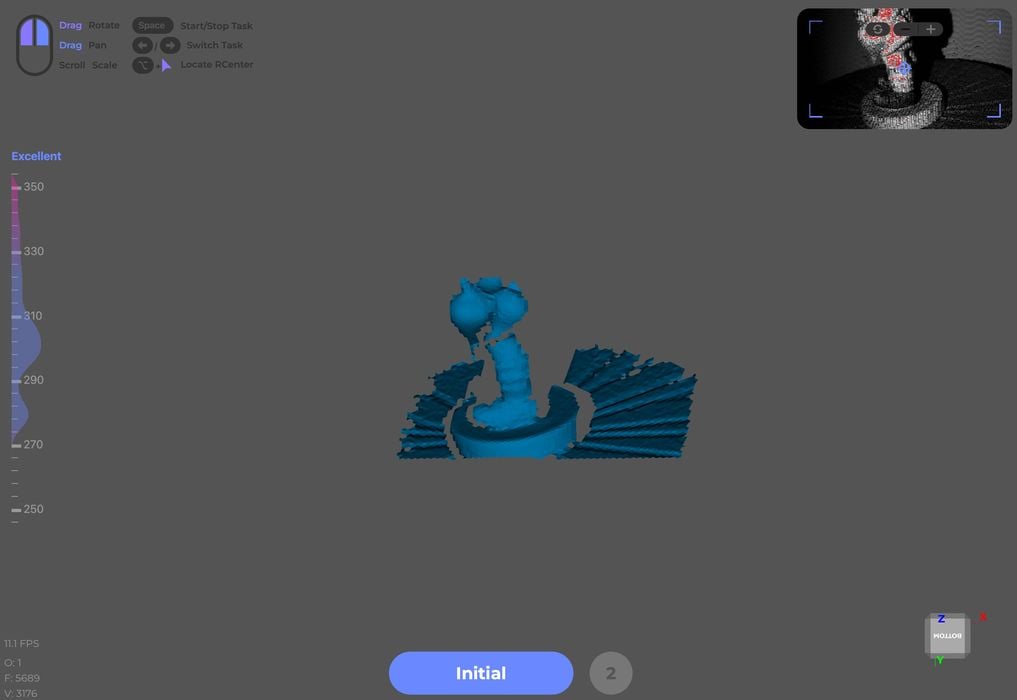
The first observation on scanning the figurine is that it doesn’t really fit into the active scanning space. I could only get the feet on the screen.

In turntable mode, JMStudio automatically knows how long to scan: one revolution of the turntable. The software automatically begins processing when it hits one turn.
The bottom of the figurine turned out quite well! But we were missing the top portion. This is a common challenge in 3D scanning, and the solution is to capture multiple views and fuse them together. Usually this requires one flip to “get the bottom”. But here it was a bit more tricky.
I laid the boy on his side, and realized I would have to do both sides. No problem, three scans can be taken, and you can select which scans are used during fusion.
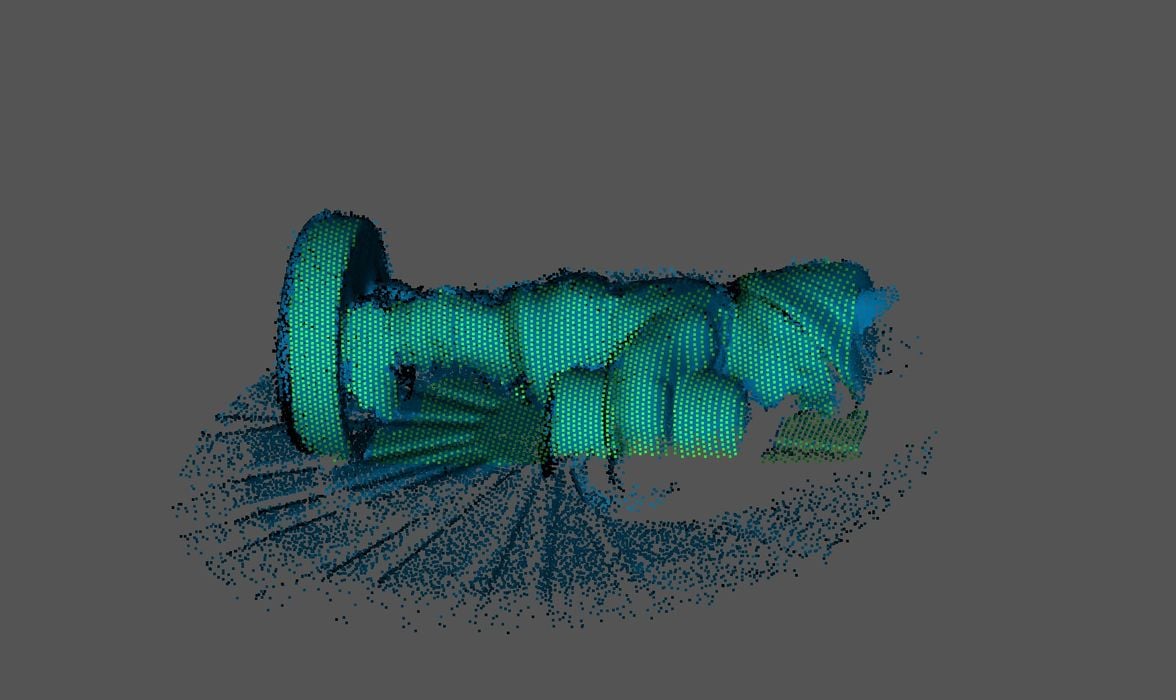
The side scan worked perfectly, and I repeated this for the other side using the “Append” command, which is 3DMakerPro code for “get another scan”.
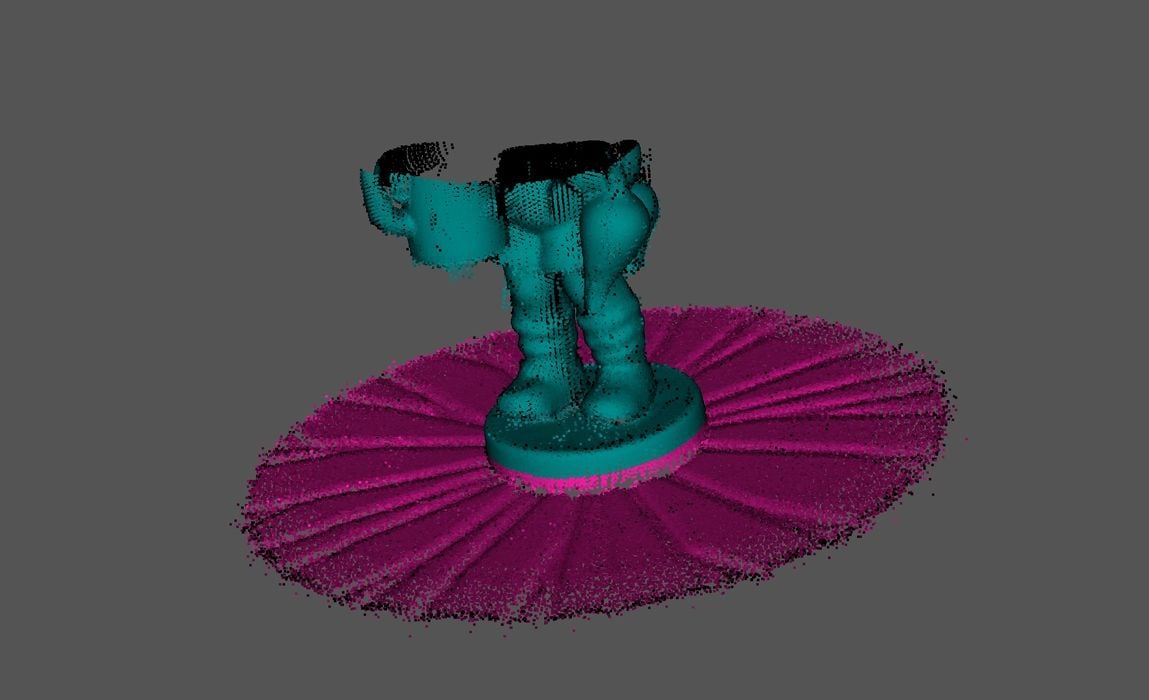
I tried the autoalign, and it seemed to work, as above. Note that the planes of the turntable are oriented differently. By the way, since JMStudio knows where the table is located, the software can automatically remove it from the scans during processing.
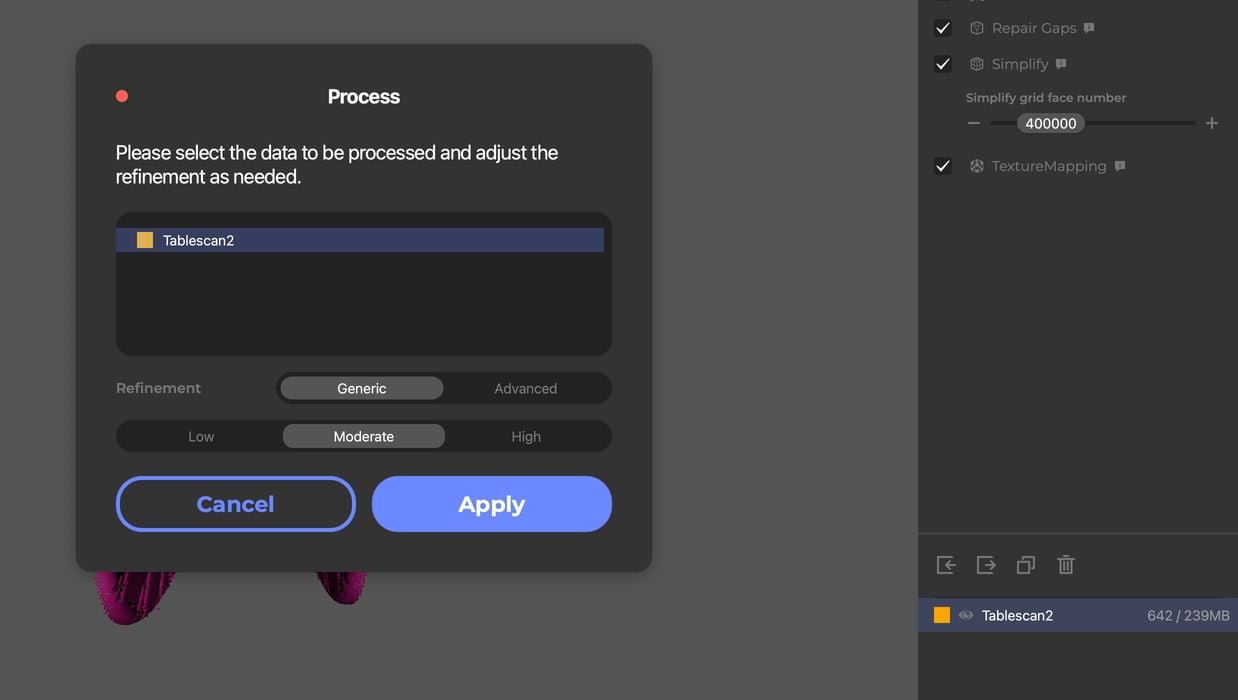
The “Process” button is then prominently presented (with previous steps suddenly becoming numbered options). But DO NOT HIT that button!
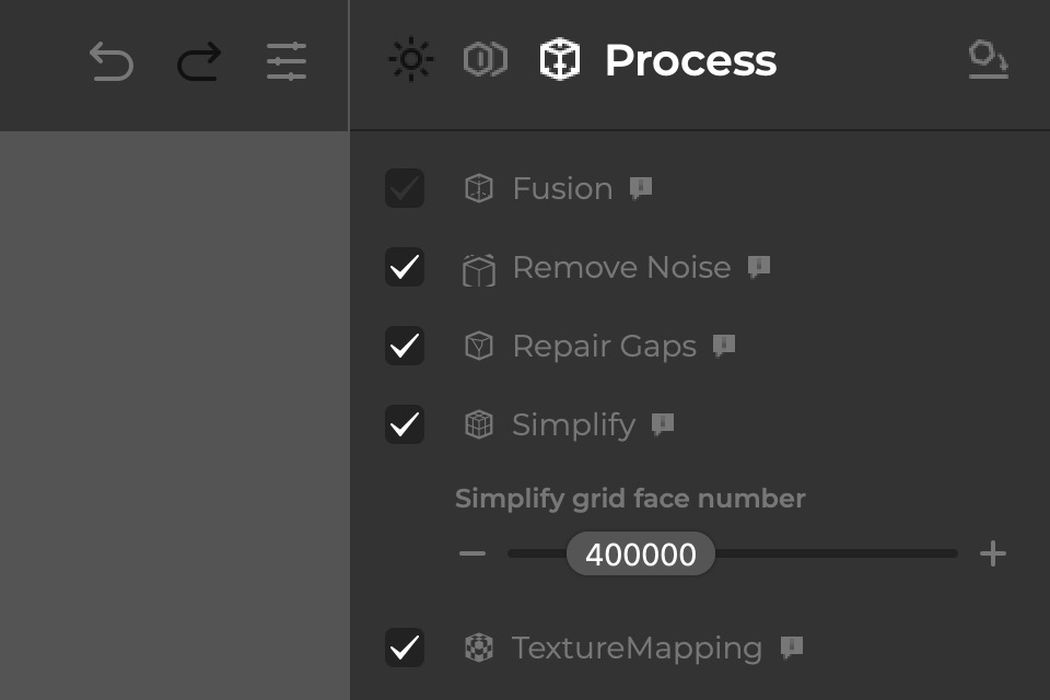
By default JMStudio only fuses the models together. However, in almost every case you will also want to at least remove noise and repair the model, if not simplify it, too. I like to tick all the boxes and then hit “Process”.
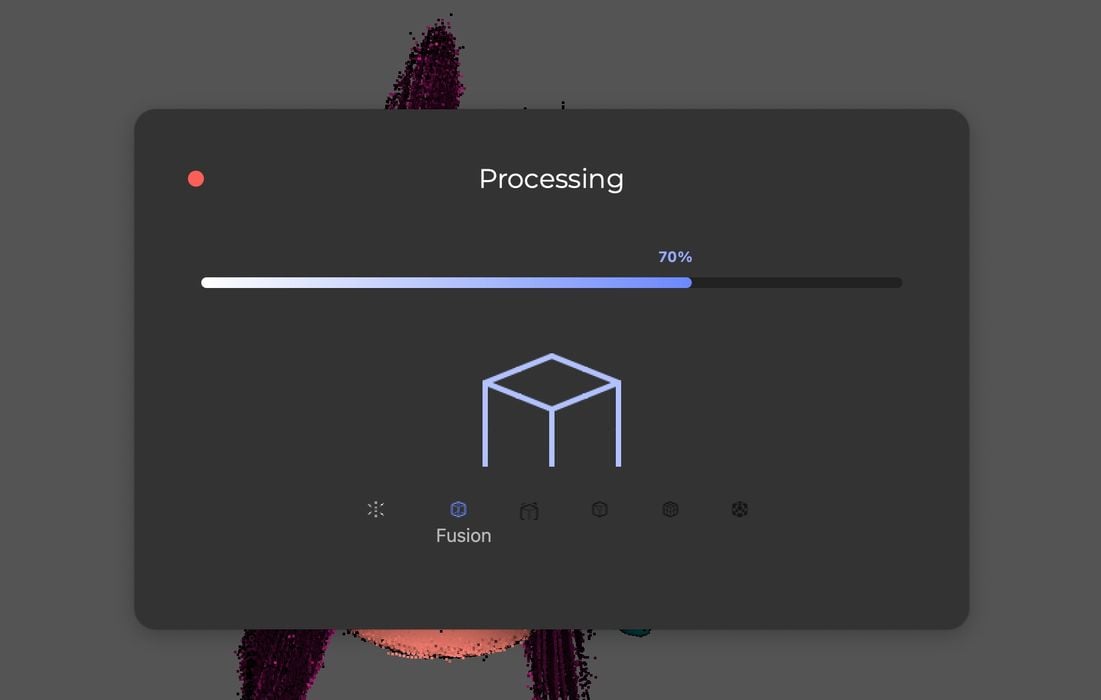
Then prepare for a bit of a wait. The processing through the steps is done sequentially, and you can see the icons above telling you which step is underway. However, the progress bar shows not the total process, but restarts on each step. So you never really have a clue about how long it will take.
For larger models it can take several minutes to complete, and that was on my new M3 Pro Mac, which is quite a beefy machine. I did check and find that JMStudio is still built for Intel platforms, and thus is running under emulation on modern Macs. Perhaps it’s a bit faster on a Windows machine.
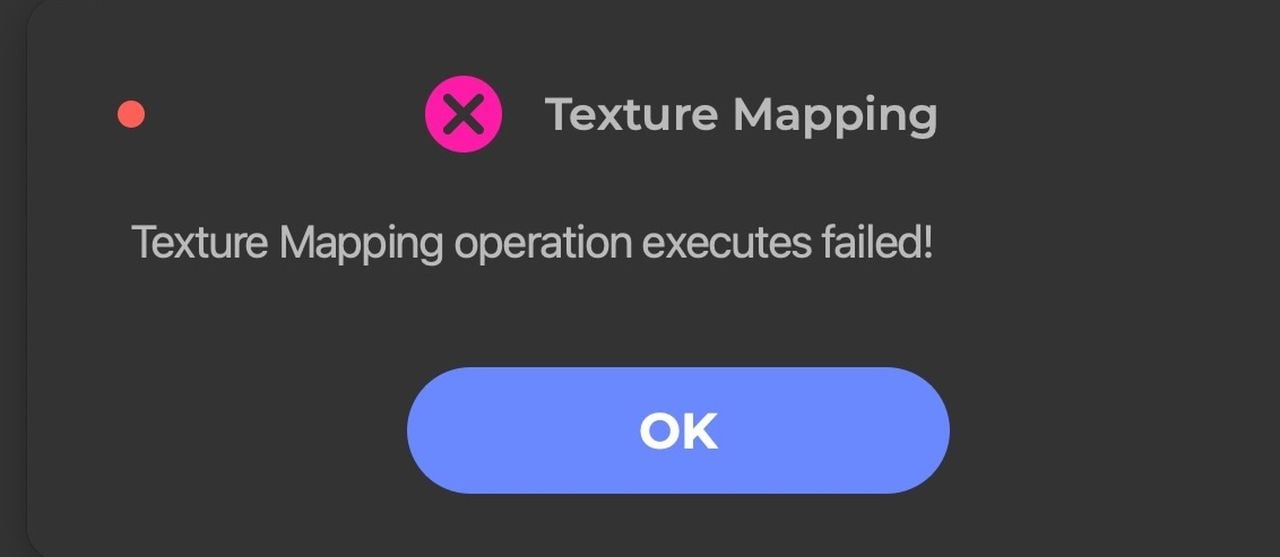
Hold on, the texture application failed! This happened on every scan, but I later figured out what was going on.
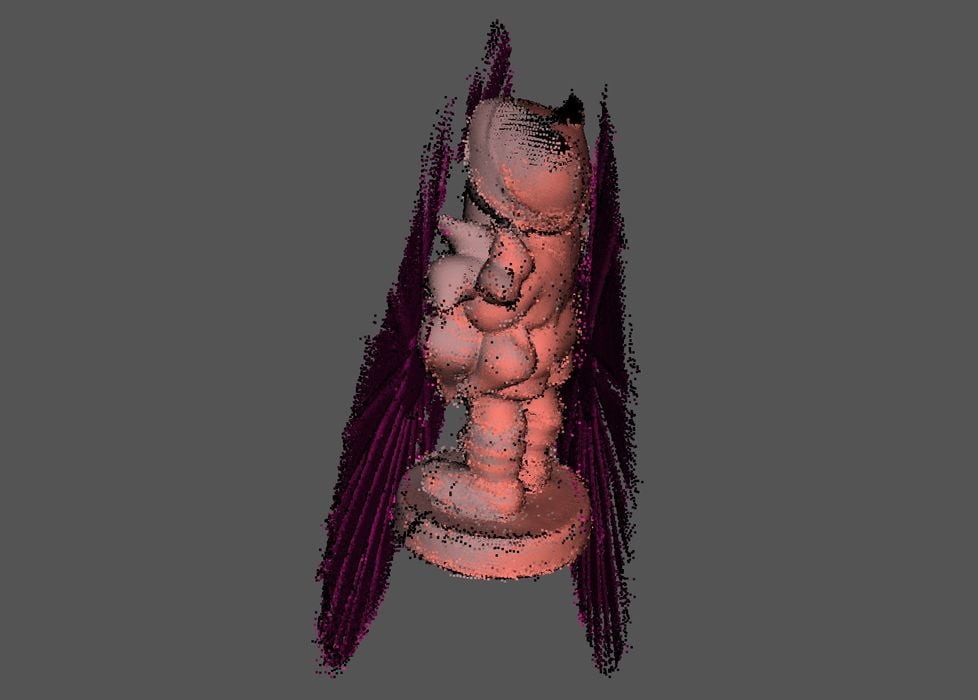
I aligned the scans, and somehow ended up with this. After some thought I realized what happened. When you align two scans, JMStudio collapses them into a single scan file. I had mistakenly added back in a third scan that was not aligned. Back to the beginning to do it all again.

I rescanned just two sides of the figurine, and the automatic alignment worked very well, as you can see above.
And here I selected the single, fused and aligned scan file for processing. I wish 3DMakerPro would re-engineer the visual aspects of JMStudio so the workflow would be clearer for users.
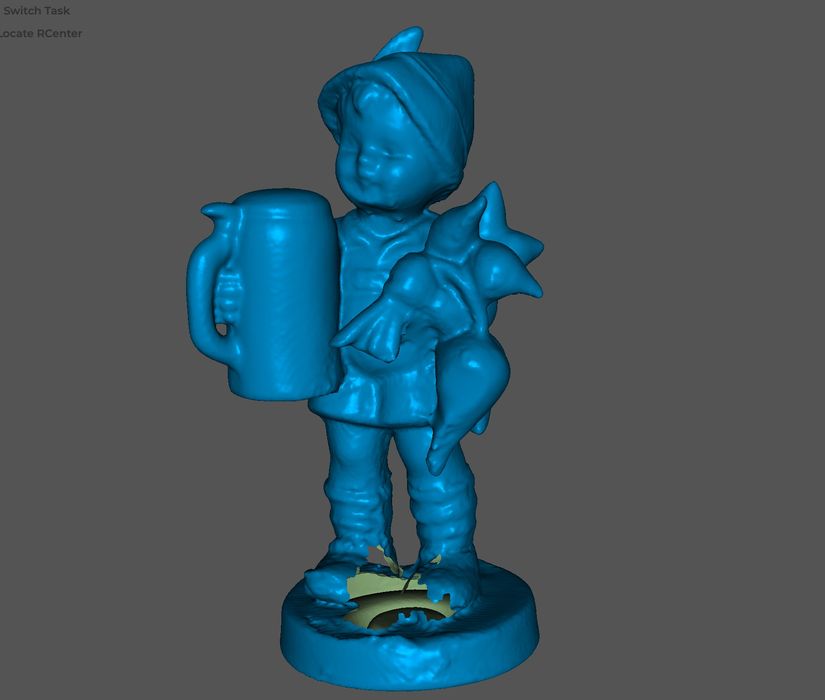
The fused figurine is here, and wow, it looks great. However, the rotation somehow missed a spot between the feet, likely because of the way I set the boy on the turntable. No worries, I just need to scan the feet and add them in.
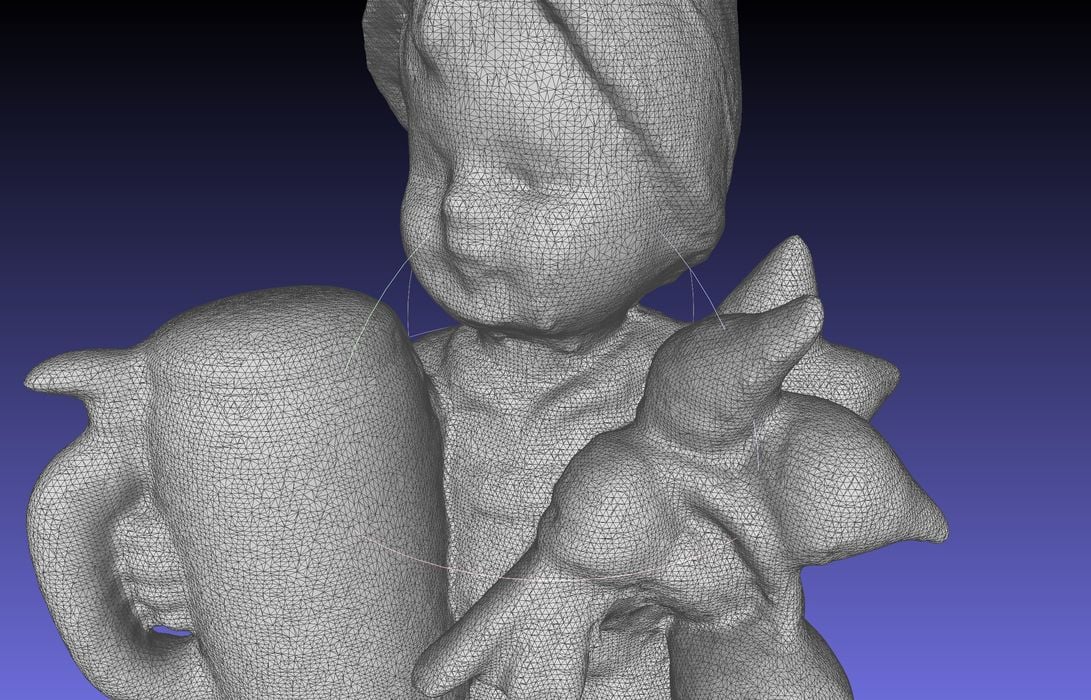
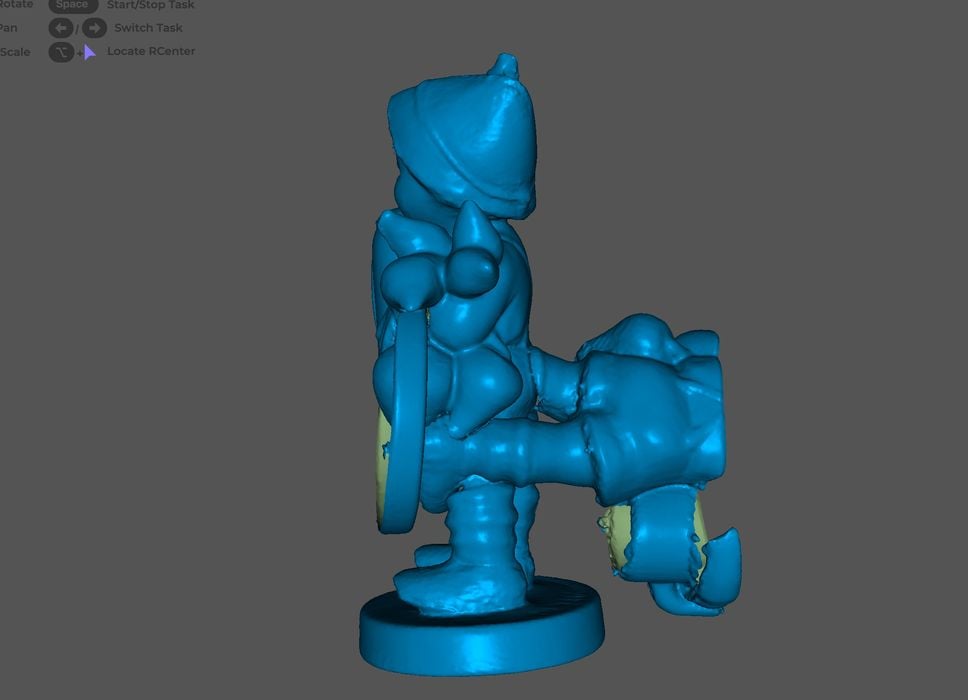
Here’s a look at the mesh generated for the figurine, and it is extraordinarily good. This is better than I’ve had from previous 3DMakerPro 3D scanners on this particular object.
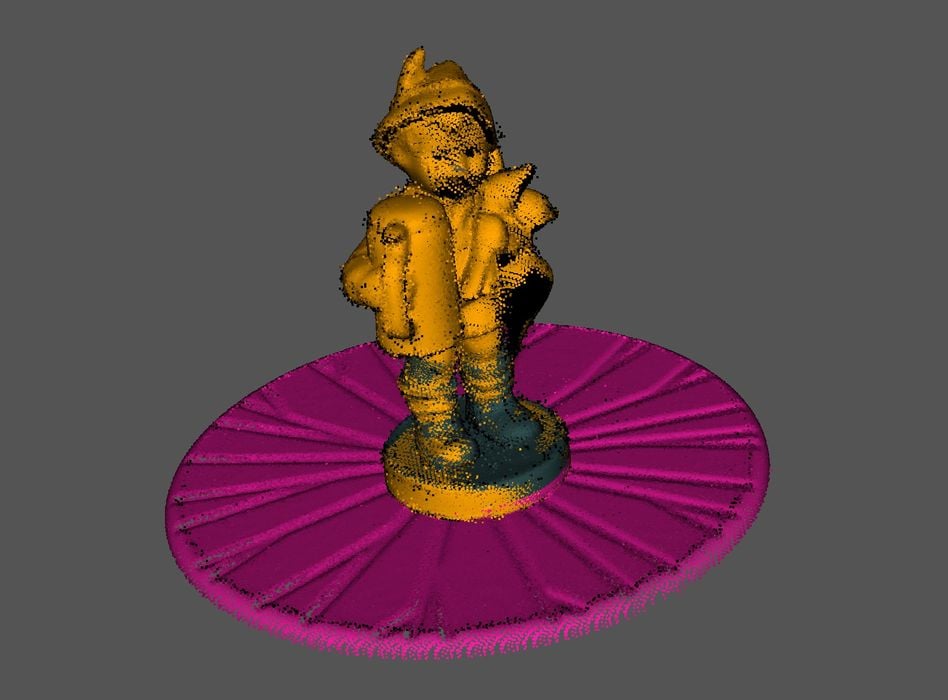
The feet were rescanned and easily aligned with the previous two scans, as shown here. Note that the platform is highlighted, indicating the JMStudio knows about it, and intends on automatically removing it from the scan.
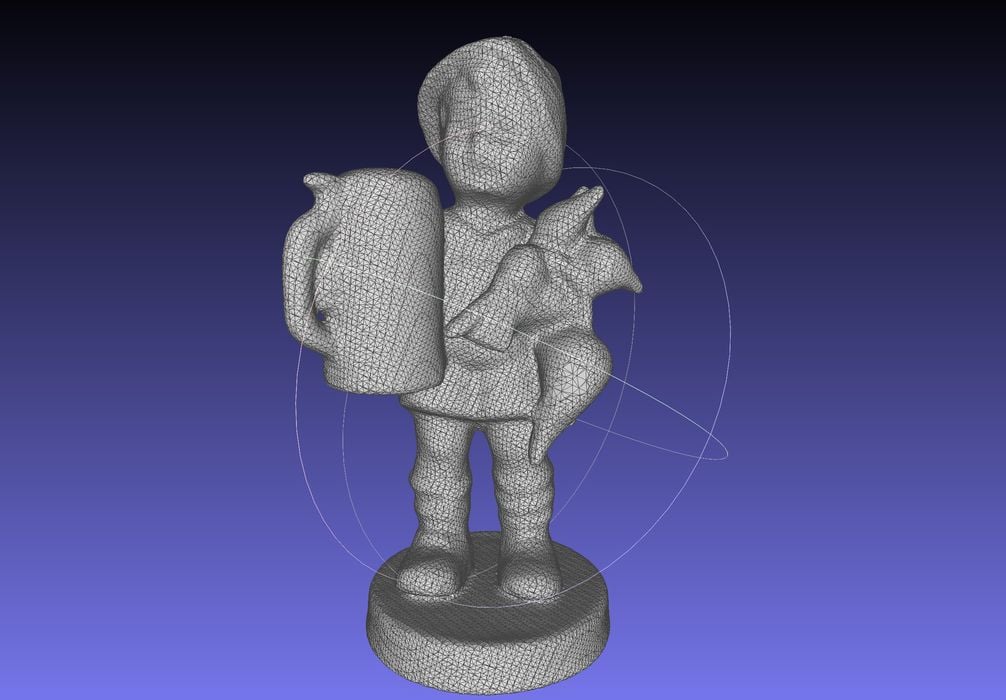
The final figurine scan is here, and it looks terrific. I then proceeded to print the 3D model, which didn’t require any additional work beyond the automatic processing in JMStudio. Note that if you actually do require some editing of the scan, JMStudio provides a number of tools for editing, including cropping and hole filling.
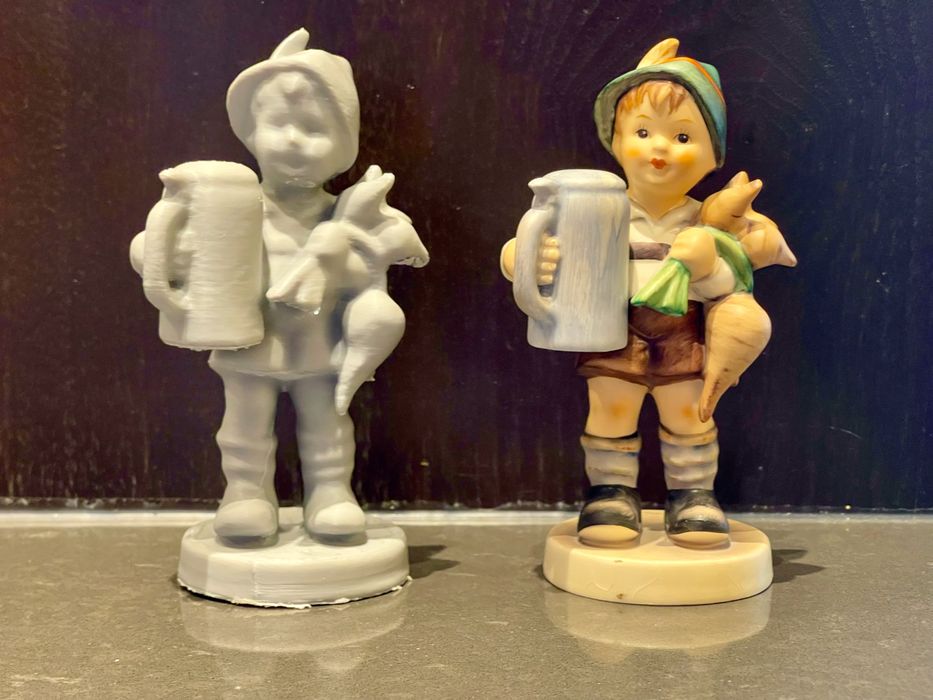
I printed out the model, and here it is compared to the original. Note that the dimensions are identical, showing the accuracy of the Moose Lite. This is by far the best 3D scan and print of this object I’ve obtained.
This is part two of a three part series, please read parts one and three.
Via 3DMakerPro