
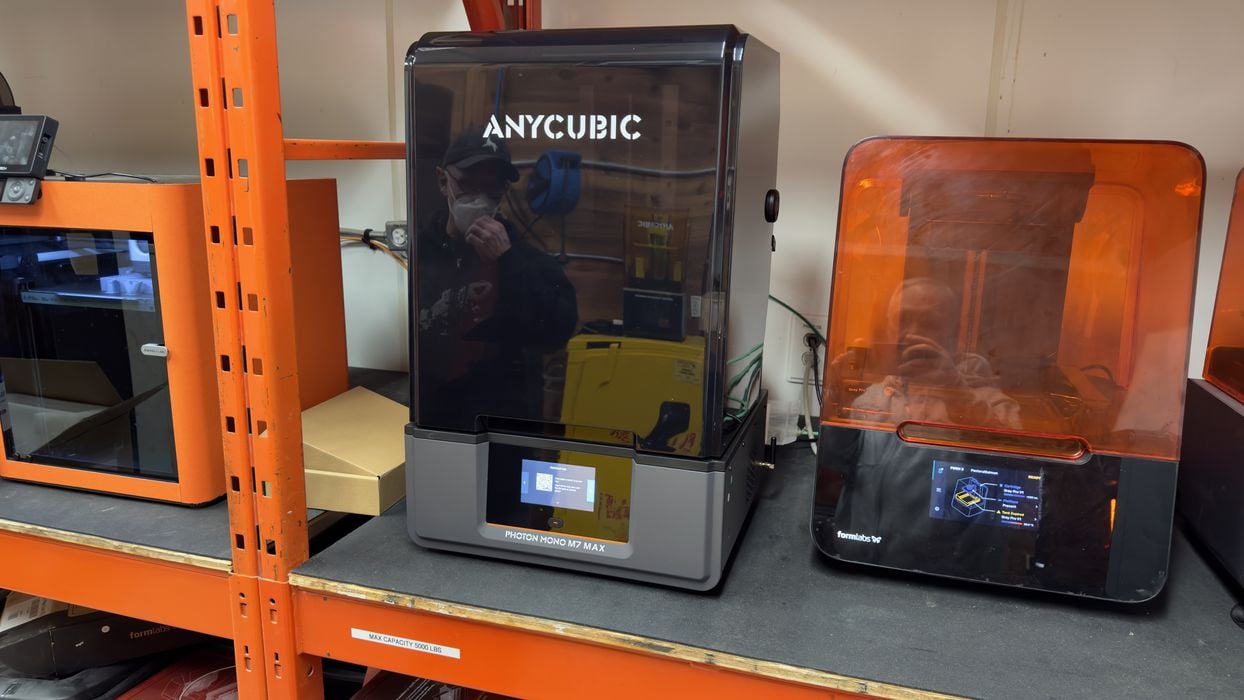
We had the opportunity to test the brand new Anycubic Photon Mono M7 Max resin 3D printer.
This is part one of a three part series, please read parts two and three.
Anycubic Photon Mono M7 Max Background
The M7 Max is the latest flagship resin 3D printer from Anycubic, which has produced a long series of devices over the past few years.
I can’t tell you how fascinating it’s been to observe the incremental progress in the company’s equipment. Only a couple of years ago their resin 3D printers were quite basic.
Today the M7 Max sports a number of convenience features, clearly based on customer experience. It’s one of the best low-cost, larger format desktop resin 3D printers I’ve used, at least so far. The industry moves ahead very quickly.
Anycubic Photon Mono M7 Max Specifications and Features
Building on the company’s previous technologies, they’ve updated their light engine to LighTurbo 3.0 in the M7 Max. This light engine in past equipment has been quite effective, and I’m expecting the same here.
The M7 Max is a large device, having a massive (for a resin 3D printer) build volume of 298 x 164 x 300 mm. While most resin 3D printers have a build volume of half or less of these dimensions, the M7 Max is able to print quite large objects, or large batches of smaller parts in a single job.
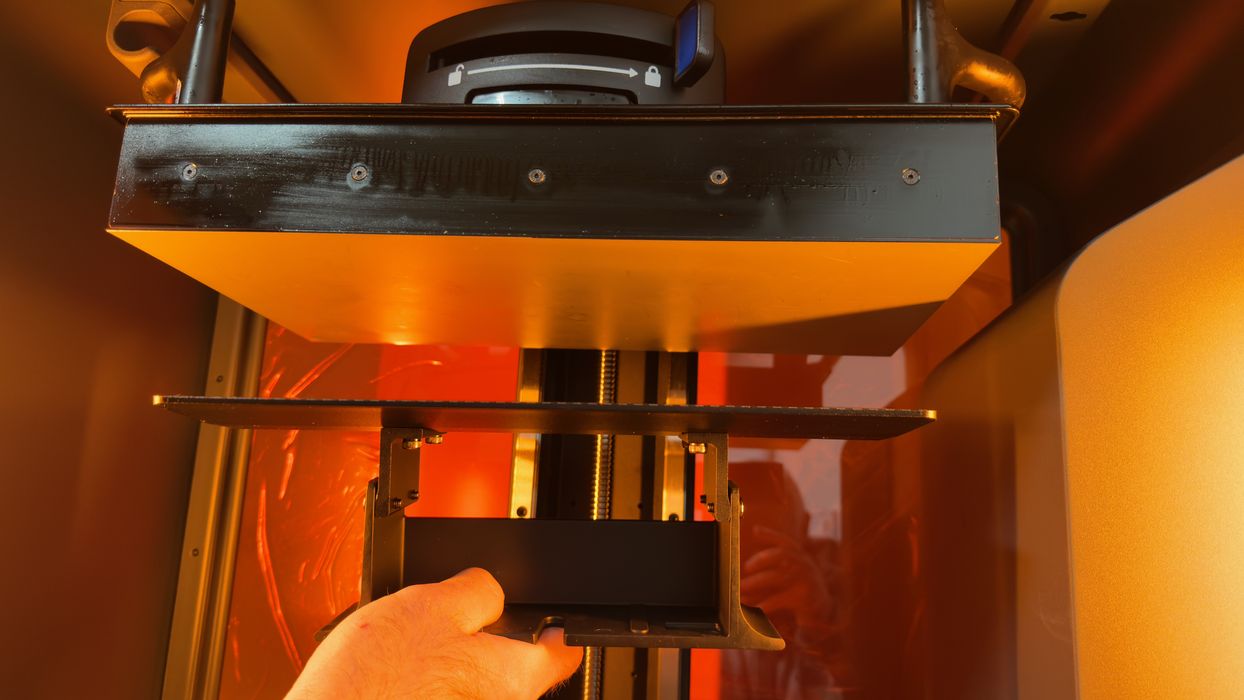
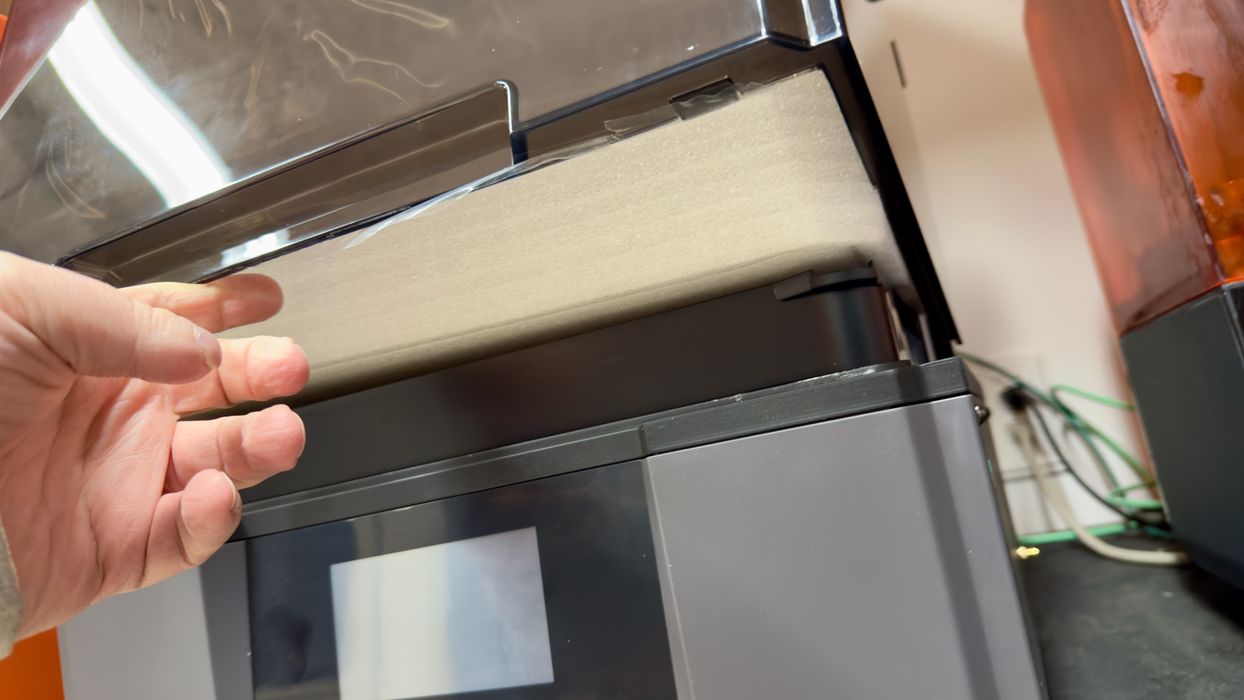
To illustrate the size of the M7 Max, here we are holding the M7 Max’s build plate right beside a Form 4L (on top). As you can see, the build plates are almost the same size. In other words, the M7 Max is close in build volume to the Form 4L.
Like advanced resin 3D printers of today, the M7 Max includes sensors to detect debris on the build plate. This scenario occurs when something falls off the plate during a job, and the sensors prevent the machine from pressing the debris into the resin tank film.
There’s also an intelligent release feature that dynamically adjusts the lifting motion to ensure smooth and accurate releases for each layer.
One advanced feature I haven’t seen on other inexpensive 3D printers is that the resin tank is actively heated! The M7 Max is able to keep the resin at a constant temperature of between 20-40C. This ensures that the viscosity of the resin is low.
That leads us to the major feature of the M7 Max: high print speeds. This huge resin 3D printer is able to print at up to 31mm/hour, which is quite fast for a large format device. The maximum print time seems to be about ten hours.
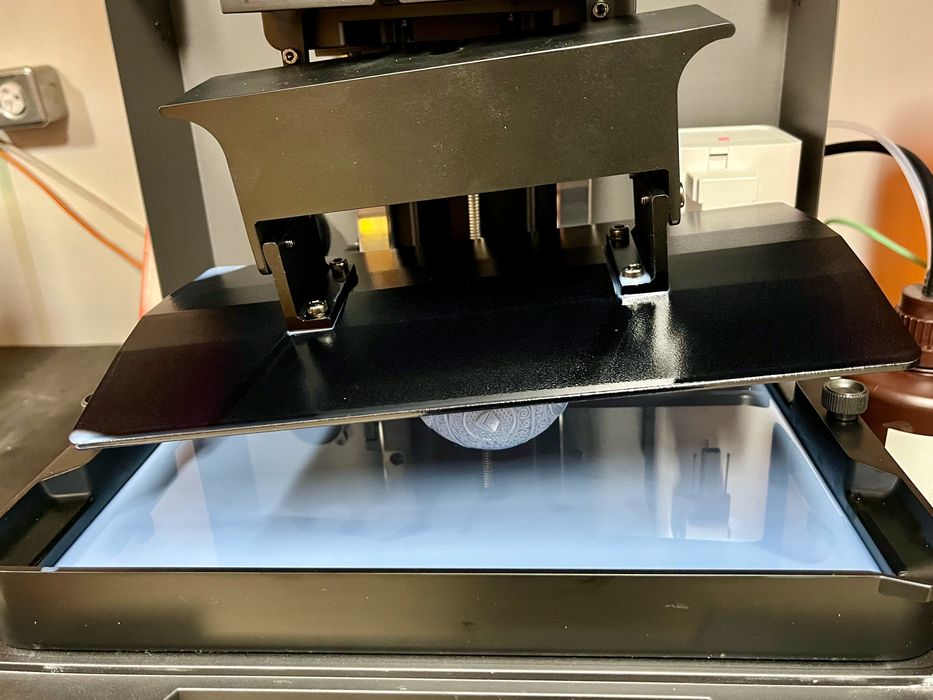
One very interesting feature I’m interested to test is the plate tilt mechanism. This lets the operator to tip the build plate in a fixed position after job completion. This allows the resin to safely drip away into the tank and reduce messy “surprises” for the operator when removing the plate.
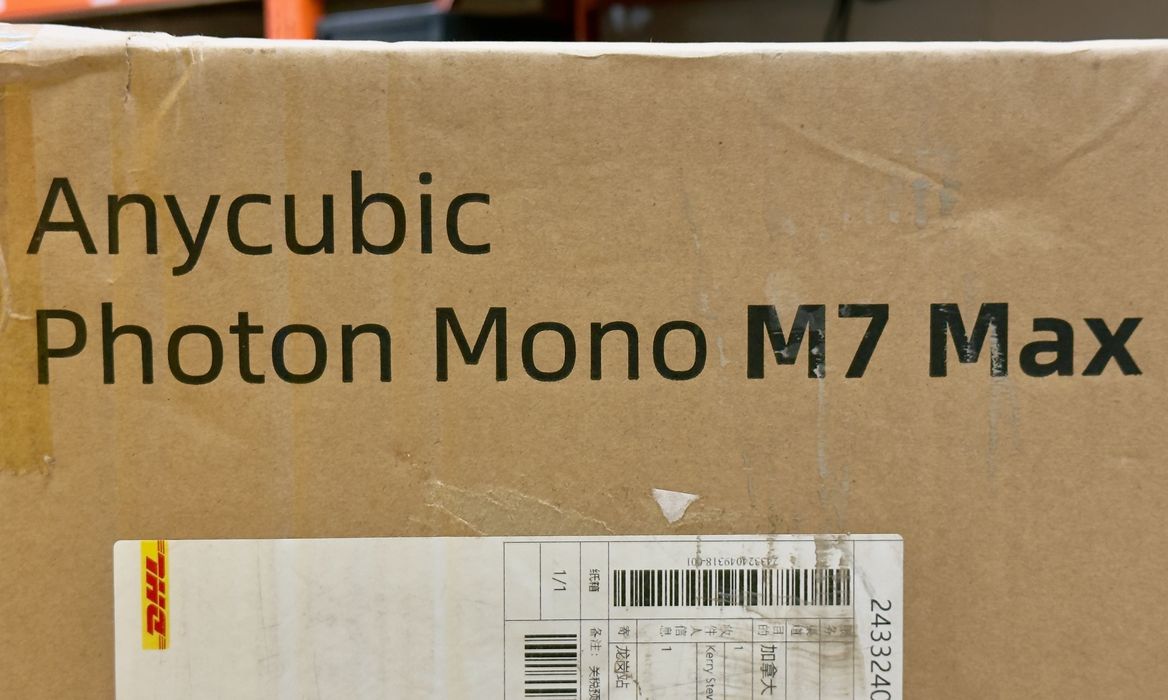
Anycubic Photon Mono M7 Max Unboxing and Assembly
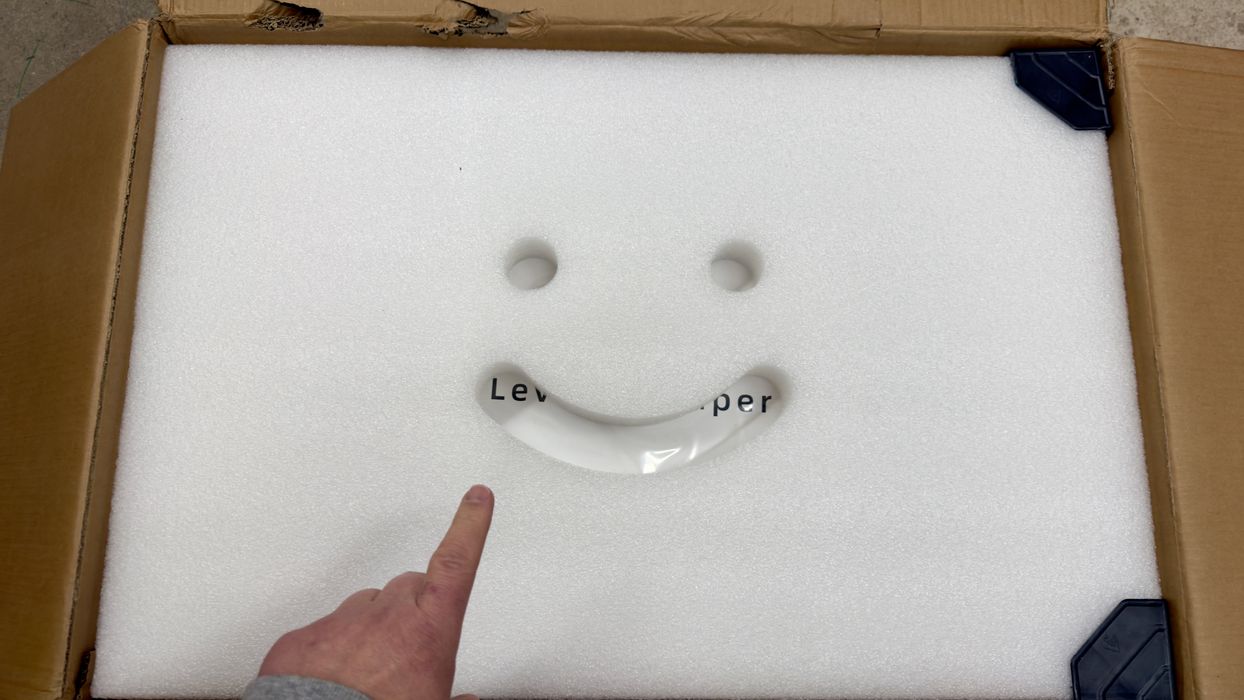
As usual, the first thing you see in any Anycubic box is their foamy happy face. It’s a bit silly, but I do enjoy them, and actually have a collection of them placed around the workshop. Don’t throw them away!
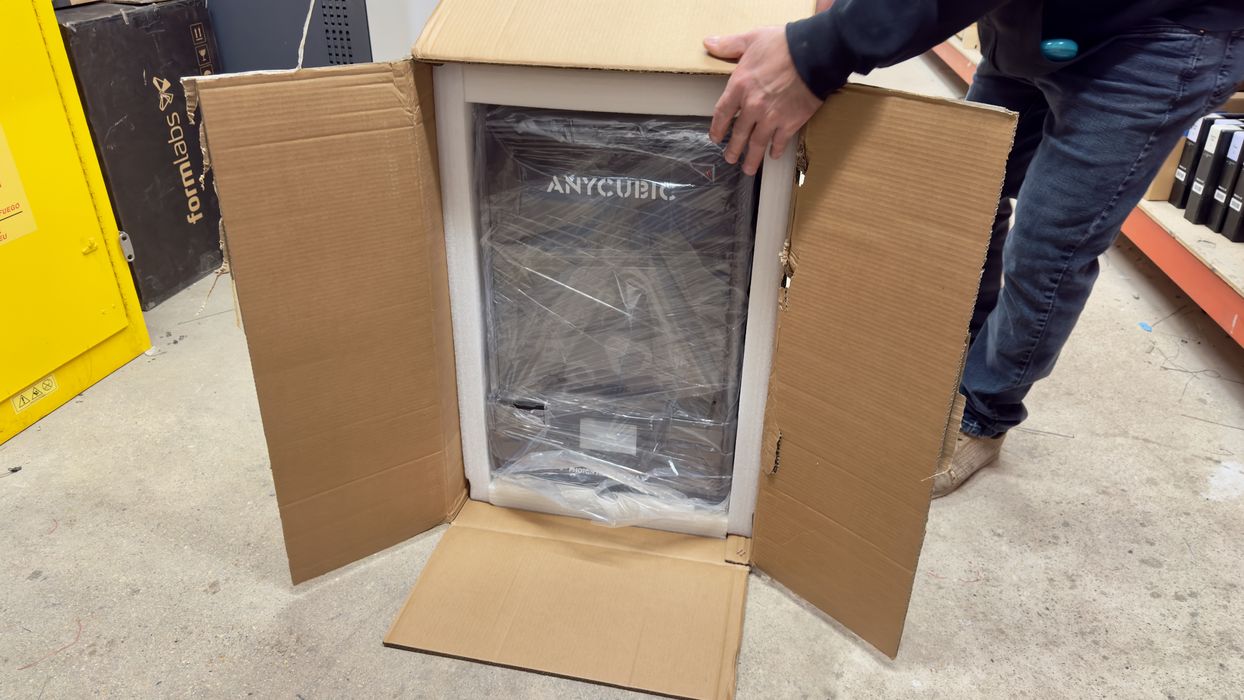
Due to the M7 Max’s large size, it’s a bit tricky getting it out of the box. We had two of us lift it out and place it on our work table.
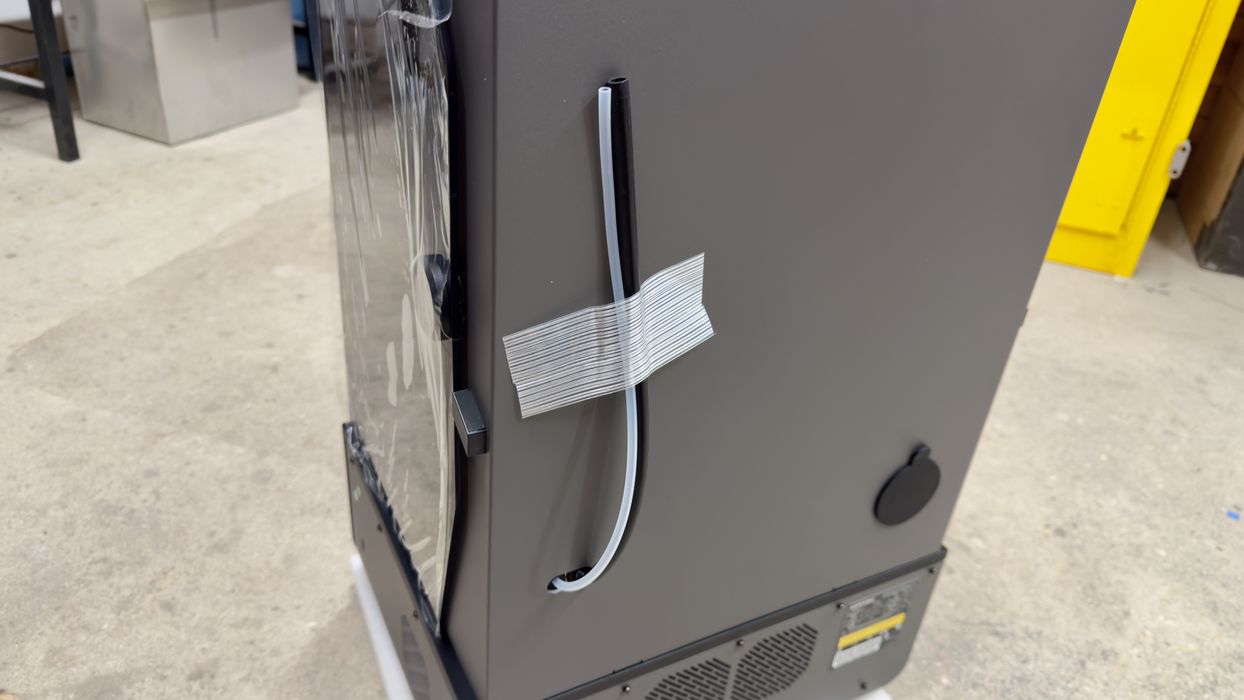
While unpacking the M7 Max, we noticed these tubes outside the rear of the machine. They are for the automated pump system. To use this, a special transfer mechanism replaces the cap on a bottle of resin. The M7 Max automatically slurps up all the resin it needs.
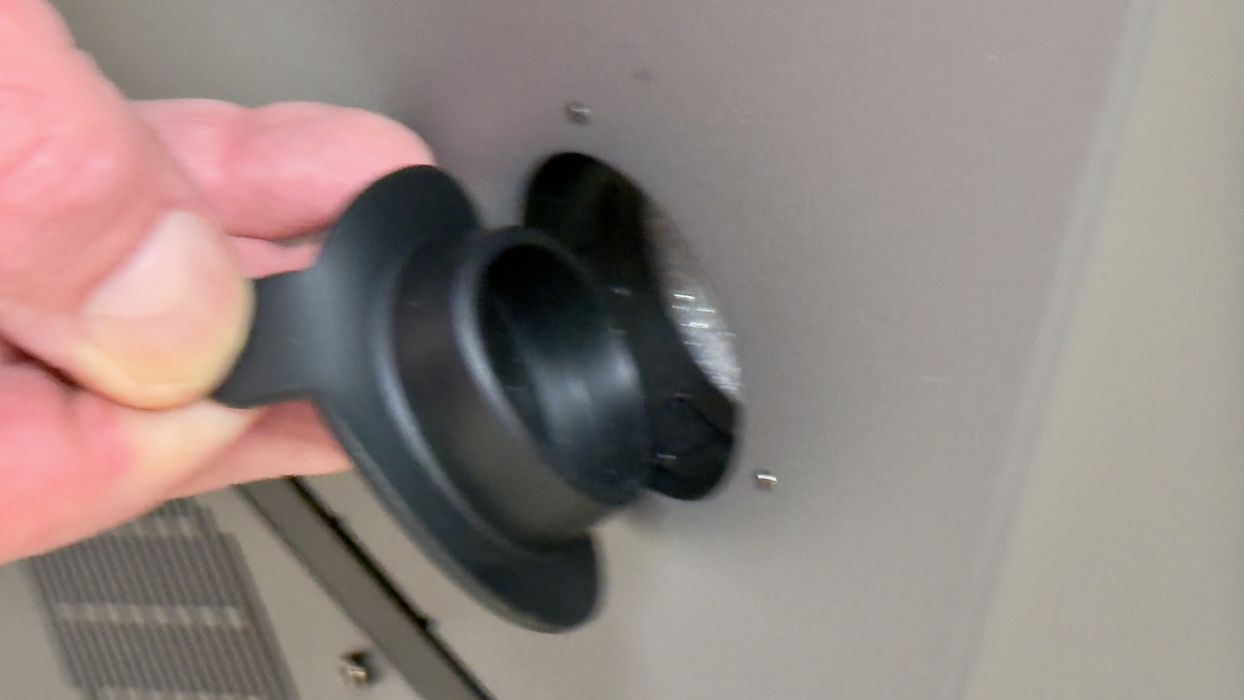
Lousy pictures, but I wanted to show you the vent port on the side of the machine. It’s here that you can hook up a ventilation system to remove toxic vapours.
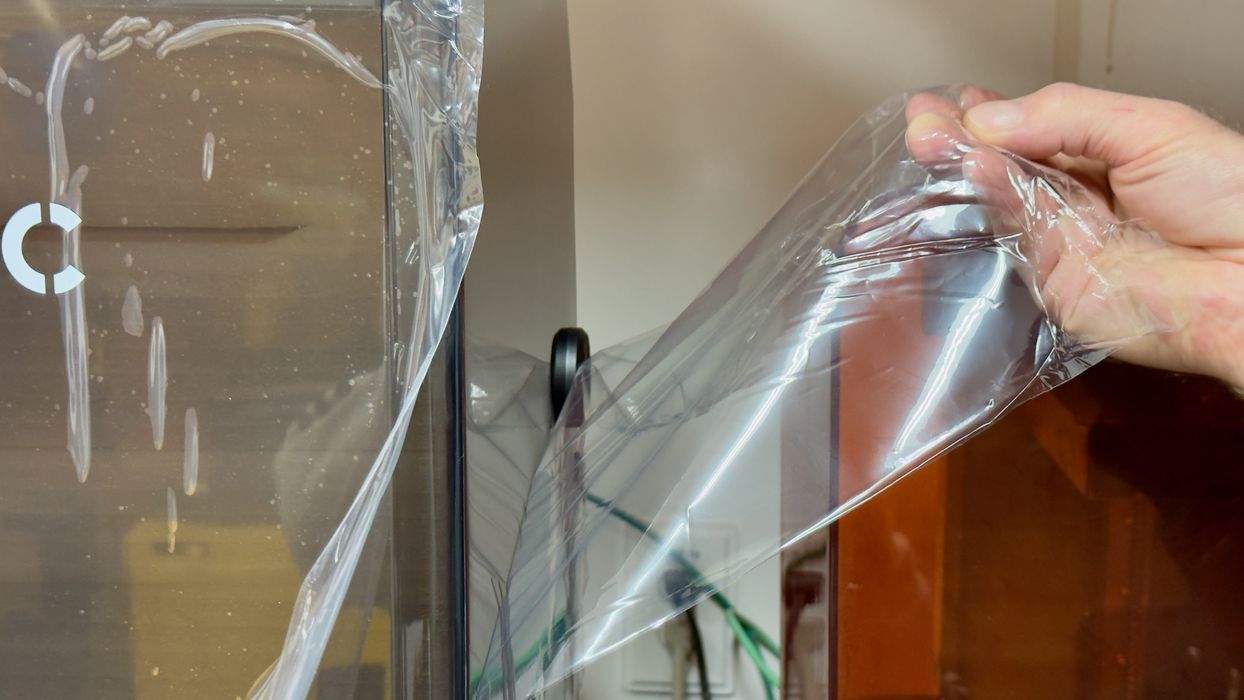
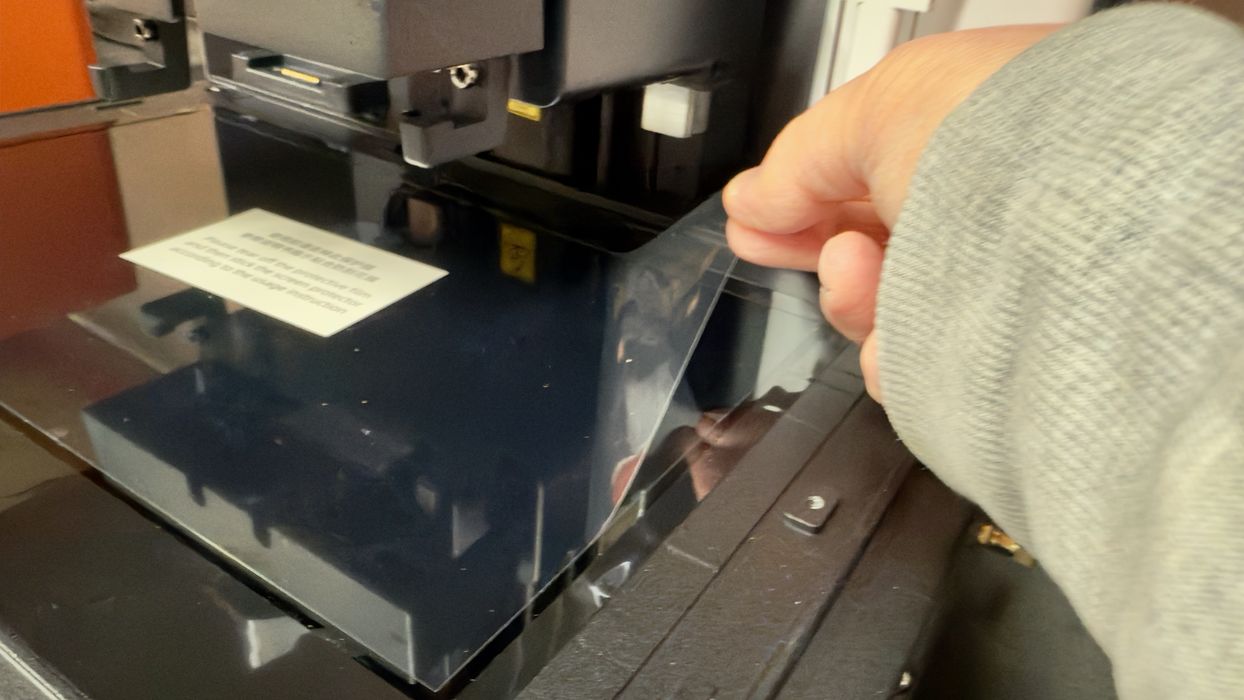
It’s fun peeling off protective film, and I started by removing the film off the M7 Max’s transparent lid. Little did I know that there would be a lot more peeling required.
At this point I’d like to point out the new tilting lid on the M7 Max. Most desktop resin 3D printers have a separate lid that just sits on top, and must be completely removed when working inside the build chamber. Here the M7 Max’s lid just tips backwards, as it has two pivot points on the sides. This is very convenient as you don’t have to find a spot to place a separate lid.
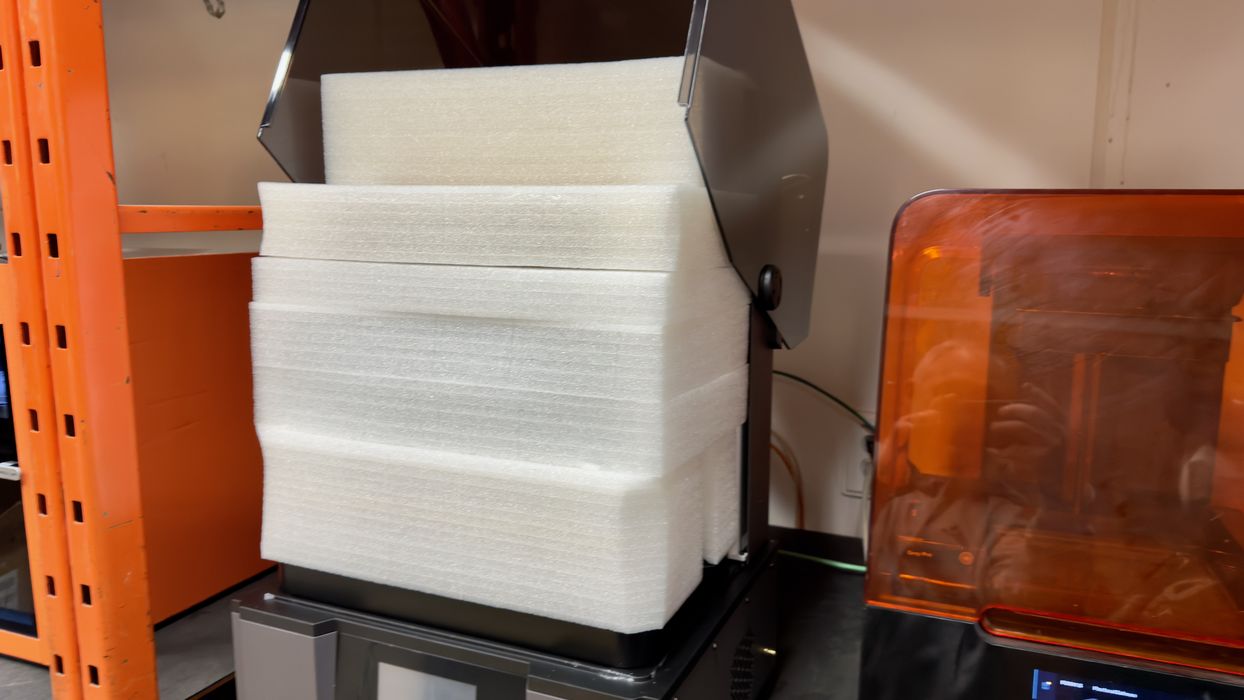
Inside the build chamber was quite a surprise: an enormous amount of foam chunks. I was quite impressed by the packing of the M7 Max, but this took first prize as the entire build chamber was filled with foam.
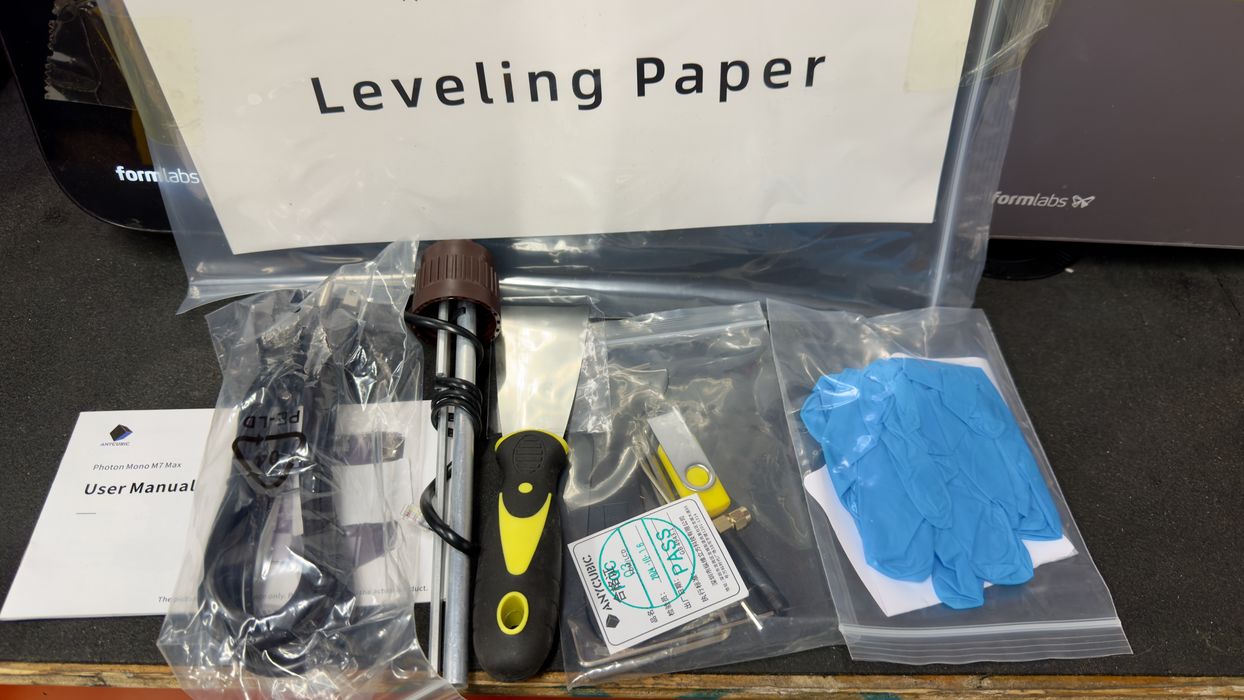
Shipped with the M7 Max are the usual set of parts. There was nothing special here, as all the required tools and initial supplies are provided. You will, of course, need more nitrile gloves.
And a wash and cure station.
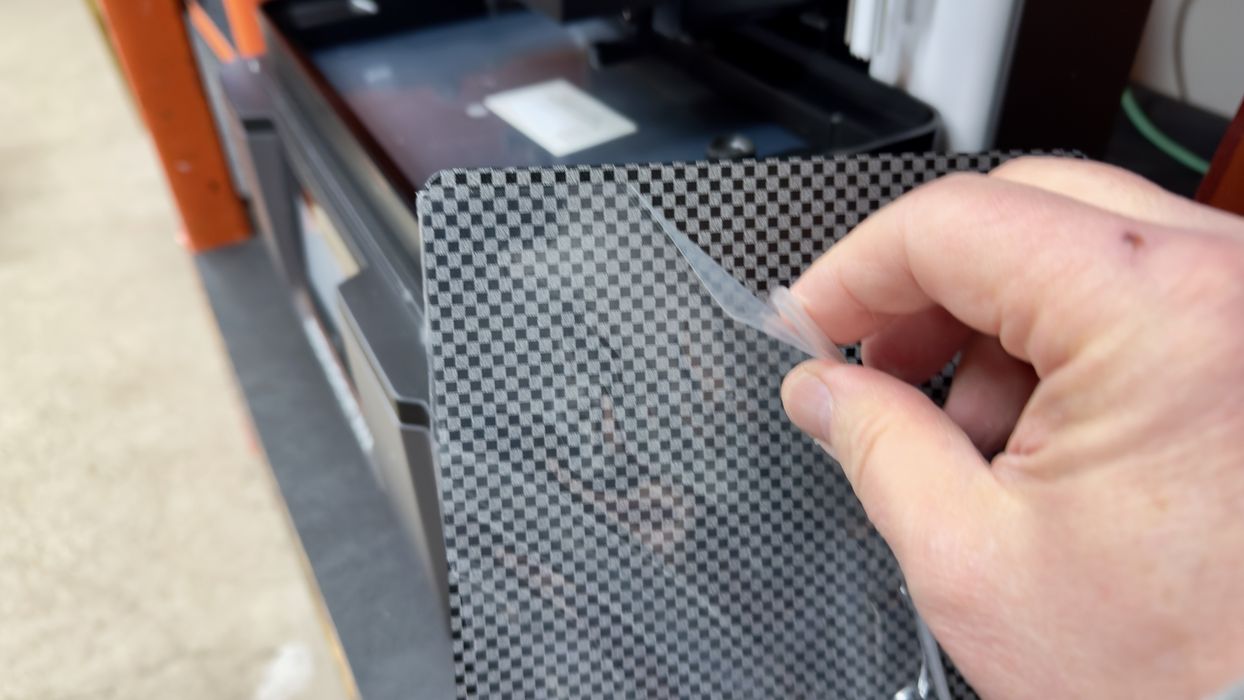
Let’s peel the protective film off the build plate!
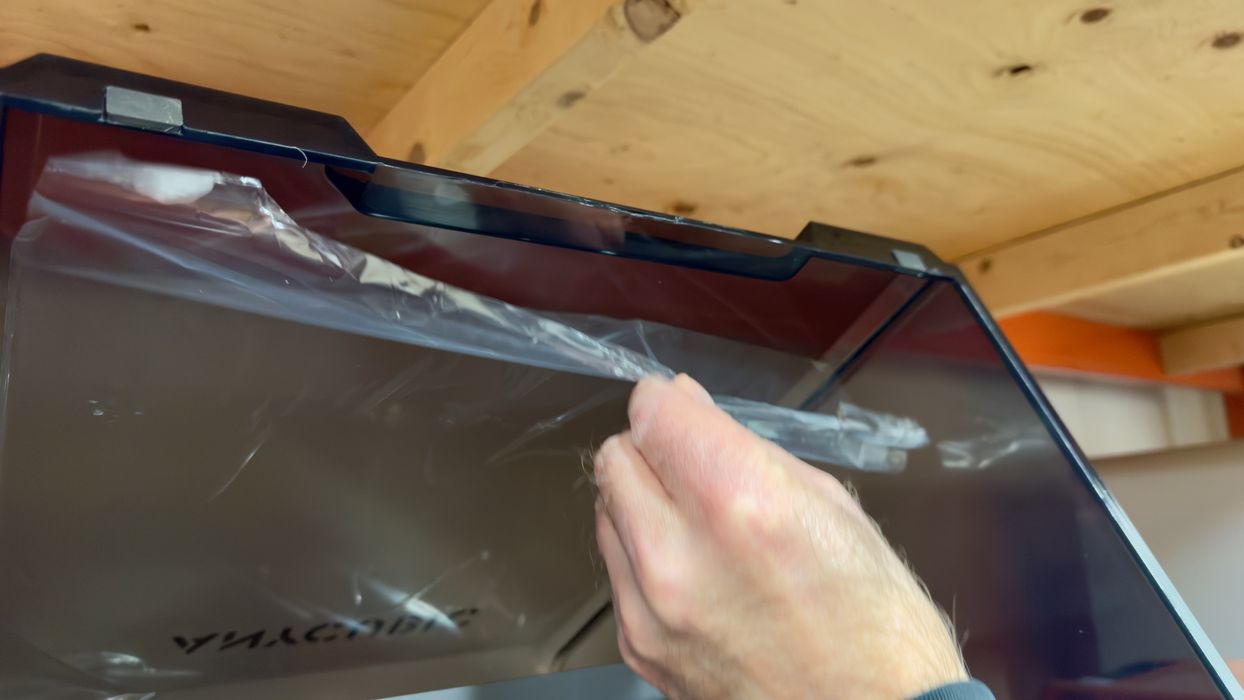
Hold on, there’s more peeling on the INSIDE of the transparent lid! I’ve never seen this before.
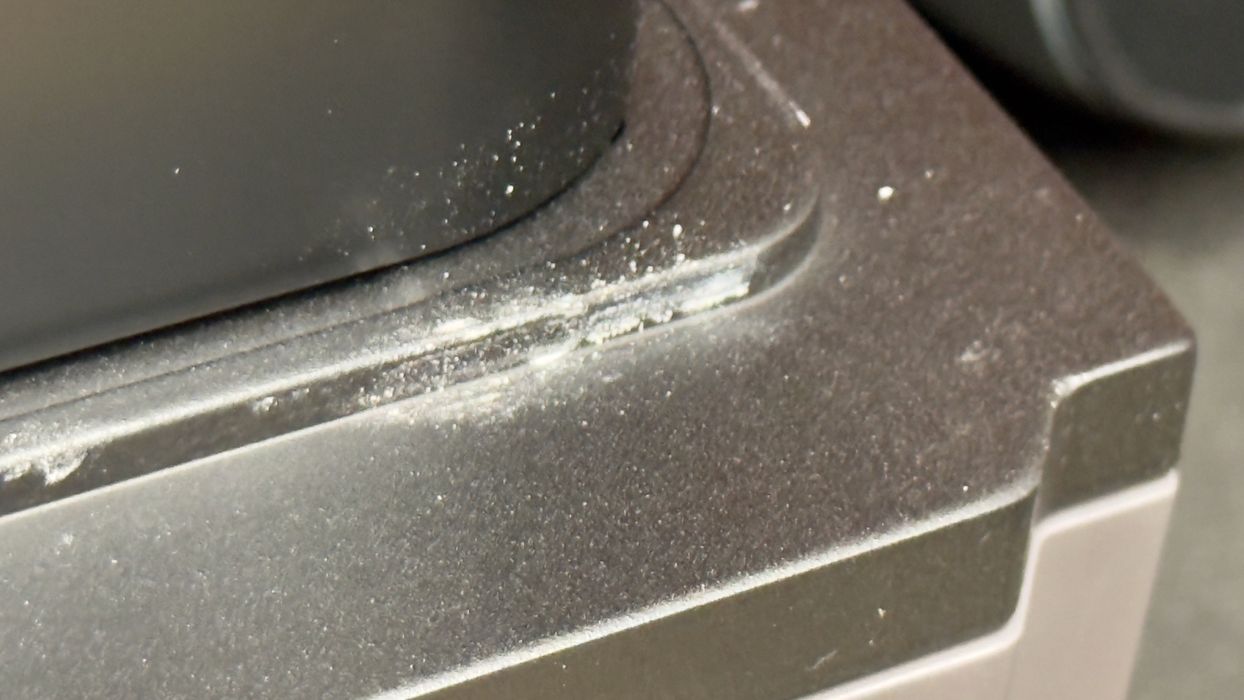
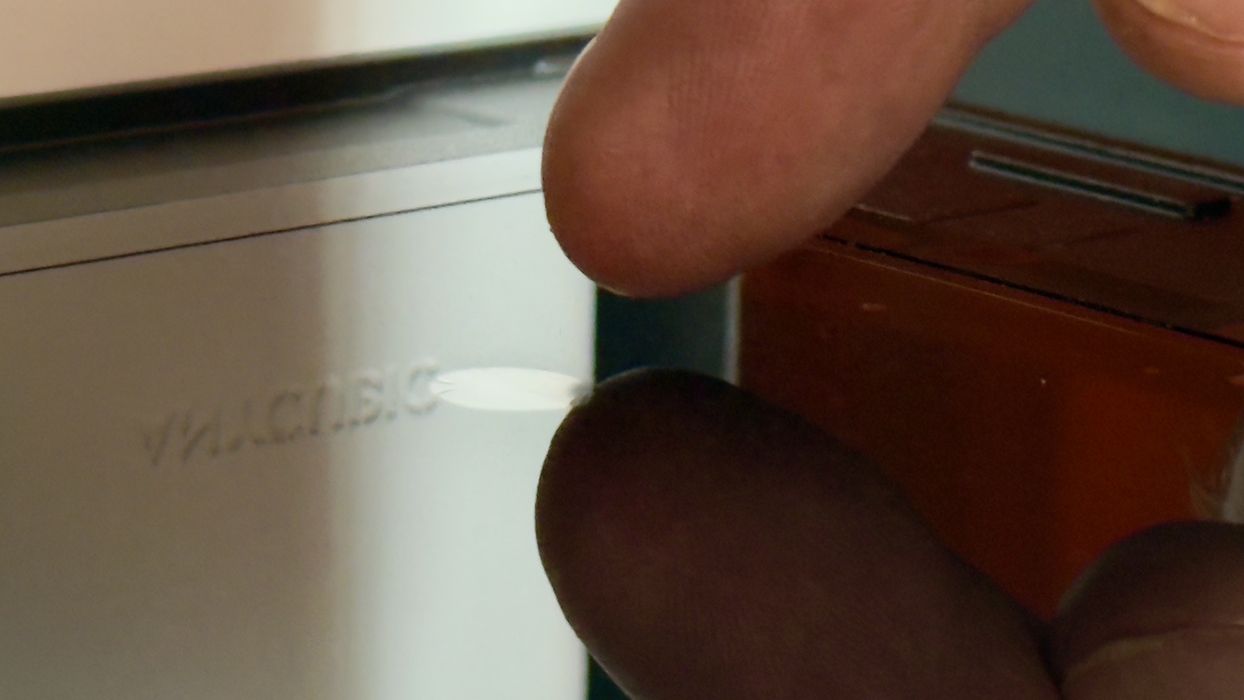
We noticed some manufacturing debris on one corner where the lid sits. Not sure what this was from, but it cleaned off easily and didn’t affect anything.
Oh, let’s peel the protective film off the control panel!
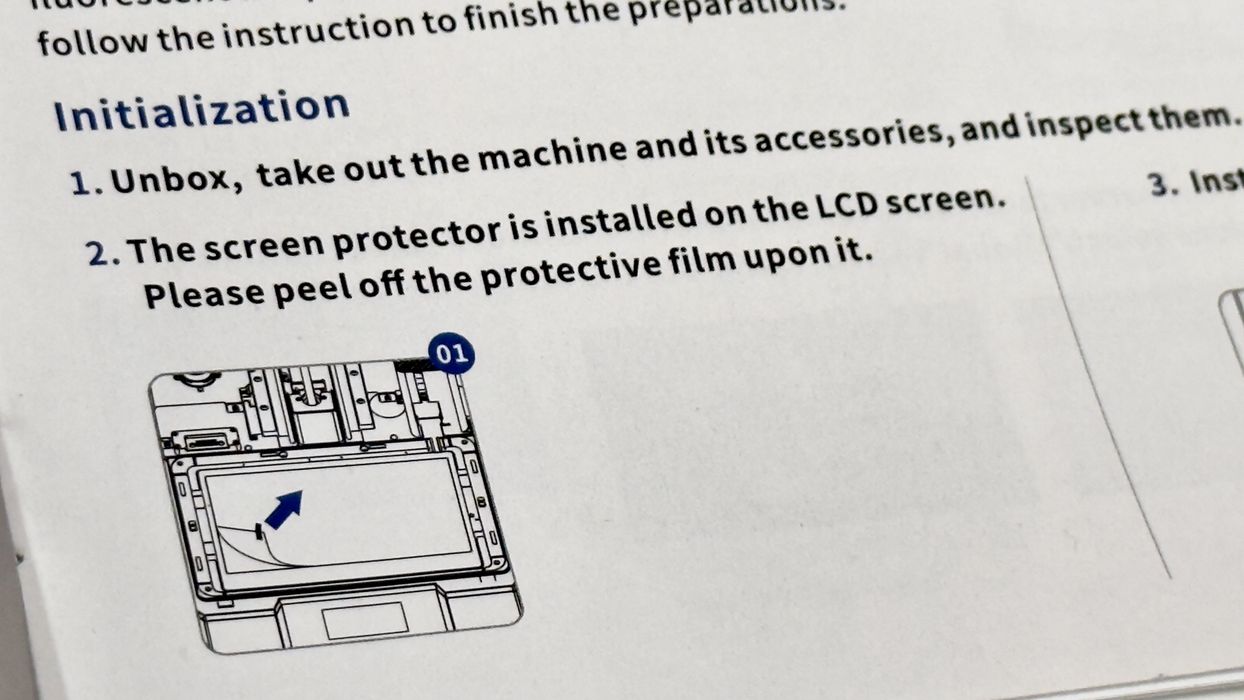
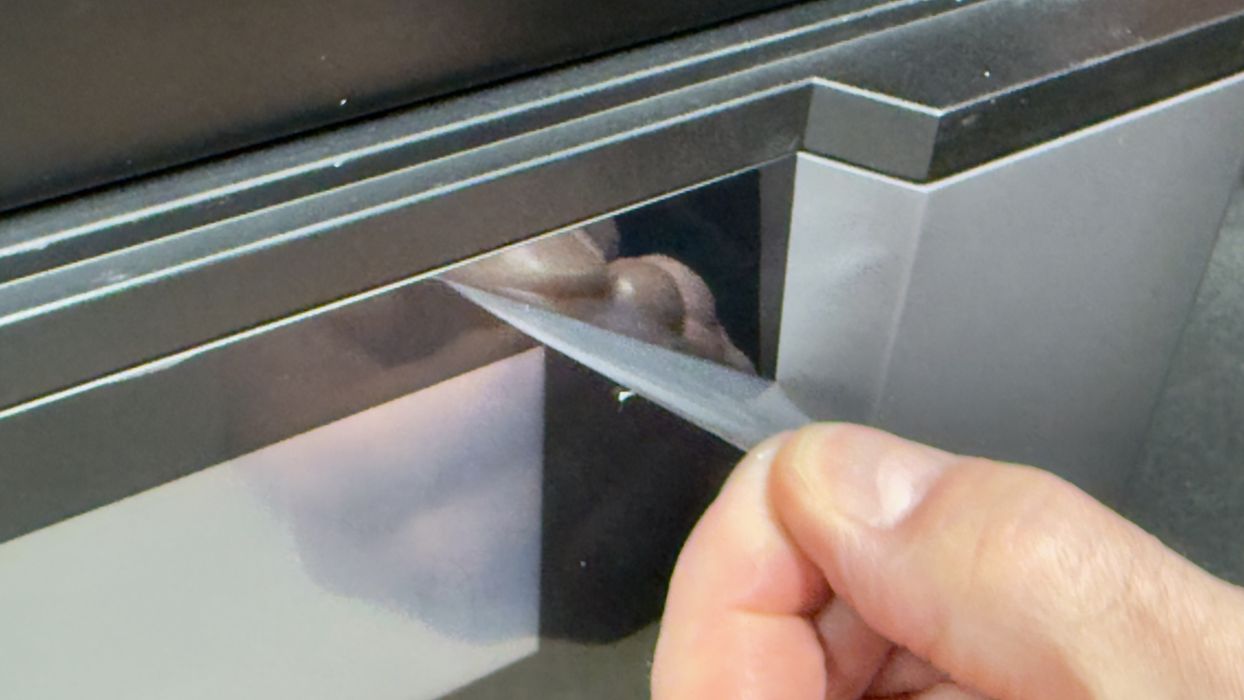
In the detailed instruction booklet there are instructions on how to remove the protective film from the LCD projector at the base of the M7 Max.
Let’s peel it off.
Wait a moment — now the instructions want me to INSTALL a protective film on the LCD projector where I had just removed some protective film. This sounds incorrect, but that’s exactly what you must do. There are so many films on this machine.
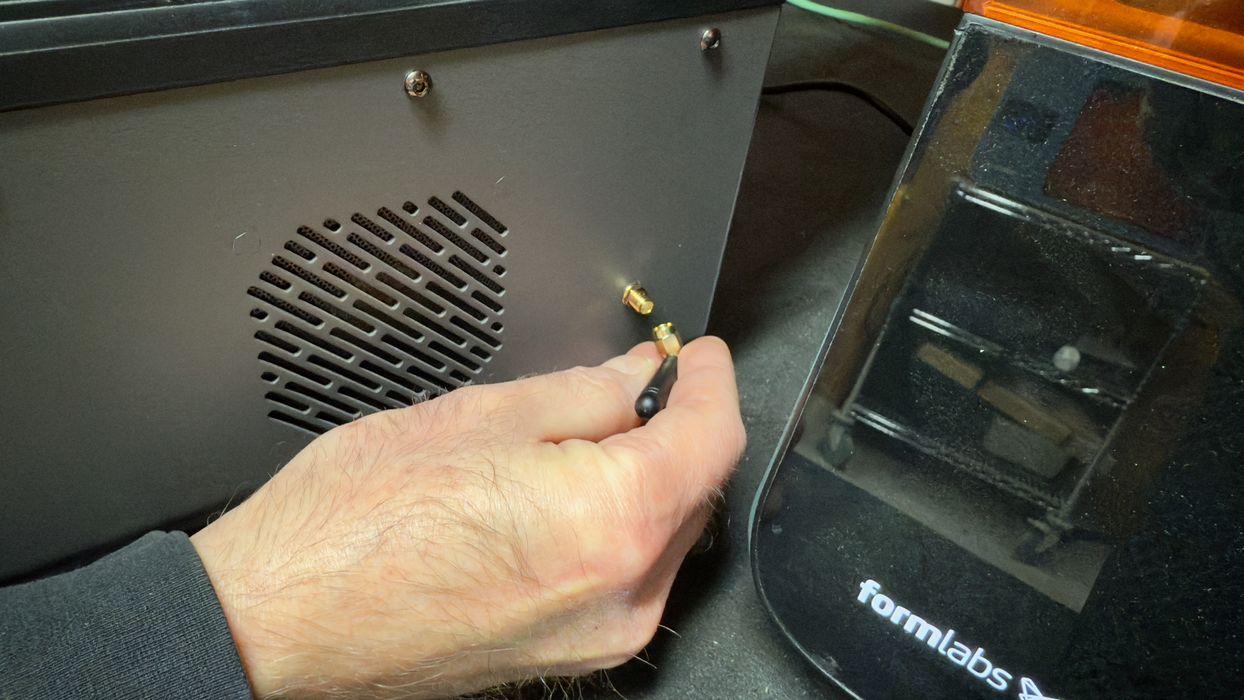
The M7 Max is mainly operated through the network, although it is possible to use a USB stick as well for direct printing. Here we are installing the WiFi antenna.
At last we could power up the M7 Max, which, after a moment, came to life.
Via Anycubic