

We’ve been testing the Creality Ender-3 S1 desktop 3D printer.
This is part one of a three part series, please read part two and three.
Creality Ender-3 S1 Background
Creality has been making inexpensive desktop 3D printers for many years, with their first breakthrough machine being the CR-10. Later they introduced the first Ender machine and it was quickly a hit among 3D print enthusiasts. Since then the company has been incrementally improving the Ender design, with the Ender-3 S1 being one of the top models these days, along with its slightly better equipped cousin, the Ender-3 S1 Pro.
We had the chance to do a detailed evaluation of the device over several weeks and this is our report.
Creality Ender-3 S1 Specifications and Features
The Ender-3 S1 is, like most Creality devices, an open gantry system. This makes the design inexpensive, but makes it also challenging to 3D print higher-temperature materials. Nevertheless, the Ender-3 S1 supports PLA, ABS, PETG and TPU, the most commonly used 3D print materials.
The machine has a generous build volume of 220 x 220 x 270 mm, and should be able to handle the needs of most desktop 3D printer operators.
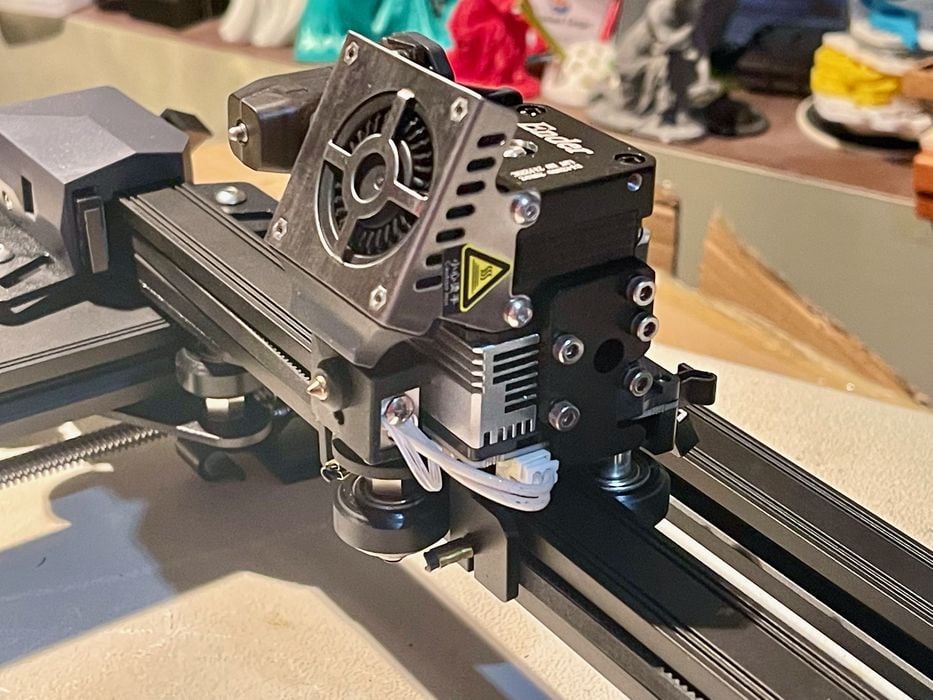
The single 1.75mm extrusion system on the Ender-3 S1 is based on Creality’s new lightweight Sprite extruder, which features easy filament loading and dual toothed-gear grip on the filament. The hot end can hit 260C.
The print surface on the Ender-3 S1 is a highly useful spring steel plate that’s magnetically attached. To remove a print the operator need only peel off the plate and twist to pop off the print.
There’s also a new automatically leveling system that measures 16 points using a touch sensor. This, combined with the easy-to-rotate manual adjustments, should make it quite easy to maintain a perfect level during printing.
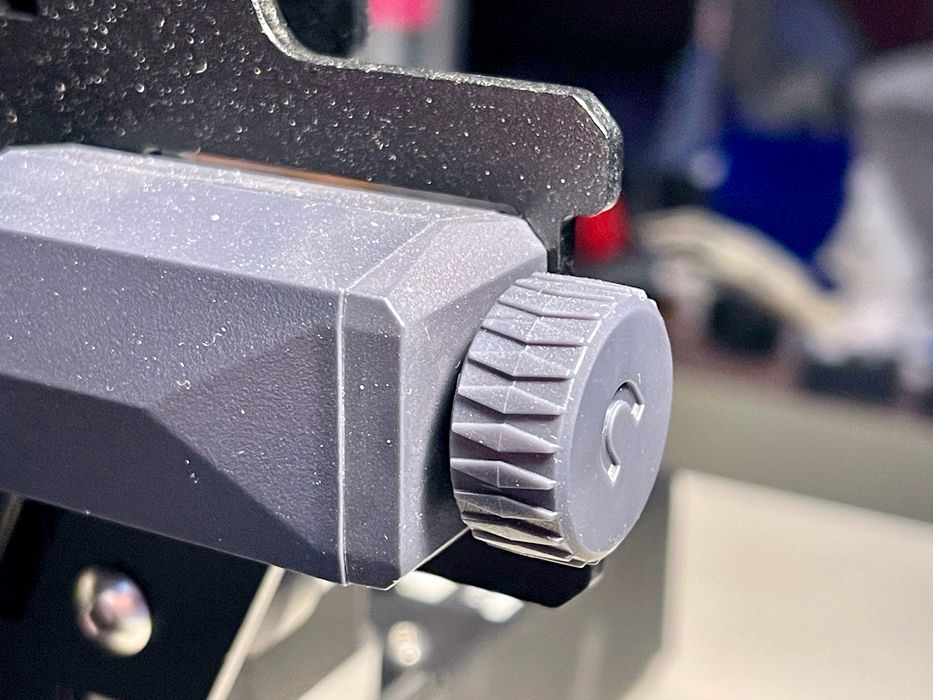
There are several highly useful convenience features on the Ender-3 S1. One is the presence of easily turned knobs to tighten or loosen the belt systems. Above is the X-axis adjustor, and below is the Y-axis adjustor.

There is also an integrated drawer where you can store spare parts and tools, some of which are so small you’ll certainly loose them unless stored in the drawer with the machine.
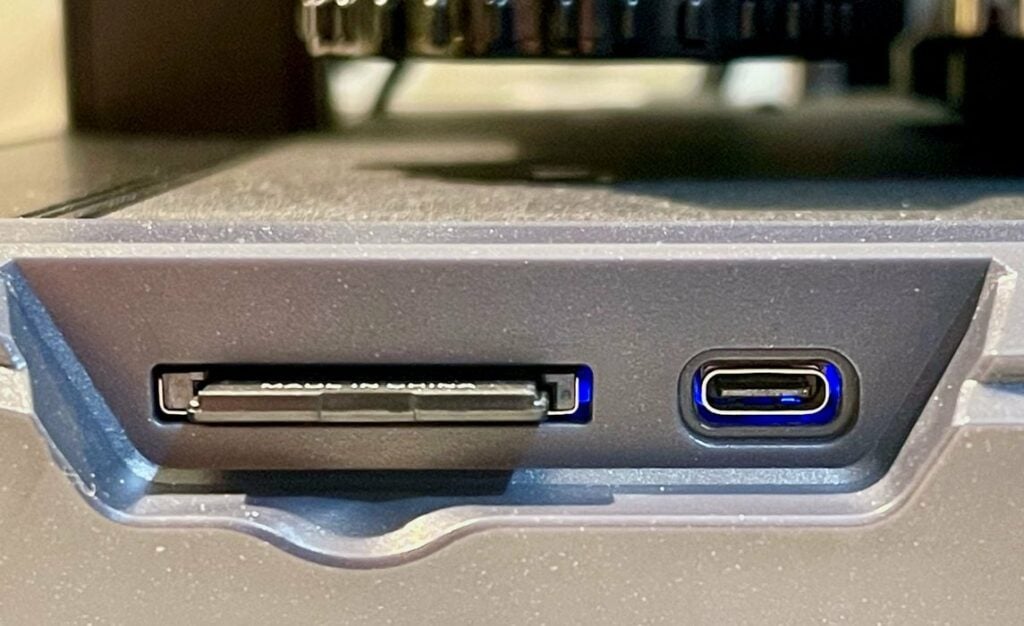
Print jobs may be stored on an SD card and inserted into the machine for immediate access, and there is also the possibility of USB control. However, I was surprised to see that the Ender-3 S1 uses a USB-C port instead of the usual USB-A port that has appeared on every machine I’ve used until now. This should make the Ender-3 S1 more compatible into the future.
The Ender-3 S1 includes a 32-bit controller board that should be able to handle all activities of the machine, and there’s even silent stepper drivers to keep machine noise down to a minimum.
Creality Ender-3 S1 Unboxing and Assembly

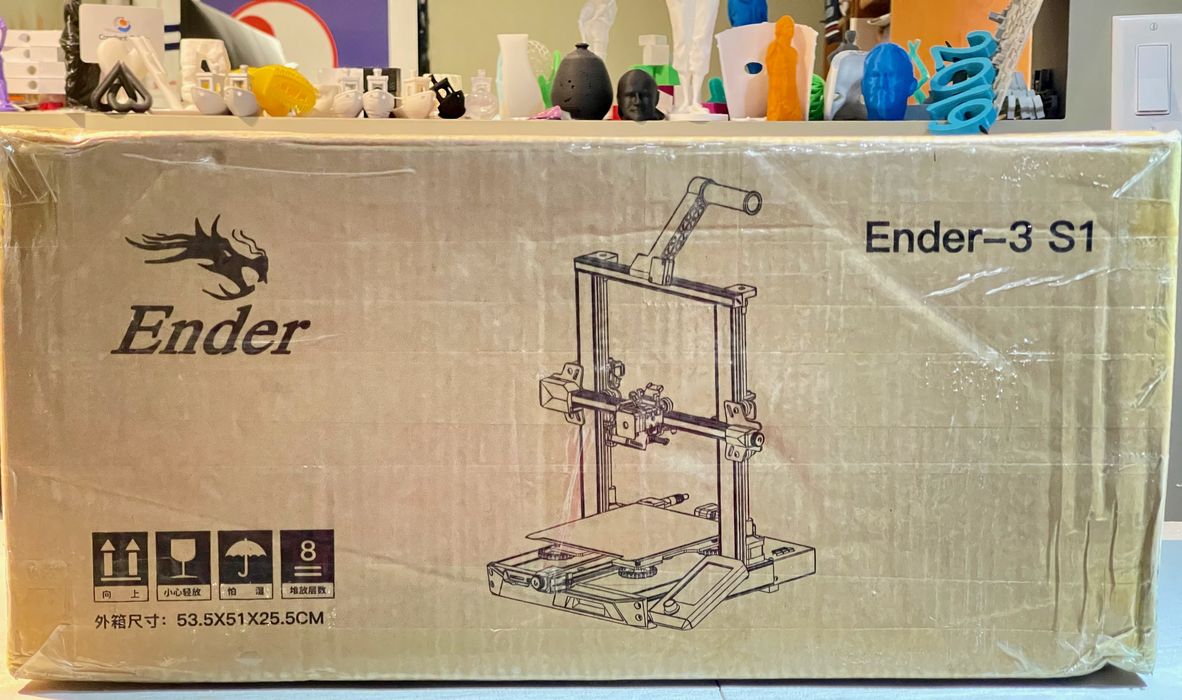
As always, Creality has figured out shipping of these small machines. The Ender-3 S1 was extremely well-packed in a relatively small flatpack box. I observed no damage on any components during inspection.
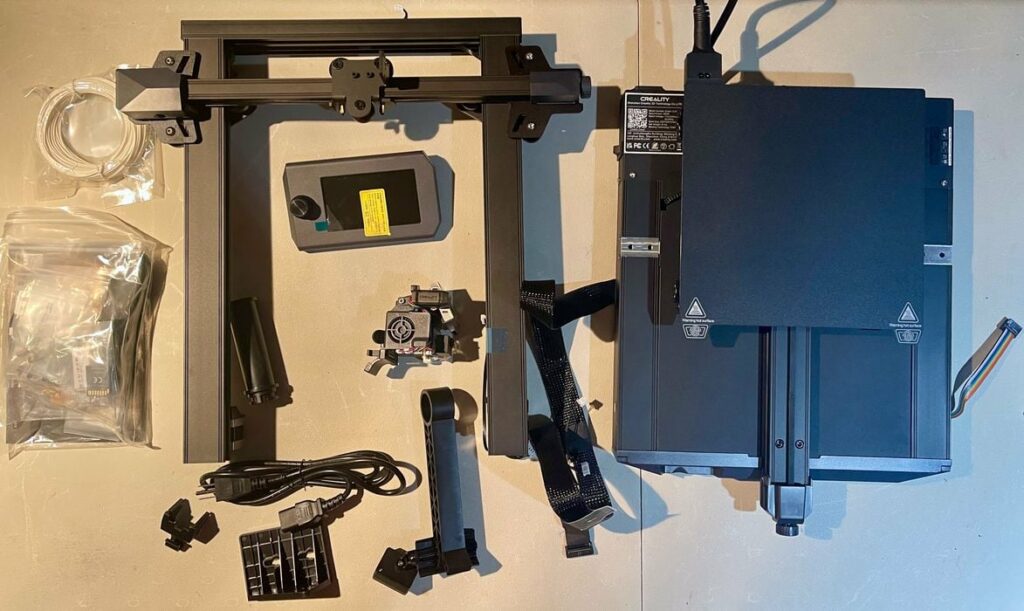
The Ender-3 S1 is actually a kit that you must assemble, but it’s far easier than you might fear. Gone are the old days where you had to literally solder wires together when assembling a 3D printer kit. These days Creality has essentially taken a fully assembled unit and split it up into a couple of smaller pieces that allow for more compact shipping. Your job is to put those pieces back together, and it takes only six steps.
The assembly process is composed of mounting the extruder to the toolhead, erecting the gantry, attaching the control unit and plugging in a few cables. While it was a straightforward process, I did run into a couple of minor challenges.
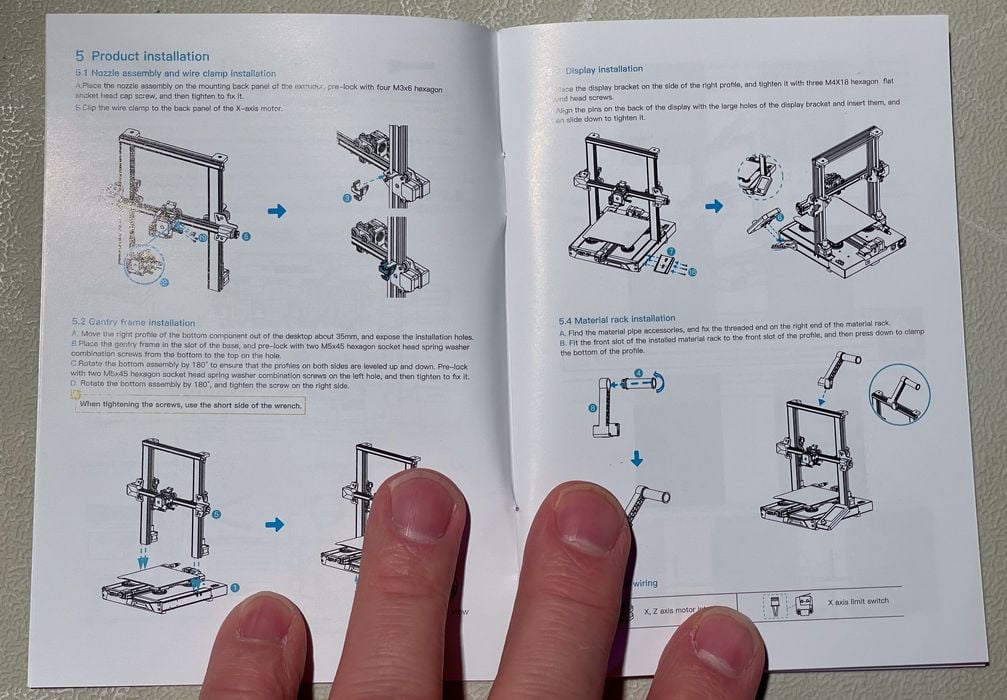
One dealt with the printed instructions, a page of which is shown here. The problem was that these instructions were literally microscopic. I may not have the best eyes anymore, but this is way too small for anyone to read.

The letters are actually less than half a millimeter in width!

This was particularly problematic when looking at the diagram to understand where to plug in the cables. As you can see in this image, the micrometer’s width is set to just less than a millimeter. Details on the diagram are actually 0.1mm, effectively invisible to the eye.
My advice is to ditch the printed instructions entirely and simply use the online version, which might be more up to date than a static printed copy. My advice to Creality here would be to instead include a printed card with a link to the online instructions instead of a quick start manual.

The good news is that most of the cable plug-ins are in obvious locations, like the one shown above. There is a terrific cover for several cable connections:
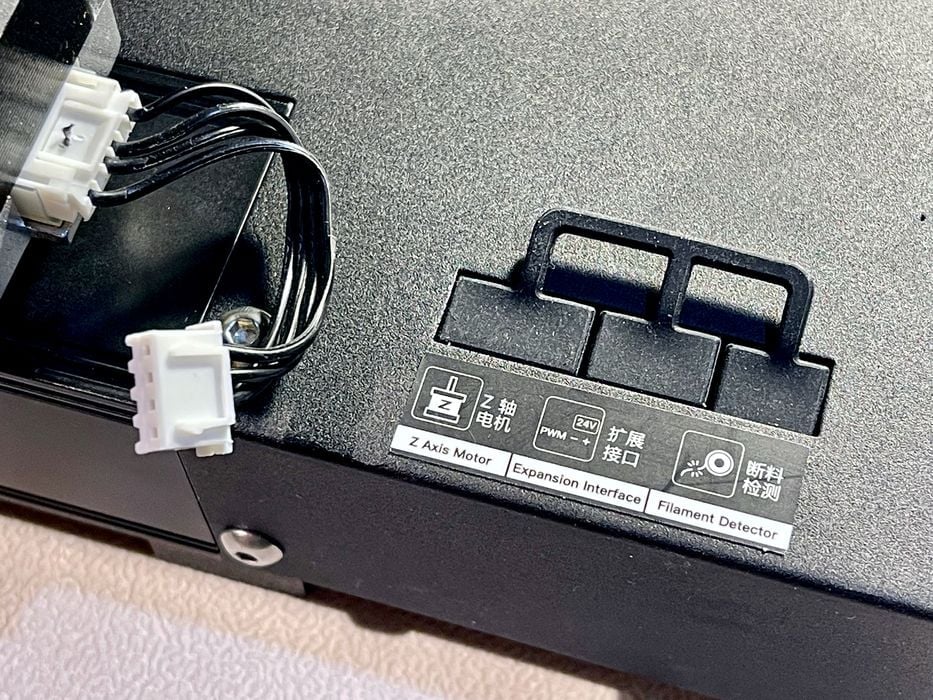
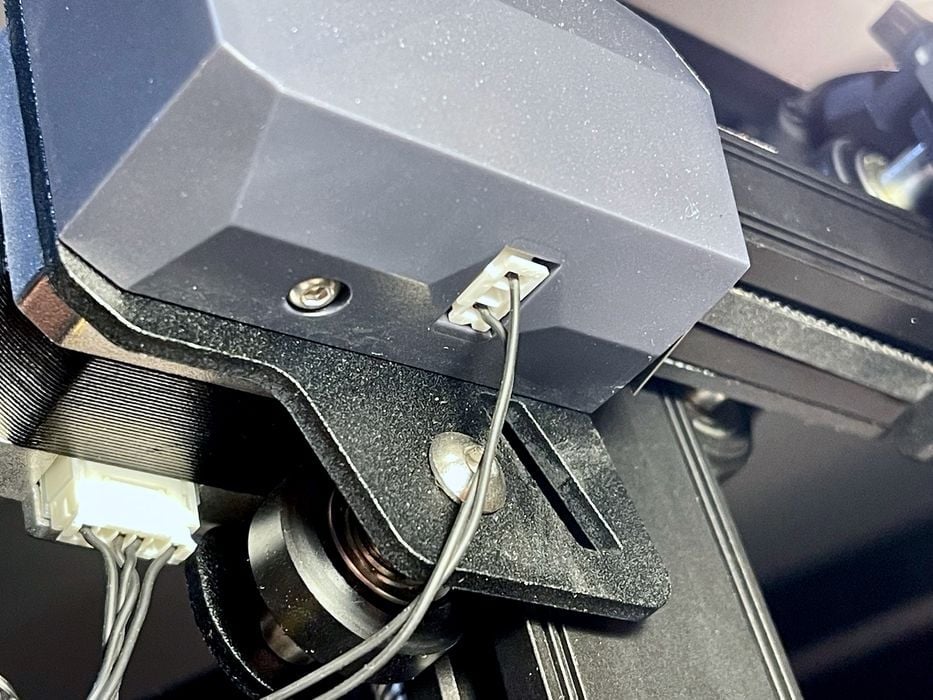
However, there was one cable port I could not easily find as the instructions were simple too small to see, even with magnification. It turned out the connection was underneath the X-axis on the left side.:
One very important thing to do while assembling the Ender-3 S1 is to ensure the input voltage is set properly for your location.
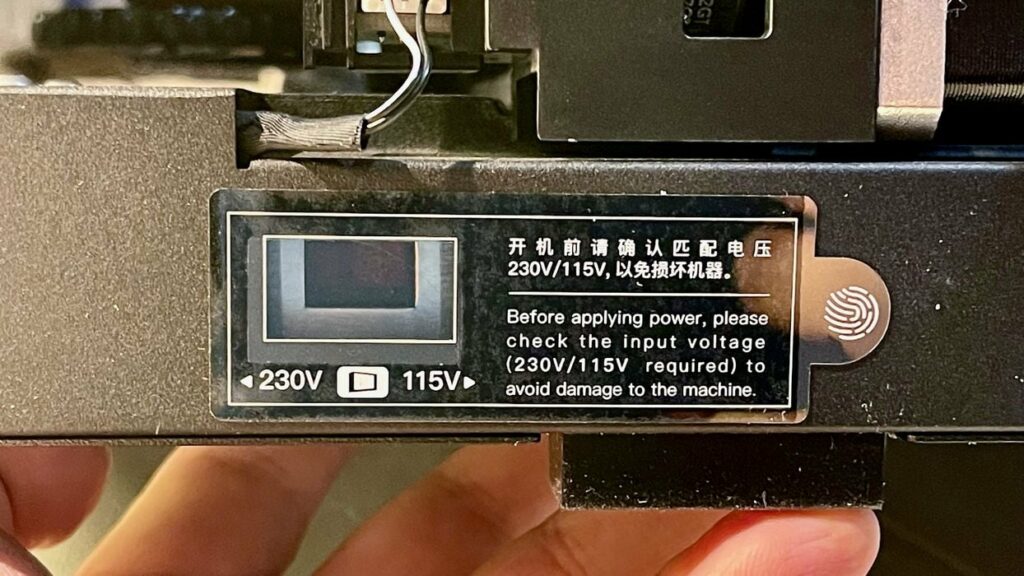
Fortunately Creality has placed this prominent sticker on the switch location to make sure you notice and take action:
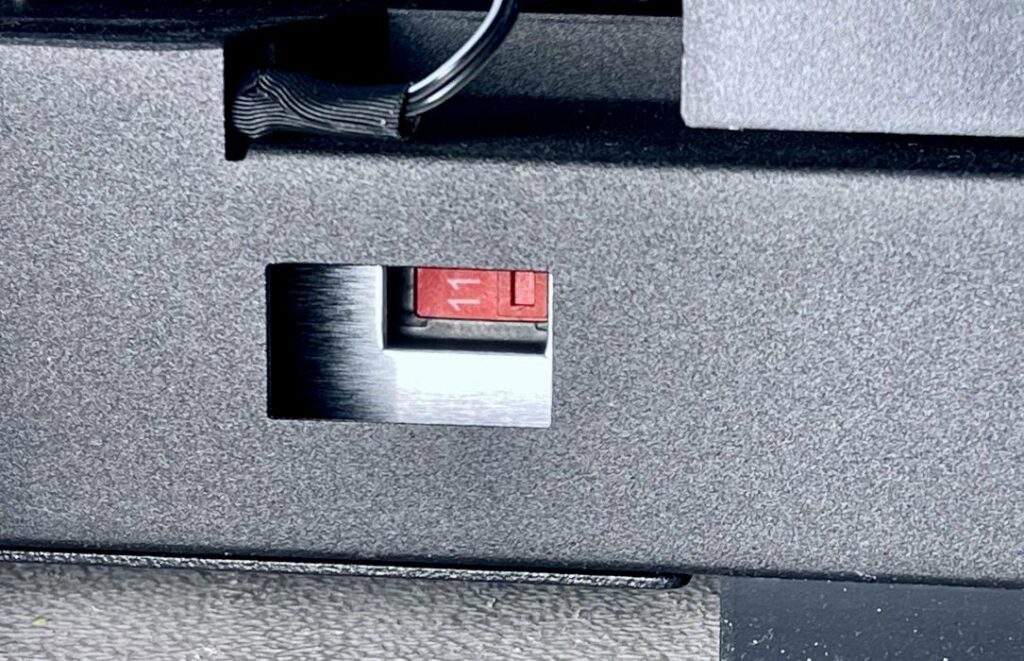
The actual voltage setting switch is buried quite deep into the machine, and you’ll need a tool to flip it, if required, to match your site’s voltage.
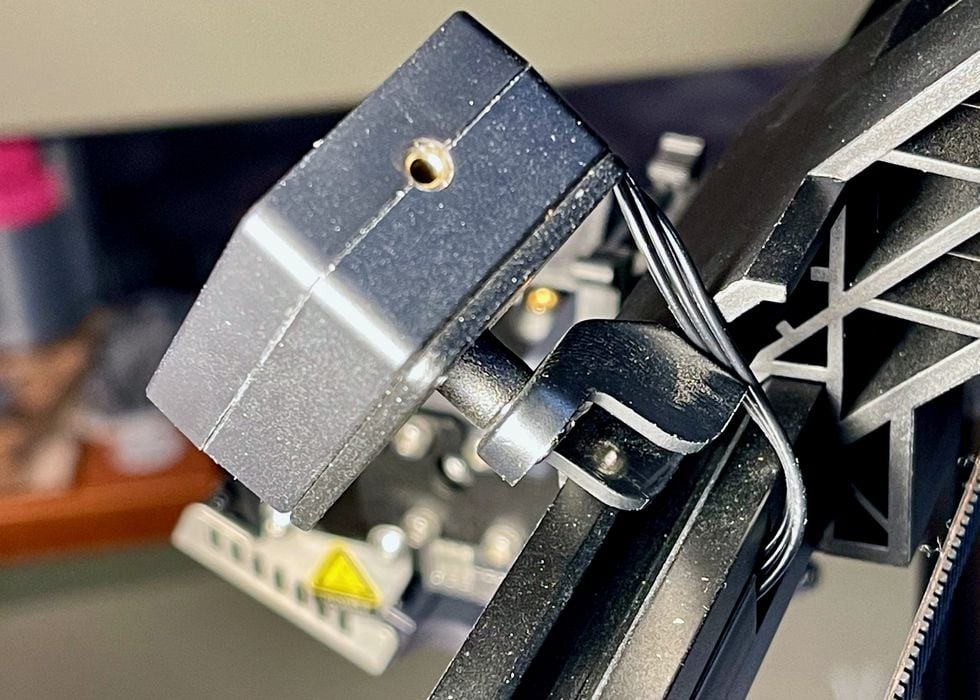
The Ender-3 S1 includes a filament out detector that must be mounted on the top of the gantry just below the spool holder. This component detects when the filament runs out and can automatically pause the print so that the operator can take action.
It’s a great feature that I tested later, but unlike most filament sensors, this one is very loose. It seems to be designed to flop around to match with the angle of the incoming filament, which can vary significantly depending on the spool type and amount of filament used.
I did find that it is possible for this sensor to fall into the X-axis belt, but this should never happen because it should always be used with incoming filament. However, be aware of this if you are using the Ender-3 S1 with an alternative spool holder.

While the assembly was quite straightforward, I did end up with this bag of bolts that seemed to have no purpose. I could not find a step in the microscopic instructions for their use, and the machine works fine without them. No, this is not the “spare” bolts, as they came in a separately labeled bag and are stored in the drawer.
At this point I was ready to power up the machine and prepare it for printing.
This is part one of a three part series, please read part two and three.
Via Creality
The instructions are tiny, I get it. But even with my bad vision, I could put on my glasses and see just fine. Without my glasses I could also clearly see the giant qr code that takes you right to the instructions. So why have a seperate card with a link when the qr is easily noticed and goes right to it. Also the plug under the x axis motor is not hidden. It is just in the bottom of the motor assembly , right were it should be. If you follow the instructions to that point, your gantry should not be lowered yet and the port is clearly visible. The out of filament detector should most certainly be able to “flop” around. And by flop you mean it can move back and forth on its anchor point. If not the filament would bind when the print head is to the far ends of either side. The “bag of bolts” you ended up with is not a bag if bolts. It is 2 bolts and two nuts. Following the instructions from the qr code or the manual you found online will show you that they are included to mount the handle that is on the SD card for you to print. And what very small parts are you talking about ? Do you have giant hands and find a pair of snips or the scraper small ? The sd card is normal size, the extra nozzle is small but it the correct size for a nozzle. The nozzle clean out bar is thin, but it comes stuck In Styrofoam. With or without it you aren’t losing it. And the SD card reader adapter is not small ? It almost seems like you are trying to bash this printer right out if the box. Horrible writing so far.