
We took a close look at the HALOT-ONE desktop 3D printer.
This is part one of a two-part series on the Creality HALOT-ONE 3D printer. Part two is here.
The HALOT-ONE is part of a new line of resin 3D printers from Creality, where they’ve tried to increase the ease of use and quality of prints. From our testing, they seem to have succeeded.
Currently there are two models in the HALOT series. The flagship model is the HALOT-SKY, while the HALOT-ONE is a smaller model offering similar features. It’s a very inexpensive machine, yet provides incredibly good prints, as you’ll see.
Unboxing The HALOT-ONE
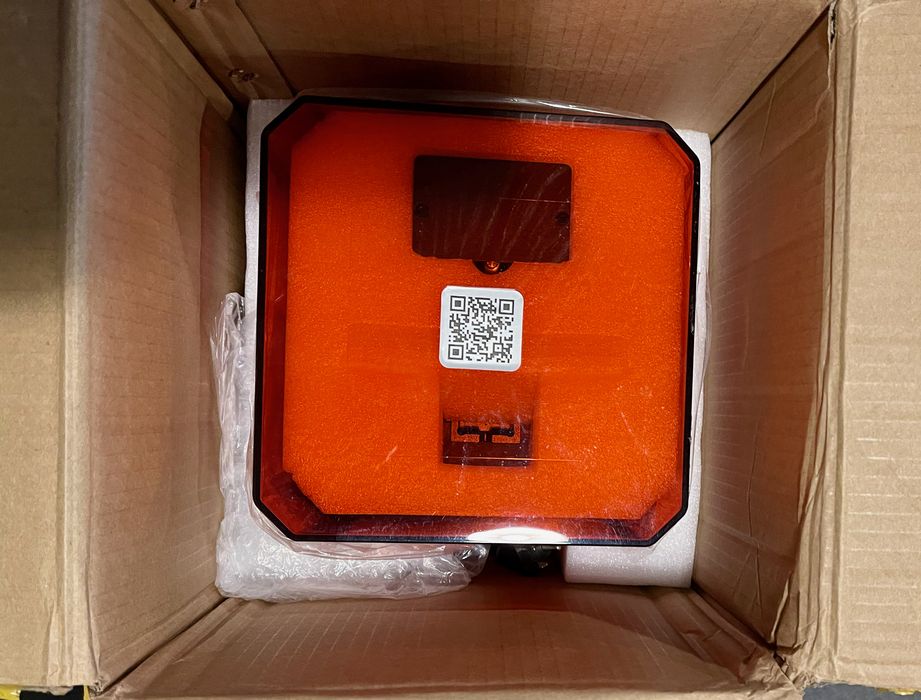
As with all Creality products, the HALOT-ONE was shipped safely in a very protective box. The company has long figured out how to successfully ship products without damage. While many of Creality’s products are kits to be assembled, the HALOT-ONE is fully assembled.
One thing we noticed was that the calibration card, used for leveling the machine, was not supplied. However, we just happened to have another Creality calibration card handy, so this wasn’t an issue. Actually, you can use any thick piece of paper.

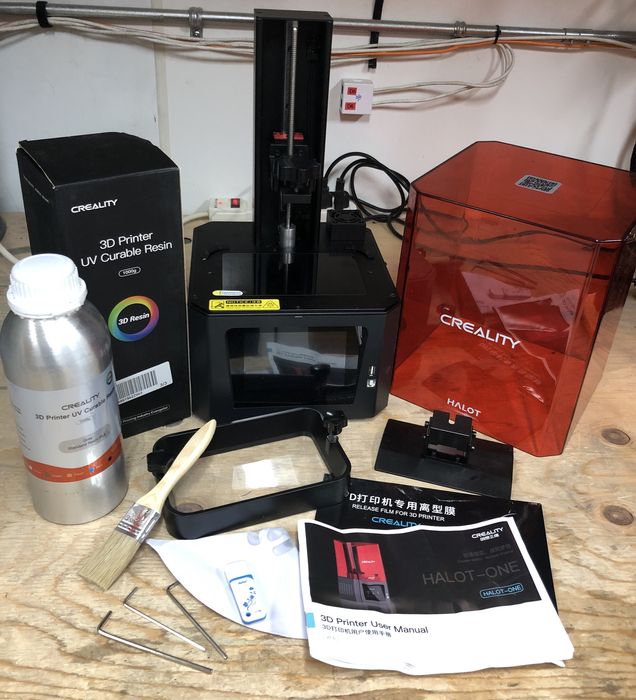
The HALOT-ONE comes with a good supply of parts and tools necessary for operation. There’s not much required, actually, as the MSLA device is quite straightforward mechanically. The Allen keys are used to tighten up the print plate during leveling operations.
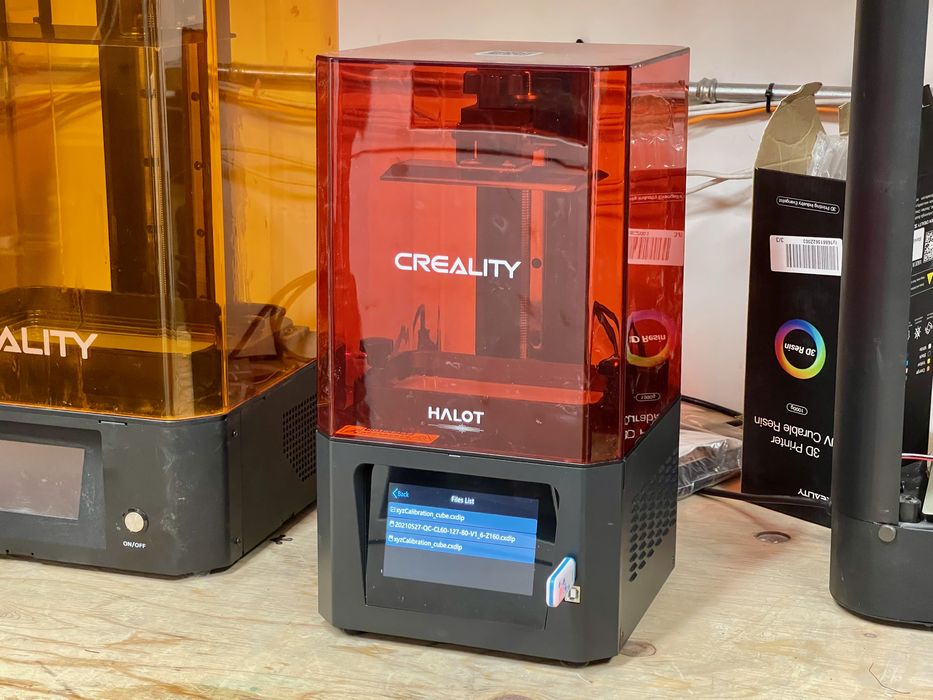
One issue we noticed was that the memory stick provided with the HALOT-ONE included only a single test print job. That’s good, but it was an 18-hour job, hardly the type of object to use as your first 3D print. First prints on any device should be relatively small in order to conserve material should something be not set up correctly.
This means that operators would have to quickly slice their own small test object for printing, but then you’re not certain the print parameters are correct. That’s the purpose of the supplied files, which are always pre-sliced with optimal parameters.
Putting together the device is relatively straightforward:
- Packaging must be removed
- The build plate must be leveled using a built-in procedure
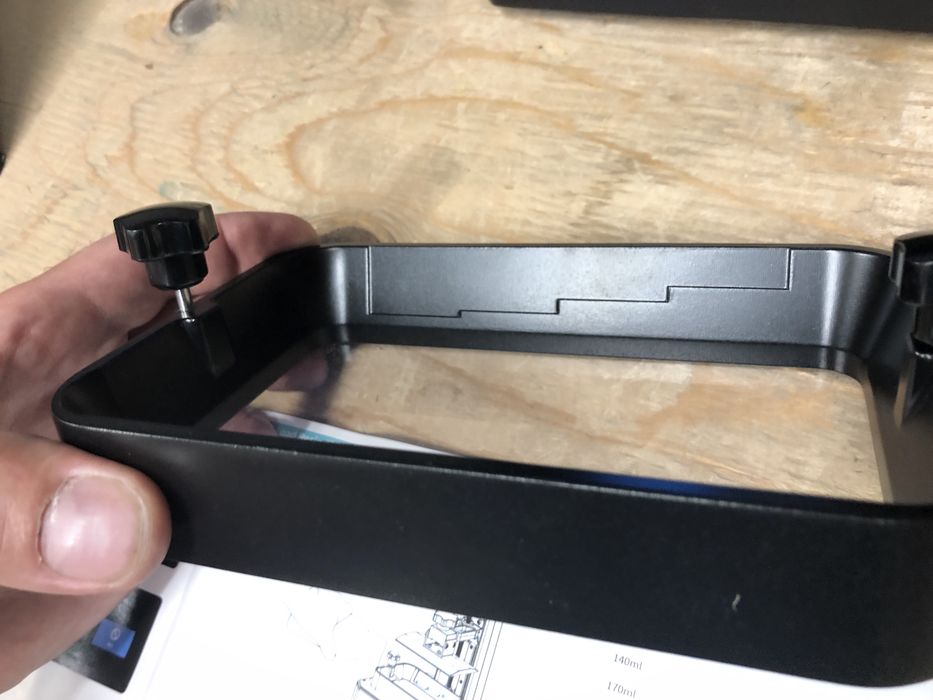
- The resin tank must be installed using two easily installed bolts
- The cover is placed on top
While this was quite easy to do , we could see Creality beefing up the assembly instructions a little, as the brief installation section might appear confusing to a new 3D printer operator.
Creality HALOT-ONE Setup
We did pause during the leveling as we realized there was a protective coating on the optical window surface. After watching the supplied instructional video we weren’t sure what to do with it, as it did not appear in the video. Was this to be removed before leveling? It was not stated so in the instructions. Eventually, we realized it should be removed during printing, so it should also be removed for calibration.
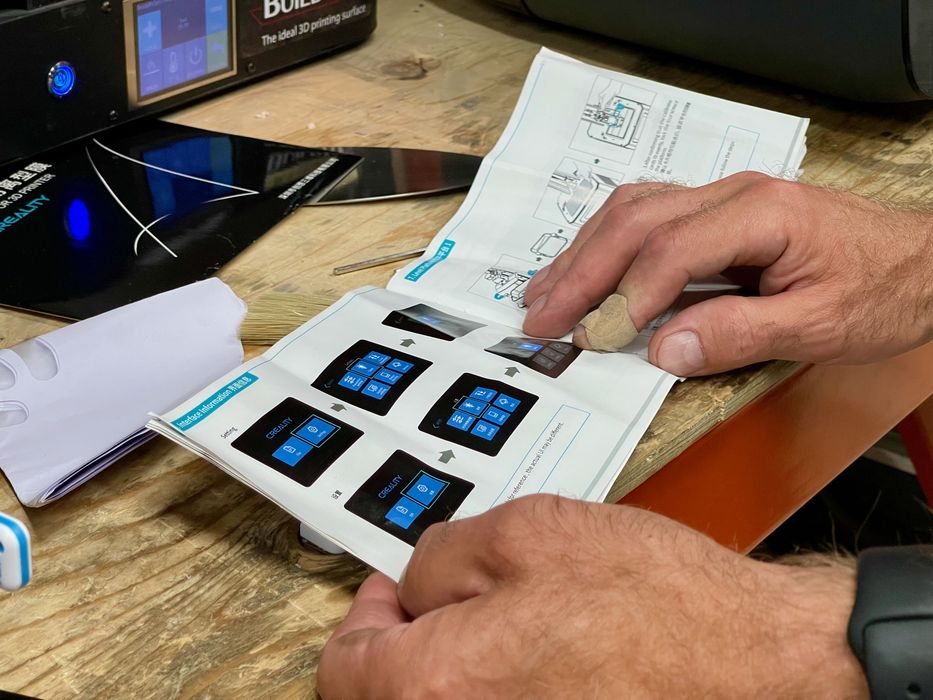
Similarly, we found the interface descriptions in the instructions to be lacking, as they were often simply pictures of the interface without explanation.
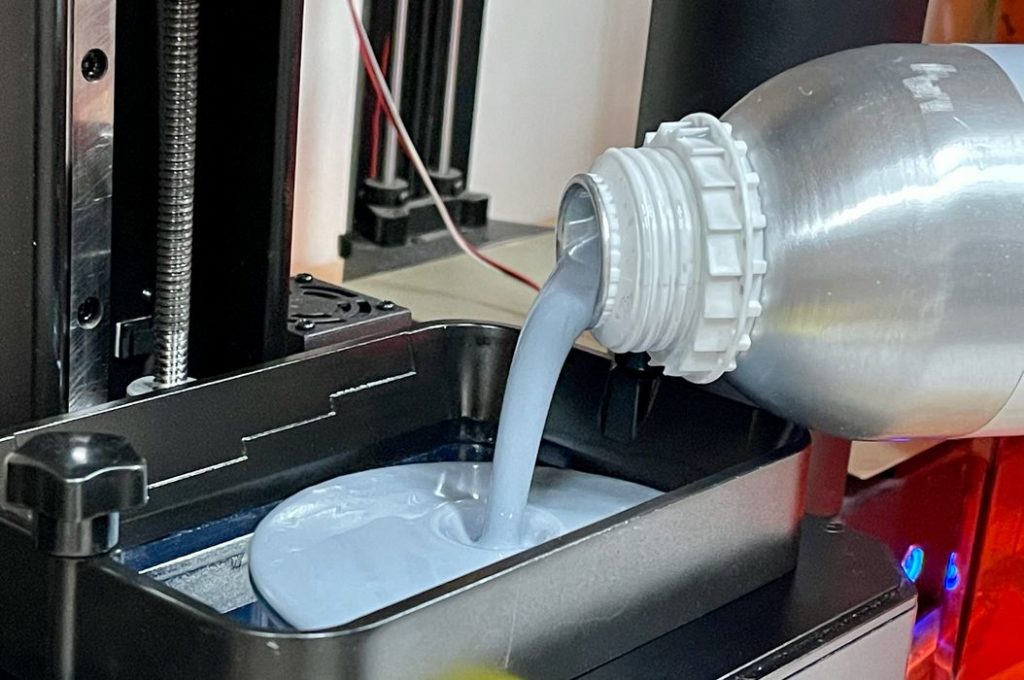
Loading the printer with material is easy, but should be done very carefully due to the toxic nature of 3D printer resin. As with all resin 3D printers, we strongly recommend using nitrile gloves, eye coverings and sleeves to avoid skin and eye contact with any 3D printer resin.
A very good feature on the HALOT-ONE is level markings within the resin tank. This allows the operator to easily see how much resin is in the tank, and thus ensure there is sufficient for each print job. This is important because different 3D printers have different resin tank areas, so it’s tricky to judge material volume from machine to machine.
We would have liked to see some instructions indicating how much extra resin to add in addition to the computed resin volume from the slicer to ensure the vat does not run low. In other words, how low can you go and still print successfully? In our case, we simply overloaded the tank for each job.
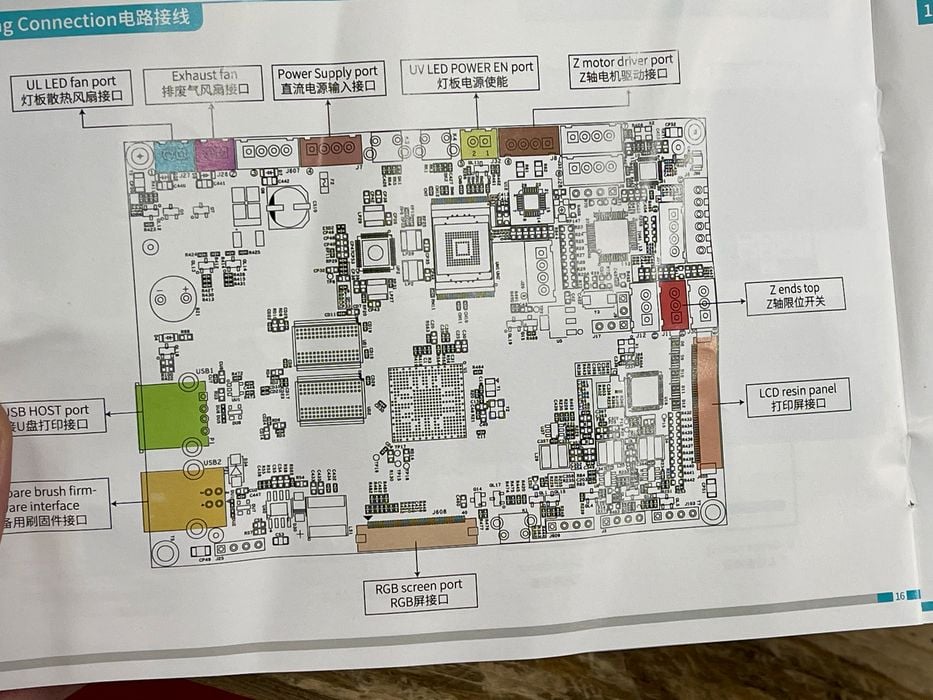
As a matter of fact, we observed numerous oddities in the instructions, such as some parts being a high level overview, while at another point a detailed electronic circuit is shown. Sometimes there were mentions that didn’t make sense, such as mentions of “filaments”, which aren’t used in this machine. There was mention of mobile device software, yet no link was provided or even the name of the software.
One flaw with the HALOT-ONE, it is the instructions. We’re hoping Creality will rework these written instructions to better enable operators, particularly those new to 3D printing, in a more clear fashion. Nevertheless, it is pretty straightforward to get the machine operating.
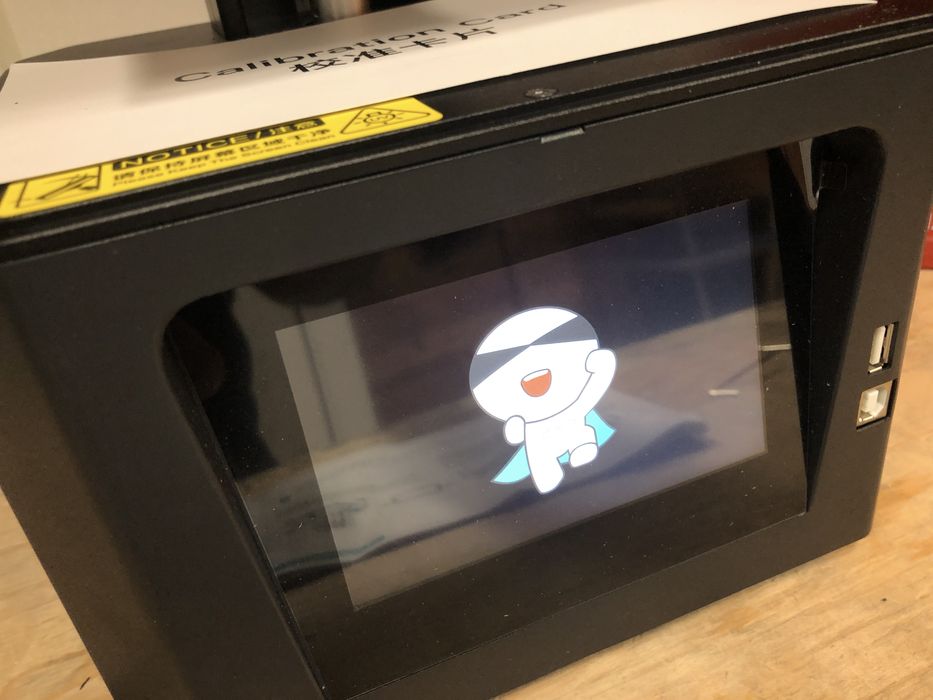
It does, however, offer a very friendly welcome on the front panel when you power on the device.
The software to be used with the HALOT-ONE is HALOT BOX, a custom-developed slicer from Creality.
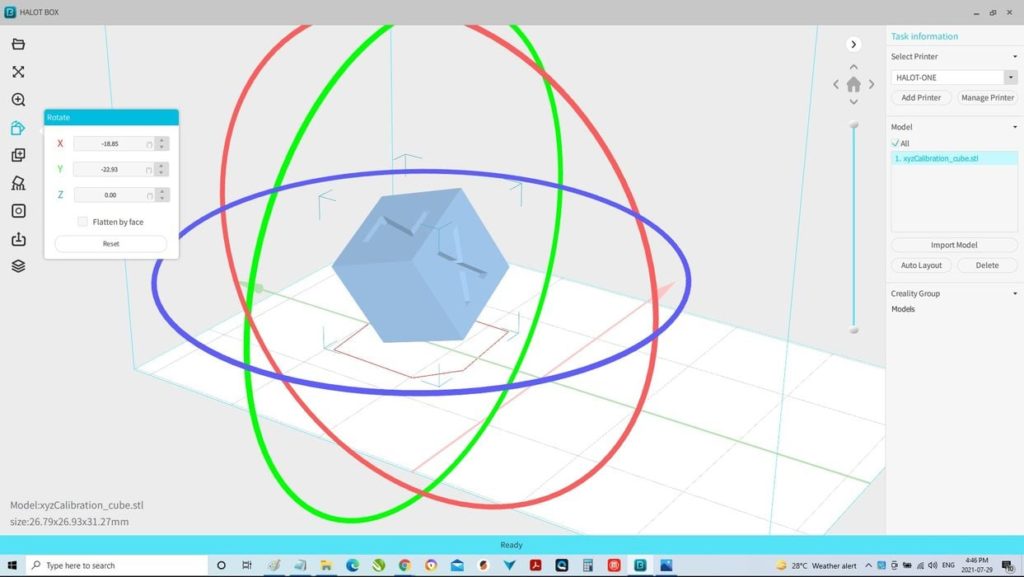
While HALOT BOX does work very well, we found that it offered only a sparse interface and was sometimes clumsy when switching between tools. The software could include additional automation in future releases. For example, there is no automatic orientation function, and the operator will have to examine each part and manually determine the orientation.
Similarly, the automated support structure generation feature was somewhat limited. Support structures are critical for successful 3D prints, and anything that makes them better is very useful. Often we found that we had to resort to manual support generation to obtain successful 3D prints.
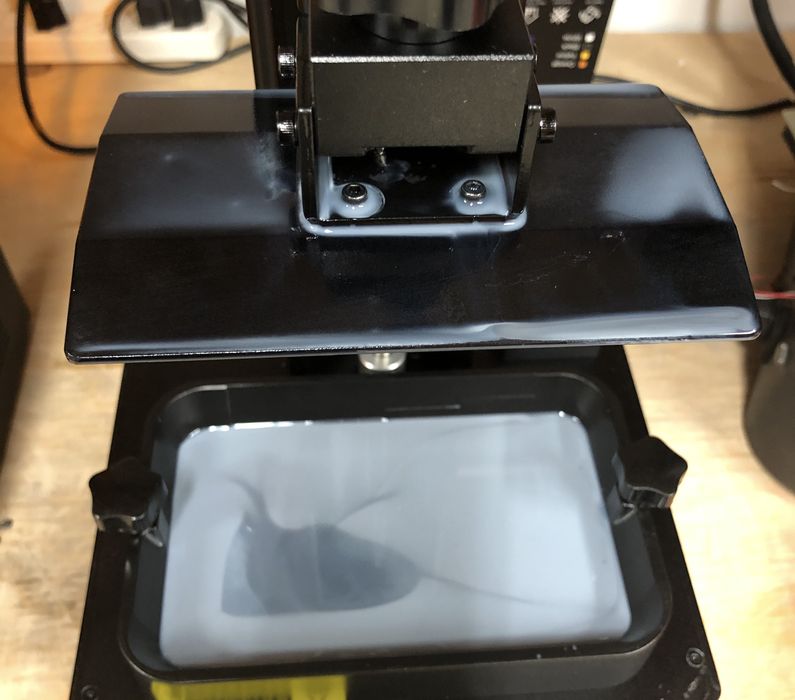
One problem seen on the HALOT-ONE that is common among resin 3D printers was a plate attachment design that attracts resin. Here you can see the amount of resin collecting on the top of the plate, and it is extremely difficult to remove it, or even let it drip off. I’m hoping Creality will adjust a future version to have smooth, sloping sides that allow for an easy-to-clean plate.
We also observed HALOT BOX would occasionally generate visual errors in the 3D scene. After some experimentation we realized these were often caused by certain sequence of operations. Eventually we settled on this sequence, which seemed to work very well without error:
- Open File
- Hollow
- Drill
- Rotate
- Supports
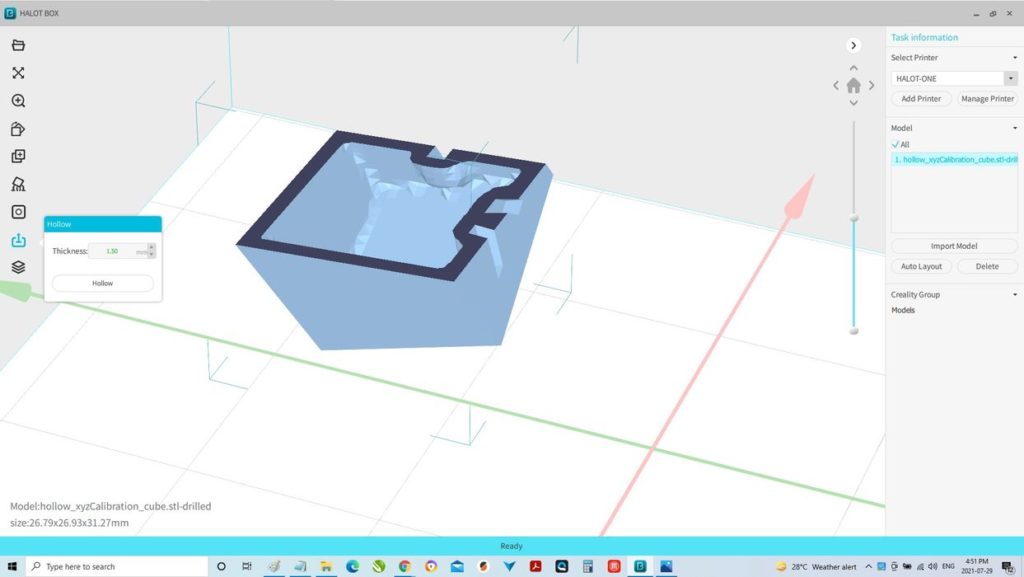
We had no more visual errors in HALOT BOX when using that sequence. Apparently the order of operations is important.
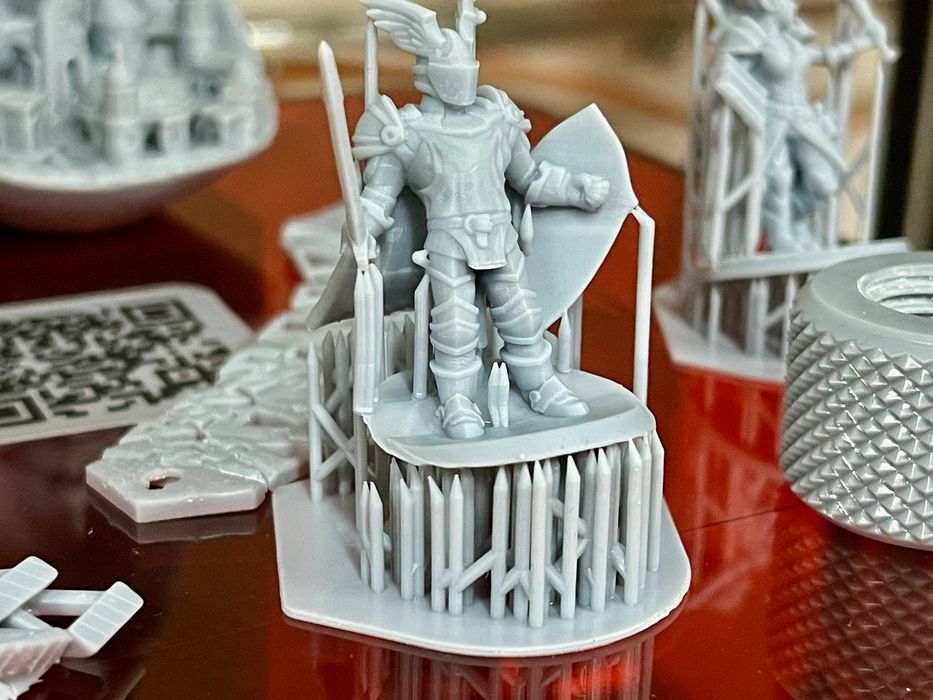
Fortunately, the machine itself is very good, and the print quality was tremendous.
This is part one of a two-part series on the Creality HALOT-ONE 3D printer. Part two is here.
Via Creality