
We were able to test the new high speed desktop 3D printer from Anycubic, the Kobra 2.
This is part one of a three part series, please read parts two and three.
Anycubic Kobra 2 3D Printer Background
Anycubic continues to produce new models of desktop 3D printers seemingly every few months, and each one is better than its predecessor. Over the past few years we’ve seen this company’s equipment dramatically increase in quality and performance, with the Kobra 2 being their most powerful unit yet.
Anycubic Kobra 2 3D Printer Specifications and Features
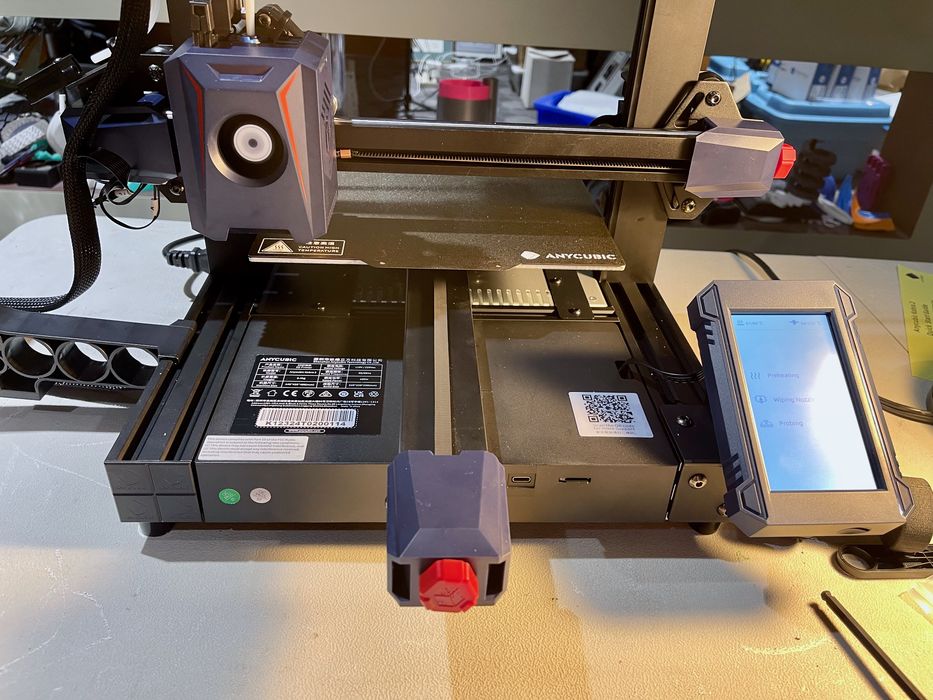
The Kobra 2 is an open gantry-style desktop 3D printer that uses a single direct drive extrusion system. It uses the standard i3-style motion system that’s found on most inexpensive desktop systems these days.
The device may visually appear similar to its predecessor Kobra devices, but it really isn’t the same at all. There are several very key differences inside the machine. For example, the frame, bearings and rods have all been upgraded.
The extruder power has been increased to 60W, making it easier to push filament through at higher rates. The cooling system has also been beefed up with a fan that now runs at 7000rpm, which should cool extruded material much more rapidly.
All of these changes enable the most important feature of the Kobra 2: high speed 3D printing. While typical 3D printers run between 30-60mm/s, the Kobra 2 can hit an amazing 250mm/s, with a recommended standard speed of 150mm/s.
Of interest is the new leveling system, which Anycubic calls “LeviQ”. LeviQ version 2 is included on the Kobra 2, and that entails a new sensor and a unique wiping system.
The machine sports a 250 x 220 x 220 mm build volume, and a 0.4mm brass nozzle, which can be heated up to 260C. The magnetically attached spring steel print plate is the same as previous units, and it can be heated to 110C. There’s also a filament-out detection system, and a power-loss recovery system, both of which are becoming standard on most desktop 3D printers.
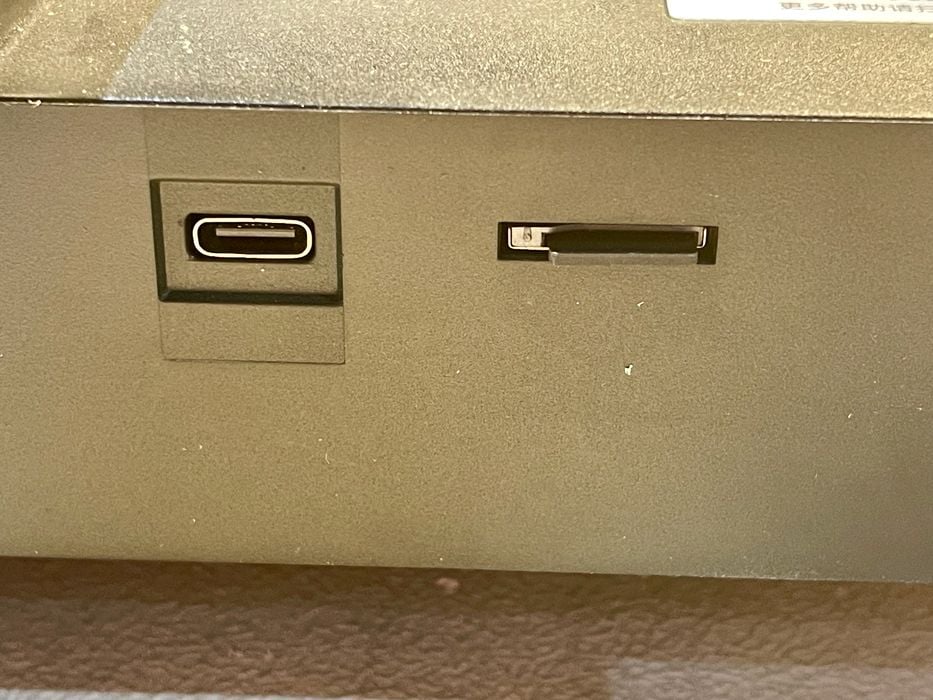
It’s important to note that the Kobra 2 uses a USB-C connection, not the standard USB-A connection. This means that if you’re hooking it up to your PC or set-top box, you must have an appropriate cable.
Anycubic Kobra 2 3D Printer Unboxing
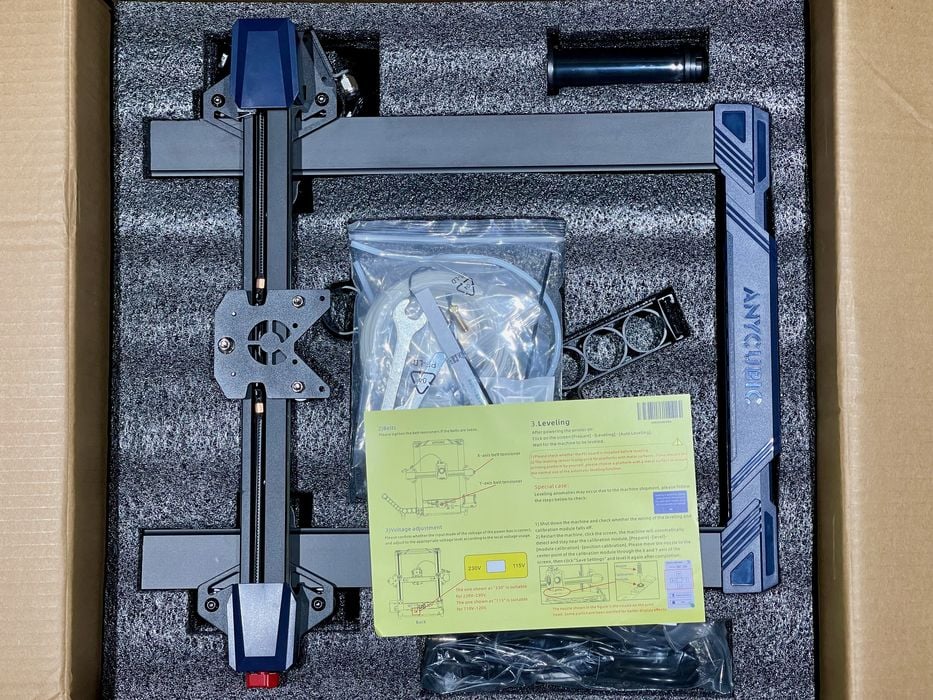
Anycubic has shipped an enormous number of devices, and at this point they have product packaging completely figured out. As usual I found no shipping damage in the tightly-packed box.
The parts included in the Kobra 2 shipment are what is expected: a mostly assembled device that’s been broken down to enable efficient shipping. In other words, there is a bit of assembly required, and it shouldn’t take much to do so.
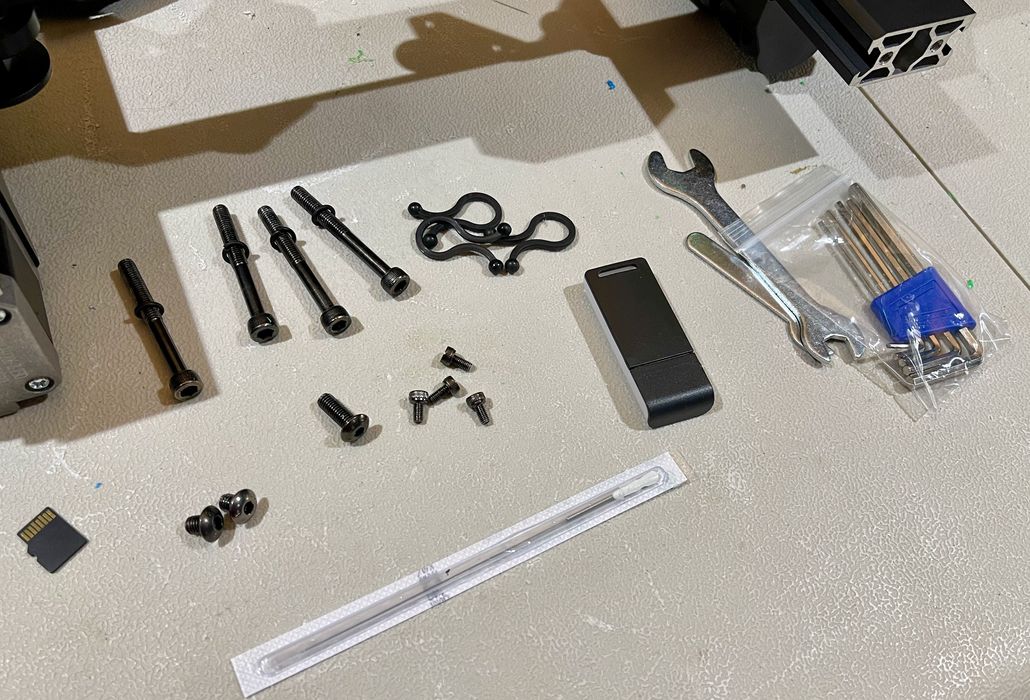
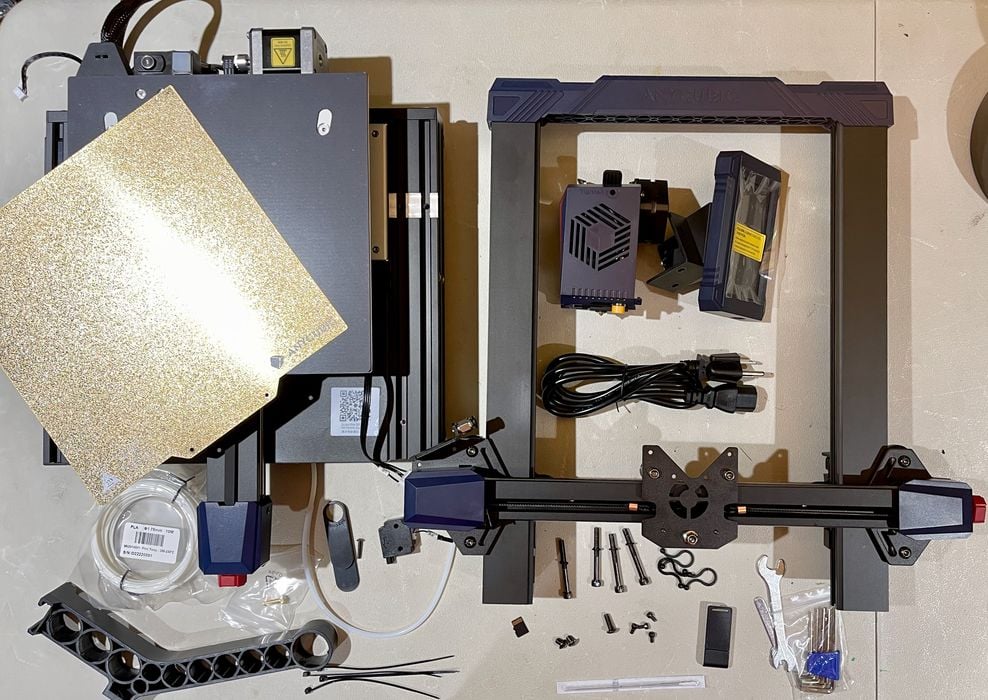
Anycubic usually includes more than enough tools and spare parts to get you going, and the Kobra 2 is no different. Here we see what’s included in the package. Note they include a nozzle cleaning needle, which is not always a standard tool in other company’s products.
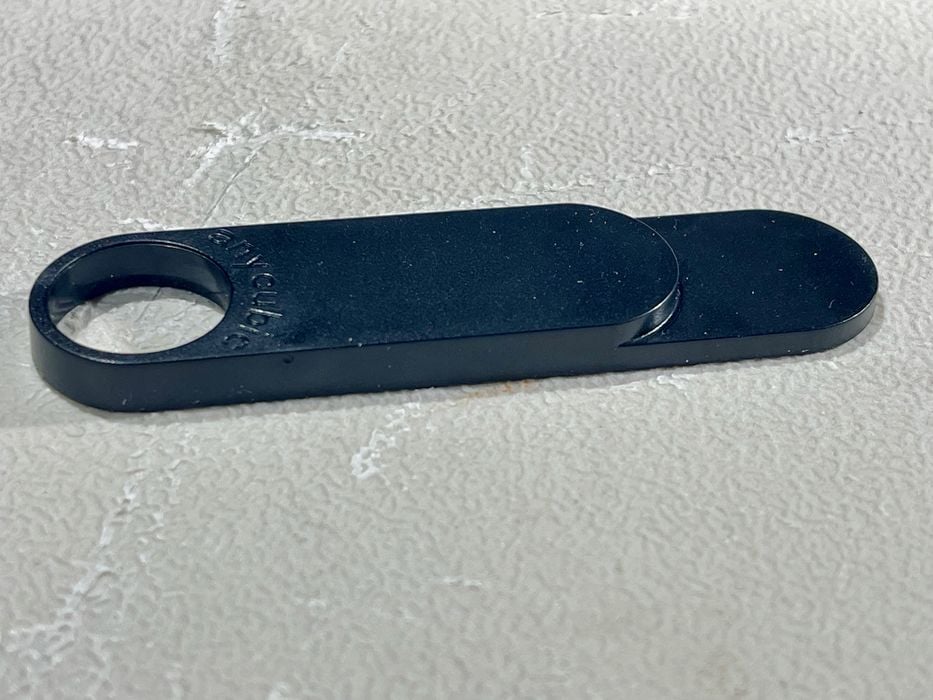
However, there was one new tool included, and I was mystified as to what it would be used for. Eventually I discovered that it is intended for use with the new bed sensor. If the sensor is out of alignment, this tool can be used to re-align it properly. Fortunately, I did not need to use this tool with my Kobra 2.
Anycubic Kobra 2 3D Printer Assembly
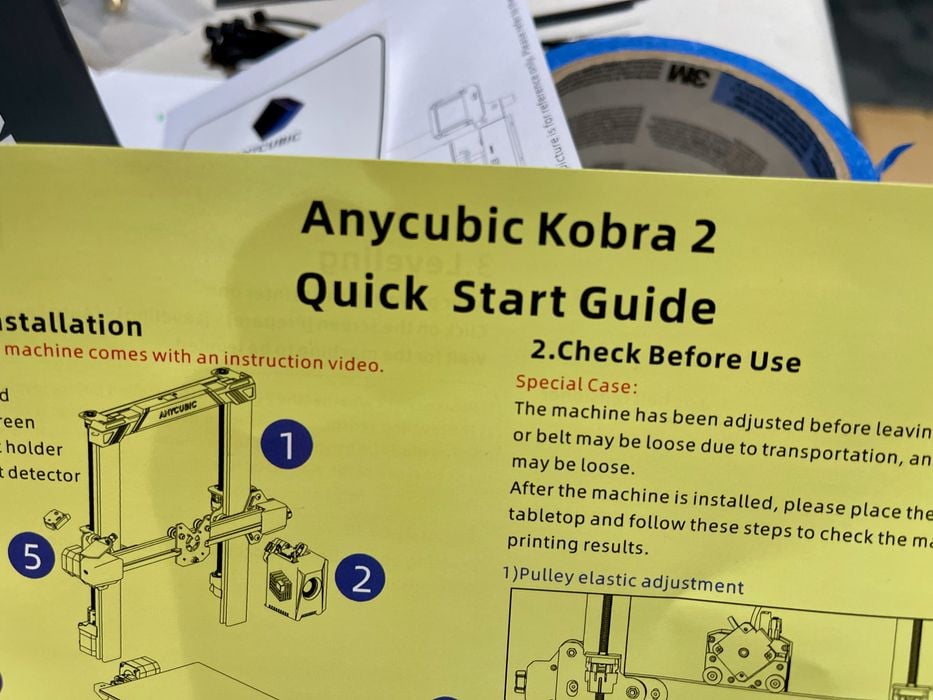
Anycubic provides a decent set of printed instructions showing how to assemble the machine. I’ve built enough of these machines to not really require the instructions, but those new to 3D printers might require them.
If I had a suggestion for Anycubic’s instructions, I would suggest using bigger diagrams that are a bit more clear, particularly for cable connections, as you will see later. The cabling diagrams are correct, but it’s not always obvious where the connection port is located.
The major part of the assembly is attaching the upper frame to the base. While many 3D printer kits just have some bolt holes, here Anycubic has milled out a trench for the frame in the base. This provides an easy way to perfectly align the frame.

Bolting together the mechanical parts of the kit ended up being very straightforward, and I was able to complete that part fairly quickly.
Perhaps the most complex part of the mechanical assembly is to mount the extrusion assembly on the X-axis carriage, and it really wasn’t hard to do at all.
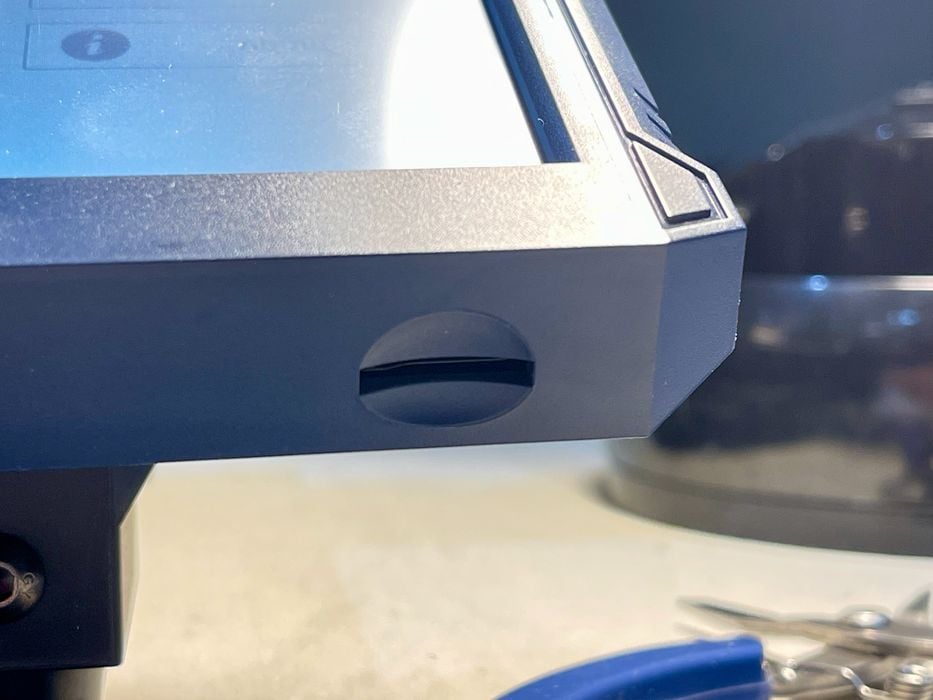
When attaching the touchscreen assembly to the frame, I noticed this MicroSD card slot on the bottom of the unit. This is separate from the MicroSD card slot on the base, shown above. It turns out that the MicroSD card slot on the base is the one to use for local 3D printing, whereas this one is unused.
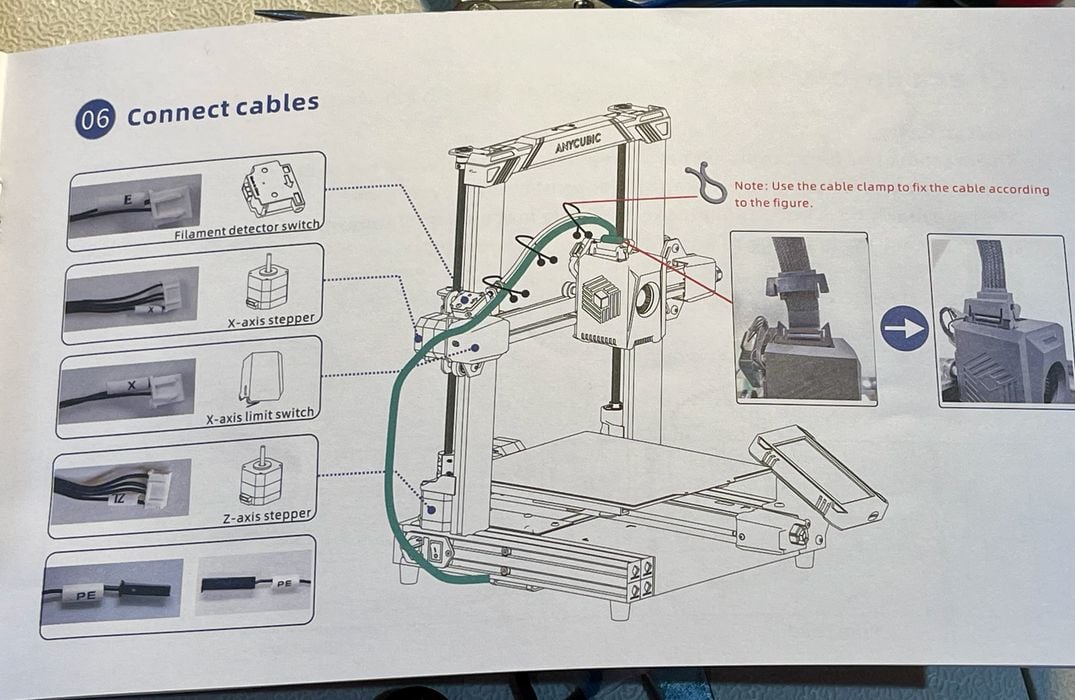
One of the final assembly steps is to hook up all the cables. This is usually pretty easy to do, as everything is labeled.
The printed instructions show, at a high level, where the cables should be attached. However, you can’t quite see exactly where the ports are located, the orientation required, or what the ports look like.
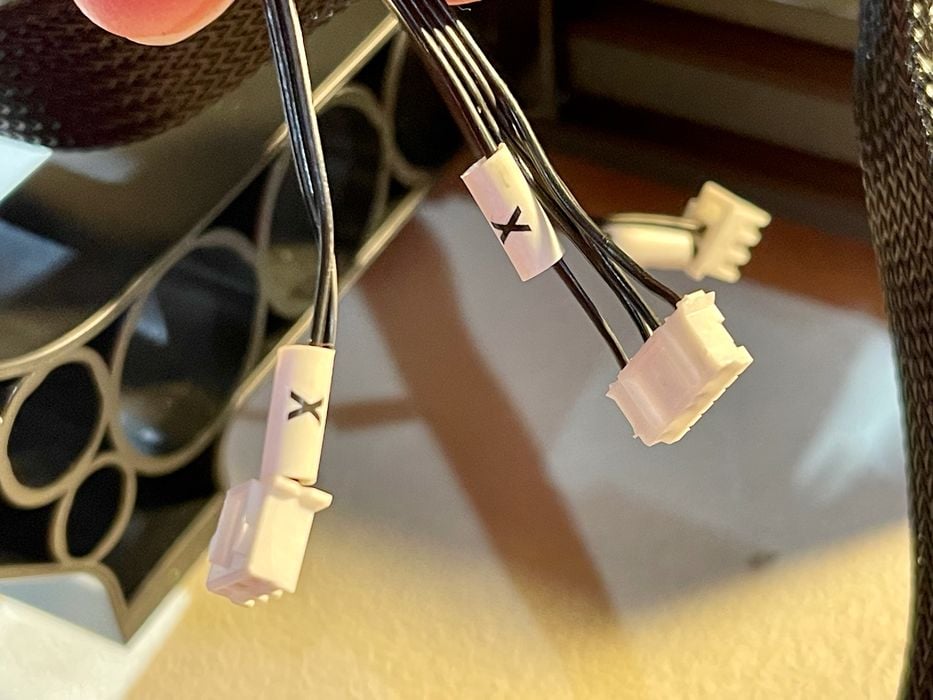
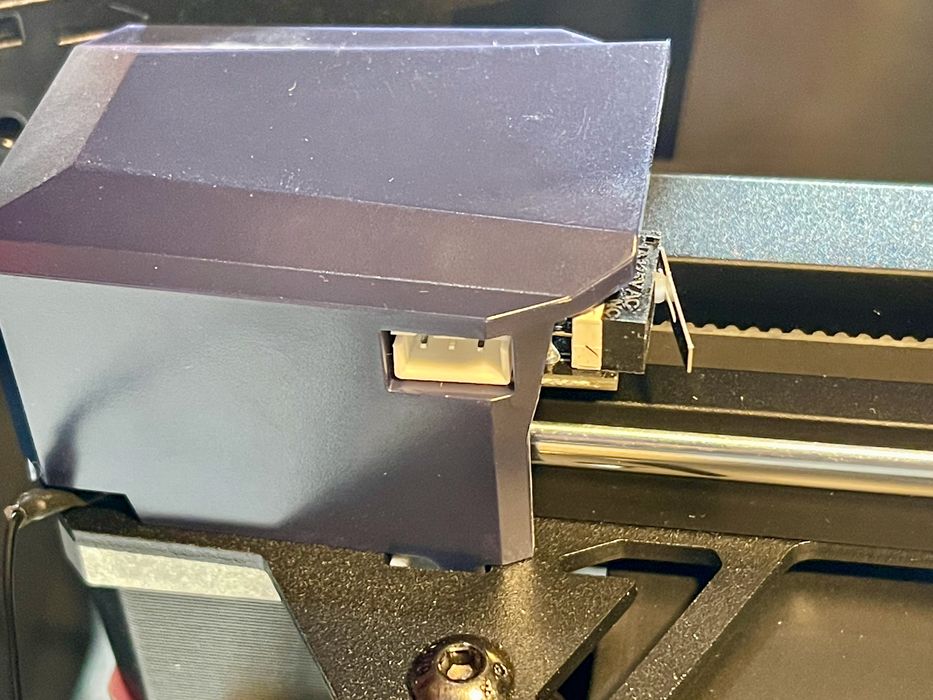
Then there was a problem: two of these cables seem to have the same label! Which “X” is the one to use? It turns out one is for the motor and one for the end-stop, but it’s not shown which is which.
This was an easy issue to figure out — the connectors are different sizes, but some newbies may be confused. The instructions and labelling should be a bit more clear.
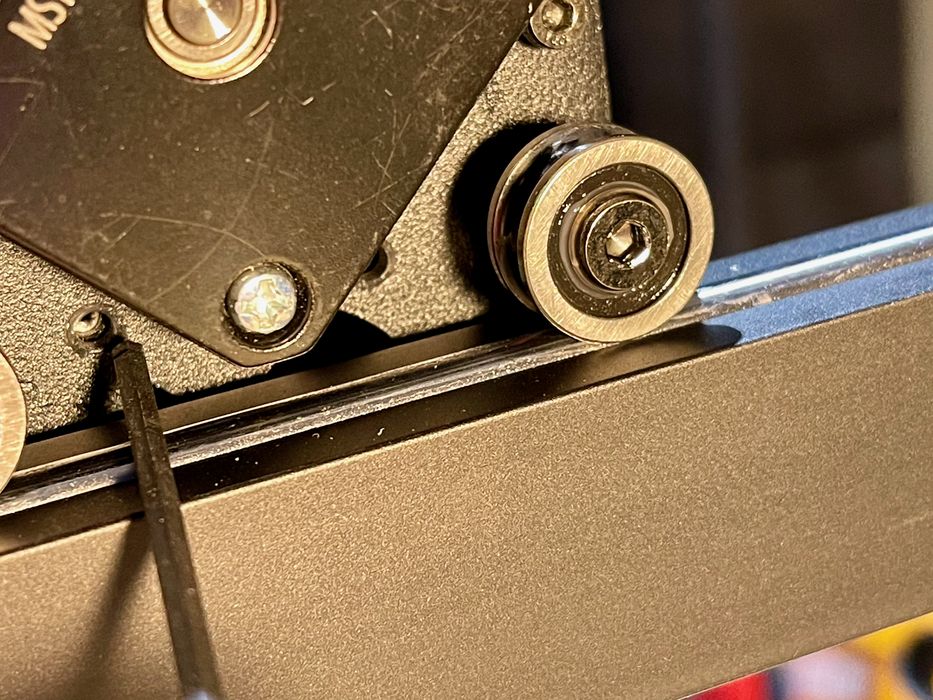
One of the cable attachments was found underneath the X-axis motor, which might not be obvious unless you explicitly look there.
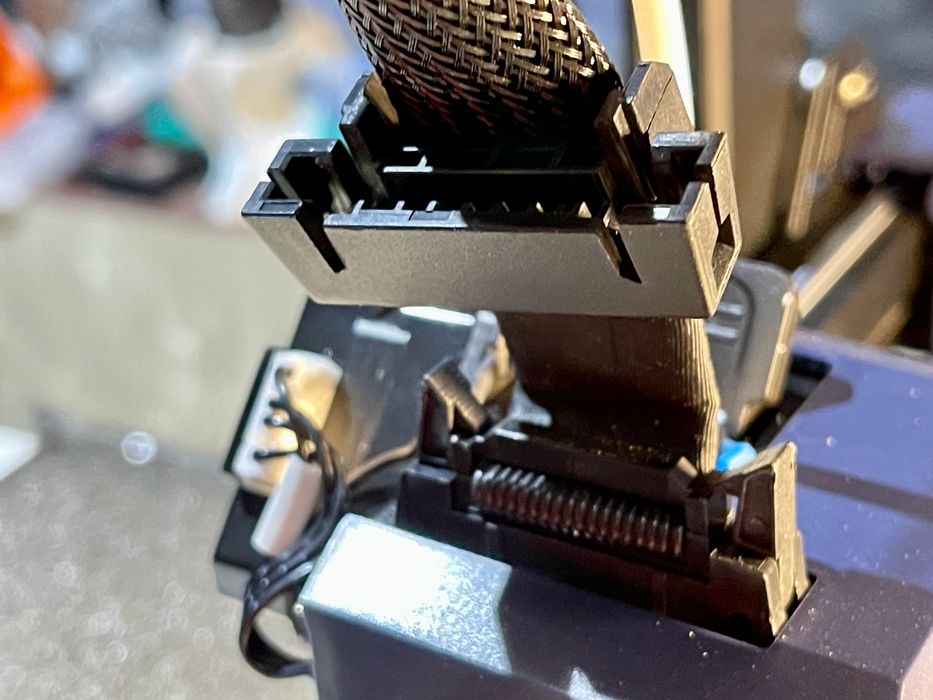
The final cable to attach was the main cable to the hot end and extruder. The cable plugged in easily, but I was having trouble placing the plastic cover over the plug. I realized that the cover was somehow on the cable backwards!
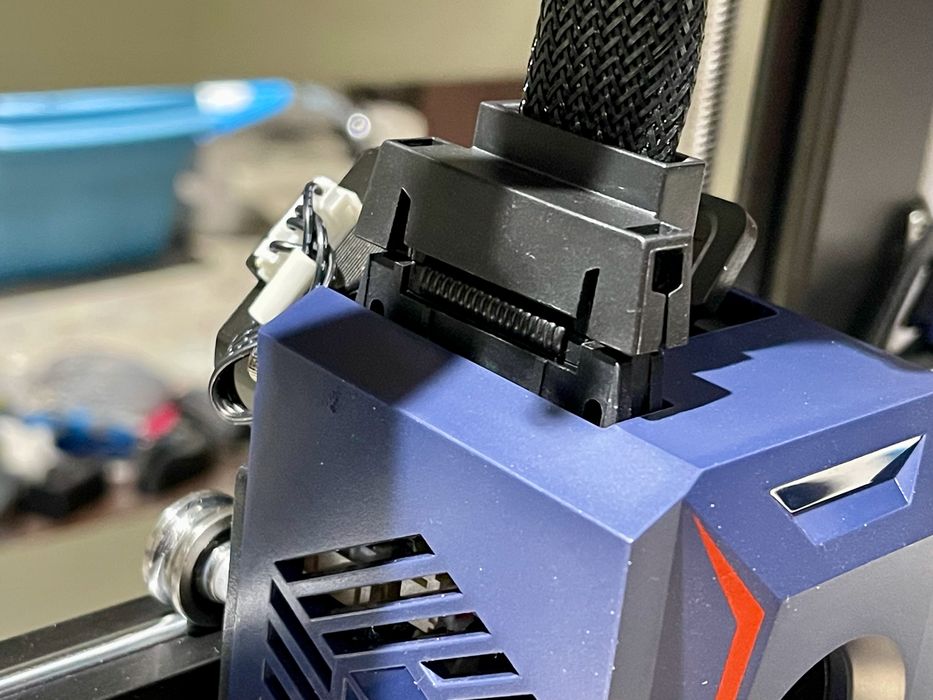
Fortunately it was a simple matter to unclip the cover and replace it in the correct orientation. Please note that I was testing a very early release of this machine, before it was shipped to customers. It’s very likely these issues have been resolved at this time.
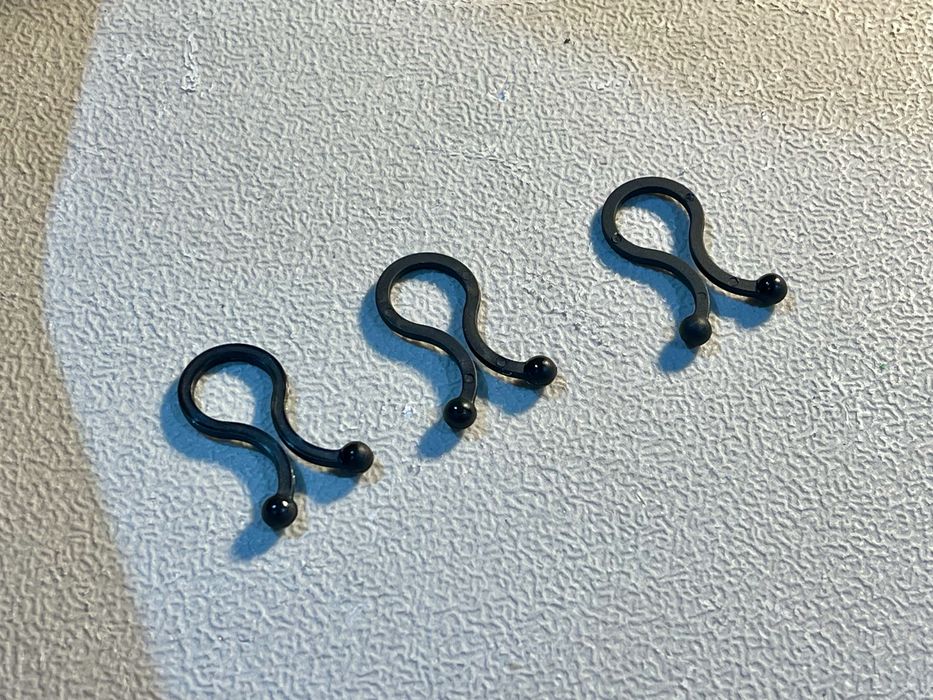
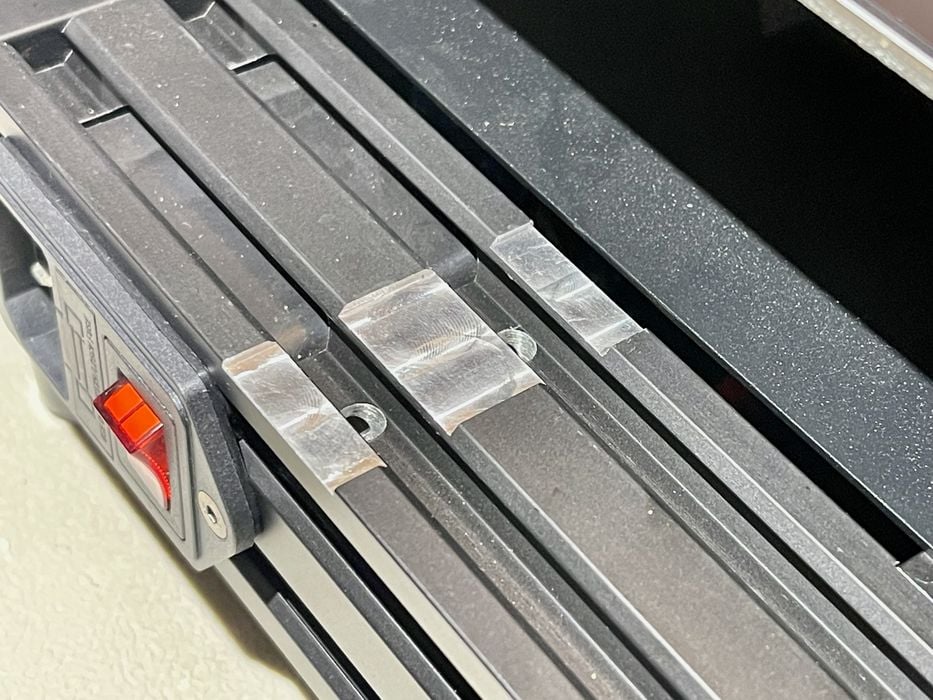
These clips were new to me. Normally a 3D printer of this style will use standard tie wraps to hold the cable bundle neatly together. However, instead of tie wraps, Anycubic has included these twisty clips.

These clips are brilliant! They tightly hold the cable bundle together, yet are simple to remove. In the future if maintenance is required I won’t be cutting tie wraps at all — instead I will simply unclip these and reuse them afterwards. These clips should be a standard feature on all desktop 3D printers.

Finally, before any power is applied you must ensure that the voltage setting on the power supply is correct for your region. If you don’t set it properly, you risk damage to your Kobra 2.
This is part one of a three part series, please read parts two and three.
Via Anycubic