
Our test of the new high speed desktop 3D printer from Anycubic, the Kobra 2, concludes with a look at software print results, and final thoughts.
This is part three of a three part series, please read parts one and two.
Anycubic Kobra 2 3D Printer Software
The Kobra 2 requires software to prepare GCODE files, as do all 3D printers. Normally the 3D printer manufacturer provides a typically out of date version of a free slicing software tool with the equipment.
That always necessitates upgrading the software and migrating profiles, and I wonder why the manufacturers persist in that approach.
Here, Anycubic takes a different approach. In my shipment there was NO software supplied. Instead there was a .INI file provided, which can be imported into a slicing software tool. The .INI file provided was created in PrusaSlicer, so that could be a good choice for Kobra 2 operators: you need only import the .INI file and you should be ready to go.
Of course, I had other plans. Instead I attempted to use UltiMaker Cura, another good choice. However, since the .INI file was not importable by UltiMaker Cura, I had to manually prepare a print profile for the Kobra 2 using the settings in the .INI file.
This was a bit tedious, but I ended up with a very usable profile in UltiMaker Cura that worked very well.
The bottom line here is that Anycubic is now agnostic on slicing tools and you should simply choose your own. PrusaSlicer, UltiMaker Cura and Simplify3D are all good choices.
Something that Anycubic should consider is to provide profiles in formats compatible with all of those tools. This would enable a quick start regardless of which software environment the operator is using.
Anycubic Kobra 2 3D Printer Print Results
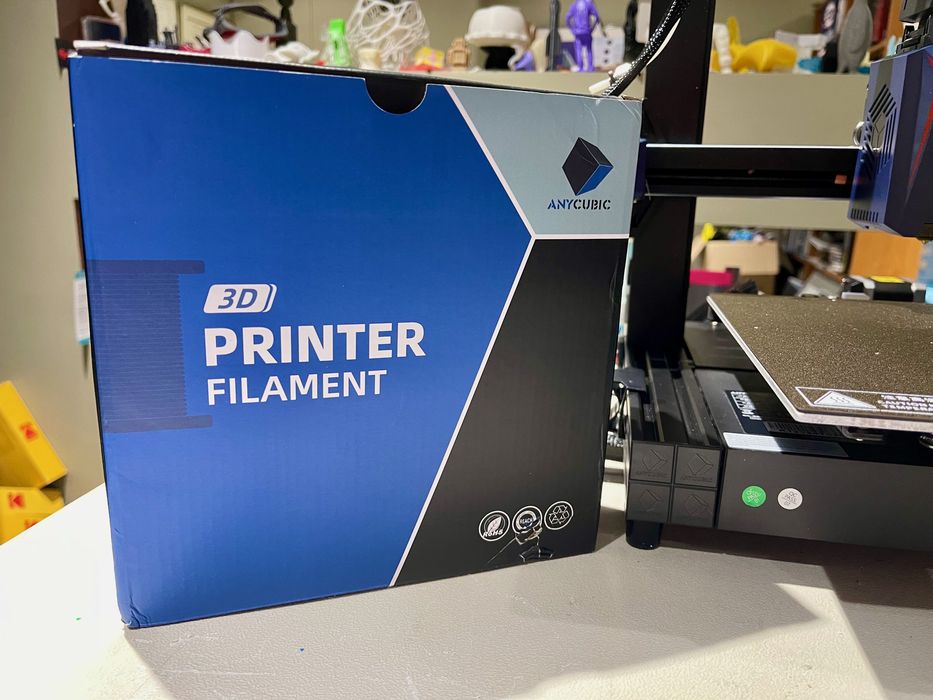
Anycubic provided us with a spool of their Metal Blue Silk filament for testing, which turned out to be a very interesting material. It’s quite shiny, which does tend to show off print layers and flaws, but otherwise produces very attractive objects.
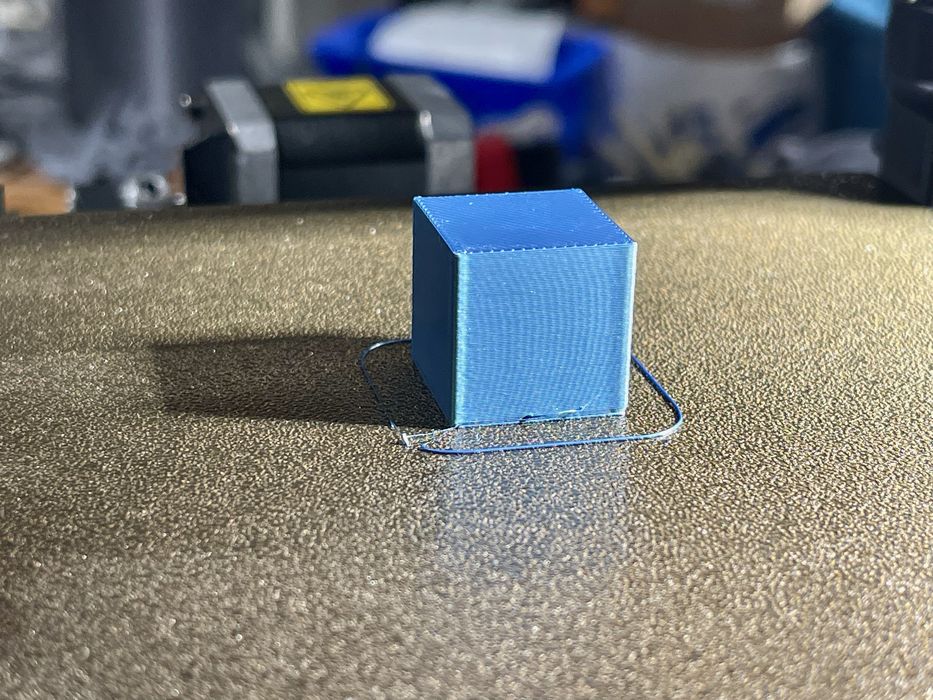
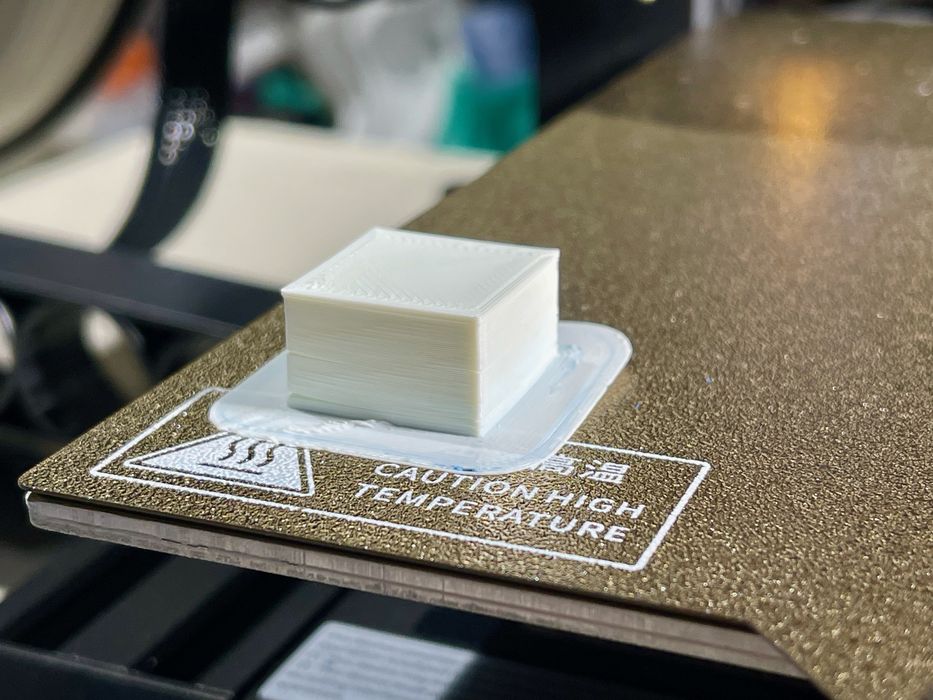
My first print on the Kobra 2 was successful, and it was the standard 20mm cube. This was produced without incident. While this may seem unimportant, I recall the days when it would take quite a few attempts to get a successful print on a new machine. Nowadays that it’s routine for things to work right away, and that was the case with the Kobra 2.
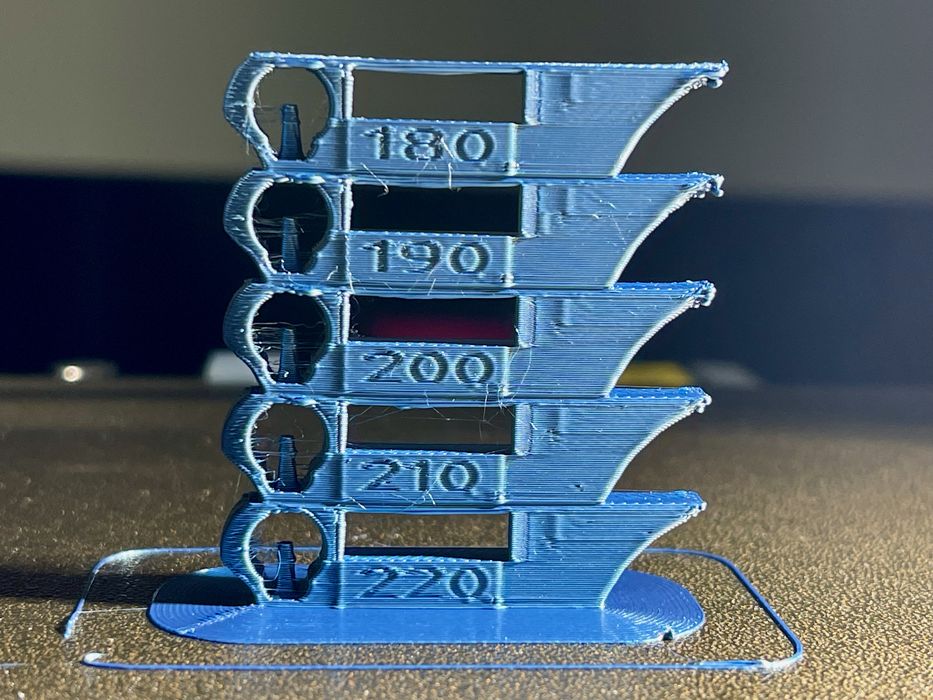
I printed a temperature tower with the silk filament to better understand which temperature was optimal for this machine-material combination.
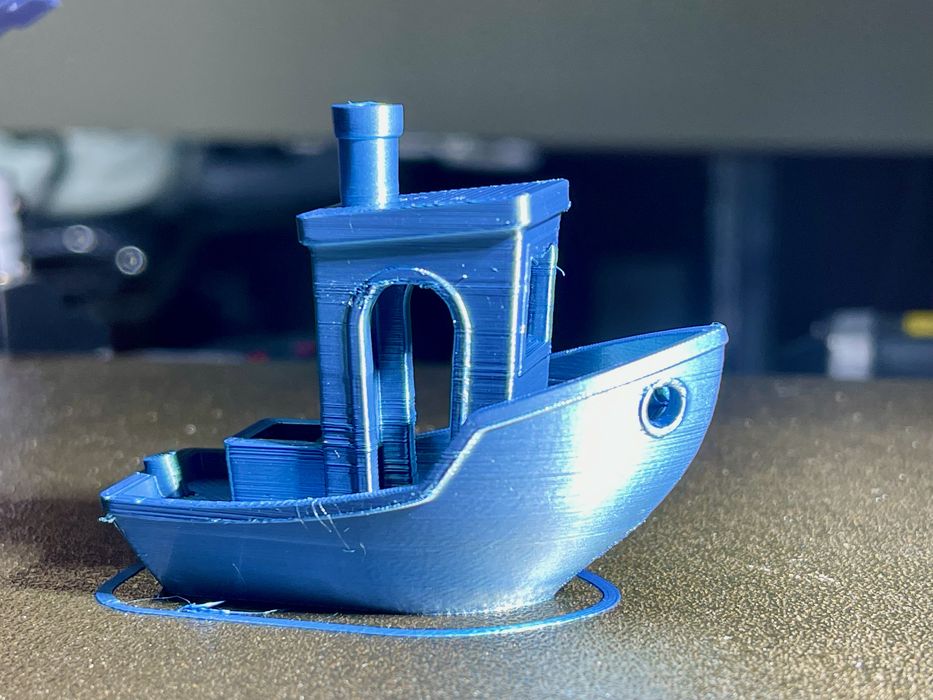
The next print was the ubiquitous #3DBenchy test object. While Anycubic provides a pre-sliced GCODE file for this object, I decided to just print my own with the standard parameters in the print profile. As you can see, it turned out quite well.
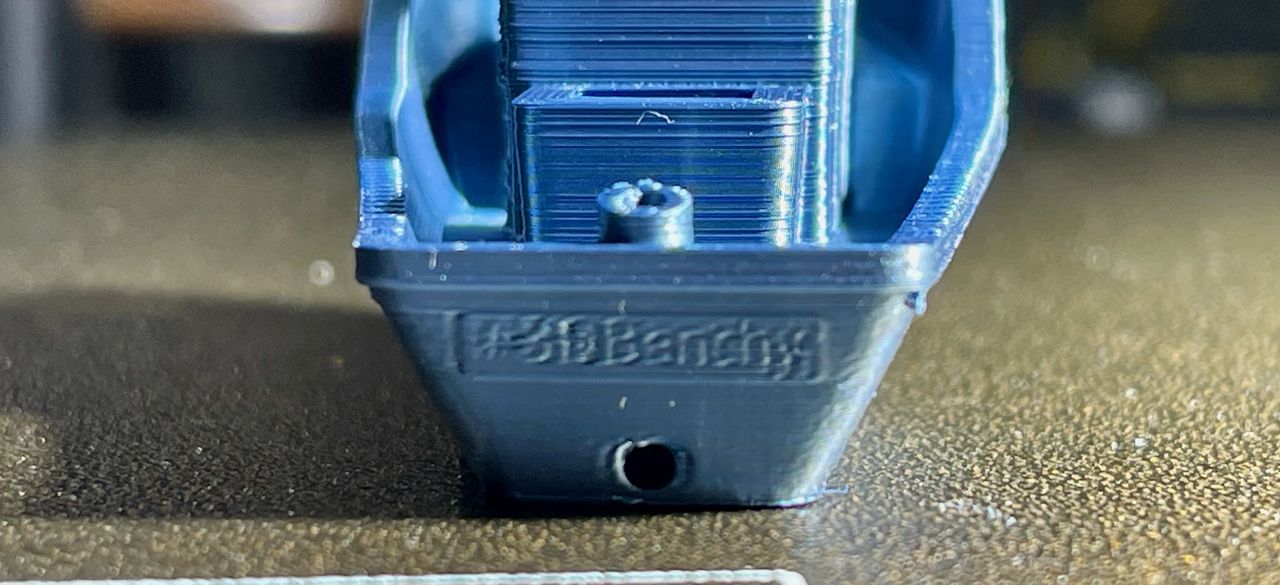
In fact, on the back of the boat you can actually read the name, and that’s something you don’t often see coming off most 3D printers, let alone one printed at 150mm/s.
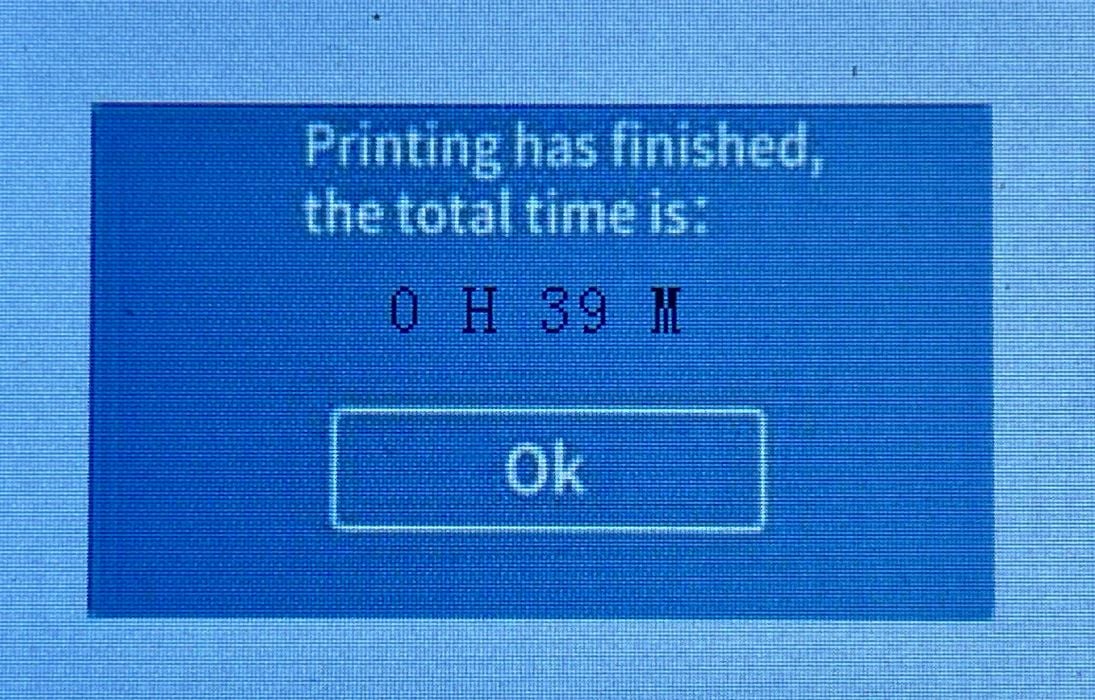
How fast was my #3DBenchy? As you can see here it took only 39 minutes. Certainly this could be improved by tweaking the infill, layer settings and more. Anycubic states you can print a #3DBenchy in only 30 minutes, and I don’t doubt that at all. This is a very fast machine.
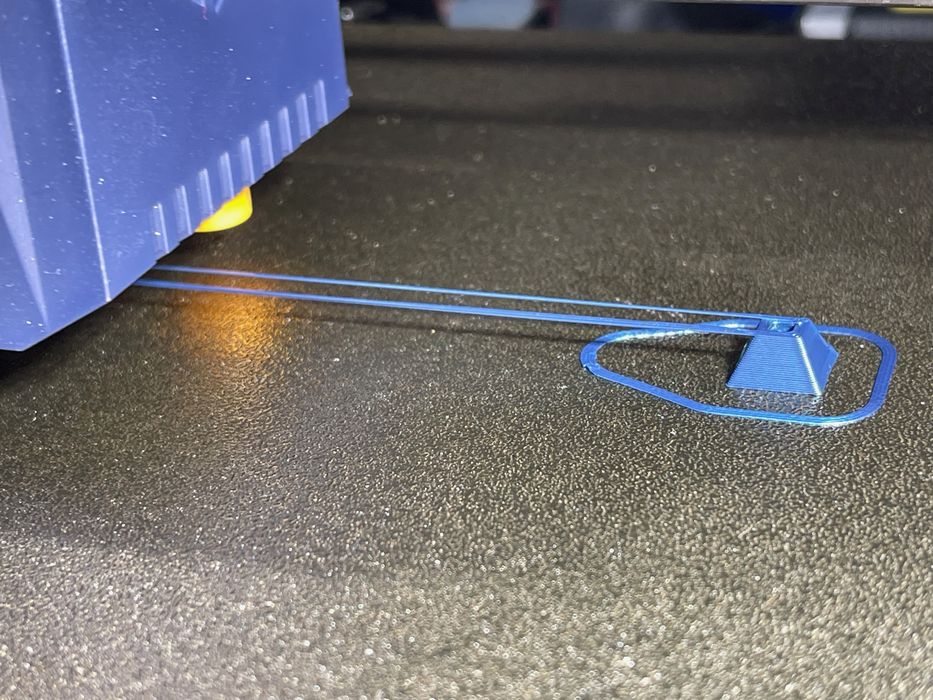
I was curious about bridging at high speeds, so I printed a rather pathological bridge scenario. As you can see, it worked out very well. Evidently the advanced cooling system on the Kobra 2 was able to handle bridging exceptionally well.
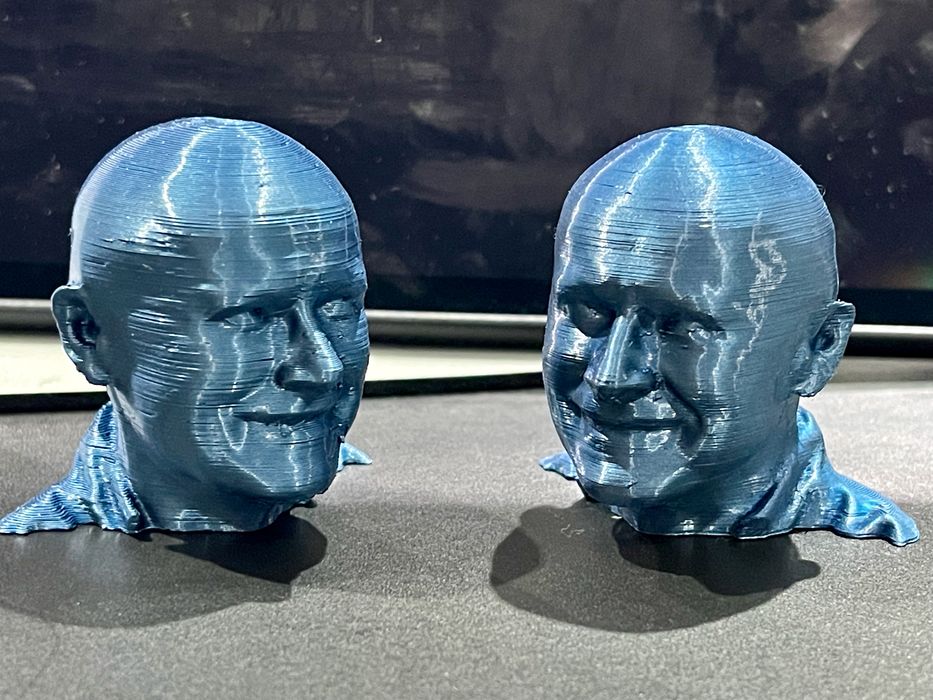
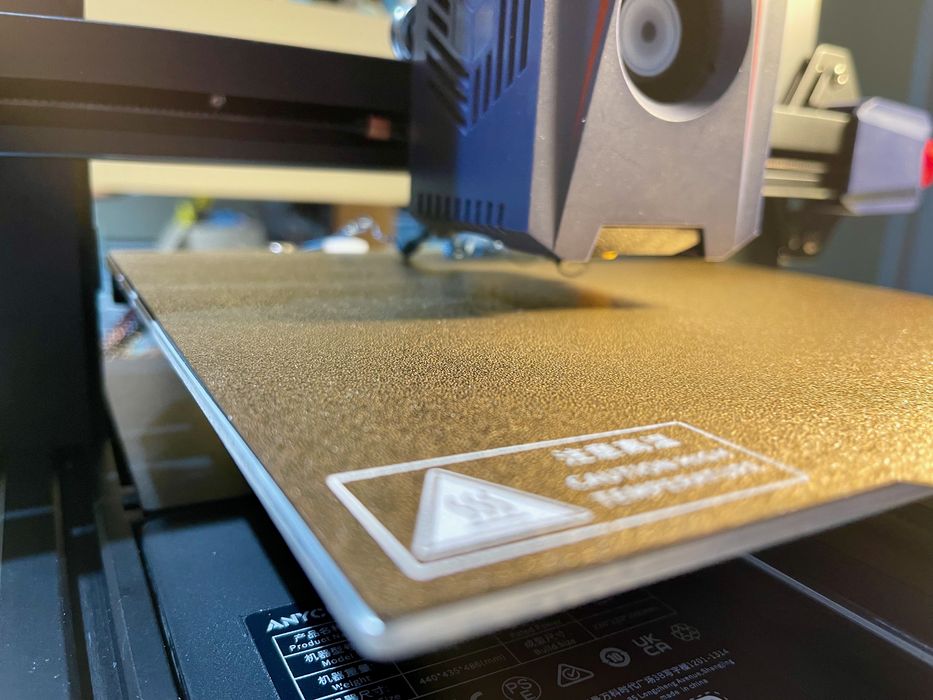
I attempted prints with different layer sizes. After all, if the machine is running 2-5X faster, why not print more layers and get a smoother surface in shorter time? As you can see here, the silk filament early shows layering more than other colors. On the left we have a 0.2mm layer print, and on the right is a 0.1mm layer print. It’s great to be able to get smoother prints in a reasonable time.
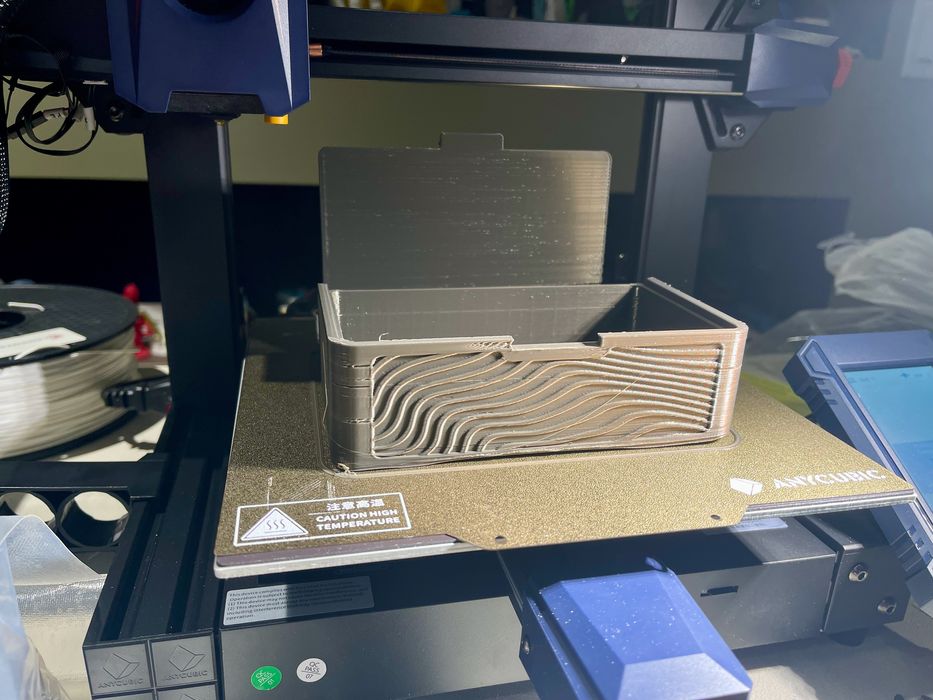
Here I printed a large print-in-place hinged box with Prusament filament, and it turned out very well.
I was curious about other materials, so I attempted to print ABS. My print was successful after I nailed down the proper extrusion temperature. If too low, the Kobra 2 extruder clicks as it can’t push the filament as well. I suspect high speed ABS prints will have to have a somewhat higher extrusion temperature than usual.
One of the complaints about high speed printing is “ringing”. These are shadowy echoes of the print movement that appear on the surface of the print. This is due to a machine’s inability to compensate for the huge momentum that must be overcome when the toolhead changes direction at higher speeds. Above you can see some slight ringing on the side of a cube.
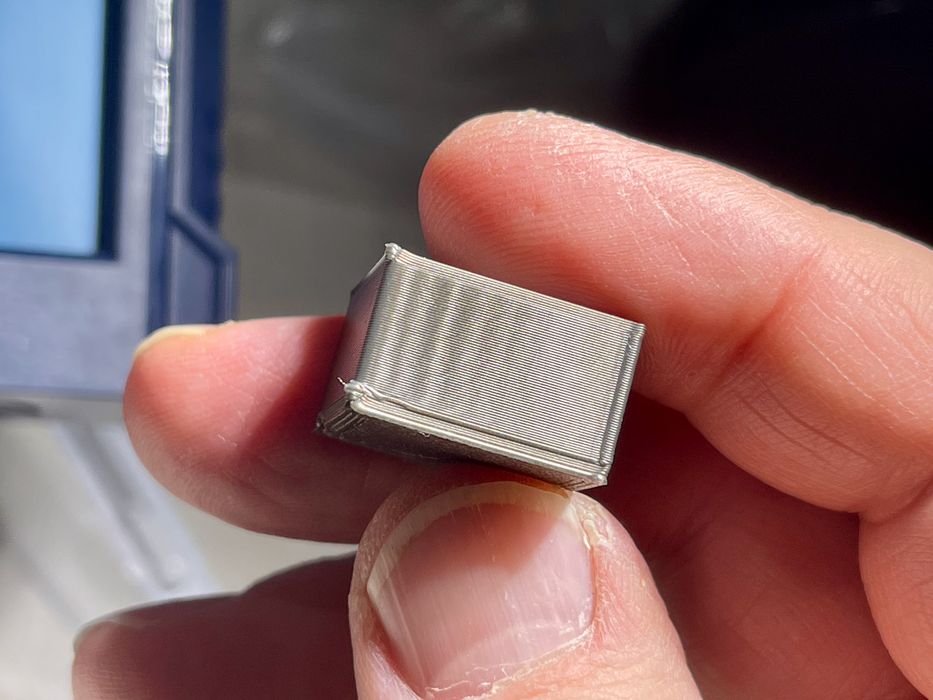
How would the ultra-fast Kobra 2 fare in the ringing department? I set up a test.

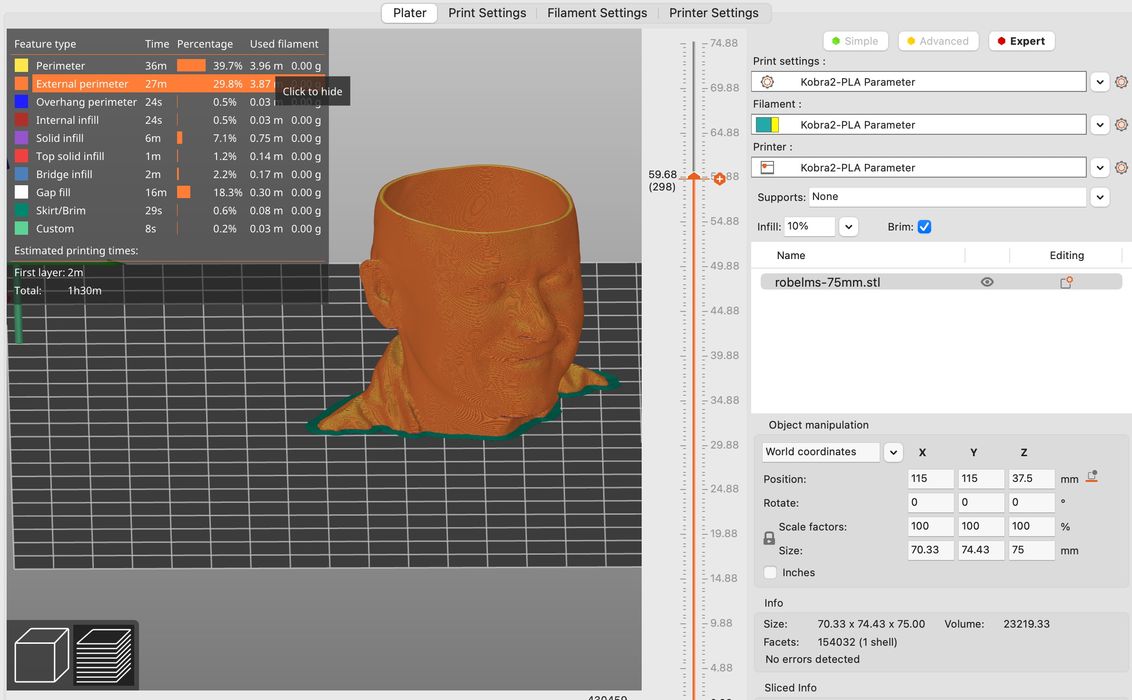
The test involved printing a layered model with different print speeds for each horizontal segment. In the image above the test model appears to range from 40 to 120 mm/s. That’s actually not what I used: I added +30mm/s to each layer, so the test was really from 70 to 150 mm/s. In other words, the top segment was 150mm/s, not 120mm/s because I was too lazy to change the model.
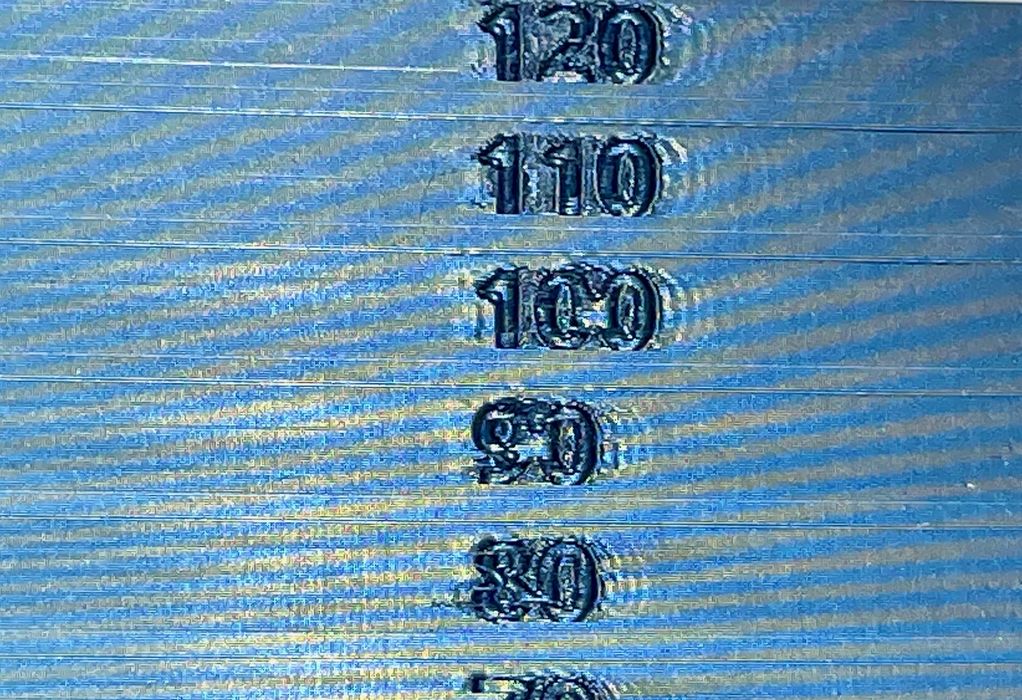
As you can see in the print, there was increased ringing as the print speed increased. The faster the print, the more ringing.
The question is, how bad is the ringing? It certainly didn’t distort the geometry of the print very much if at all. I’ve seen far worse ringing at 150mm/s or even at lower speeds on lesser machines. Clearly the steps Anycubic took to beef up the machine are having an effect, yet there is still some ringing.
One reason for this ringing is that the Kobra 2’s firmware does not include the input shaping feature, which is a way to compensate for the momentum changes. This feature is found in Klipper firmware, and is a new feature in the latest version of Marlin. Marlin is the firmware used by Anycubic, so it’s likely they will enable it in the future, perhaps on an upgraded Kobra 2 or, if we’re fortunate, on the Kobra 2 itself.
Nevertheless, the high speed feature does work and does produce reasonable prints at high speeds. These prints may have some surface ringing, but should otherwise be perfectly usable.
Anycubic Kobra 2 3D Printer Final Thoughts
I’m impressed with the Kobra 2. It’s a reliable machine that can print extraordinarily fast, albeit with some slight quality issues. For most people these should not be noticeable. At a rock-bottom price of (currently) only US$269, the Kobra 2 is the least expensive high speed 3D printer on the market that can produce quality output.
ANYCUBIC
KOBRA 2 3D PRINTER
★ BEGINNER 7/10
★ ENTHUSIAST 8/10
★ PRODUCTION 6/10
BEST FEATURES
✔︎ High speed printing
✔︎ Automated calibration
✔︎ Low price
QUESTIONS
✖︎ Lack of input shaping
✖︎ Assembly instructions
✖︎ Plate alignment
This is part three of a three part series, please read parts one and two.
Via Anycubic
Can we get a copy of the cura profile? The profile for Prusa sux, the supports are way too thick and end up breaking the model when you attempt to break them off. I’ve tried multiple configs. I’d prefer to use cura as it’s far more user friendly.
Same here, I want to test the cura profile too
Unfortunately, my experience was completely different.
The auto levelling feature didn’t work at all. With the level test print having height levels completely different for each levelling square.
Then, by anycubic repommendations, I had to upgrade the firmware. After updating it, the results were better, but their started to vary, depending on how much time I left the printer idle for heating up.
The retraction on the print finish is too great, so the cleaning process at the beginning of prints don’t work too much if I don’t fill filament in.
I also started longs prints that occupy most of the printer hot table. For my surprise, in 3 prints, I had 3 clogs, there is a space between the hot end and the extruder, and when the filament gets too hot and retracts it creates a deformation that clogs the printer.
I’m using anycubic white premium PLA.
My main problem with the printer is that the levelling model doesn’t have the same behavior for different parameters….
Im trying to return mine currently, as trying to use más resolution of 50 microns seems impossible with such imperfection in levelling.
anyway we can get the cura profile?
As would I!
I would love to have the cura profile you spoke of.
SECONDED!!!