

Our lab has been quite busy lately, and this time we’re looking at the Kingroon KPL5 3D printer.
This is part one of a three part series, please read parts two and three.
Kingroon KP5L 3D Printer Background
You may not have heard of Kingroon, as they are one of several China-based producers of desktop 3D printer equipment. Based in Shenzhen / Hong Kong, the company is actually seven years old and has produced multiple models since their launch.
Currently the company markets four devices:
- KP3S 3.0, a very low cost FFF device
- KP3S Pro, a more advanced FFF model
- KP6 LCD Resin 3D printer
- KP5L 3D printer, their largest device.
That last unit is the one we tested, and it’s the most sophisticated and expensive device from Kingroon, although it still carries a very low price of only US$269.
The very low pricing of the company’s product line suggested that we should be on the lookout for cutting corners and lower quality components, the typical methods companies use to make low cost products. Is that what Kingroon did here? With that in mind, let’s find out.
Kingroon KP5L 3D Printer Specifications and Features
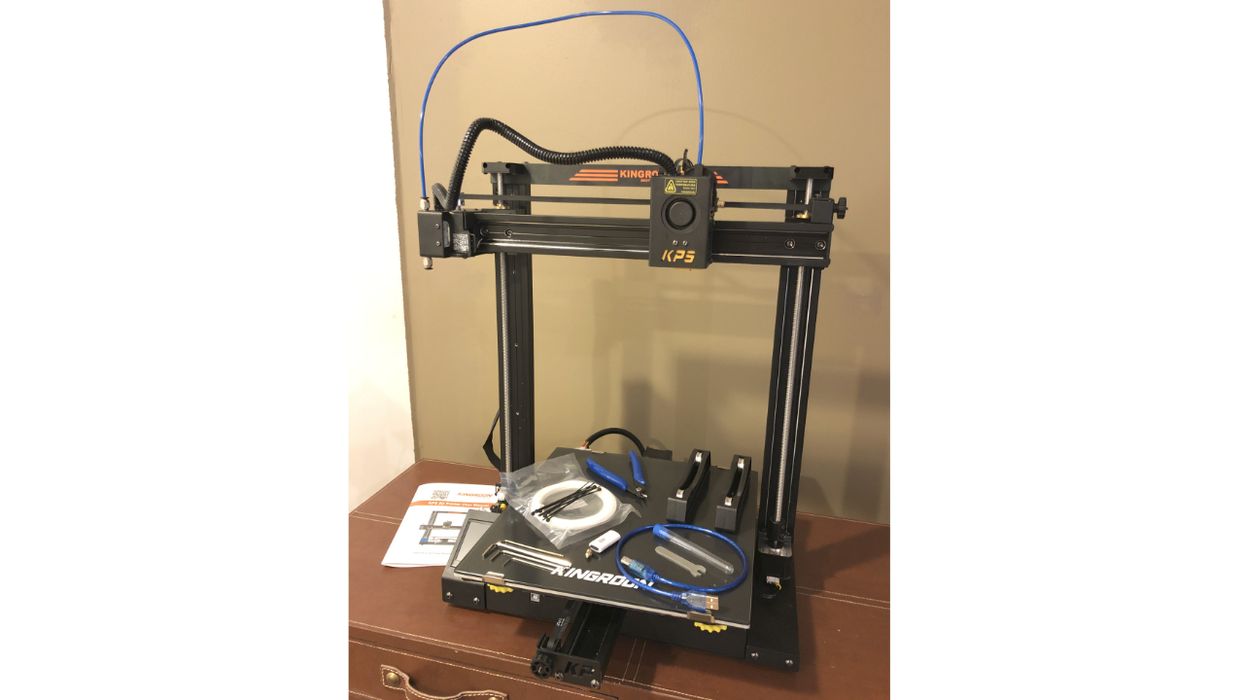
The Kingroon KP5L 3D printer is a standard FFF device equipped with a single 0.4 nozzle and direct 1.75mm filament extruder. While most low-cost 3D printers use Bowden extruders, it was interesting to see Kingroon has used a more versatile direct extrusion system here.
The KP5L’s build volume is actually quite large at 300 x 300 x 330 mm. This is significantly bigger than the more typical 200 x 200 x 200 mm build volumes seen on similarly priced equipment.
One thing you’ll notice right away is that the frame of the KP5L is quite beefy. It’s made from strong extrusions and is quite robust, and the entire frame is made from metal. This should lead to more stable and accurate prints.
The motion system is based on SGR15 linear rail guides, with dual threaded rods for the Z-axis.
The electronics in the KP5L include a 32-bit motherboard, which frankly is now becoming a standard in new 3D printers. The more interesting feature is the use of TMC2225 stepper drivers, which mean the KP5L operates almost silently.
Unlike competing machines that use magnetically attached spring steel build plates, the KP5L uses a carborundum glass plate that has a microporous structure to assist in adhesion. The glass plate should be extremely flat and not warp as some removable plates do. It can be heated up to 100C, allowing the use of warp-prone materials like ABS.
There’s a filament-out sensor that should be quite helpful on long jobs when the spool unexpectedly runs out. This will pause the print and allow the operator to replenish the material before resuming printing.
For the hot end, the KP5L tops out at 260C, which is sufficient for the basic 3D print materials such as PLA, ABS, PETG, TPU and some composite materials. The hot end is listed in the specifications as a “Titan Direct Drive Extruder”, but it doesn’t seem to be an actual E3D Titan extruder.
One feature that is NOT present on the KP5L is automated leveling. Here you’ll have to do that calibration manually.
Kingroon KP5L 3D Printer Unboxing and Assembly
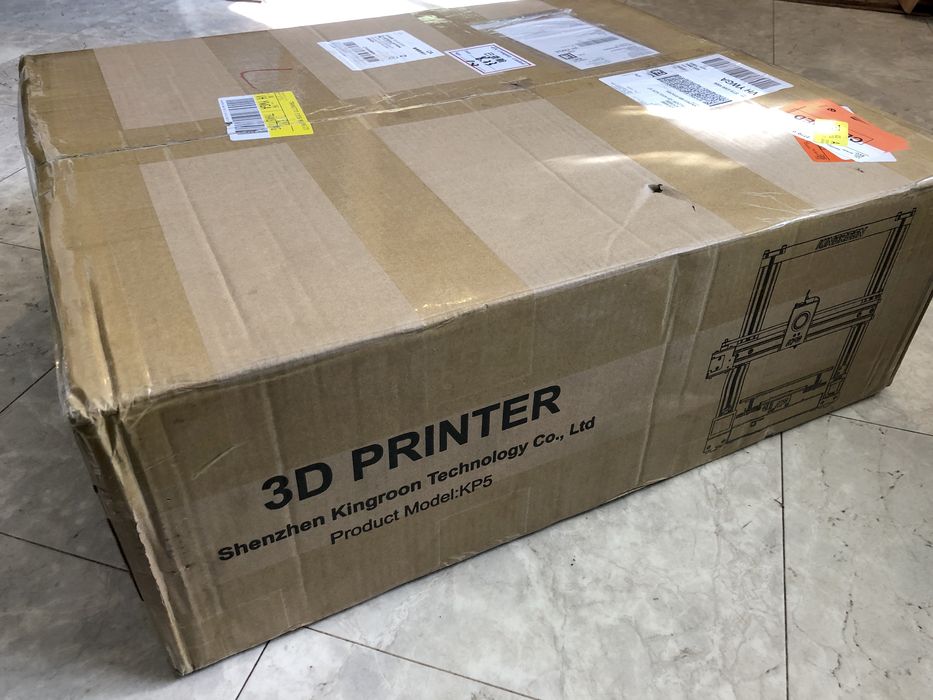
The KP5L was well-packed for shipping, with lots of foam surrounding the delicate components inside.
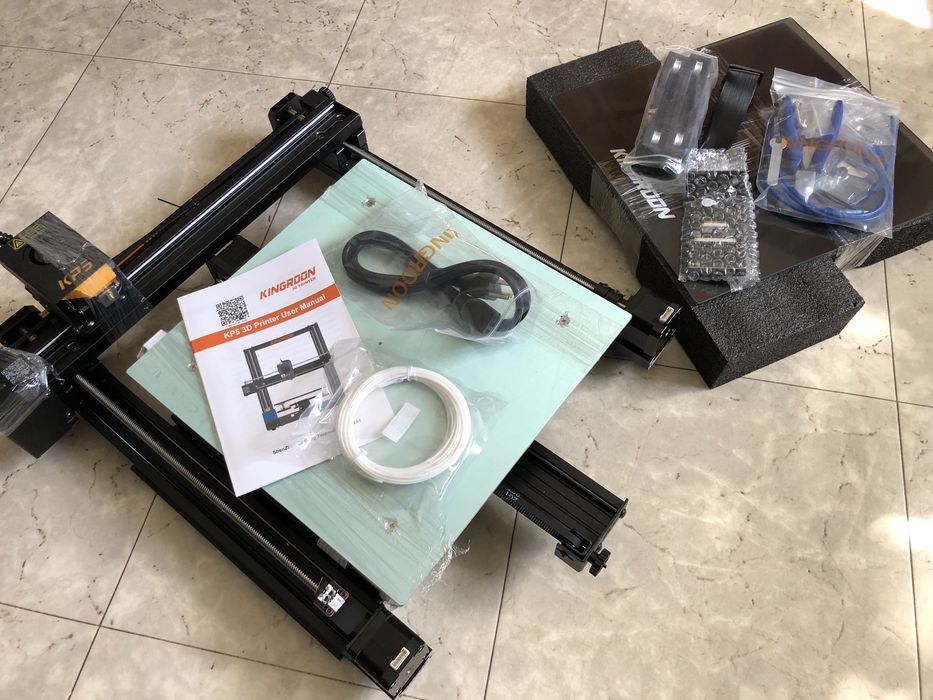
As is typical of these types of 3D printers, the base of the printer and the XY axis were stacked and then bolted together for shipping purposes. We separated them prior to assembling the printer by removing and discarded the four socket screws.
Curiously this step was not shown in the instruction manual.
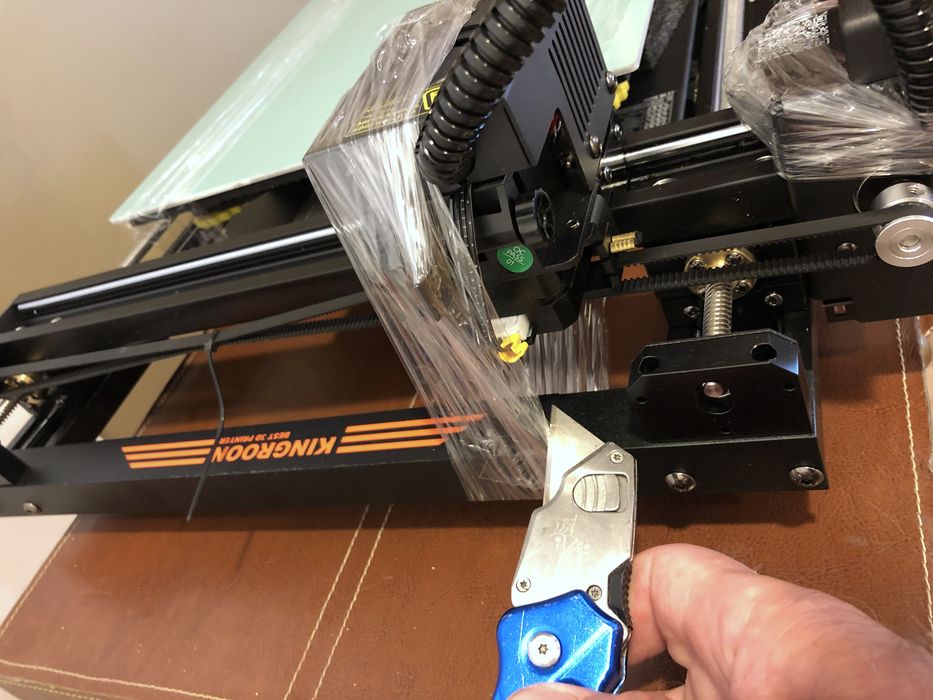
Shrink wrap, tape and zip ties held everything else firmly in place for shipping.

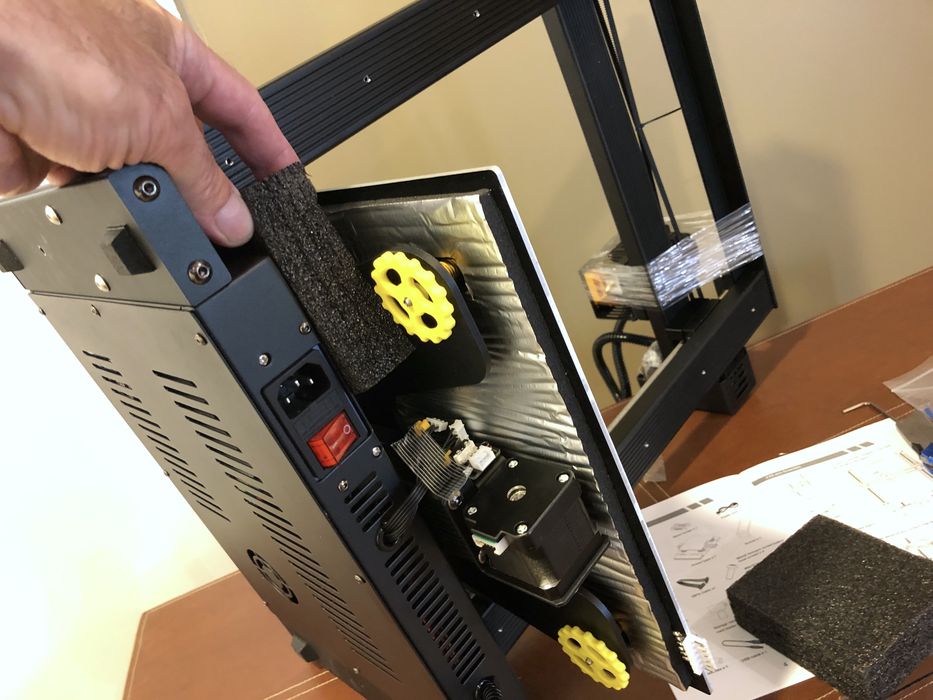
When we flipped the assembly upside down to remove the four screws bolting the assemblies together, we noted a healthy amount of insulation on the underside of the build plate, which would certainly help to make print bed temperatures very stable.
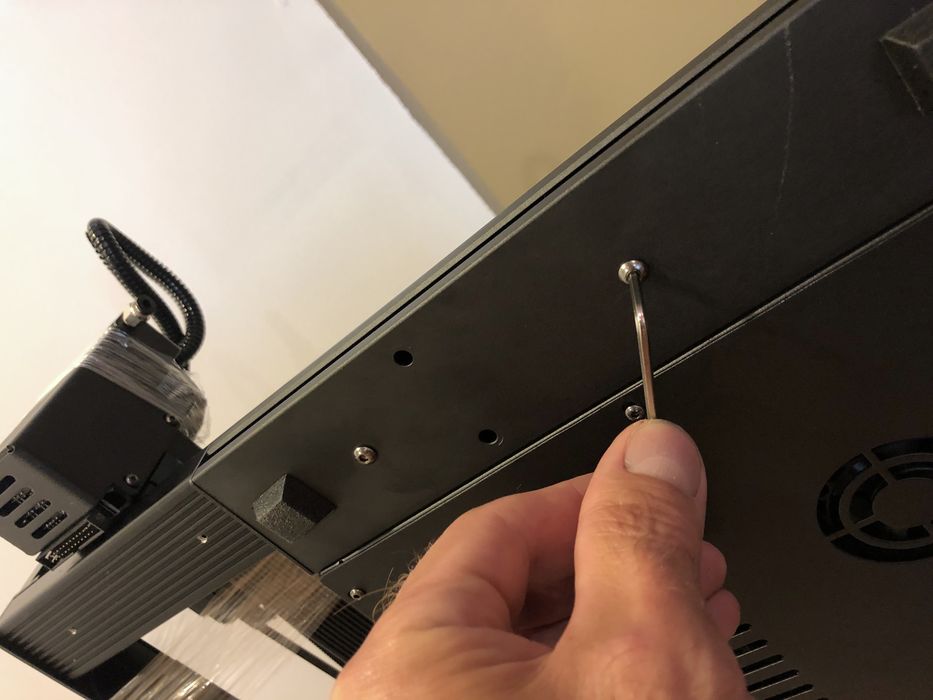
We placed the XY axes assembly on top of the base unit, and attached it with four supplied screws. We’ve done this type of thing often and find the task easy to accomplish by simply hanging the edge of the base over the edge of the table to give full access to the screw holes.
Once all the screws were in place, we turned the printer on its side to firm up all the screw connections. Then it was on to removing all of the leftover packing foam, tape and zip ties

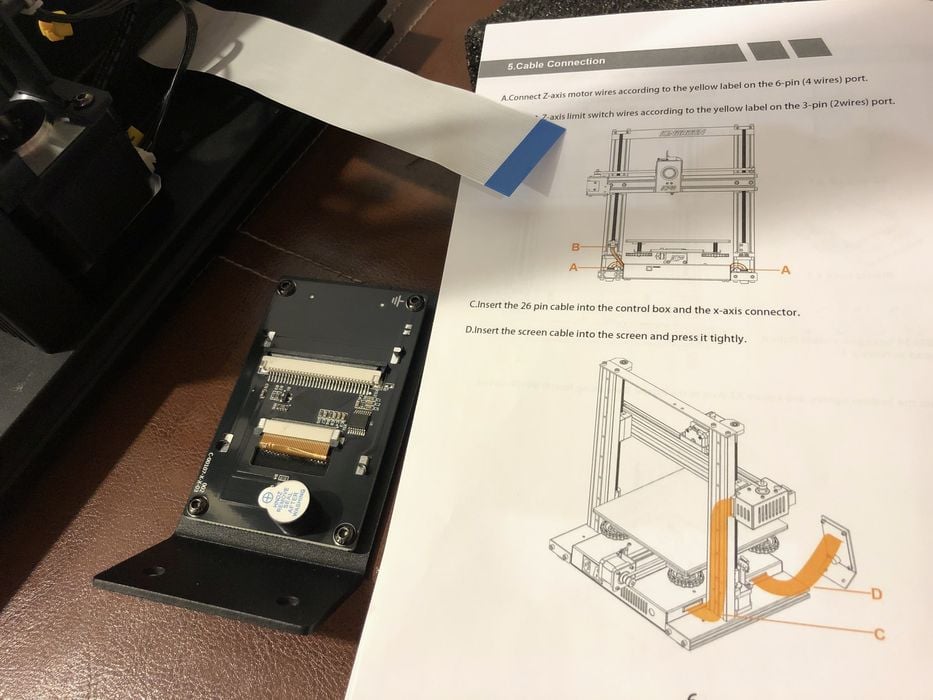
Attaching all the cable connecters was quick and easy, as they were all located right beside where they needed to be plugged in and we’re different connector sizes to avoid any confusion.
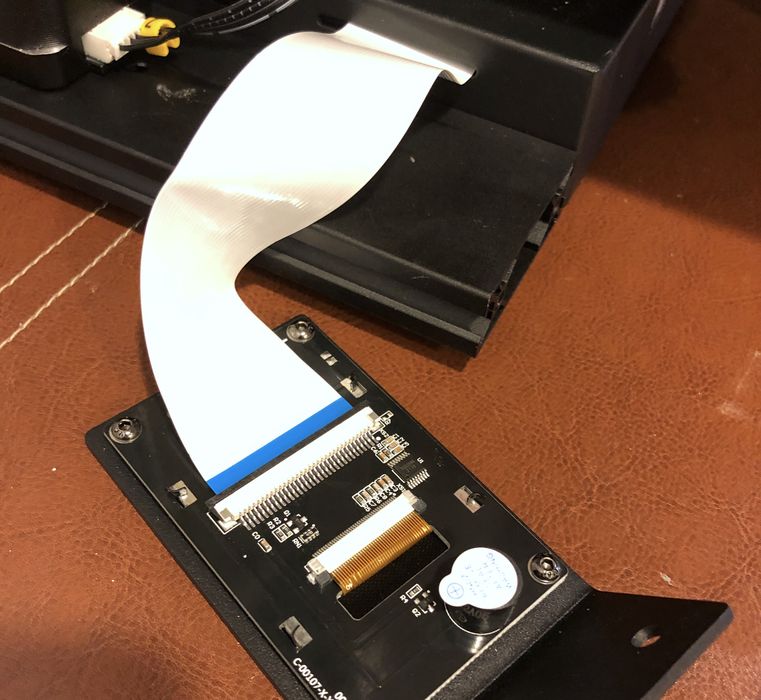
The only connection that was confusing was the ribbon cable for the touch screen, as there were no instructions as to the orientation of how the flat cable plugged in.
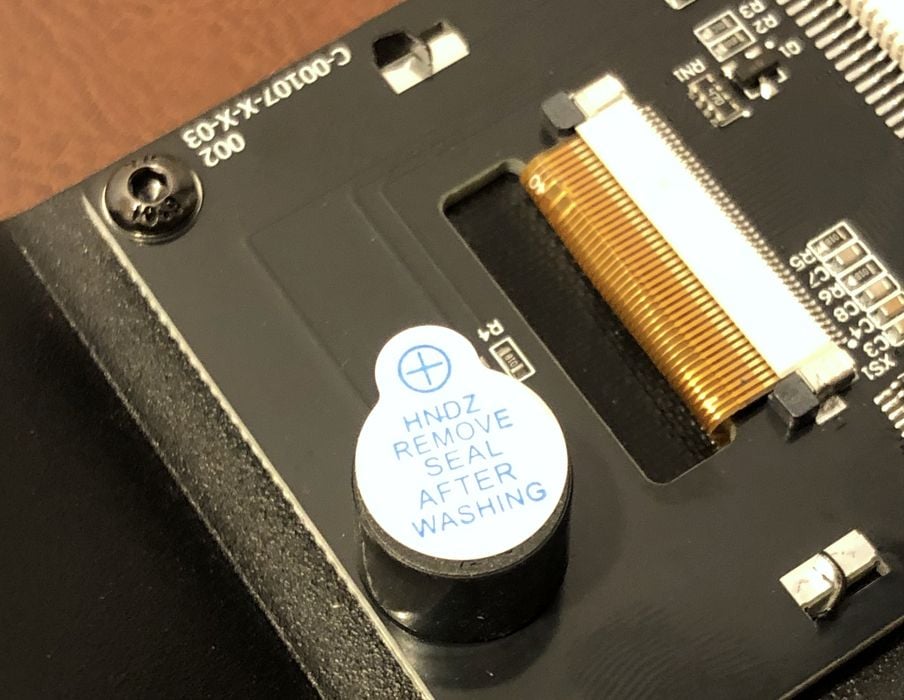
We also noticed a curious little sticker on the LCD circuit board that said “Remove Seal After Washing”. We decided not to wash anything (!) and to just remove the sticker, as leaving it on would surely muffle the tiny speaker.
Two interesting things to note, the cable connecting the base to the XZ axis was just a simple ribbon cable, and the touchscreen was remarkably small, which was sometimes a challenge to operate with our big fingers!
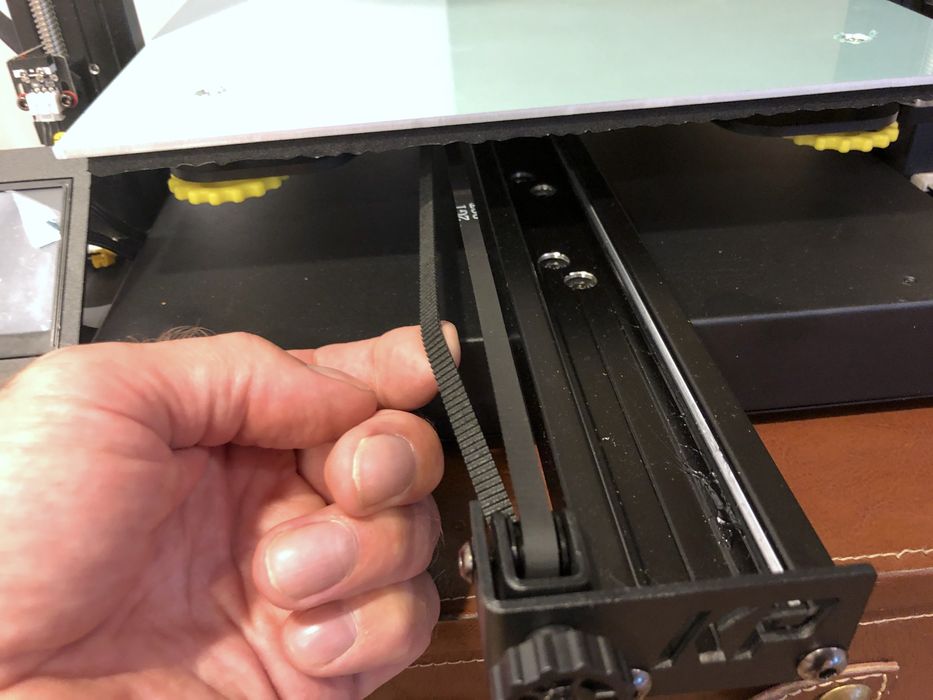
It was also noted that the Y axis belt was incredibly loose, and that the x-axis limit switch meal tab appeared to be bent. We left the metal tab as-is under the assumption the build of the printer was such that it required it to be bent in order to activate.
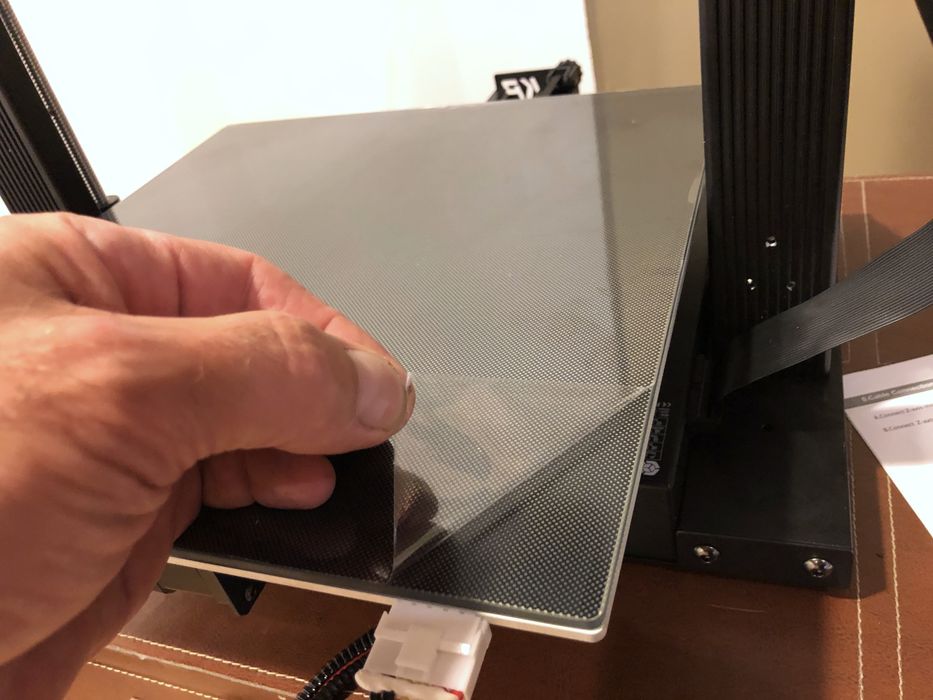
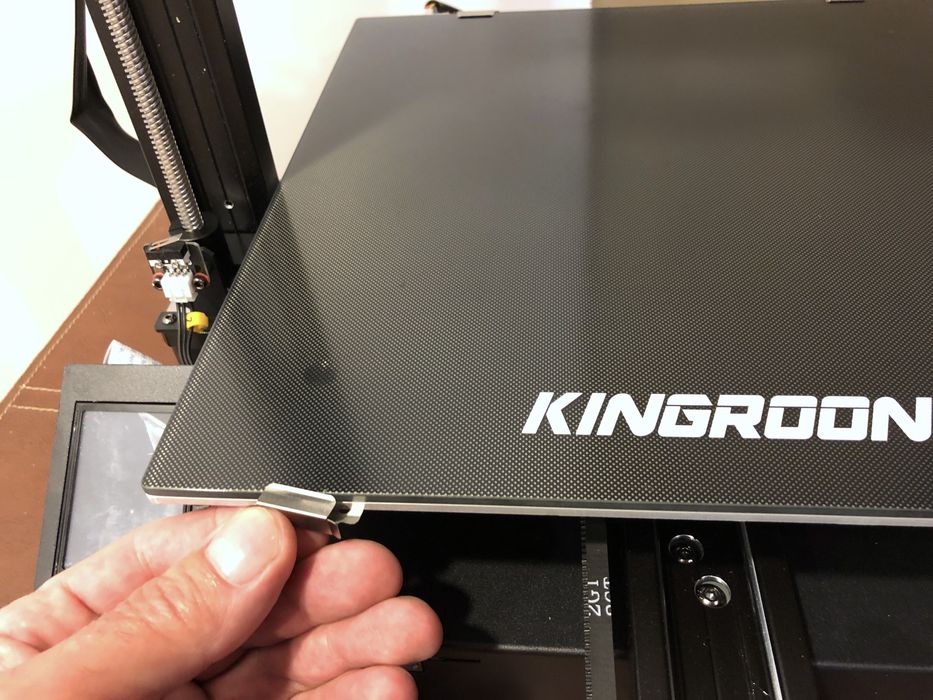
There were no instructions on how to properly install the glass build plate, so we just made the assumption that we needed to remove the thin plastic films protecting the aluminum and glass plates before installing the glass plate onto the heat bed using the four supplied clips.
Also not covered in the manual was a mysterious length of blue tubing which we assumed went from the spool to filament sensor and then the sensor to the extruder. Bowden extruders require this, but the KP5L is a direct extruder, so this is not actually required.
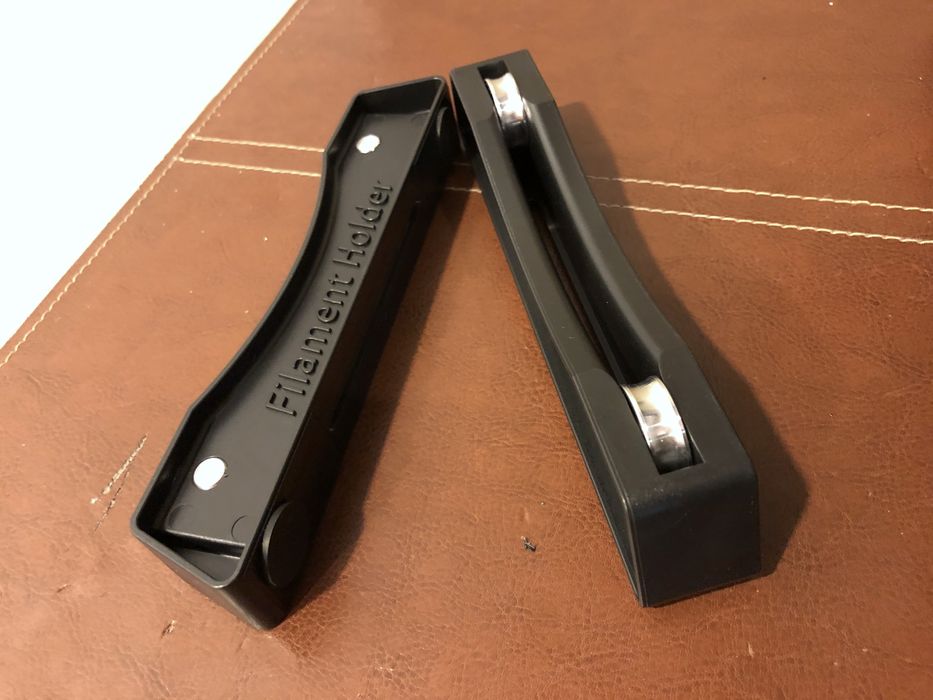
Two roller wheel assemblies hold the spool beside the printer, and we suppose you could use the blue tubing there, too.
Some zip ties were supplied that seemed to have no purpose. Maybe to lash the filament tubing to the harness?
After the build was complete our leftover goodies were some socket head wrenches, nozzle wrench, spare nozzle, needle for cleaning the nozzle, USB cable, snips, memory card reader & micro SD card and a small sample of white PLA.
There were two spool rollers, as mentioned, but given the fact that the supplied PLA sample was just a small coil and not on the spool, we wouldn’t have been able to use the sample without first coiling it onto an empty spool. These small coils are universally found in this type of machine, but they are usually low quality filament and tangle instantly after opening them.
At this point we had the KP5L assembled and were ready to power it up for calibration and operation.
This is part one of a three part series, please read parts two and three.
Via Kingroon