
I’ve been doing a lot of resin 3D printing lately, and thought I’d share some tips.
Many people start their 3D print journey in the FFF world, where filaments are the material. While there are many tips and tricks “for 3D printing” online, most of these are specifically for FFF 3D printing.
Meanwhile, it turns out that resin 3D printing is an entirely different beast to tame. Due to the technology differences there are a different set of things to learn and practice.
The main difference, as you might imagine, is resin: the practices around handling it and the implications drive much of your resin procedures.
I won’t be mentioning any safety tips here, as those should be done without any question. Use of nitrile gloves, safety glasses, ventilation, etc., are all required. And that would push my list beyond seven, so there’s that, too.
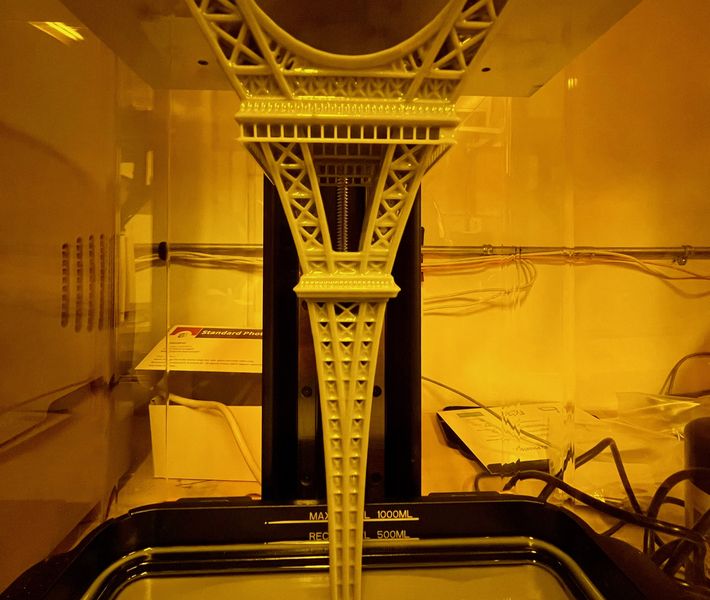
Always Use A Raft
Rafts are the bane of FFF 3D printing. You don’t want to use them because they usually spoil the finish on the bottom layer, and take up extra time and materials to produce. In FFF 3D printing the game is to never use a raft unless you have to.
That’s quite the opposite when resin 3D printing. Prints are rather fragile before final curing, and thus there is the opportunity to break them when detaching them from the build plate. I’ve spoiled many resin prints in this way, as I pry the object directly off the plate and crack off some corners, or worse: your object might crack in half.
The answer is to always use a raft. If you use correct parameters they are very easy to remove from your resin print and won’t leave too many surface problems.
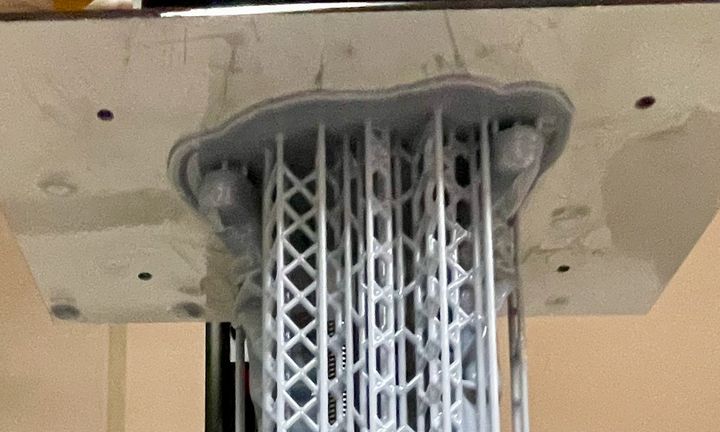
Remove Support Before Curing — Usually
Early on in my resin journey I tried to yank off support structures right after the print job completed, but found myself bending the model, or even breaking it. So I tried curing the print before removing the supports.
That’s totally wrong. That step strongly fuses the supports to the model and then when you pull them off you’ll typically yank chunks of the model with it.
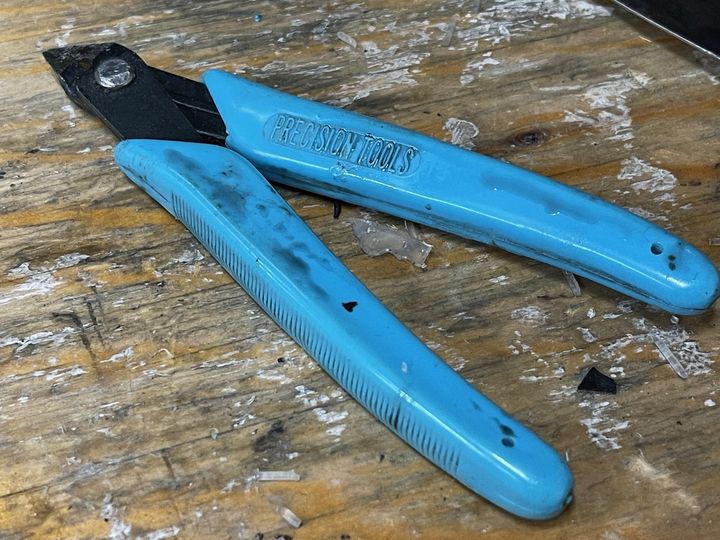
The better approach is this: gently clean the wet resin off the fresh print (with IPA or water, depending on the material). Then — very carefully — pull or, even better, snip off the support structures. Sometimes it helps to warm up the model in water when you do this.
Only then do you cure the 3D print with UV exposure. The parts you want to keep get hard, not the supports.
The one exception to this rule of thumb would be for 3D prints that are extremely fragile due to many spindly components. In that case you might want to cure it first to ensure the model itself is strong enough to endure the rough handling that might occur during support removal.
Decide What’s Clean and What’s Dirty
Resin 3D printing can be extraordinarily messy if you’re not paying attention. Resin, usually toxic, gets fingerprinted on everything: printer, tools, washing station, tables, buttons, etc.
This is wrong.
The correct approach is to carefully examine your resin work space and formally decide which items will be “dirty” and which will be clean. For example, the catch tray you’re using to detach models will likely fall into the “dirty” category. (You ARE using a catch tray, aren’t you?)
Dirty items must be touched with gloves; clean items don’t need to be.
Follow the Proper Order of Operations
Resin 3D printing is a series of steps, including:
- Loading resin into the device
- Starting the job
- Unmounting the print plate
- Removing the print
- Cleaning
- Removing supports
- Curing
- Cleaning up
The problem is that, as per the statement above, some of these steps are “dirty” and some are not. You don’t want to find yourself wearing resin-soaked nitrile gloves and have to press buttons on your laptop, for example.
The idea here is to clearly identify the sequence of movements you’re undertaking and perform them in that order without question. This allows you to sync with your clean/dirty approach from above. Don’t forget to consider alternative workflows if something goes wrong with a print job.
Dry Prints Before Curing
You pull the print out of the IPA bath and drop it into the UV curing chamber.
Wrong.
That wet IPA is itself dirty. It has resin in it, perhaps from more jobs than the last one. As the IPA evaporates while curing, this stray resin will also be cured — on top of your model’s surface. This is a great way to corrupt otherwise good prints.
The correct approach is to dry your wet cleaned print before curing. This can be done with a disposable paper towel, or with compressed air. Only when the print is dry should you attempt curing.
Vary Print Location
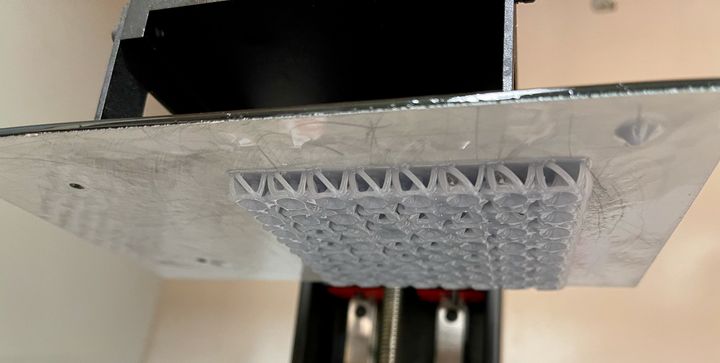
Resin 3D printers usually employ a thin polymer sheet as the barrier between the light engine and the resin vat. As each layer is initially cured, it will slightly stick to the film. When the print is raised to allow new resin to flow in for the next layer, it must “peel” off the film.
This gradually tears away molecules from the film, eventually making it more opaque and it must be replaced.
The best practice is to always vary the location of your prints on the plate. Put some in the corner. Or the other corner. Don’t keep putting them in the default location, the middle, because it will more quickly wear out the film.
Double Check Print Parameters
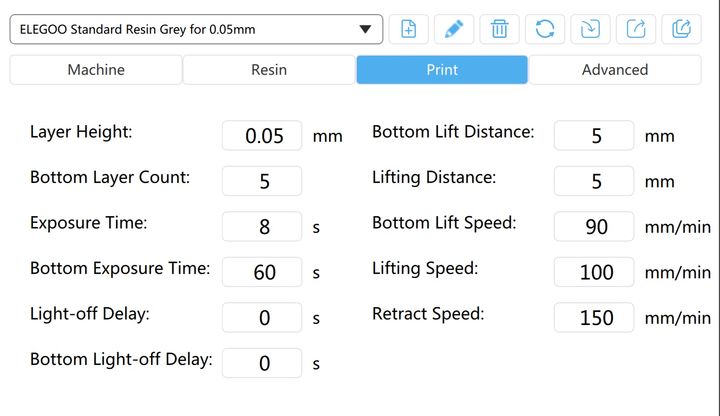
Because of the resin 3D printing order of operations it’s important to get things right. While on a FFF device you simply stop the job and restart, that might not be so simple on a resin machine: you have to go through most of the clean/dirty steps to clean off the print plate if attempting a restart.
Thus it’s best practice to examine each and every 3D print parameter on your slicing software more than once to make absolutely certain they are correct. Did you set the exposure time to match this resin? Did you specify supports? Raft? Make sure it’s correct before starting the job.
And that’s the seven essential tips for resin 3D printing. I’m sure there are more, but these are certainly useful.