
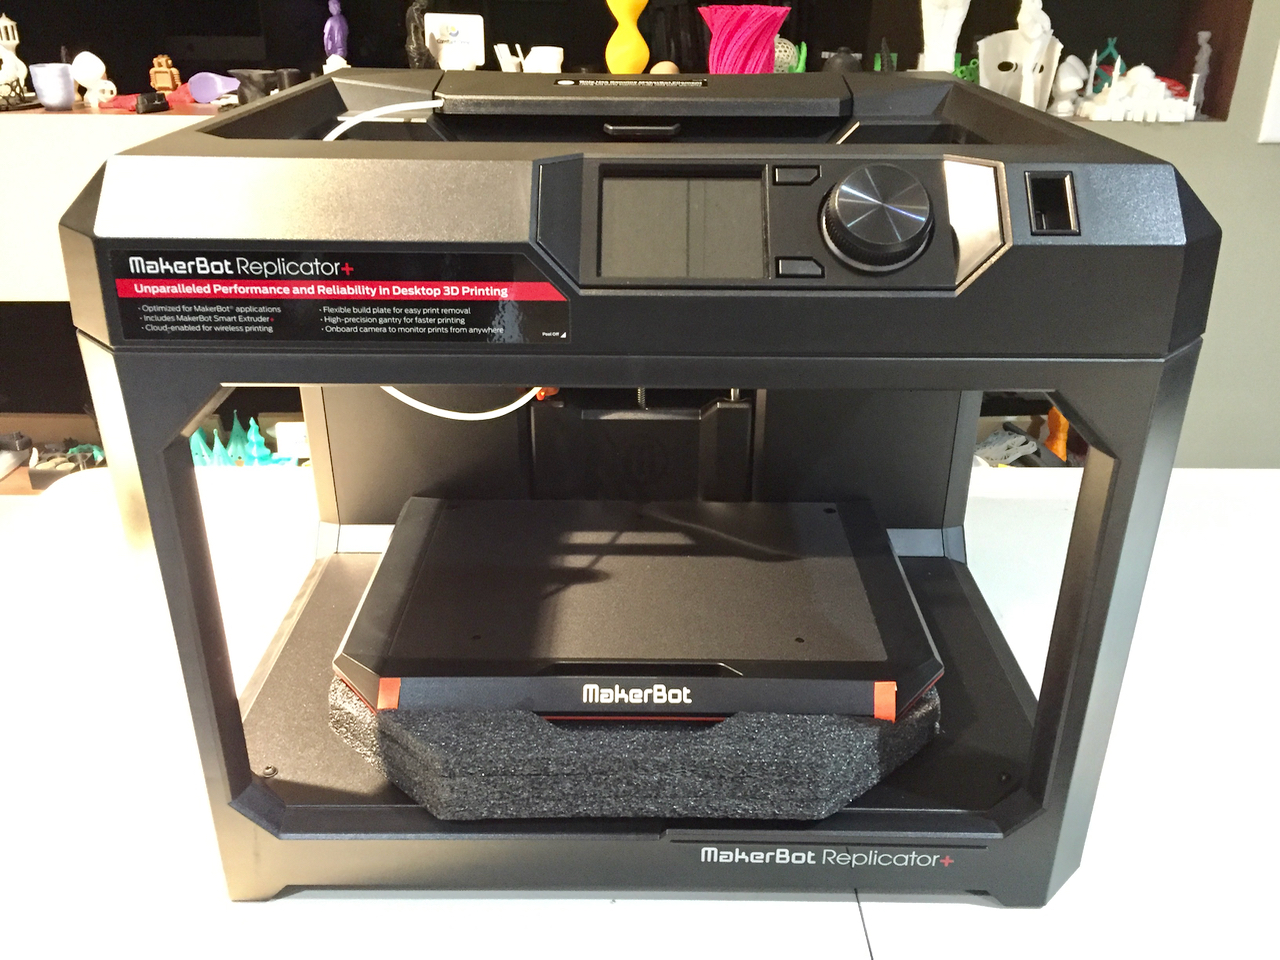

After a very long wait, MakerBot recently released a new 3D printer, the Replicator+. We had an opportunity to give it a good test. This is part 3, read part 1 and part 2 here.
My first print, as usual, is that ubiquitous 20mm half cube 3D model. Here you can see that it has completed quite successfully. But there’s one important thing to note that dominates the Replicator+ system: the raft.
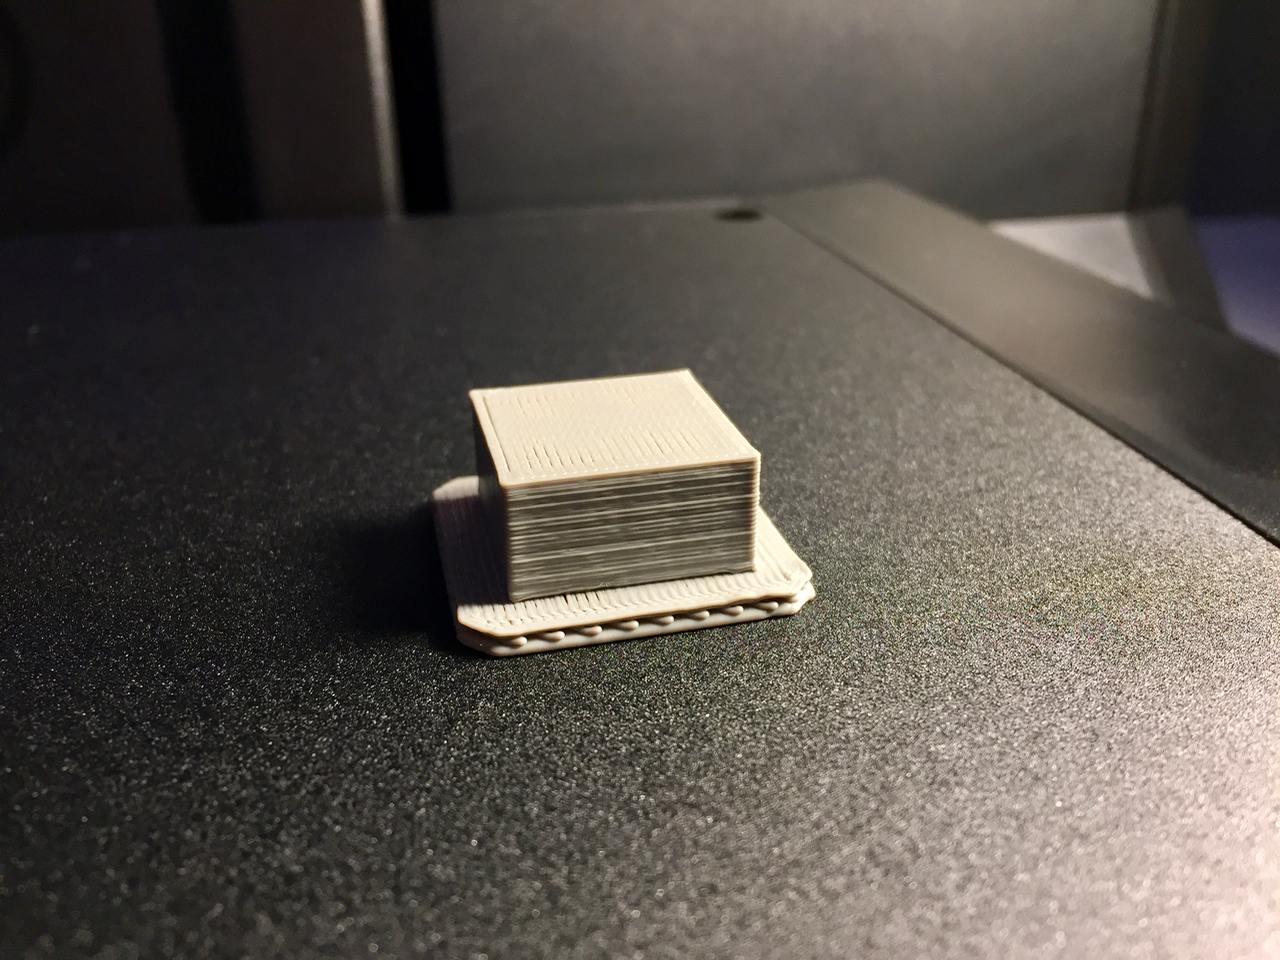
The rafts are quite thick compared to many I’ve seen, and in particular the bottom layer that first contacts the build surface is a very fat line that’s extruded very slowly. This ensures proper adhesion in almost all cases.
The idea is that you can simply peel off the raft when the print completes.
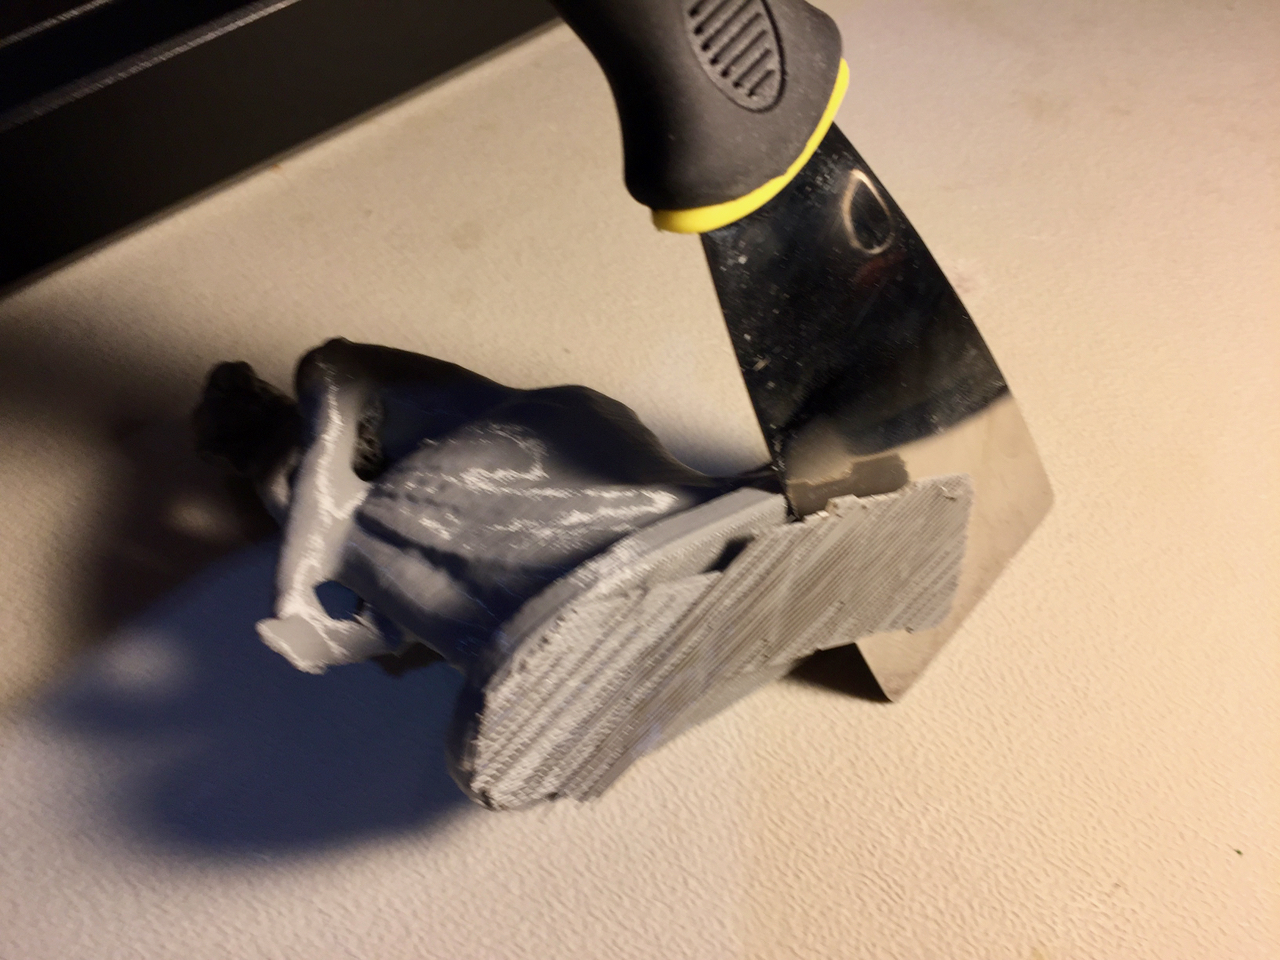
However, I found this could be quite problematic in some cases. I often had to resort to using a flat scraper to separate the raft from the 3D model. I should note, however, that during our testing, MakerBot upgraded their software to make raft removal easier to accomplish.
While the raft concept makes adhesion reliable, it does generate another issue: smaller prints are difficult to achieve due to raft removal. In other words, if the raft and its bond to the print is stronger than the small model itself, then it will break when raft removal is attempted.
My understanding is that MakerBot is continuing to tune this aspect of Replicator+ operation and should be able to increase capabilities, which as you might imagine will be straightforward given the network capability of MakerBot Print.
MakerBot Print can also generate support structures, which are essential in certain model geometries. The support style used is very similar to that used in their previous software and it generally works very well.
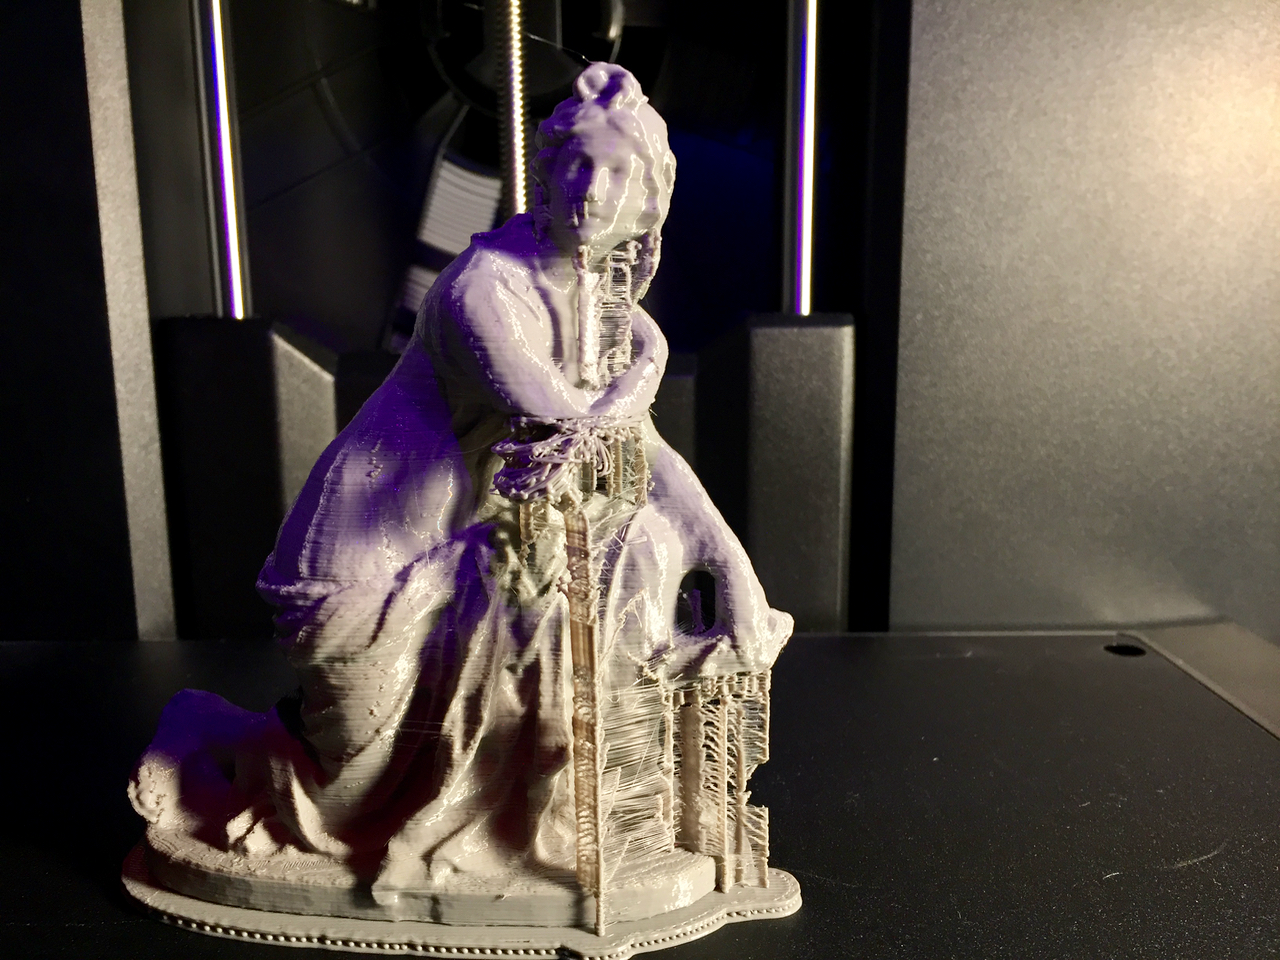
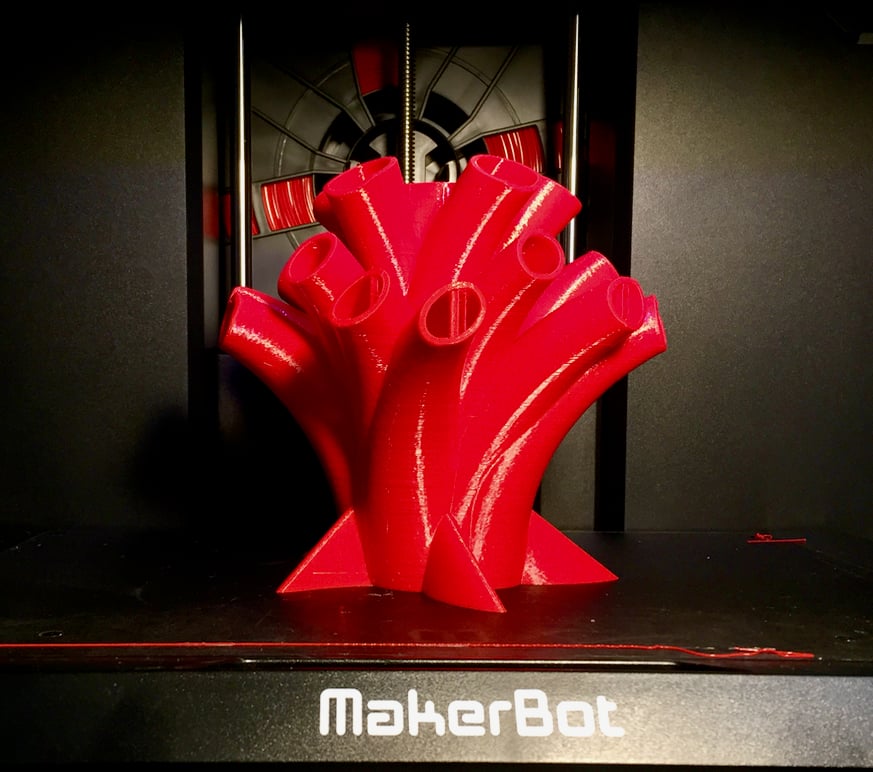
However, I did find that very tall support structures were sometimes unreliable as their thin nature didn’t always ensure successful printing. Here you can see an example where a very tall support structure was required, but it didn’t quite make it. It’s possible it may have worked on a re-print, but another option here is to use an external tool such as MeshMixer to independently prepare complex supports if required.
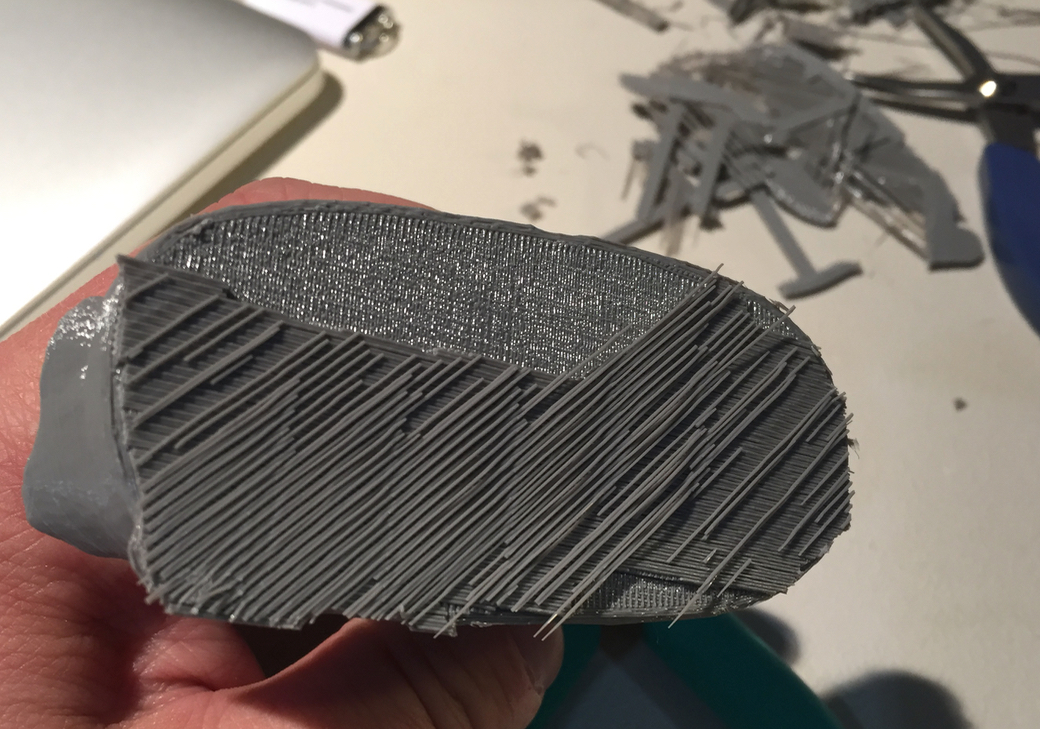
The requirement for a raft means that the surface finish of the bottom layer of prints is somewhat compromised in quality and smoothness, particularly if you have difficulty removing the raft. While that is being tuned by MakerBot and we should expect far more easily removed rafts in the near future, I wondered if there was another solution: printing raftless!
Unfortunately, you cannot print raftless: MakerBot Print simply doesn’t make that option available, and it makes sense, as I would discover later.
What is possible is to use an older version of MakerBot Desktop to prepare a raftless GCODE file. It’s one of the print parameters you can specify. I simply pretended my Replicator+ was a Replicator Fifth Gen and an X3G file was generated. This must be printed via USB, as you essentially step out of the MakerBot Print network workflow when you do this.
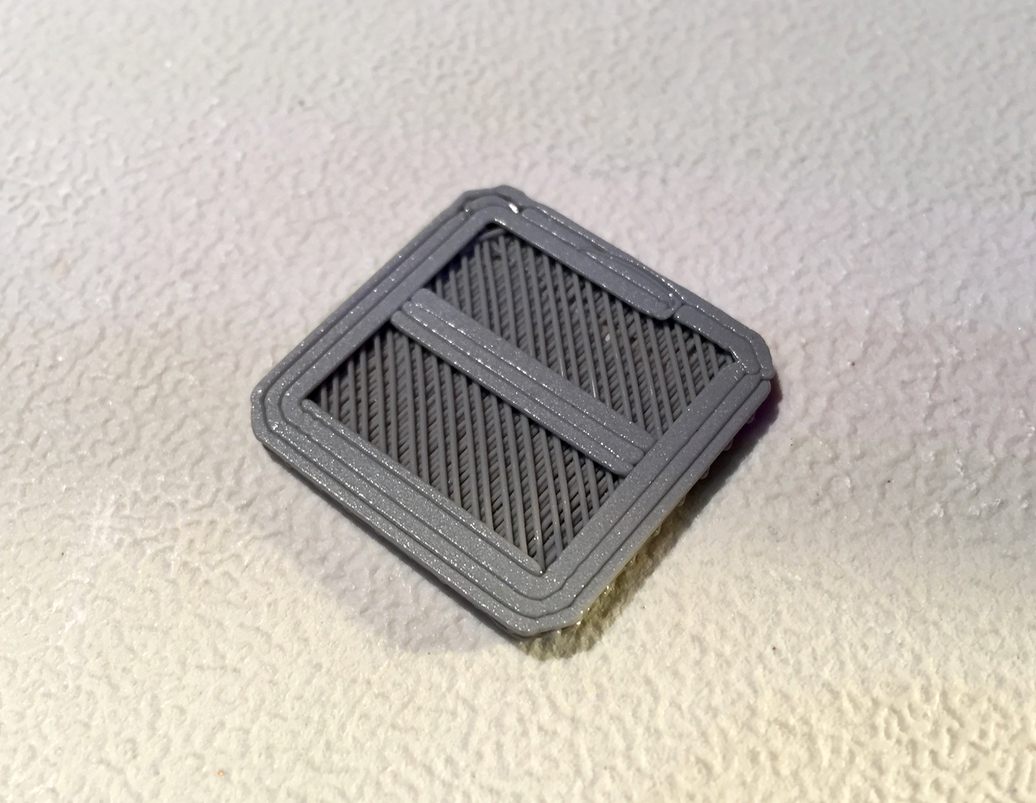
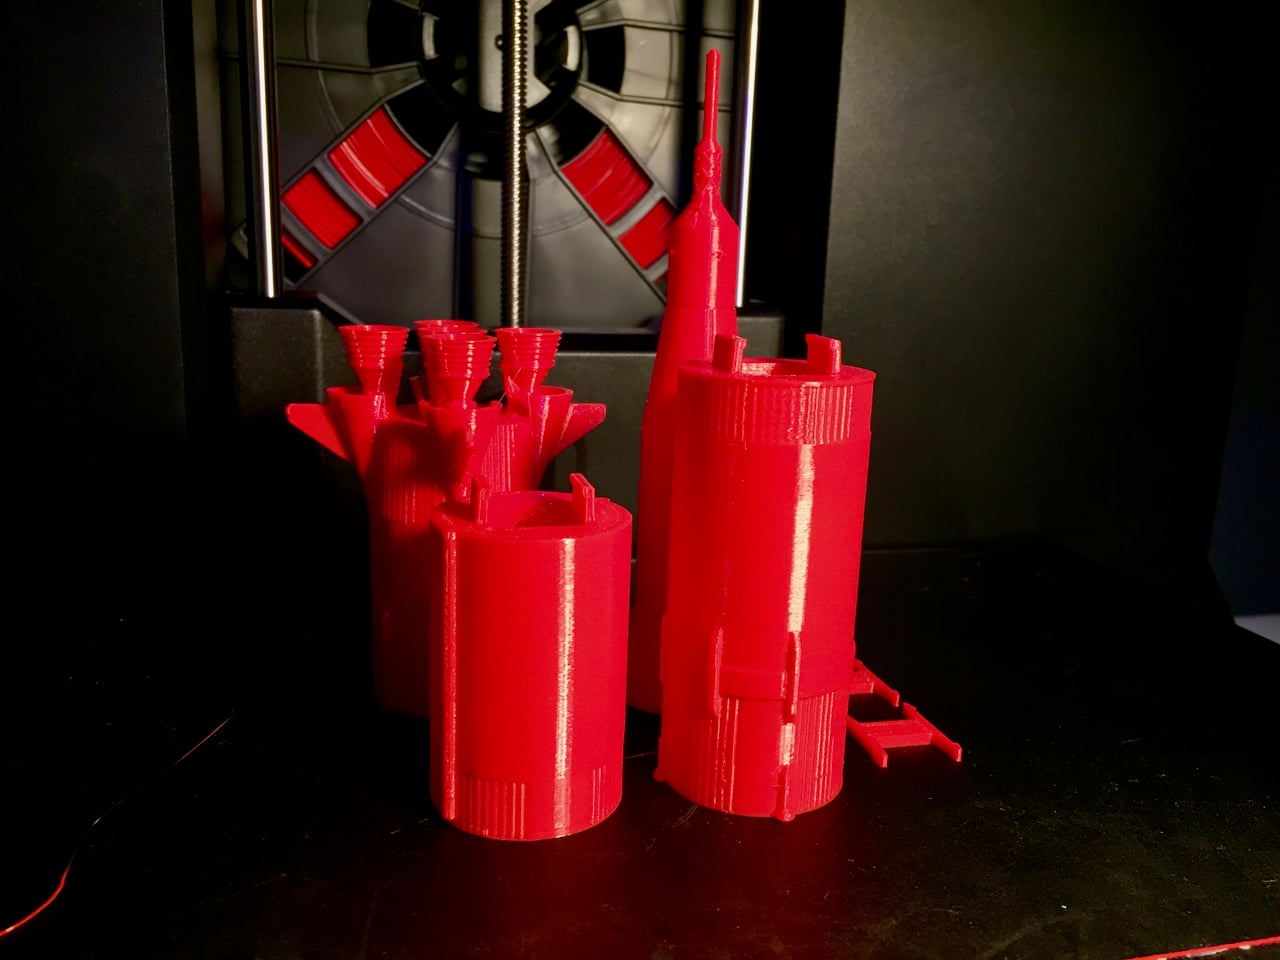
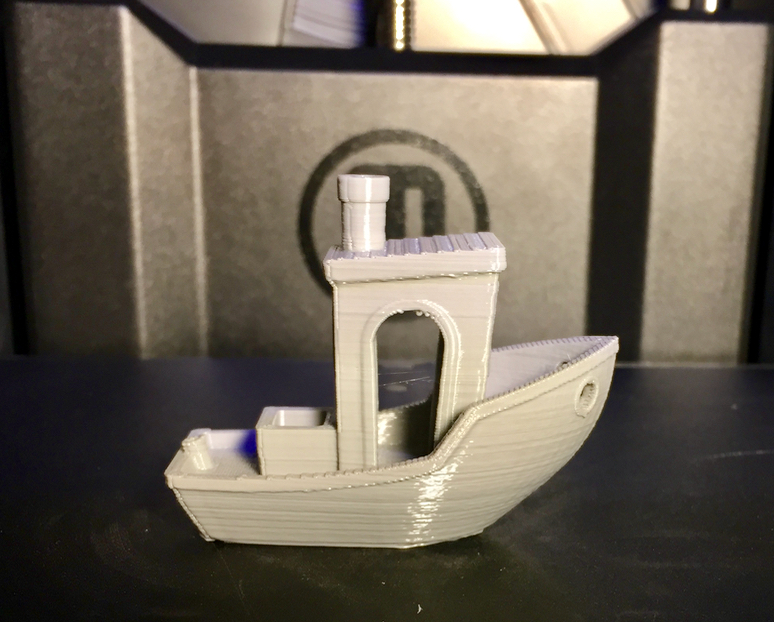
Nevertheless, it IS possible to print raftless on the Replicator+, as you can see in this image. In fact, I was able to successfully 3D print many small items that otherwise would have been tangled up in the raft and broken.
But there are adhesion problems when trying to bypass the normal process on this machine. You must re-adjust the Z-height to be closer than the normal setting, and even then it’s a troublesome process.
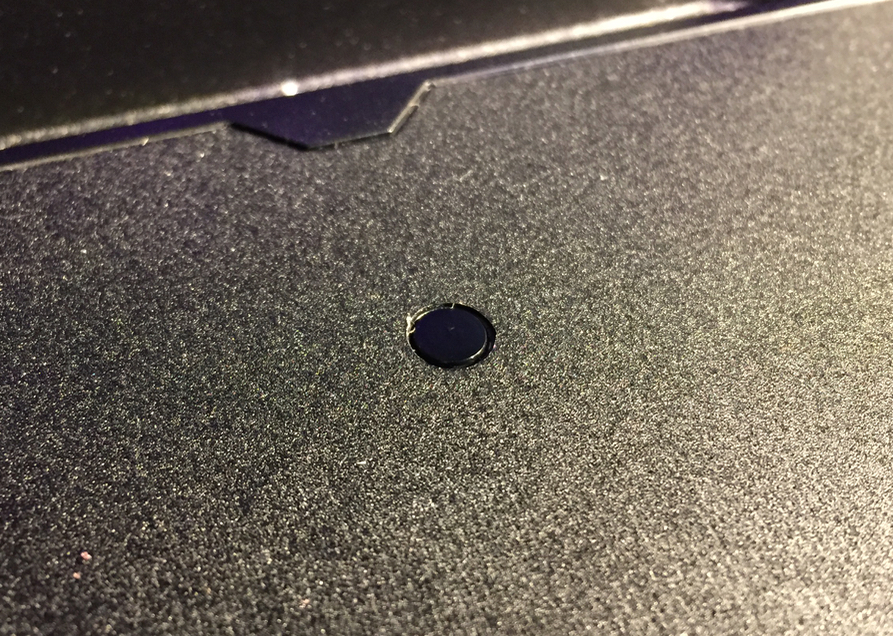
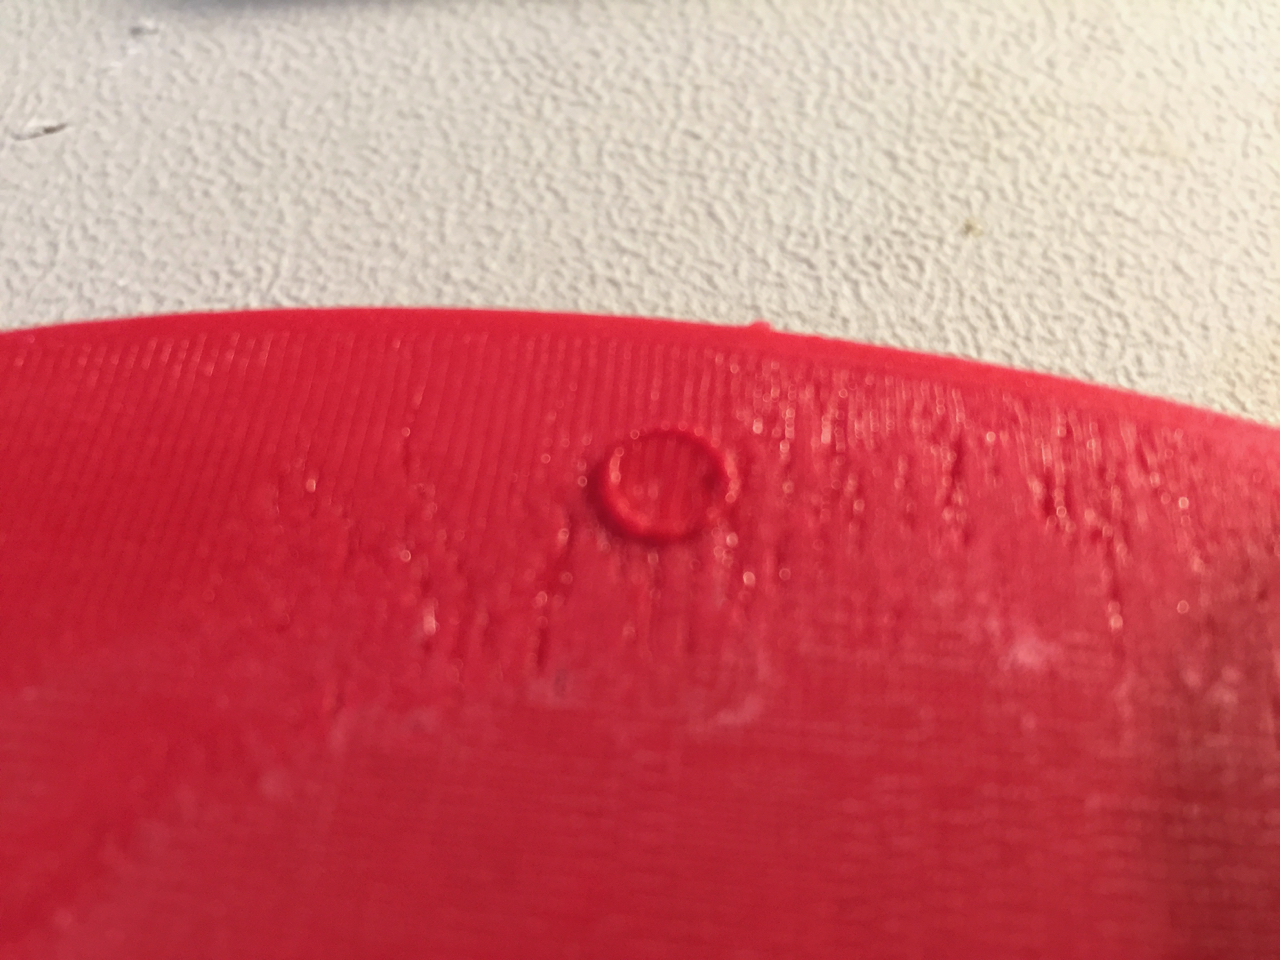
And there’s another issue with “illegal” raftless printing: the bendable print surface has a couple of indentations that would show up on the bottom of objects, as shown here.
My conclusion: this machine is designed for rafts only. Don’t try to do otherwise. It is quite possible, however, that MakerBot might issue a software and firmware upgrade in the future that could enable proper raftless printing. They may even be working on this now.
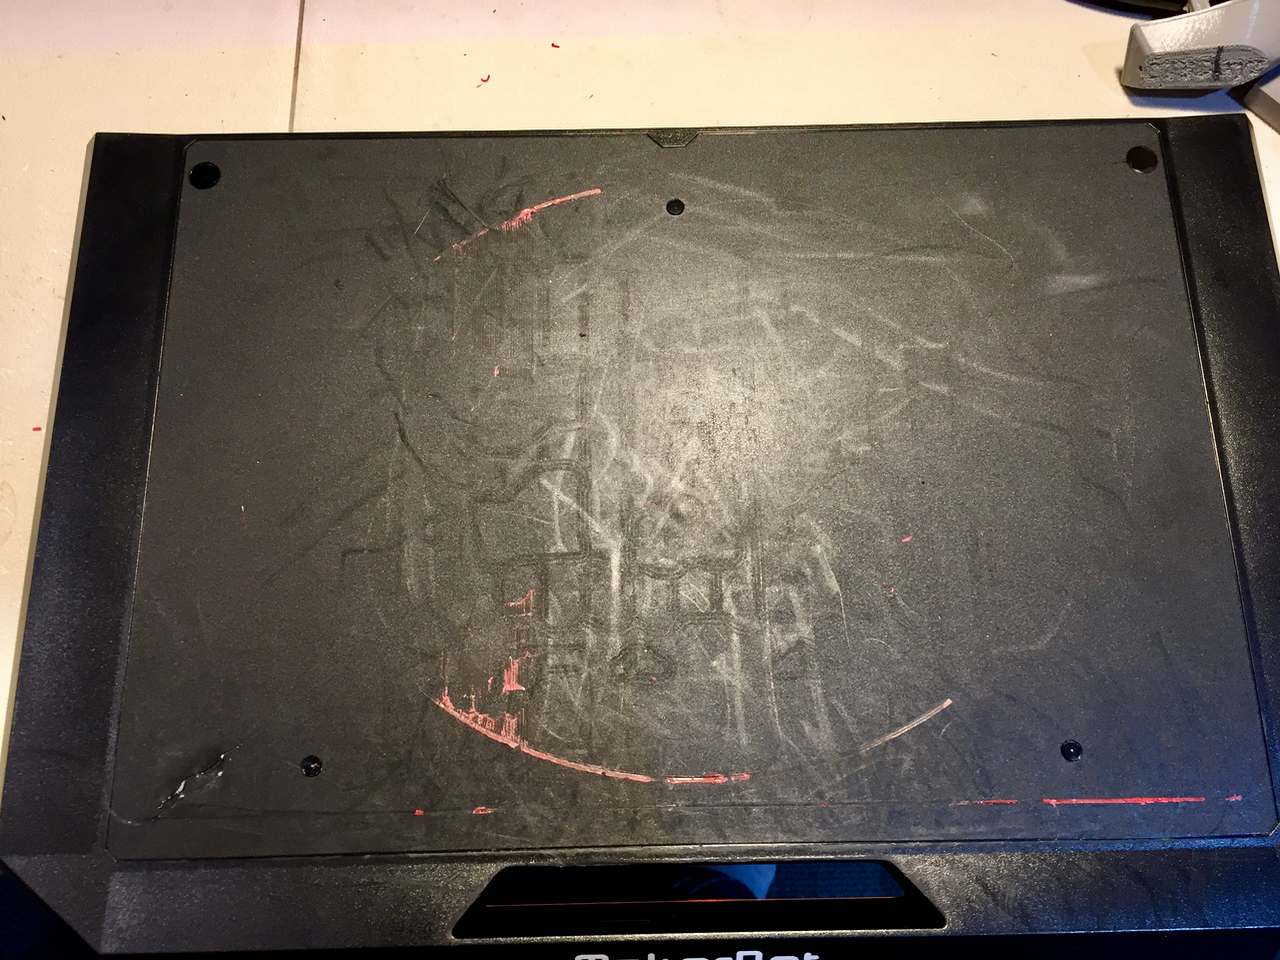
I’m told by MakerBot that the newly designed removable print surface is extremely durable and should survive countless prints and bends. I don’t doubt this, as it is quite tough and it’s hooks will ensure the plate doesn’t significantly warp. However, my experiments did show some erosion of the print surface after a number of prints. Note that some of the damage is definitely due to my raftless experiments, where the prints stuck very strongly to the surface and required effort to remove.
Print quality is generally very good, but not outstanding. I found that the machine excels at printing larger mechanical pieces but sometimes had a harder time printing objects with finer details.
One key experiment I performed involved printing larger items for longer periods. Everyone knows that desktop 3D printers can be quite fussy and unreliable, so I was curious to see how the Replicator+ fared.
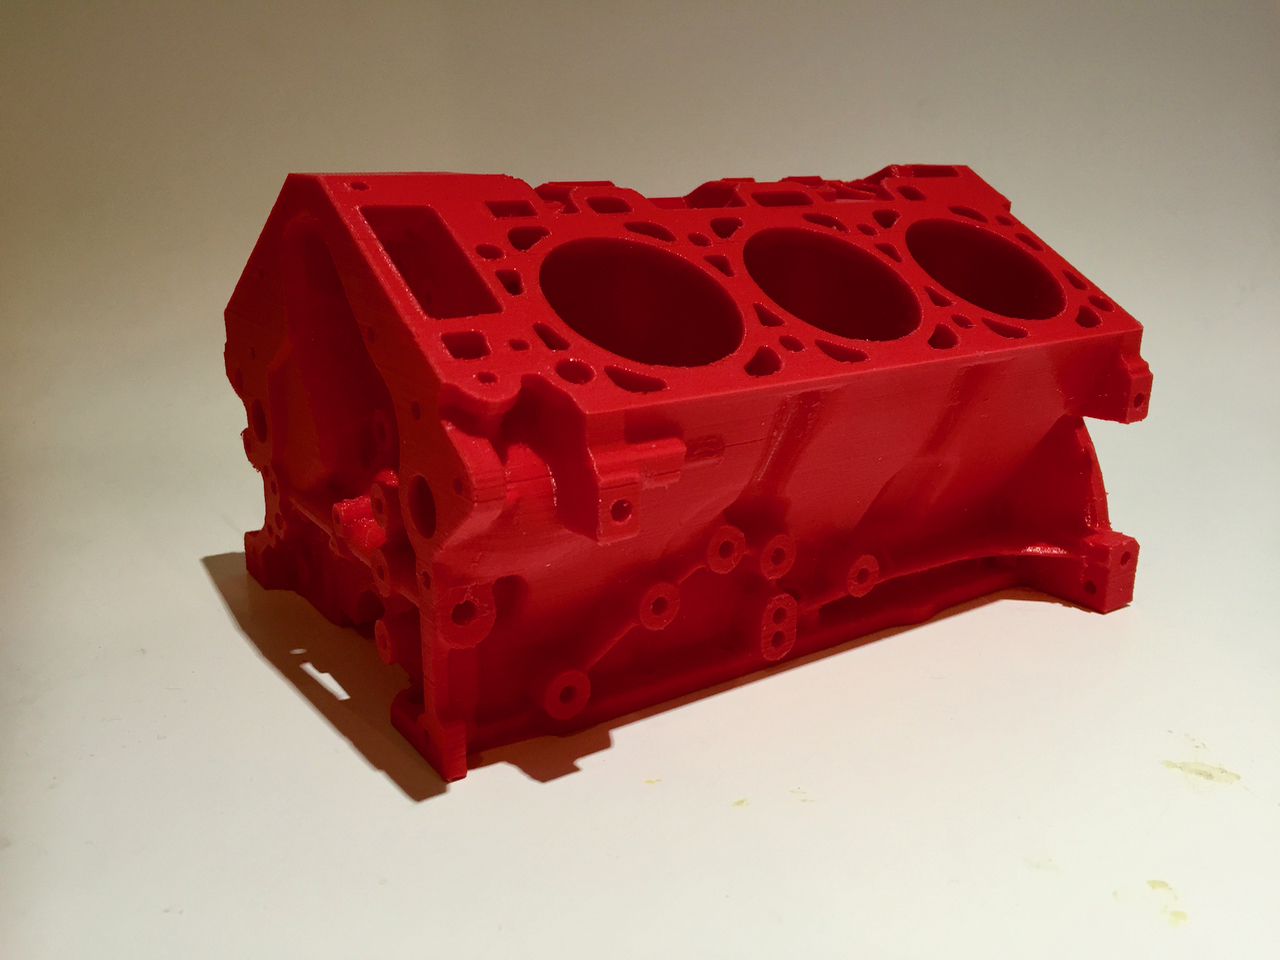
It fared very well! I managed to print several very long prints – the longest being an incredible 42 hours – without incident. This machine is certainly a workhorse. I even attempted to print that enormous engine block shown in their marketing material, and succeeded! I have to say, though, that removing support material from this particular model was challenging.
I have great confidence printing large parts on the Replicator+.
But what to make of this machine? I have some conclusions:
It’s a machine with pretty decent hardware. The build volume is large, the components seem reliable, at least in our testing, particularly the Smart Extruder+ that we wrote on some months ago.
I have mixed feelings about the new print surface. It’s definitely an advanced concept and should work well – but only when printing with rafts. When MakerBot soon tunes up raft handling in their software as I described above, this machine should be very useful in all situations.
The software is very promising and offers a number of truly useful features that focus on simplifying your work with the machine. However, it could stand some tune ups, and I expect that to be a continuous process with their networked implementation. In fact, I observed updates occurring during our test period.
Finally, who is this machine for? I’d have to say it is not designed for hobbyists, MakerBot’s original market years ago. No, this machine is much more suitable for professionals sharing the machine in an office – and especially if using an array of them. The design features I’ve seen in the Replicator+ all support this philosophy, and it makes business sense for MakerBot to do.
If you’re an industrial designer or someone producing many 3D prototypes, this could be your machine.
To catch up, read part one: setup, and part two, software of this three-part series.
Via MakerBot