

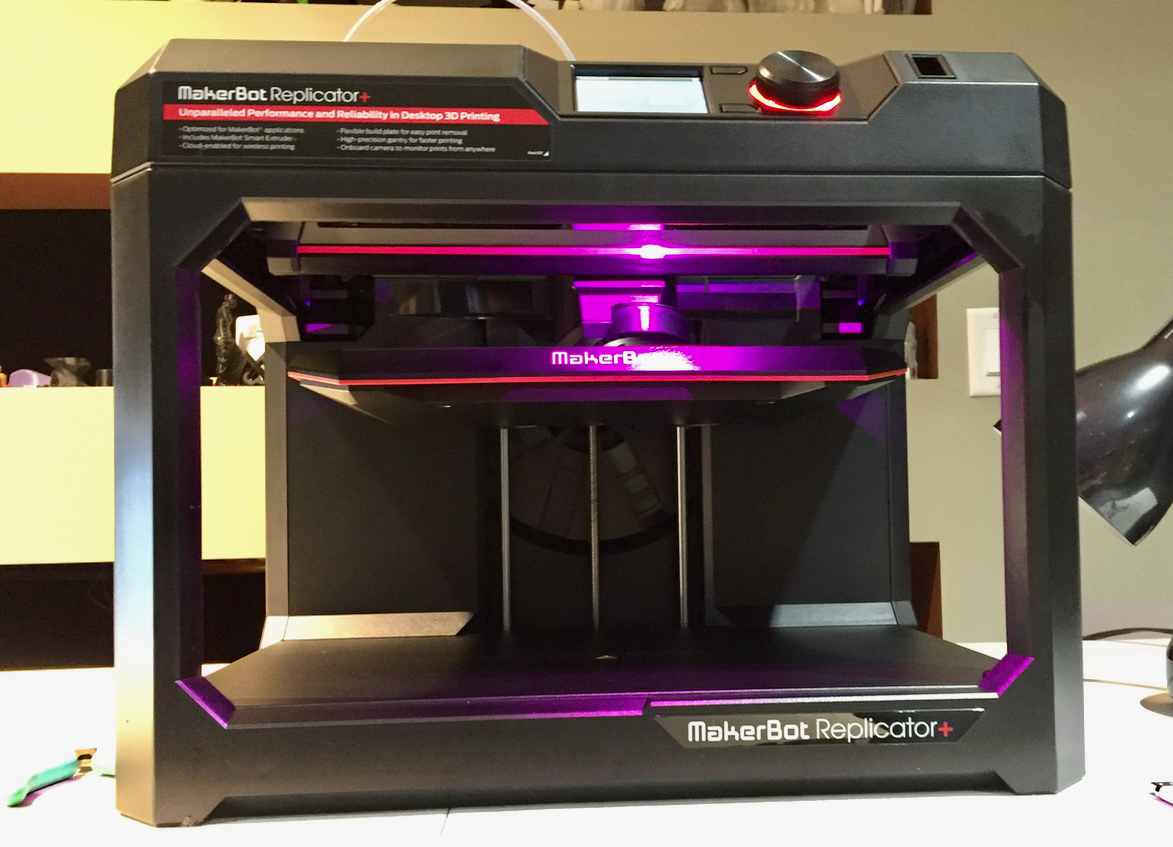
After a very long wait, MakerBot recently released a new 3D printer, the Replicator+. We had an opportunity to give it a good test.
I’ve had the opportunity to operate several previous MakerBot devices, including the very first two, the CupCake and Thing-O-Matic, as well as the Replicator 2 and 2X. This is my first experience with a Smart Extruder machine from the company.
In each previous generation, the new model grew upon the experience of the previous models. More features were added, with additional functions and performance. That trend continues with the Replicator+, as it visibly incorporates its ancestry.
But let’s get the box open!
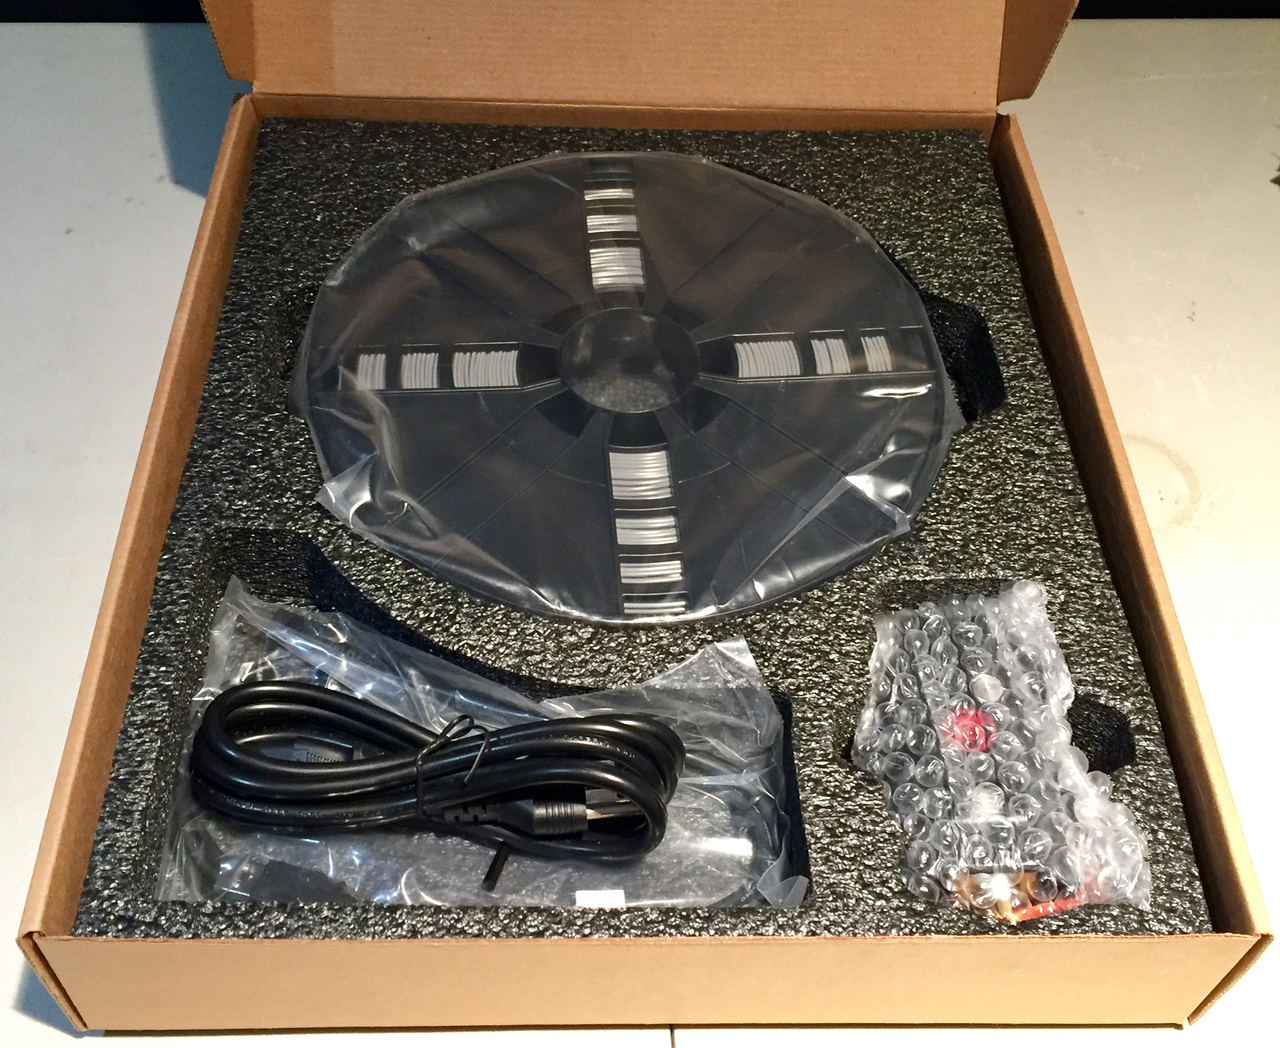
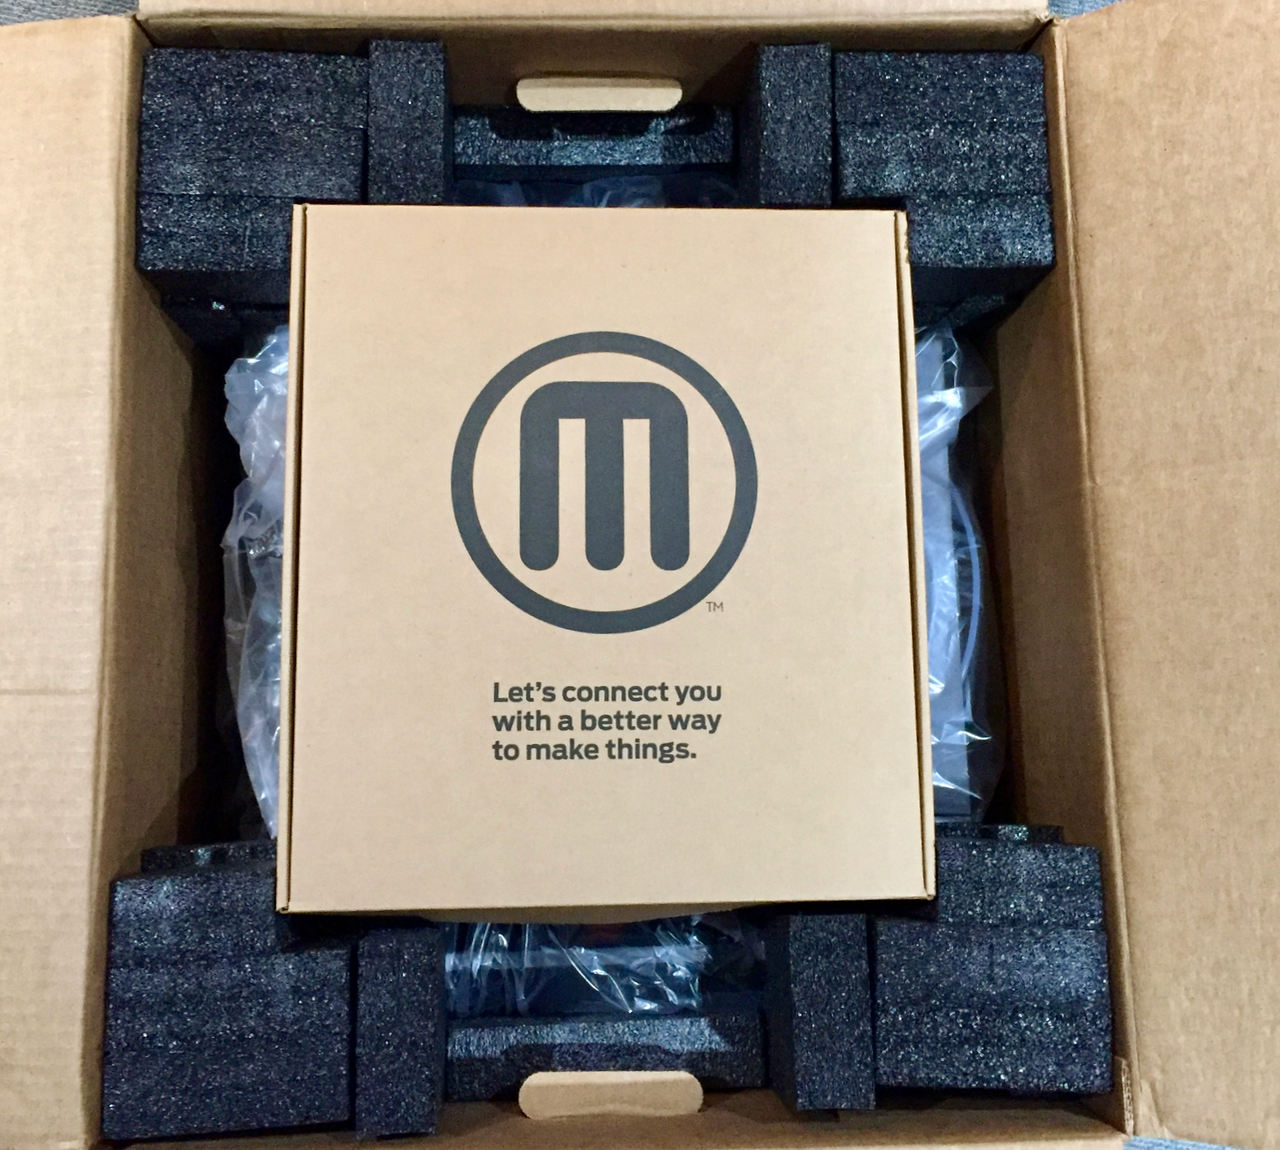
I found the Replicator+ packing to be excellent. There is more than sufficient material to ensure the unit travels safely and as you can see in this image there’s not many separate items in the package. Similarly, in the image at top you can see they’ve placed small items in a box.
There’s a few plastic tabs and tape to remove and you’ve done the basic hardware setup. It’s no more difficult than what you’d see on a paper 2D printer, at least so far.
But this is where things get a bit different. Typically when setting up a 3D printer at this point, you press a few buttons on the machine and you’re good to go. But MakerBot has devised a very unusual setup procedure.
But before I get into it, let me explain a bit about their philosophy: this is a networked 3D printer. It’s intended to be used remotely and in groups. That’s MakerBot’s new target audience: institutions. While the machine can certainly be used by an individual, it must accommodate institutional use.
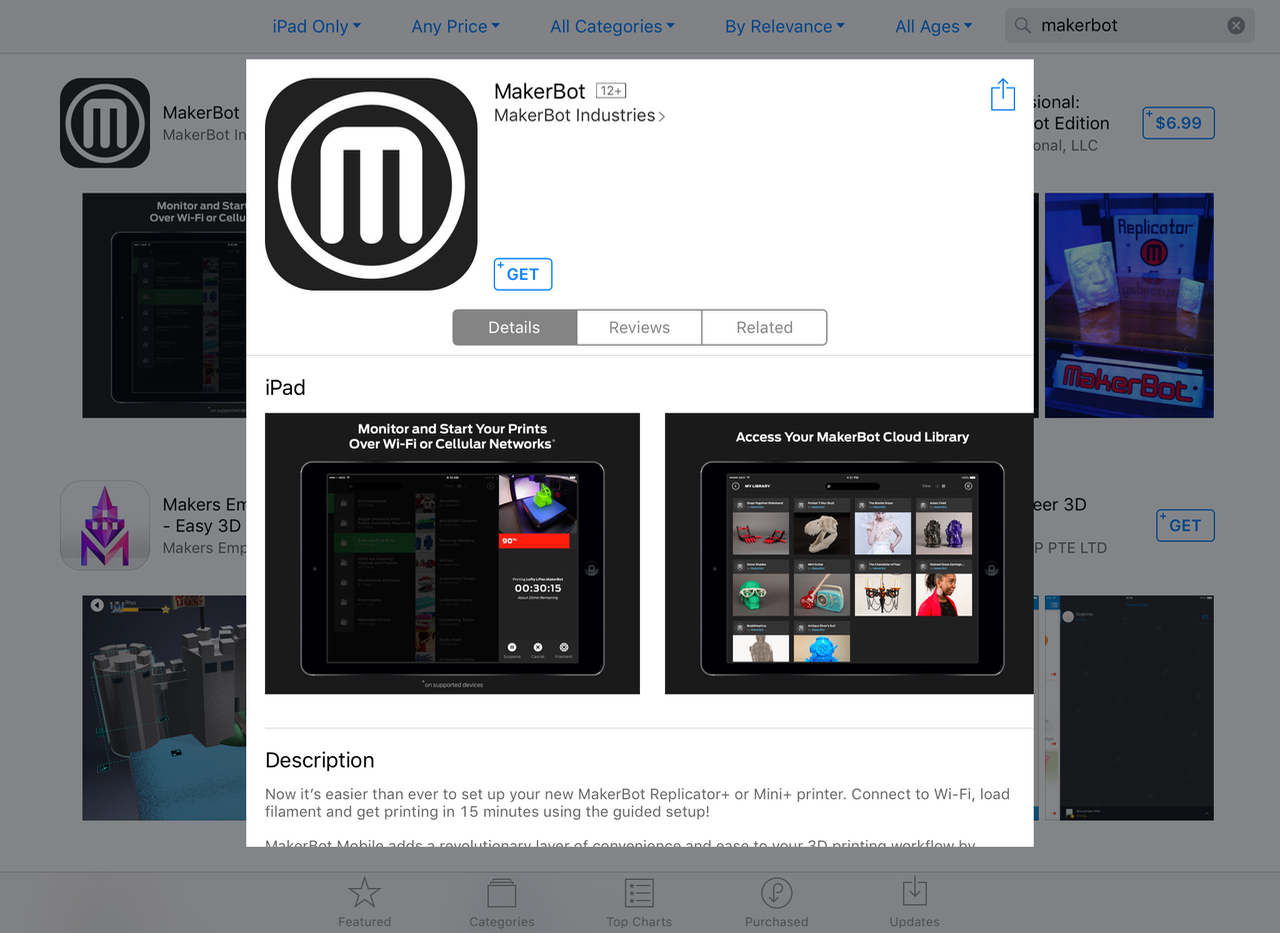
Back to the setup procedure: You will actually set up the machine through an app! You must download the MakerBot Print app for your smartphone (Android and iOS available).
Note: I attempted to do the setup using the iPad version of the app, as it is quite convenient to prop up the tablet while doing the physical stuff. However, after a couple of hours of fiddling I could not make it work and was stuck. In desperation I then turned to the iPhone version of the app and started over once again, and everything worked well. Later, MakerBot support told me that there were issues with the iPad app and that they recommend using the iPhone version. Bottom line here: use the iPhone app, don’t even think about using the iPad app.
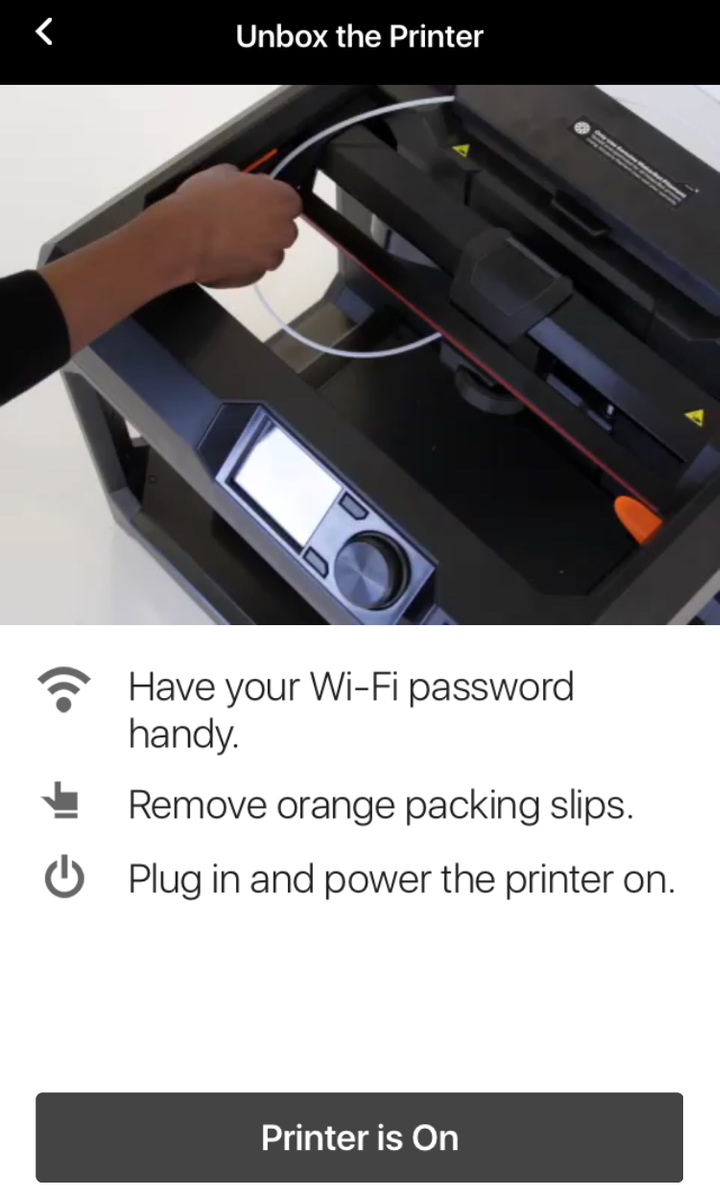
After removing the plastic bits, you’re ready to power up the machine as instructed by the app. I should say that you must follow the app’s instructions to the letter. Don’t deviate or you’re starting over.
I have to explain the unusual process of setting up the machine. As I mentioned, it’s a networked machine and really depends greatly on having a live WiFi connection. To set this up you must:
- Launch the app
- Power on the machine
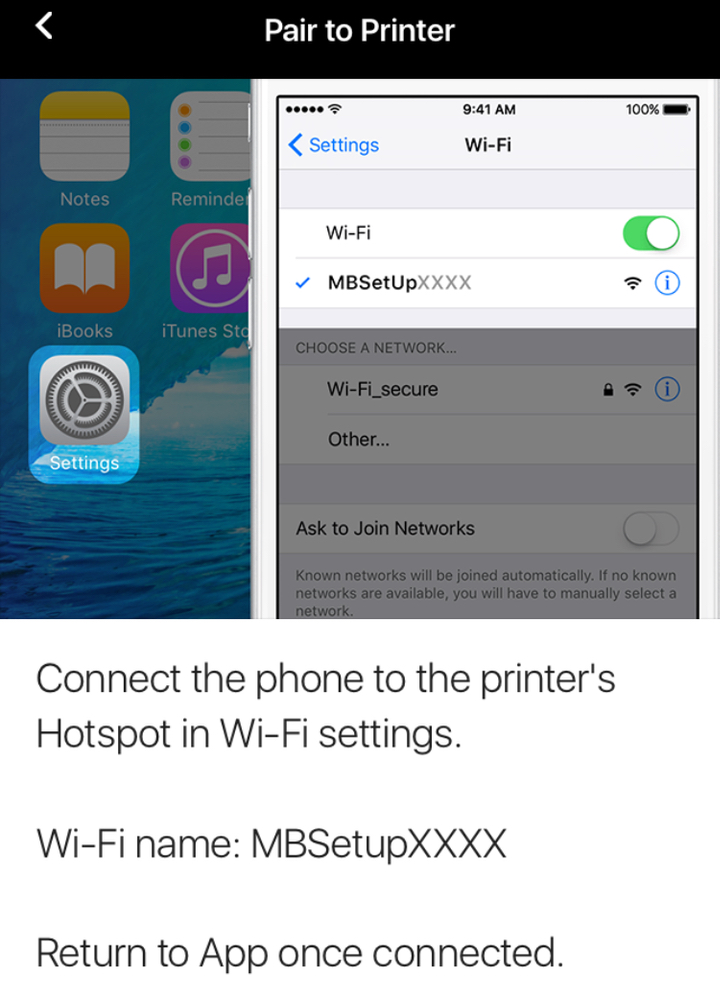
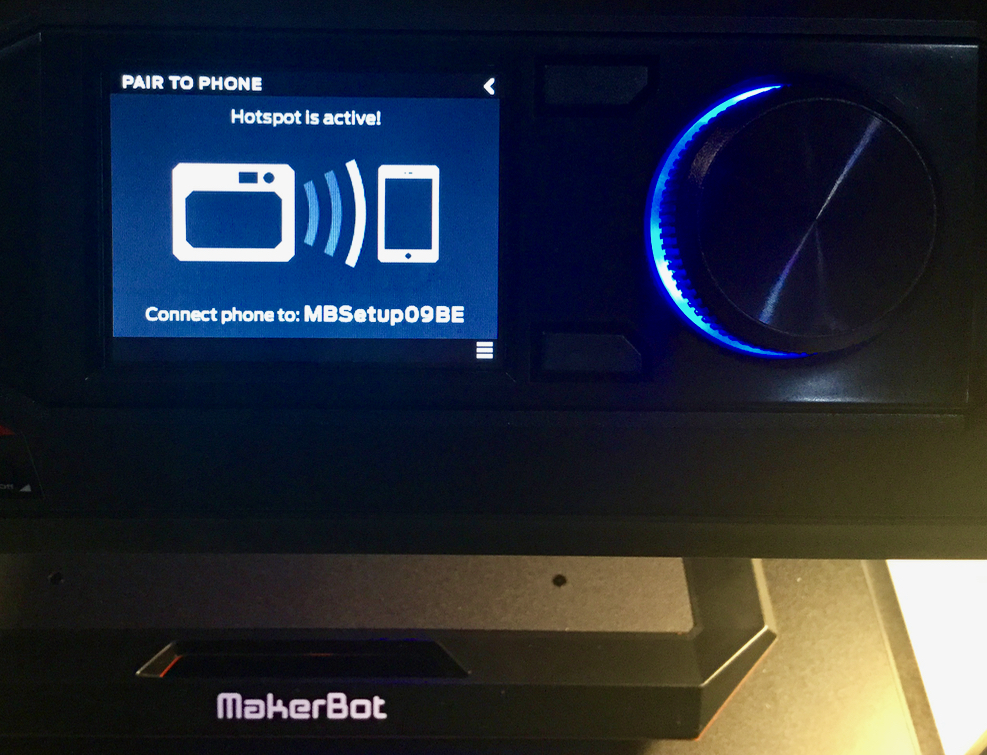
- Enable the machine’s own WiFi hotspot
- Switch your smartphone’s WiFi network to the Replicator+ hotspot
- Configure the Replicator+ with credentials for the proper WiFi network
- Switch the Replicator+ to use the proper network
- Switch your smartphone back to the proper network
While this process does work, it includes a lot of steps, any one of which could cause you to be stuck. If I could recommend anything to MakerBot here, it would be to simplify this part of the setup process.
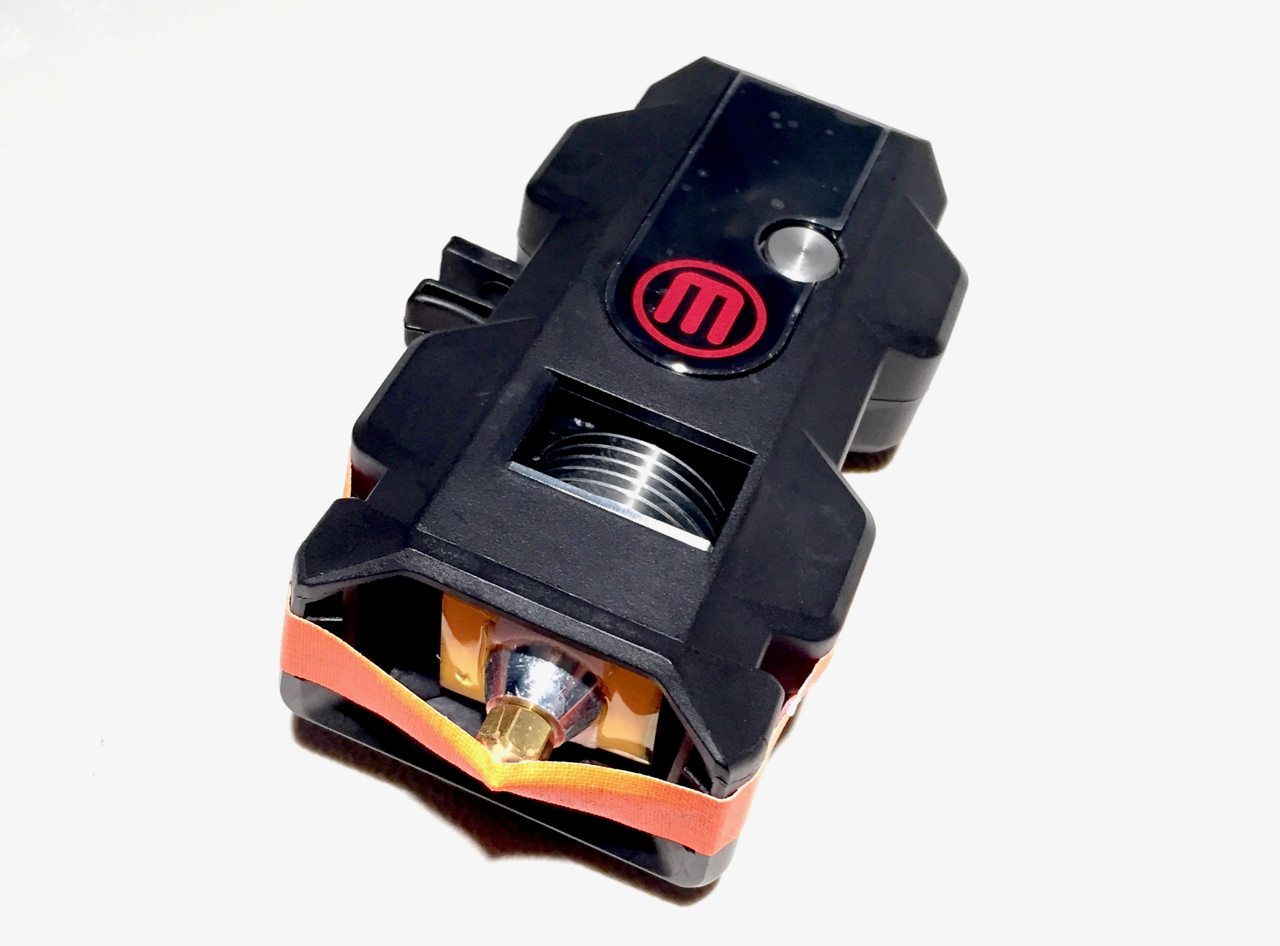
The next part of the process is to physically install the Smart Extruder+ that’s separately packed. This is because MakerBot considers this hardware a consumable component that is swappable. While they may offer Smart Extruders with different functionality in the future, for now there’s just the one that comes with the machine to print in PLA.
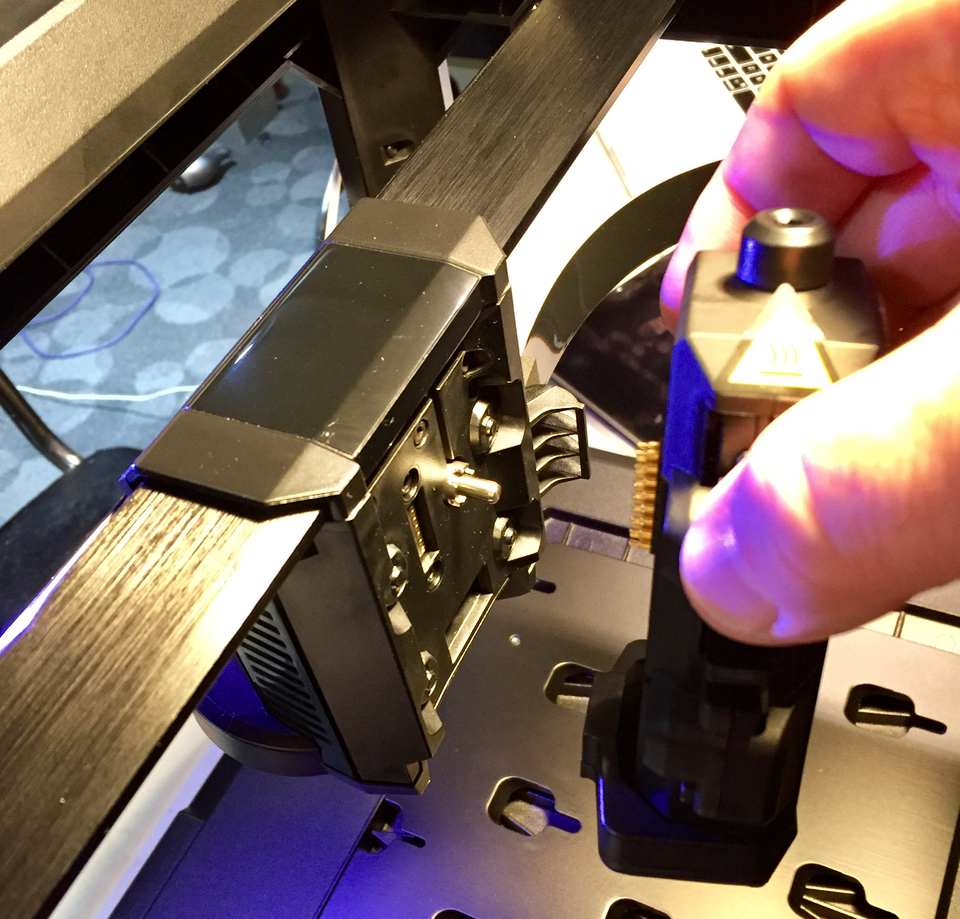
Now comes the step to install that extruder. Physically, it’s very easy to install as it’s magnetically attached. There are no cables or connectors to attach as they are all linked by the magnet’s pull.
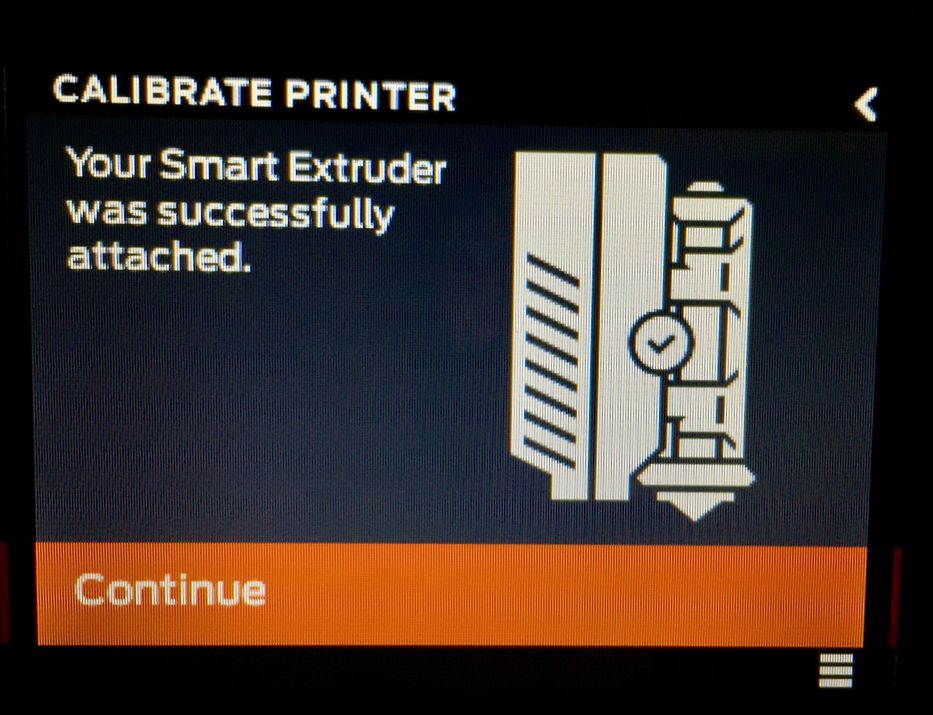
The Replicator+ can “see” the extruder electronically and verifies that it is the correct type for installation. Again, I imagine in the future this is where the machine would recognize different styles of extruder.
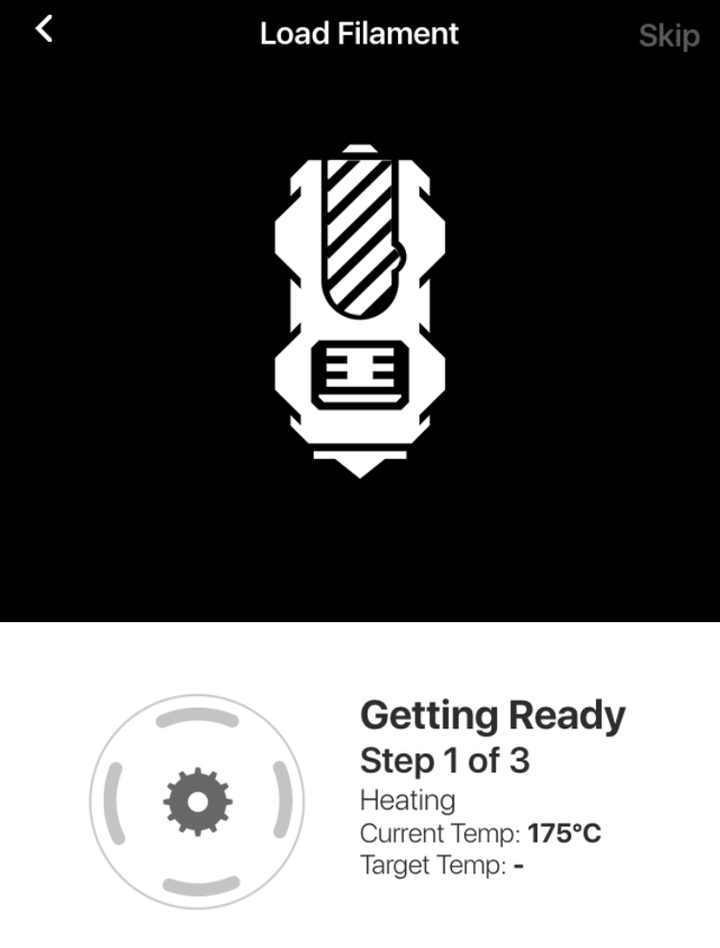
Once the Smart Extruder+ is successfully installed you can go about loading filament. That’s a very straightforward process with one exception.
The Replicator+ uses an internal chamber to hold the filament spool, as shown here. It’s more than just making the machine look tidy; this design also permits easier placement if you happen to have many of these machines.
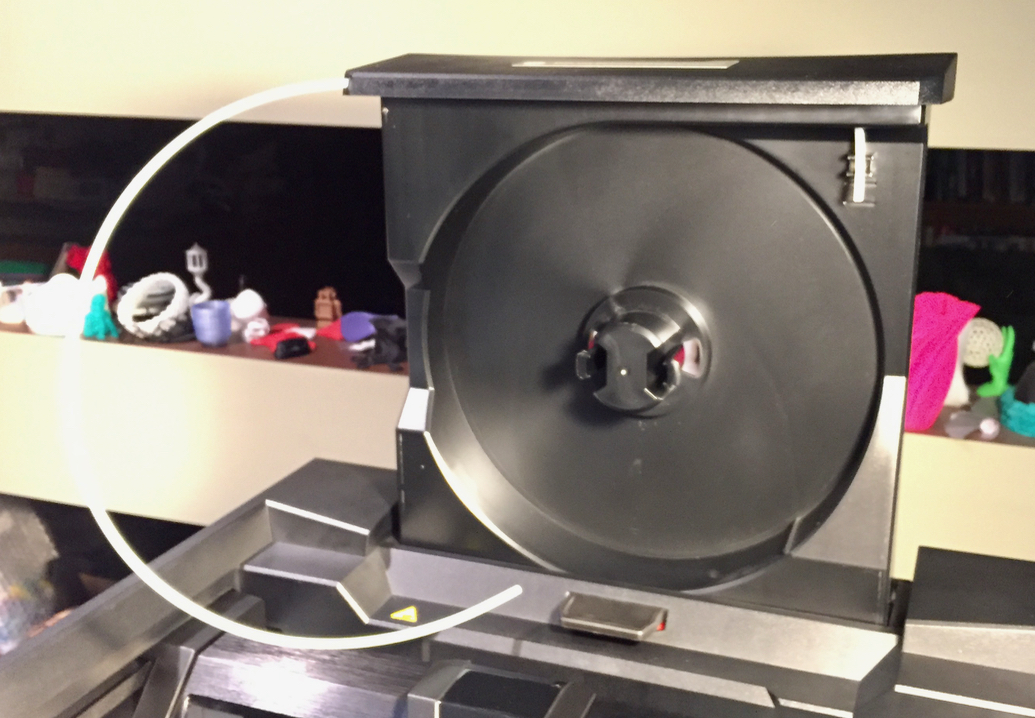
Technically, you can use any 1.75mm filament in this machine, but that’s not the intention of MakerBot. To use the internal spool mechanism, your spool must physically match the required dimensions, and that’s not always the case. You could rig up some kind of external spooling system, but if you do, you might want to read this prominent warning:
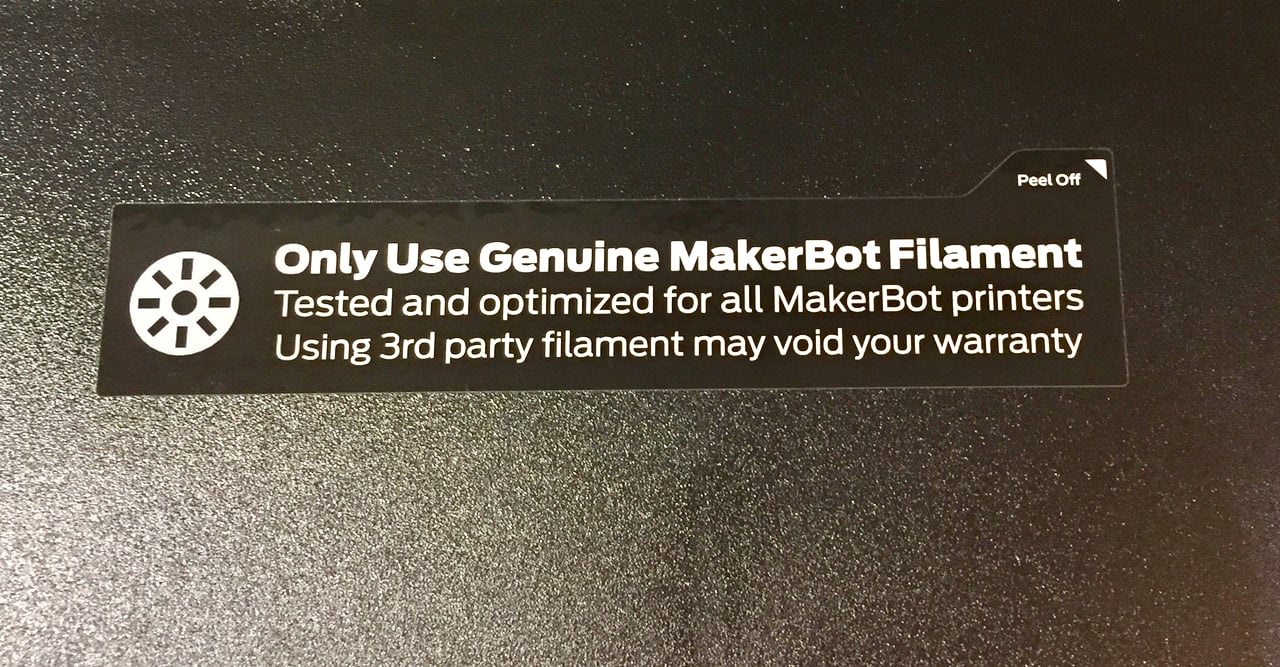
After some significant testing with this machine, I can say that it really does run better with genuine MakerBot filament, as they’ve tuned the printing parameters with their slicing software to match the chemistry of the plastic and motion systems of the hardware. Expect to be using MakerBot filament with this machine.
If you follow the instructions to the letter as I advise, you won’t get the filament installed because there is a missing step. When inserting the filament you must ALSO push the lever on the extruder to open the filament path. It’s easy to do – it’s just that the app doesn’t tell you to do so. I realized this instantly because that is the standard way previous MakerBot extruders worked. I’m expecting an update to their app for this, if it hasn’t already been fixed.
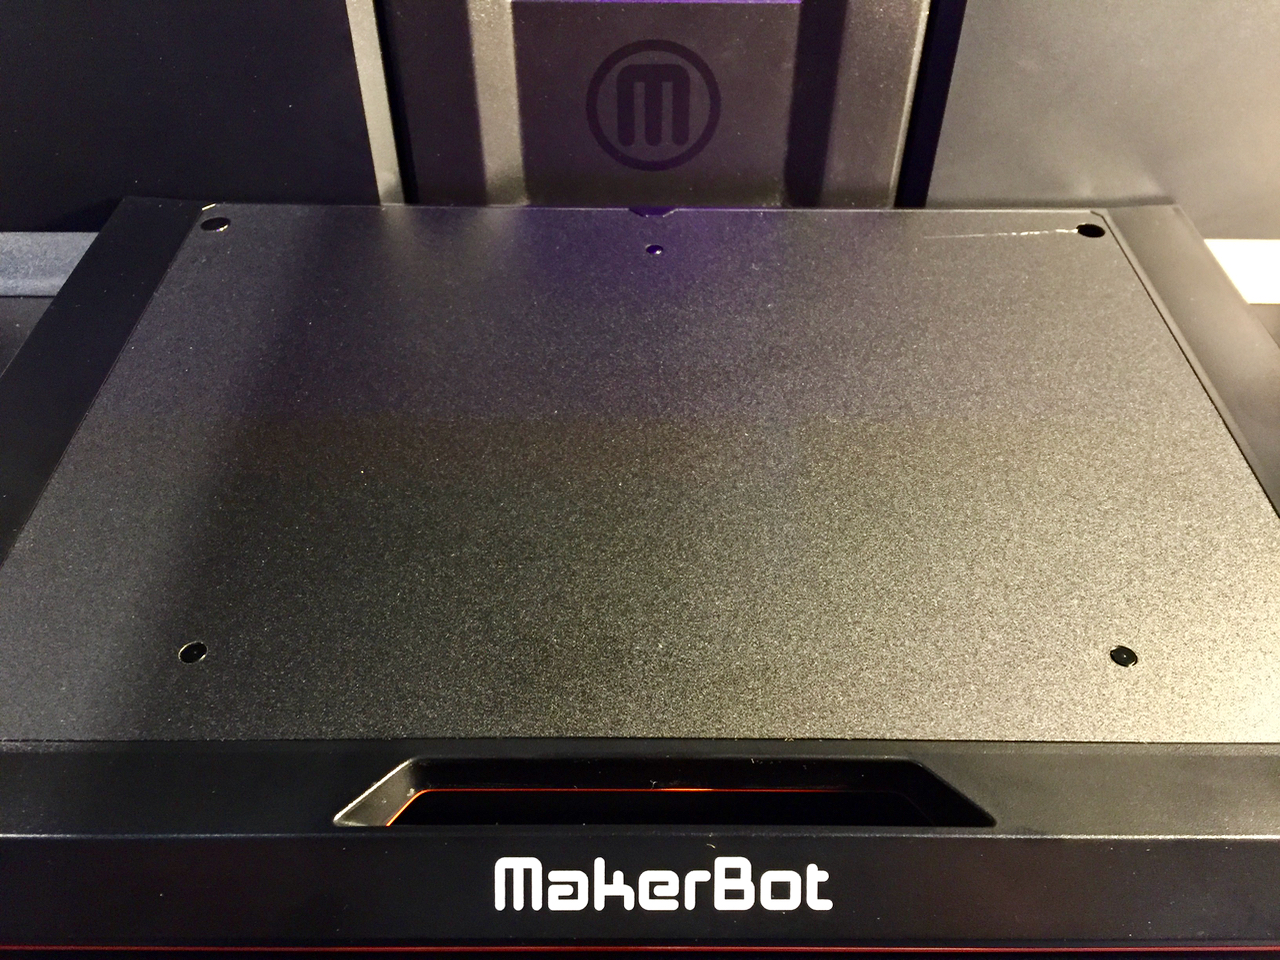
Finally, the print surface. This is perhaps the most interesting part of the new Replicator+, as bed adhesion is always challenging for 3D printer manufacturers.
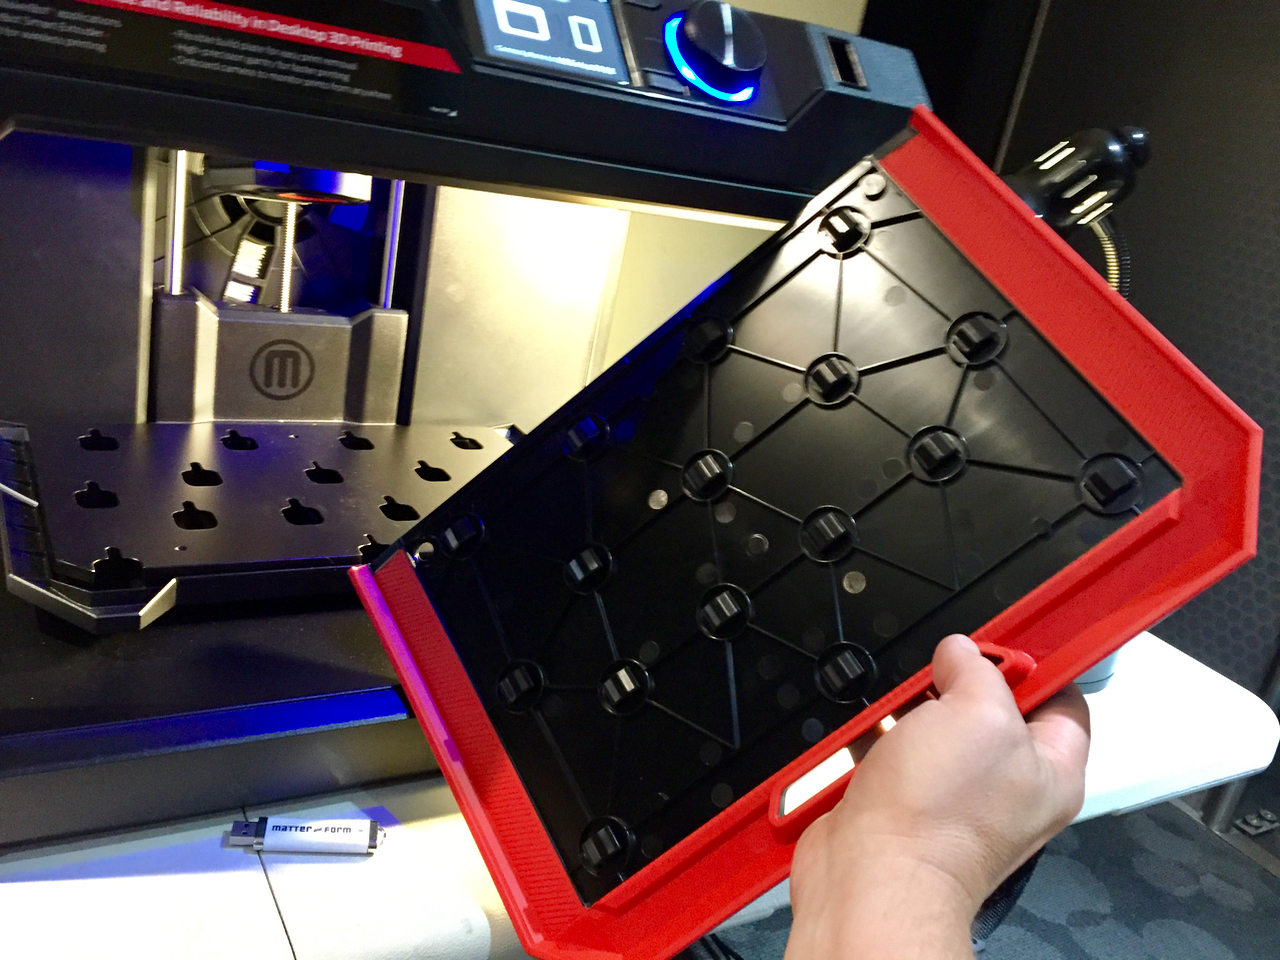
On the top surface it appears to be a nice plastic bed. But you might wonder how a plastic bed could ever remain flat after continuous printing. The answer is found underneath, where you’ll see a series of hooks that hold down the detachable plate. Unlike other detachable systems where the middle can warp, this system holds it down in all areas.
We’re now ready to start 3D printing! But that’s a story to be told in Part 2. Part 3 is here.
Via MakerBot